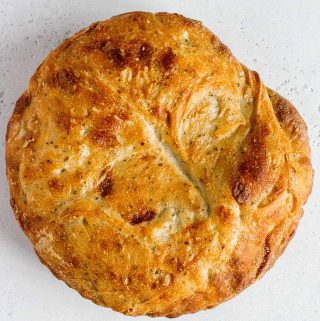
This easy Basil and Garlic No Knead Bread has a crispy exterior and soft interior! It’s so simple and only takes a couple minutes to put together. No mixer needed.
Basil and Garlic No Knead Dutch Oven Bread
Baking can be a little intimidating. You put in so much time and and effort into something that requires precision. Unlike cooking, you can’t taste and adjust as it bakes so you are 100% committed whenever you put something into the oven.
I get it! That’s why today I’m sharing this super easy no-knead bread. I’ve been making no-knead bread for a while now because it’s something I can easily throw together the night before if I’m planning to make soup the next day and want a side of crusty bread to go with it. And honestly, there are few things that taste better than a warm fresh loaf of bread!
I adapted this recipe from Jim Lahey. You don’t need a mixer, bread machine, or anything fancy. Just a bowl, spoon, and Dutch oven. To change things up, I added basil and garlic to this no knead bread. I’ve tested this recipe a few times with a combination of fresh basil and garlic vs dried basil and garlic powder vs a mix of both and in the end, dried basil and garlic powder was what won. I found the flavour to be more evenly distributed and much stronger.
While fresh basil and grated garlic smelled amazing while proofing, the smell did not translate into flavour when it baked. Plus, the amount of fresh basil and garlic needed to get the flavour through just wasn’t very reasonable at this time as grocery stores have been sold out of basil for weeks.
What You’ll Need To Make This Easy No Knead Bread
- flour: I used all purpose flour.
- active dry yeast: if stored in the fridge, be sure to have your measured amount at room temperature.
- salt
- dried basil
- garlic powder
- water: lukewarm
How To Make Basil Garlic No Knead Bread
- In a large bowl, combine the flour, active dry yeast, salt, dried basil, and garlic powder. Give it a stir before adding in the lukewarm warm.
- Using a large wooden spoon (or a spatula), stir to combine, until everything has been incorporated.
- Cover the same bowl with plastic wrap, and let the dough rest in a warm spot in your kitchen for 12 to 20 hours, until the surface is dotted with bubbles and have doubled in size.
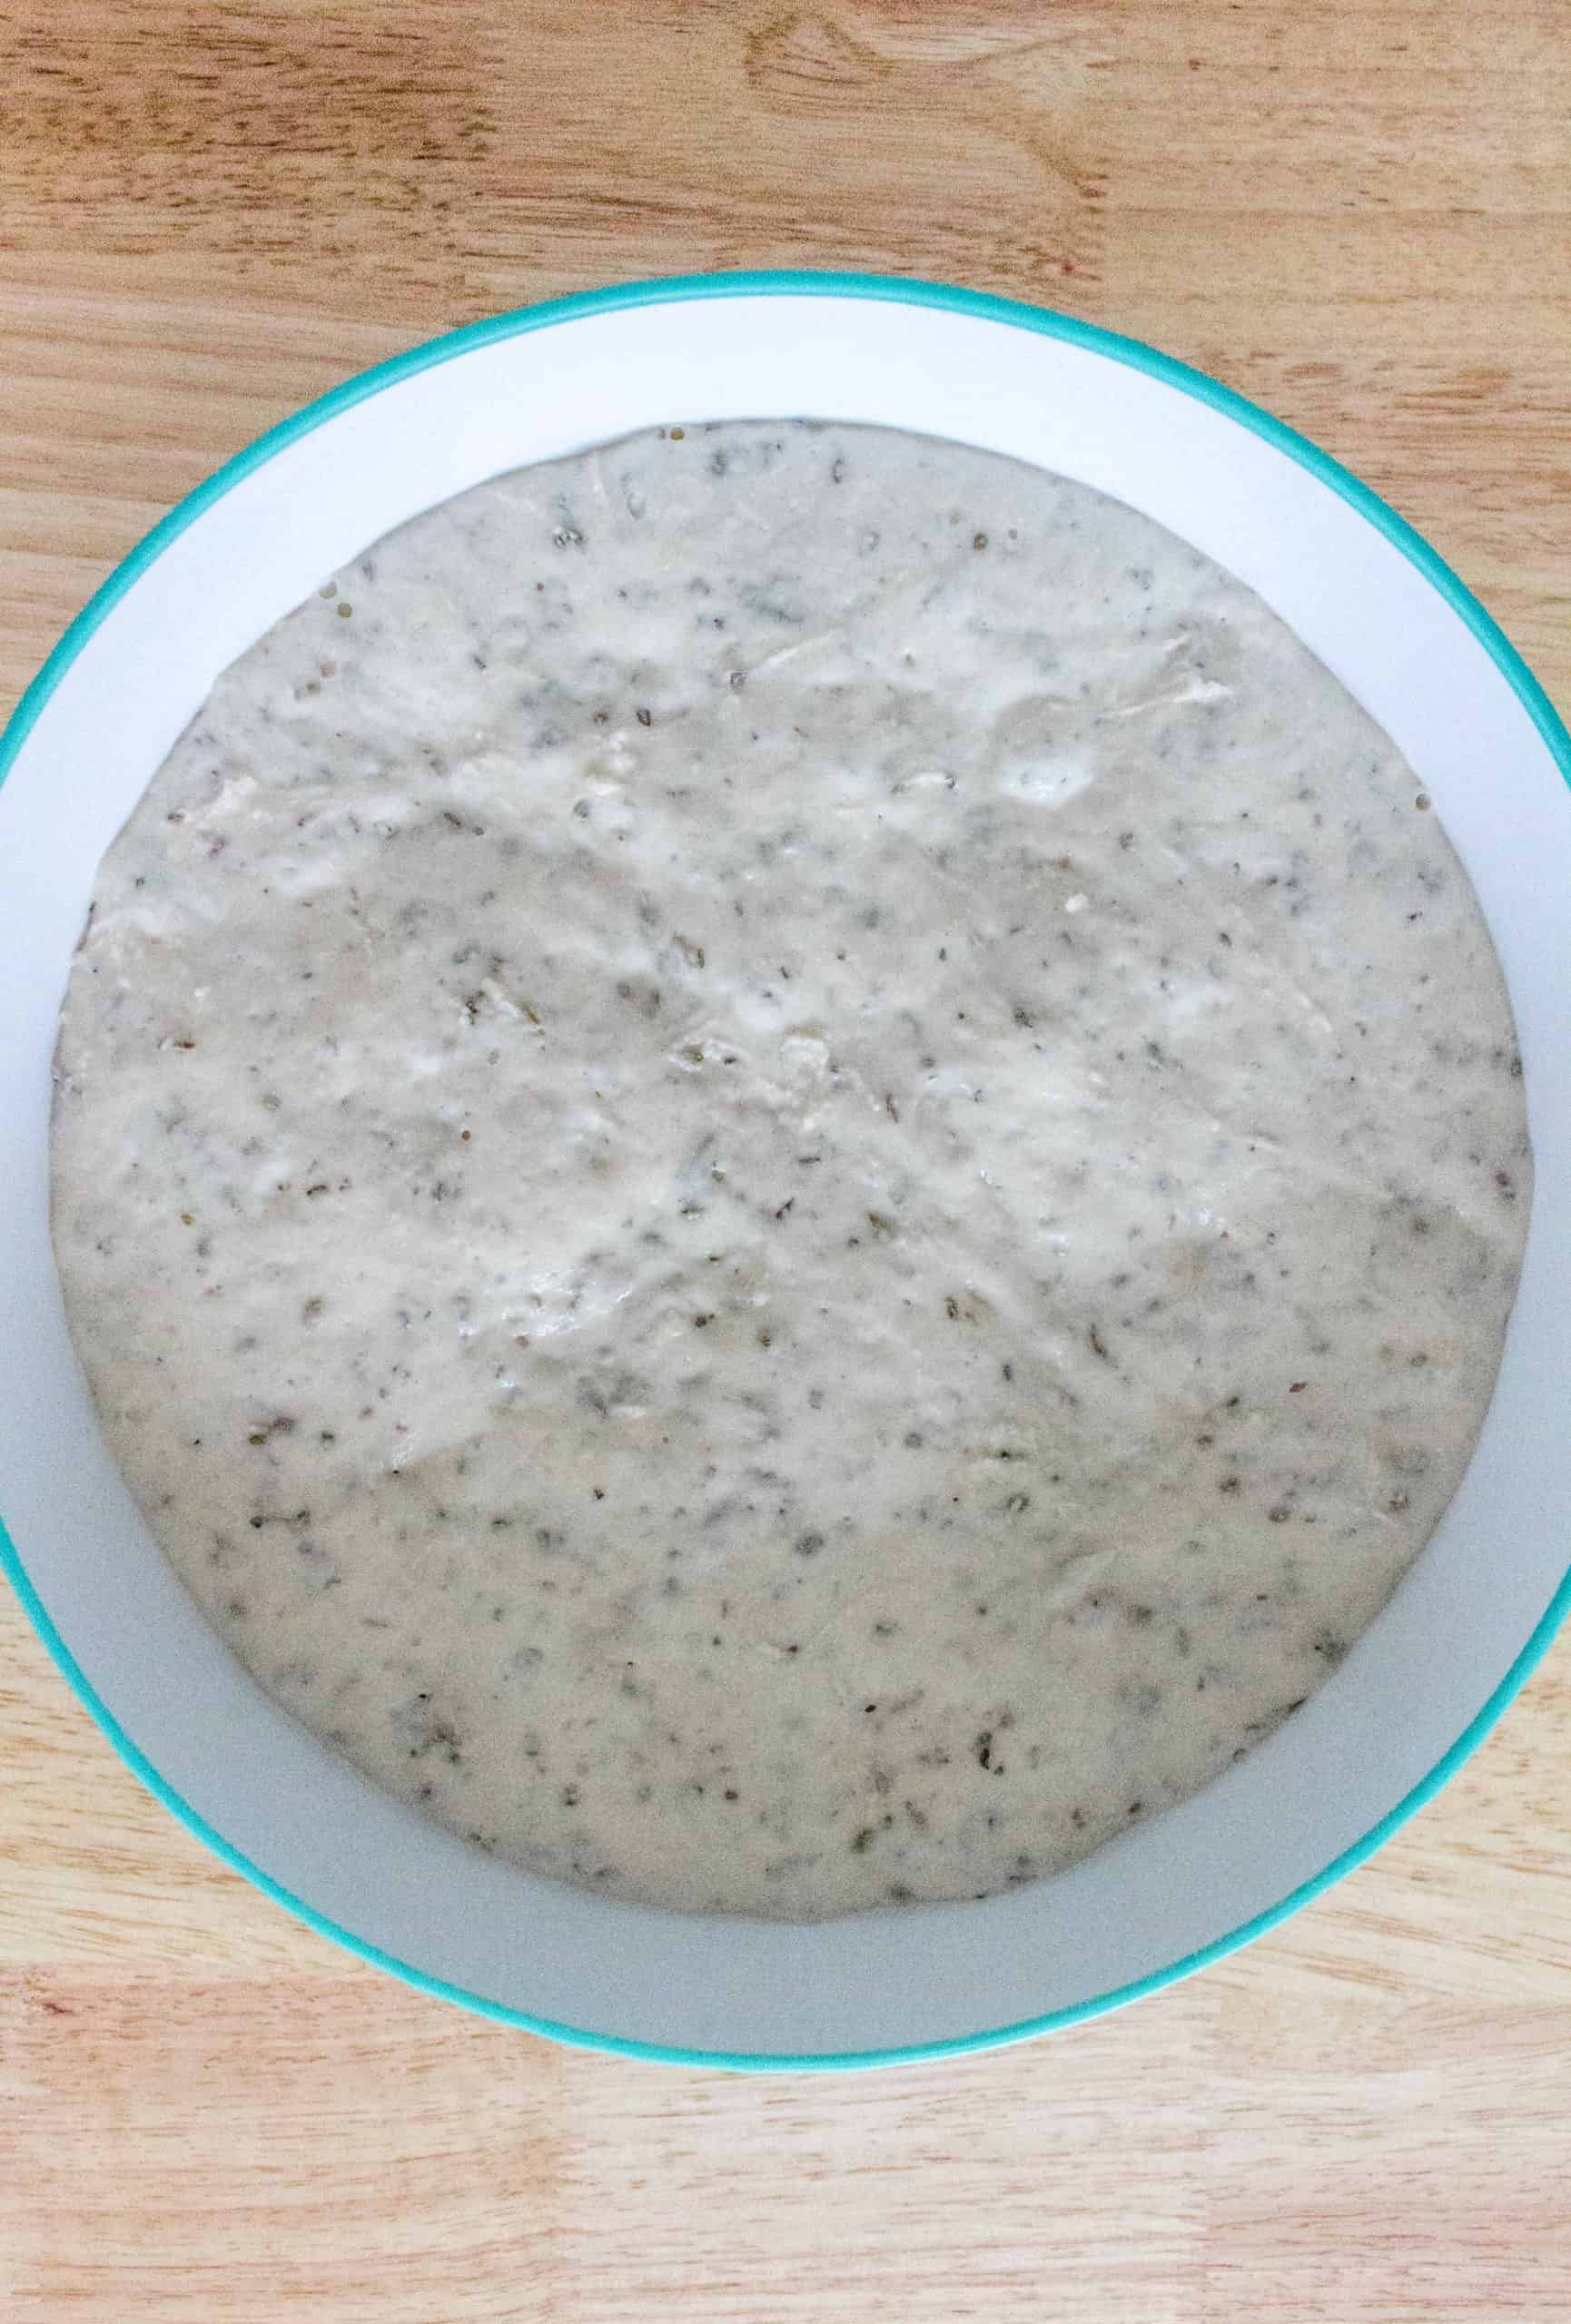
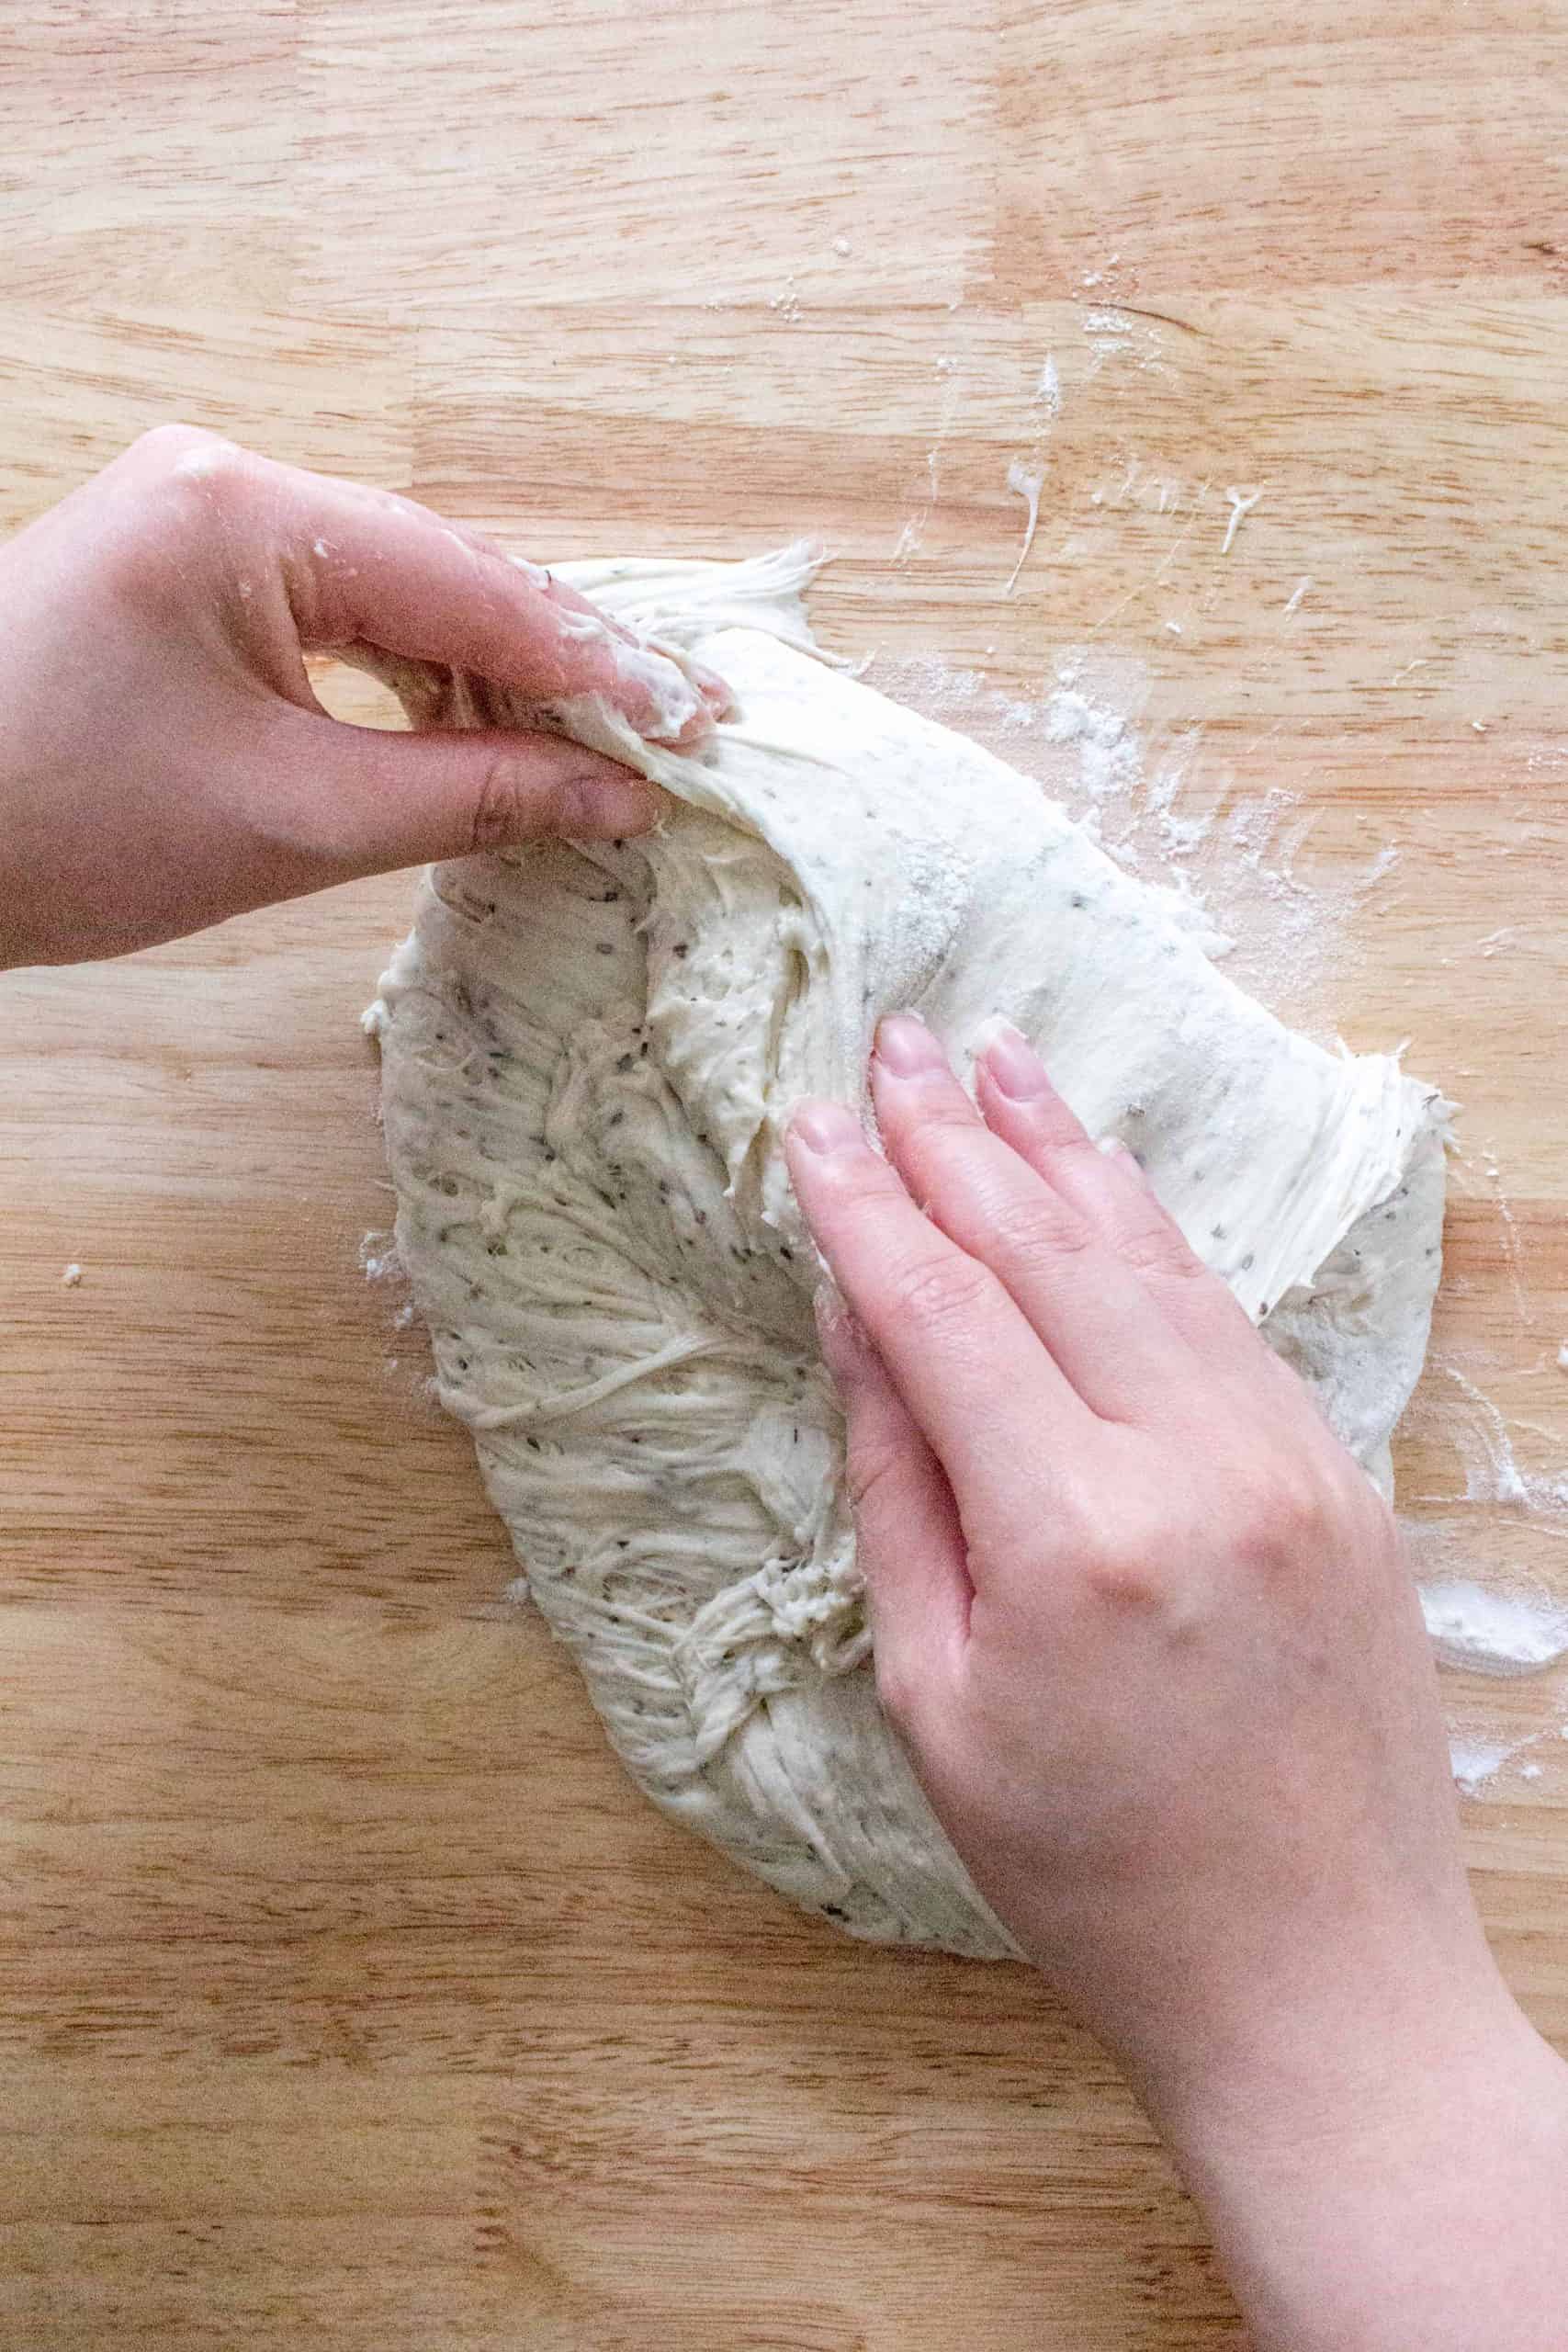
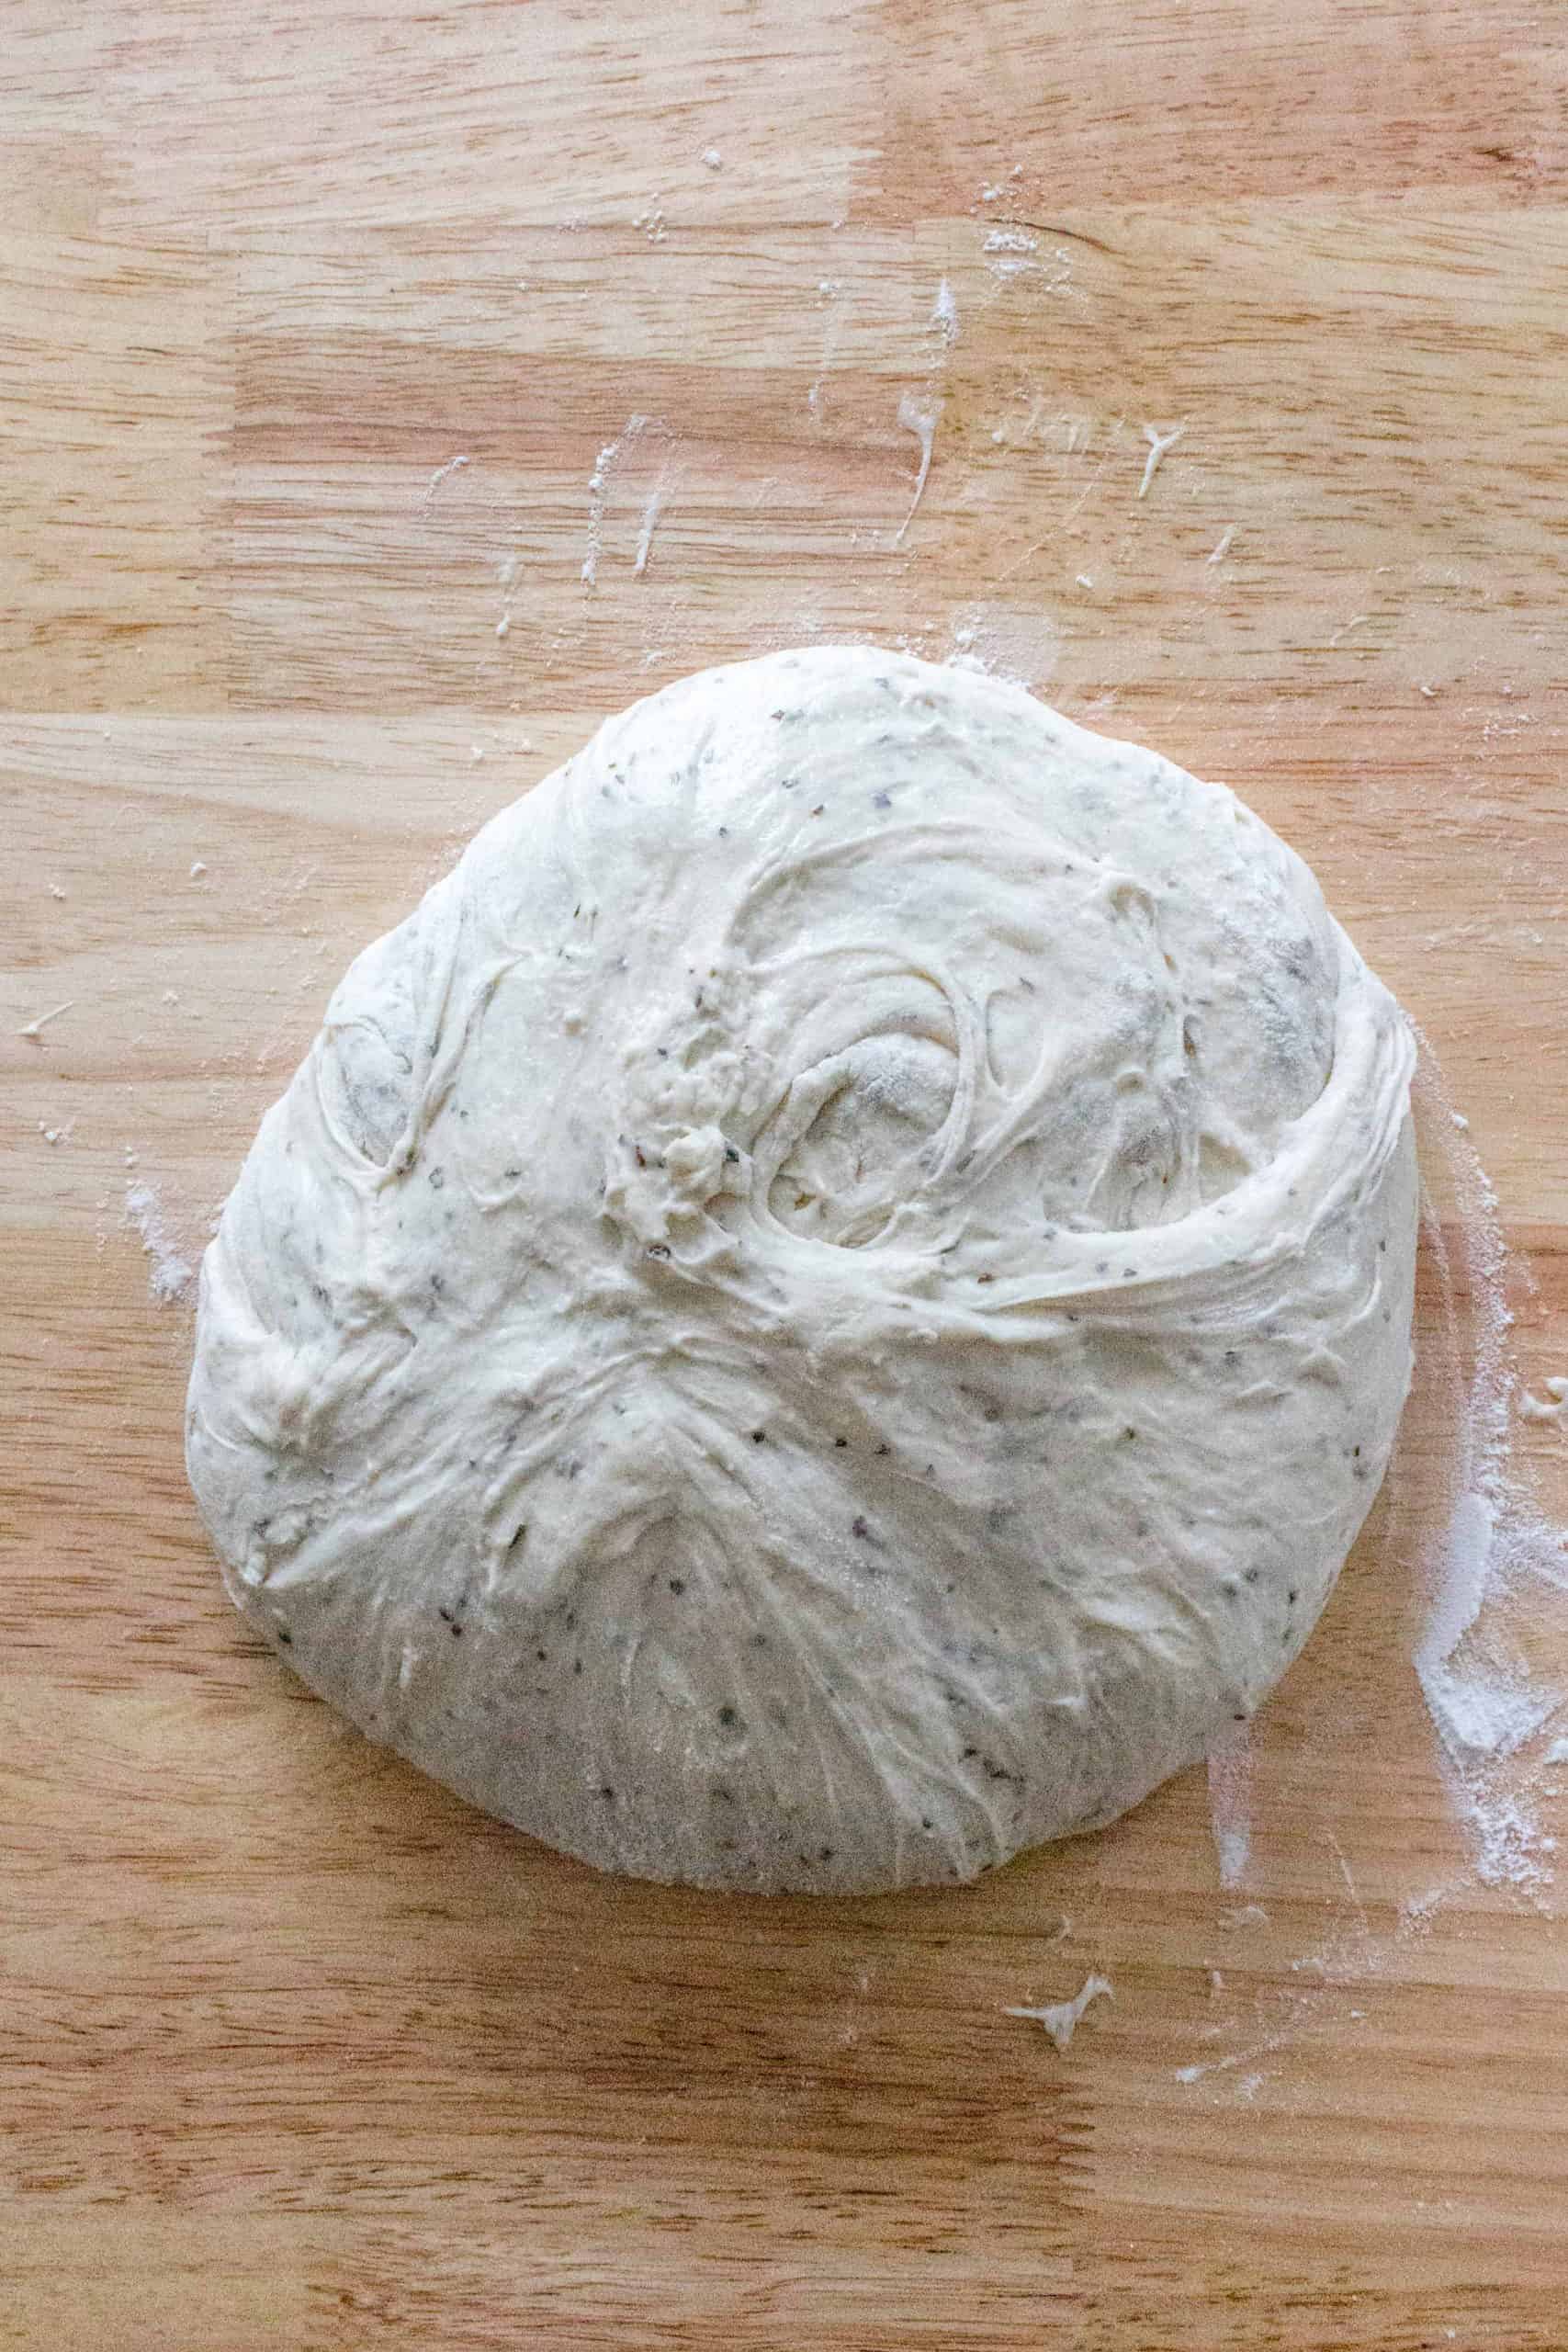
- Lightly flour your kitchen counter, gently remove the dough from the bowl onto the counter, and gently fold the dough into a round ball. I fold the dough from the sides and gently tuck the bottoms in with my fingertips.
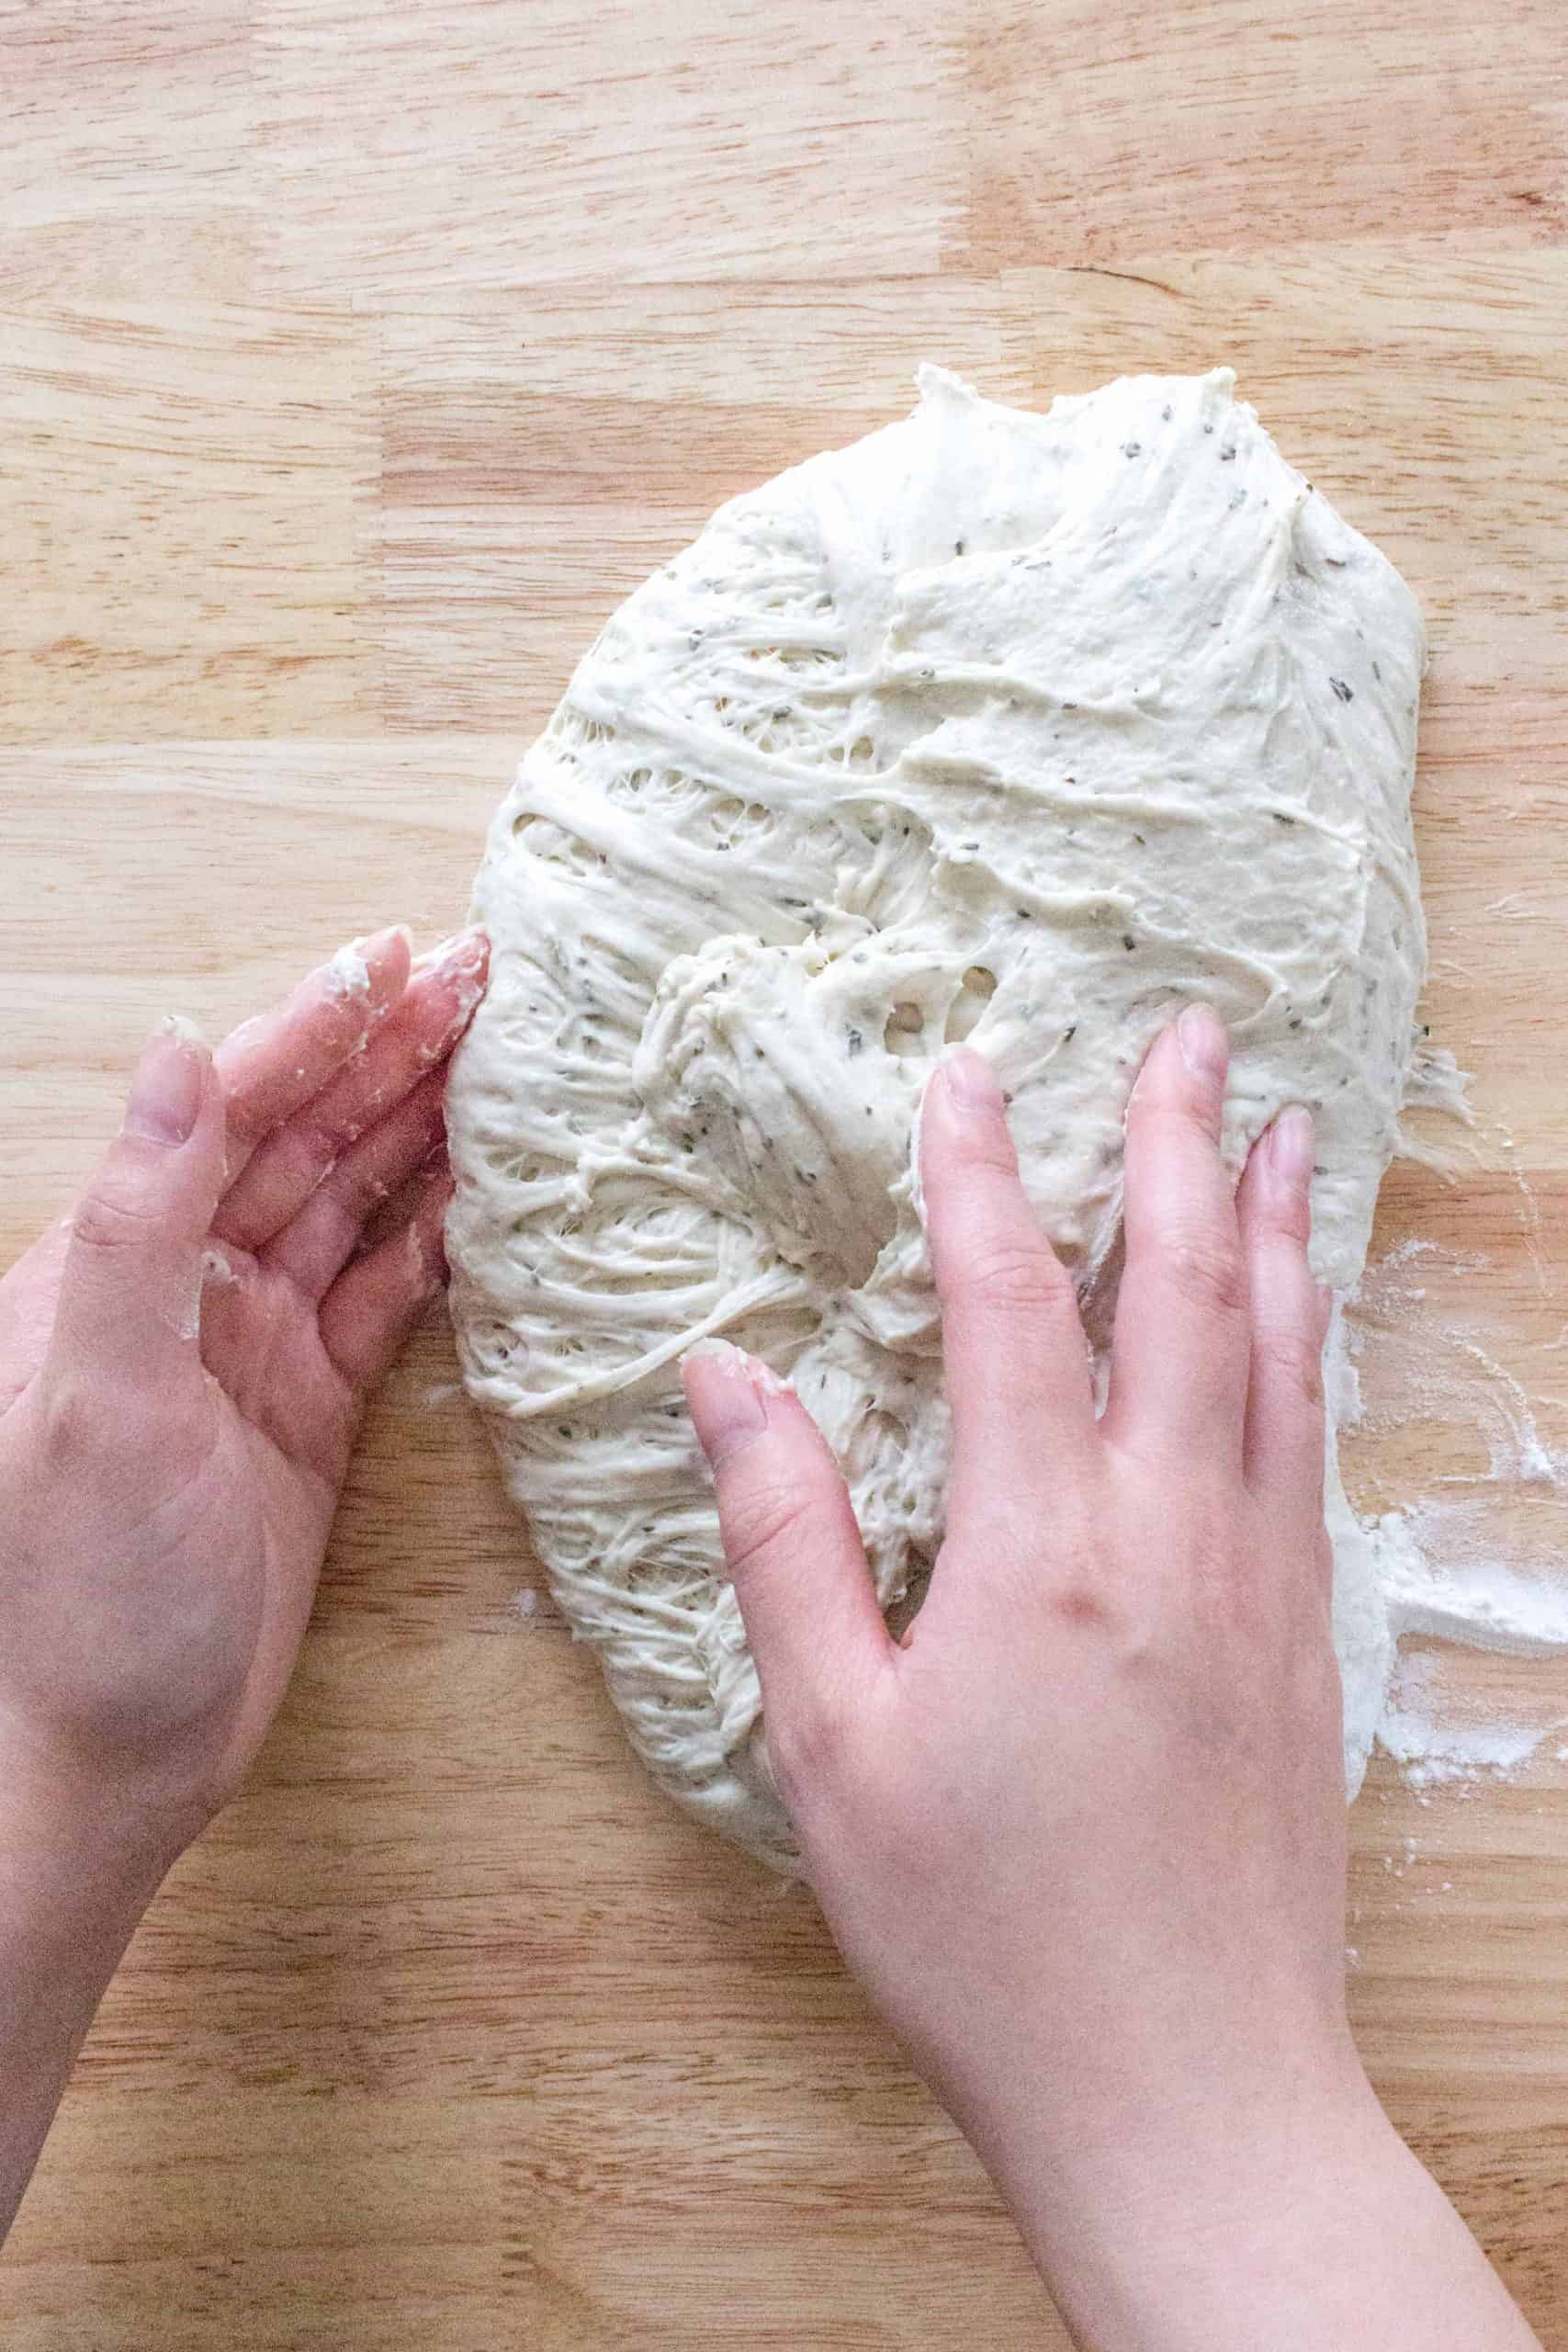

- On a flour sack towel (or parchment paper), sprinkle on cornmeal or flour then transfer the dough on to it, sprinkle more cornmeal/flour on top, and cover with a towel. Let rise for another 2 hours.
- 30 minutes before the second proof is done, heat the oven to 450F with your Dutch oven inside it.
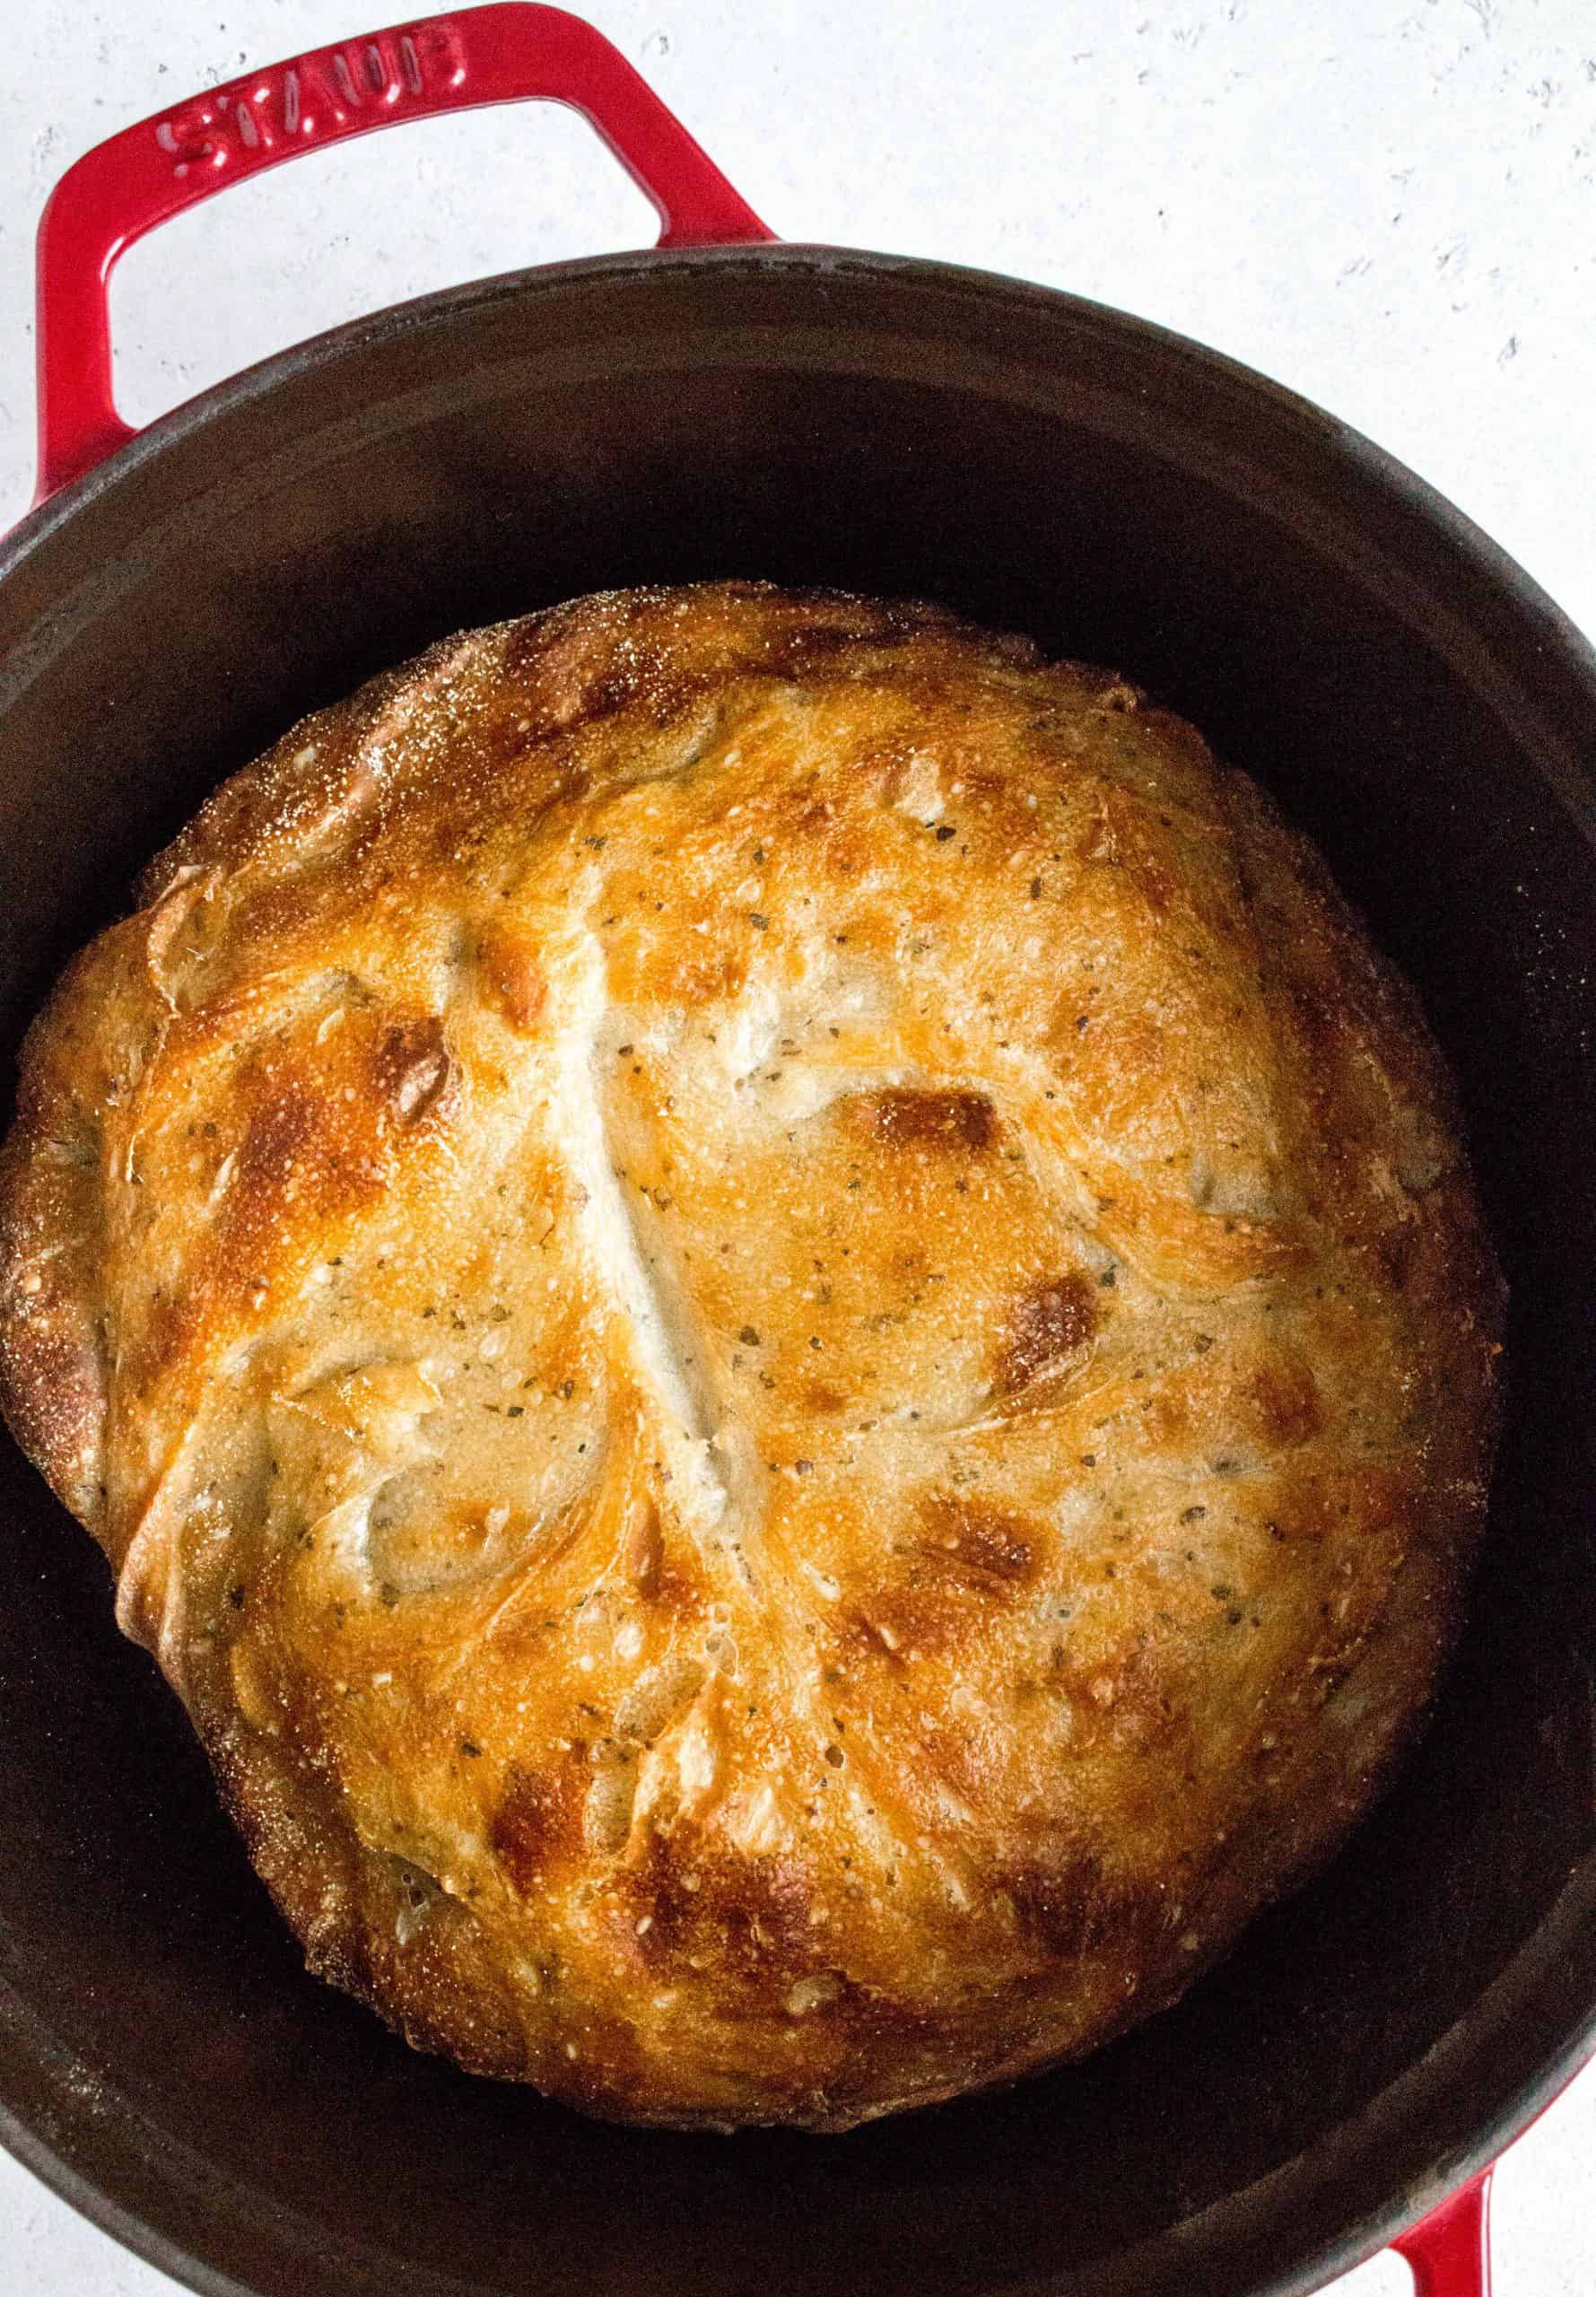
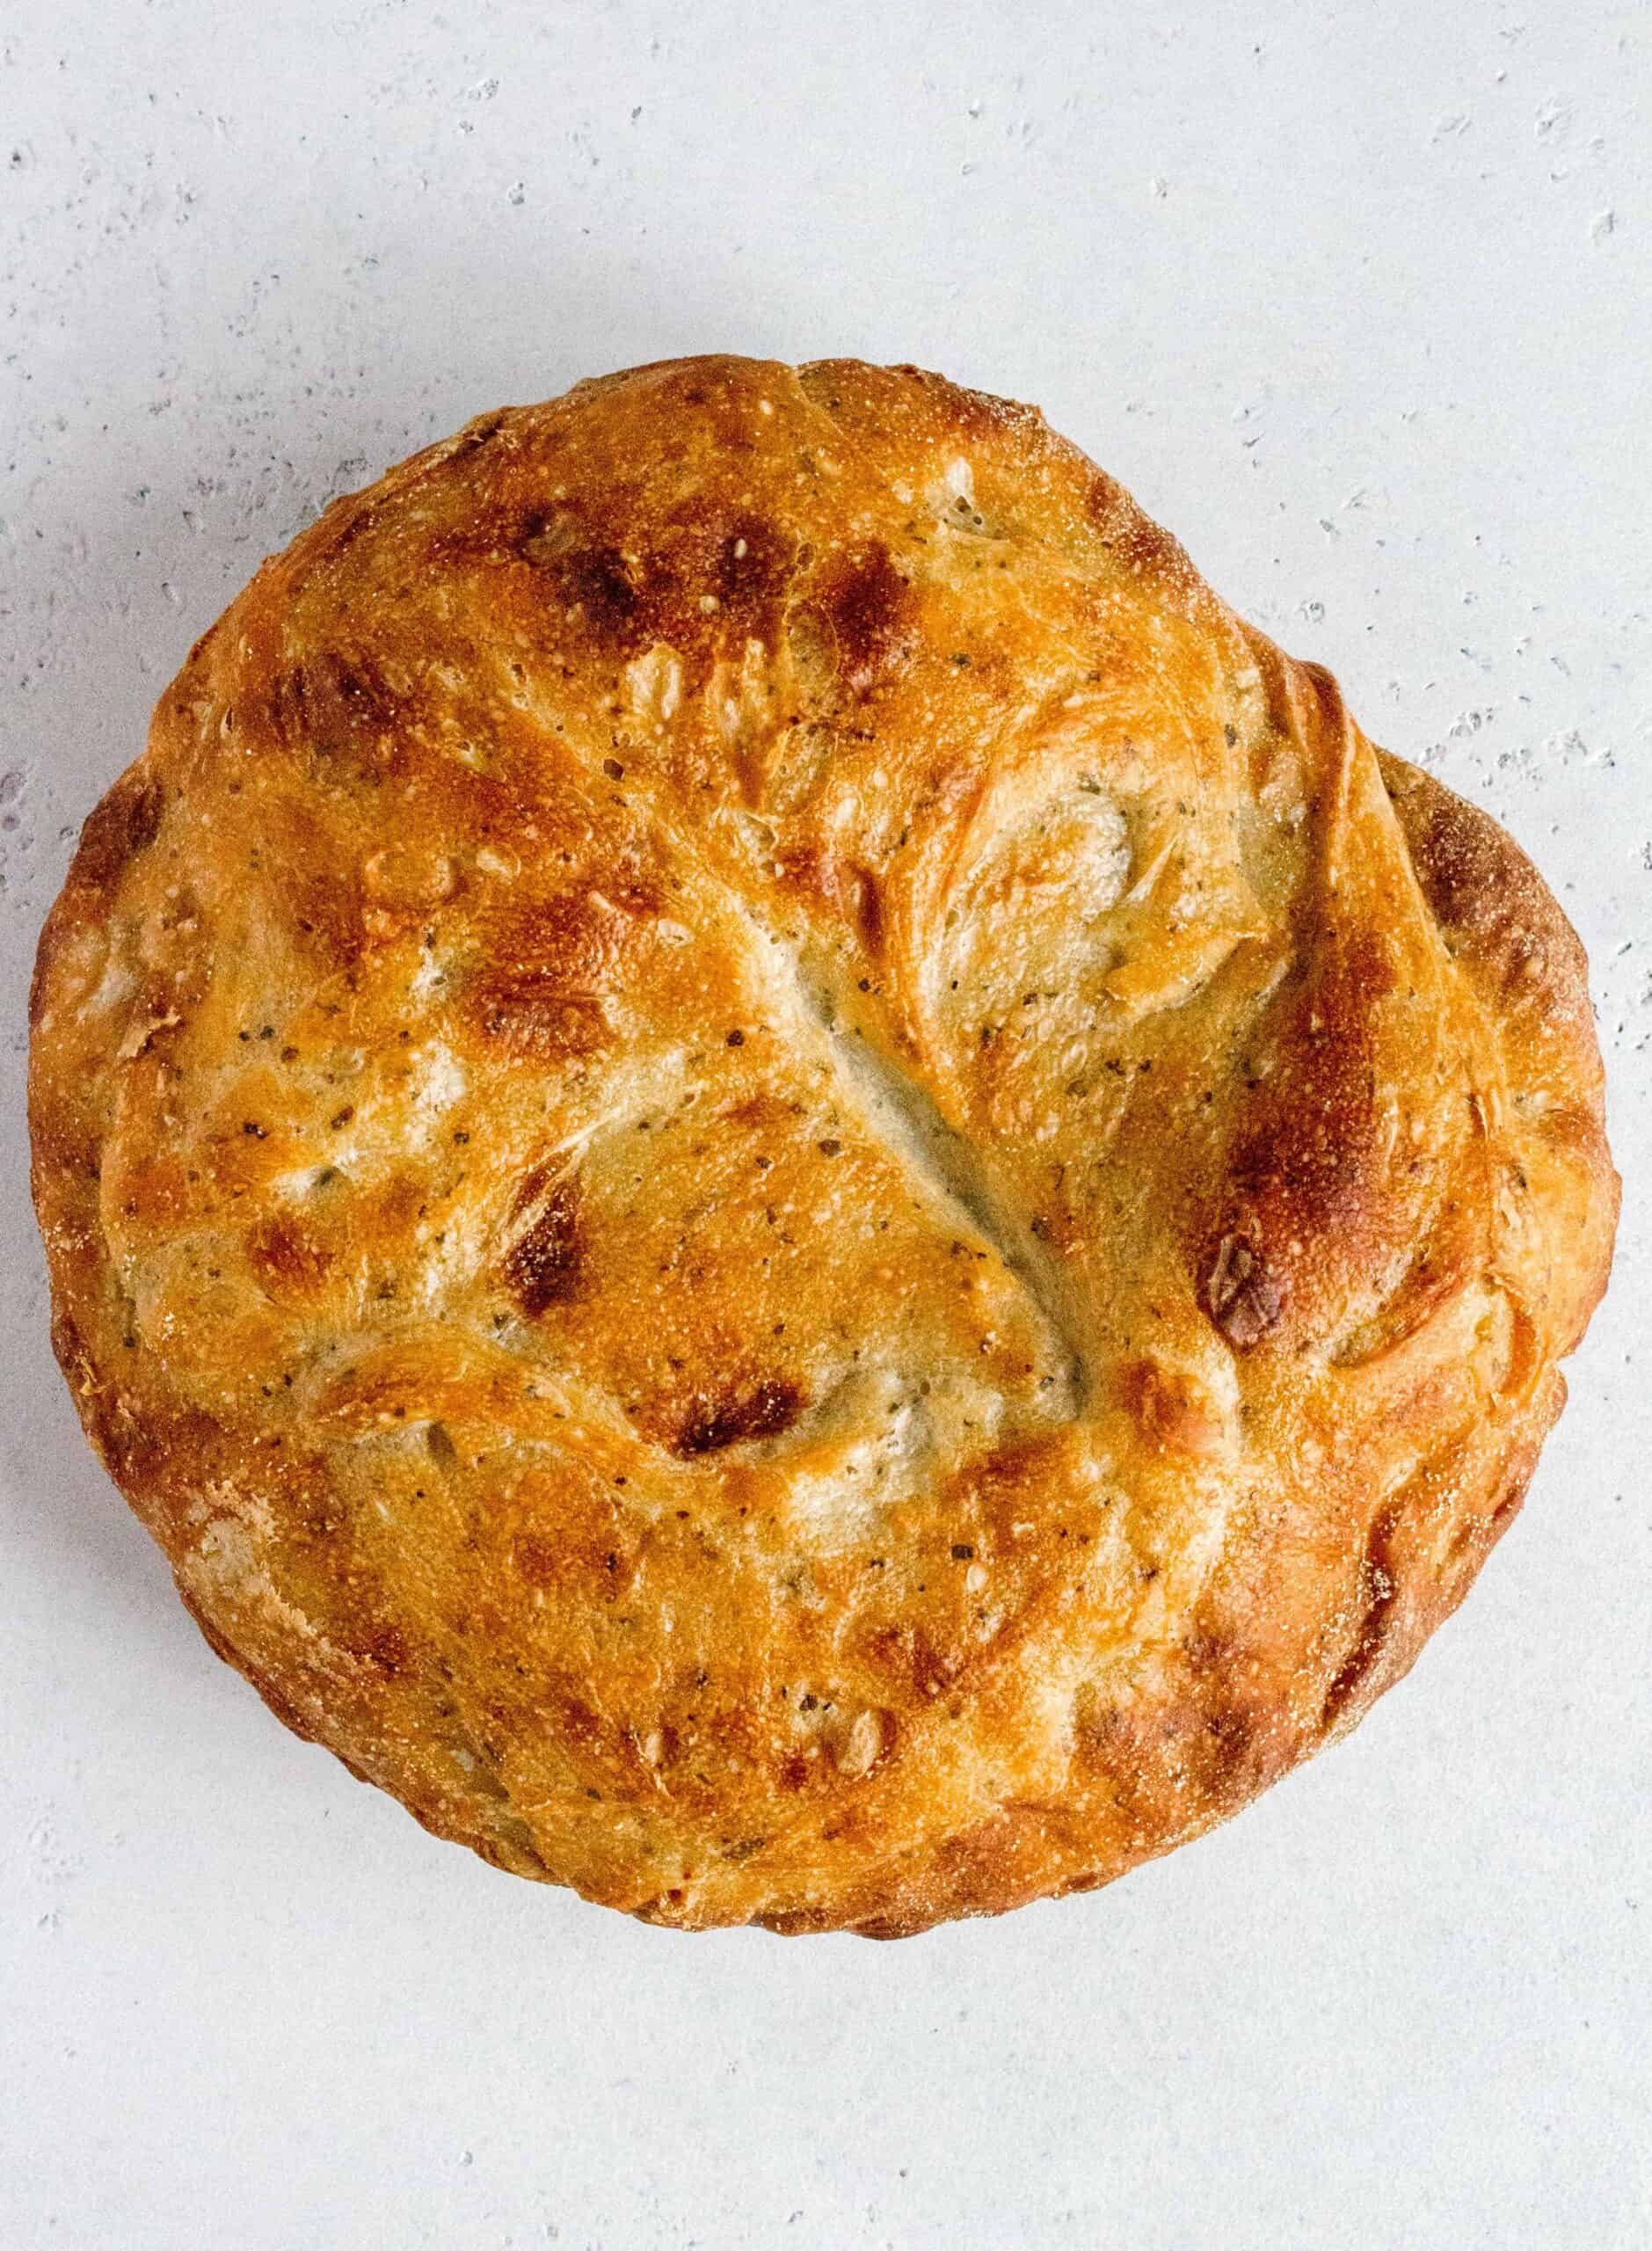
- When the proofing is done, carefully transfer the dough into the (HOT) Dutch oven, score the top of the bread lightly with a knife, bake for 30 minutes with the lid on, and then bake for 10-15 minutes with the lid off or until it has reached the golden shade of bread you desire.
- Once done, let the bread rest for 10 minutes before cutting.
Dutch Oven Bread Recipe Variations
- Dried basil can be swapped out for any dried herbs of your choice! Dried thyme or rosemary would be lovely!
Tips and Notes
What size Dutch oven should I use to bake the bread? Anywhere from a 4qt to a 6qt. The larger the pot, the “flatter” it might come out but it’ll still be tasty, promise!
Can this no-knead bread be frozen? Yes! After it has cooled to room temperature, wrap it up, and freeze it for up to two months.
Does the Dutch oven need to be greased? Nope! If you’re really worried about sticking, you can put the dough in with parchment paper.
How to store the bread: As this bread can dry out quickly, be sure to wrap it up tightly in cling film if you’re not eating it all right away.
Yeast: I haven’t tried this with instant yeast, however, as the stores ran out of yeast, I found pizza dough yeast. If you’re in a pinch, you can use it, I noticed that didn’t rise as much as active dry yeast but it works!
Basil and Garlic No Knead Bread
Ingredients
- 3 cups all purpose flour, (360 grams)
- 1/4 tsp active dry yeast
- 1.5 tsp salt
- 1 tbsp dried basil
- 1 tbsp garlic powder
- 1.5 cups water, lukewarm
- 3-5 tbsp extra flour or cornmeal to keep dough from sticking to the counter
Instructions
- In a large bowl, combine the flour, active dry yeast, salt, dried basil, and garlic powder. Give it a stir before adding in the lukewarm warm.
- Using a large wooden spoon (or a spatula), stir to combine, until everything has been incorporated.
- Cover the same bowl with plastic wrap, and let the dough rest in a warm spot in your kitchen for 12 to 20 hours, until the surface is dotted with bubbles and have doubled in size.
- Lightly flour your kitchen counter, gently remove the dough from the bowl onto the counter, and gently fold the dough into a round ball. I fold the dough from the sides and gently tuck the bottoms in with my fingertips.
- On a flour sack towel (or parchment paper), sprinkle on cornmeal or flour then transfer the dough on to it, sprinkle more cornmeal/flour on top, and cover with a towel. Let rise for another 2 hours.
- 30 minutes before the second proof is done, heat the oven to 450F with your Dutch oven inside it.
- When the proofing is done, carefully transfer the dough into the (HOT) Dutch oven, score the top of the bread lightly with a knife, bake for 30 minutes with the lid on, and then bake for 10-15 minutes with the lid off or until it has reached the golden shade of bread you desire.
- Once done, let the bread rest for 10 minutes before cutting.
Notes
Nutrition Per Serving
Similar Recipes You May Like
- Freezer Friendly Banana Chocolate Chip Muffins
- Japanese Milk Bread Rolls
- Strawberry Swirl Milk Bread
Other places to connect with me
Instagram: @carmyshungry
Facebook: https://www.facebook.com/carmyycom
Email: [email protected]
Wendy says
Just wondering how to adjust this recipe for wheat flour we grind ourselves? Would I need to add gluten or more yeast? Thanks!
Carmy says
I think you’d have to add more flour + yeast (and then more water to make up for it) but I’ve never tried it so I cannot say for certain.
Anne says
Excited to try this. Is it really only 1/4 teaspoon of yeast? I love to bake bread but it seems such a small amount of yeast??
Carmy says
Yup! If you’re concerned, you can use 1/2 but I’ve done this multiple times with 1/4!
Mindy says
This was so good!! Thanks for sharing!
Mindy says
It came out perfectly
Kate says
What a beautiful loaf of bread! I like that this recipe has pretty simple ingredients but still looks so flavorful.
Amy Liu Dong says
I always love making our own bread, yes it’s not easy but it’s worth it because I am doing it for my loved ones.
This bread recipe looks really delicious and I am really so excited to try this, thank you!
jill says
No knead bread is just about as easy as baking bread (or baking anything, really) can get. Do it! :) I’m always looking for new flavor combos for this type of bread – love olive loaf – I’m testing my yeast right now to give this one a try! (the stores are out of yeast but i found an out of date jar in the back of the fridge…fingers crossed!)
Carmy says
Hope your yeast is still good to go!!
GUNJAN C Dudani says
This no knead garlic not is on my to do list for this weekend and I will update you how it went for me.
Anna says
Must try this recipe asap! There are so many different bread recipes out there at the moment but they all look very complicated and time consuming. This recipe looks much easier and I think I can manage that. Love the addition of basil and garlic there too!
Chandice Probst says
Such a hearty and beautiful loaf thank you thank you!
Jacqui DeBono says
I make a couple of the Jim Lahey no-knead bread recipes a week, I love the addition of garlic powder and dried basil. I will be trying this for my next loaf!
Kushigalu says
One of my favorite flavor combo. The bread looks fantastic
Mariah Harris says
Has this recipe been tried with fresh basil and garlic?
Carmy says
Yes, I have. The information is in the paragraph that starts with “I adapted this recipe from Jim Lahey” and I talk about how I tested it with fresh basil and garlic as well as a mix of both fresh and dried.
Amanda says
This is some serious bread baking perfection! The crust couldn’t be any more delicious, and I love the flavor the basil and garlic add. Plus, it’s truly super easy to make!
Tatiana says
Great recipe, made the bread for the weekend and it was all gone on Saturday!
Carmy says
So glad you enjoyed it!!
Nancy says
Is recipe correct proof for 12 to 20 hours?
Carmy says
Hi Nancy, yes, that is correct. This is based off Jim Lahey’s recipe and he does a 12 to 18 hour proof :)
Sam says
No knead bread is the best! I love how you have added basil and garlic in there. Sounds amazing!
Alin says
OMG! This bread is so good!! So easy and worth every step. Thank you!
Carmy says
Yay! So glad you enjoyed!
jill says
When I make a loaf of no knead olive bread, I make a spread of feta and cream cheese and it’s amazing! What sort of spread or butter would you suggest with basil garlic? A marinara sauce to dip it in?
Carmy says
I’ll admit that I usually just eat it as it haha! Marinara seems like a great option thought :)
Ashe says
My Dutch over instructions say to not heat over 400. This is my first time attempting bread . Could this time be adjusted for this recipe ?
Carmy says
Hi Ashe, unfortunately, I have no tried to bake it at 400 so I’m unsure.
Gene says
Can I use minced garlic in place of the garlic powder?
Carmy says
Hi Gene – please refer to this part of the blog post: “While fresh basil and grated garlic smelled amazing while proofing, the smell did not translate into flavour when it baked.”
Heidi Holmes says
Can I use starter instead of dry yeast or a combo? If so and amount suggestions?
Carmy says
Hi Heidi, I have not tried using my sourdough starter for this.
Val says
I have always converted my recipes to weights over volume, so I appreciate the weight in grams, however, I’ve known 1 cup = 150g. So 3 cups should be 450g. Not sure if this recipe is based off 360g or 450 (3 actual cups of flour) ?
Carmy says
Hi Val,
According to King Arthur Flour, 1 cup of all purpose flour = 120g. This recipe is quite forgiving so if you’re more comfortable with using your measurements, you’re welcomed to!
Libby Dodd says
This sounds great, but my mouth is calling out for cheese to be added. Any idea what a reasonable amount of shredded cheese would be?
Carmy says
Is there really such a thing as a reasonable amount of cheese?!?!?! I would personally do a combination of mozzarella and parmesan, 2 cups. :)
Libby Dodd says
Thumbs up on your comment.
Mozzarella would give a nice stringiness while the Parmesan would give cheesy flavor. There’s always sharp cheddar.
Nancy says
Excellent! My husband thought it was a great treat!
Najat AlQallaf says
Thanks
Kelly Koga says
Easy, delicious and looked so beautiful!
Carmy says
thank you!
Gail says
Help!!!! I tried to make this recipe and something failed. The dough never rose and I used brand new yeast at room temperature. After 16 hours it was still the same size. The only thing I can think of is that the water was not warm enough to activate the yeast. I used room temperature water – should it have been warmer? I have made no-knead bread before and was successful, so something strange happened. It is sortof a flatbread and tastes good, but…… Please advise.
Carmy says
Hi Gail – I’m so sorry to hear that this didn’t work for you (but glad it still tasted delish!). Unfortunately, I’m not too sure what went wrong. Was your water between 110 – 115 degrees Fahrenheit? I also sometimes will turn on the oven light and allow my dough to rise inside the oven if my kitchen temperature is on the cooler side. I hope this helps.
Teresa West says
Have you tried proofing this in an instant pot on yogurt setting?
Carmy says
I have not, Teresa, If you try it, please let me know how it goes!