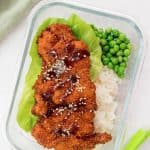
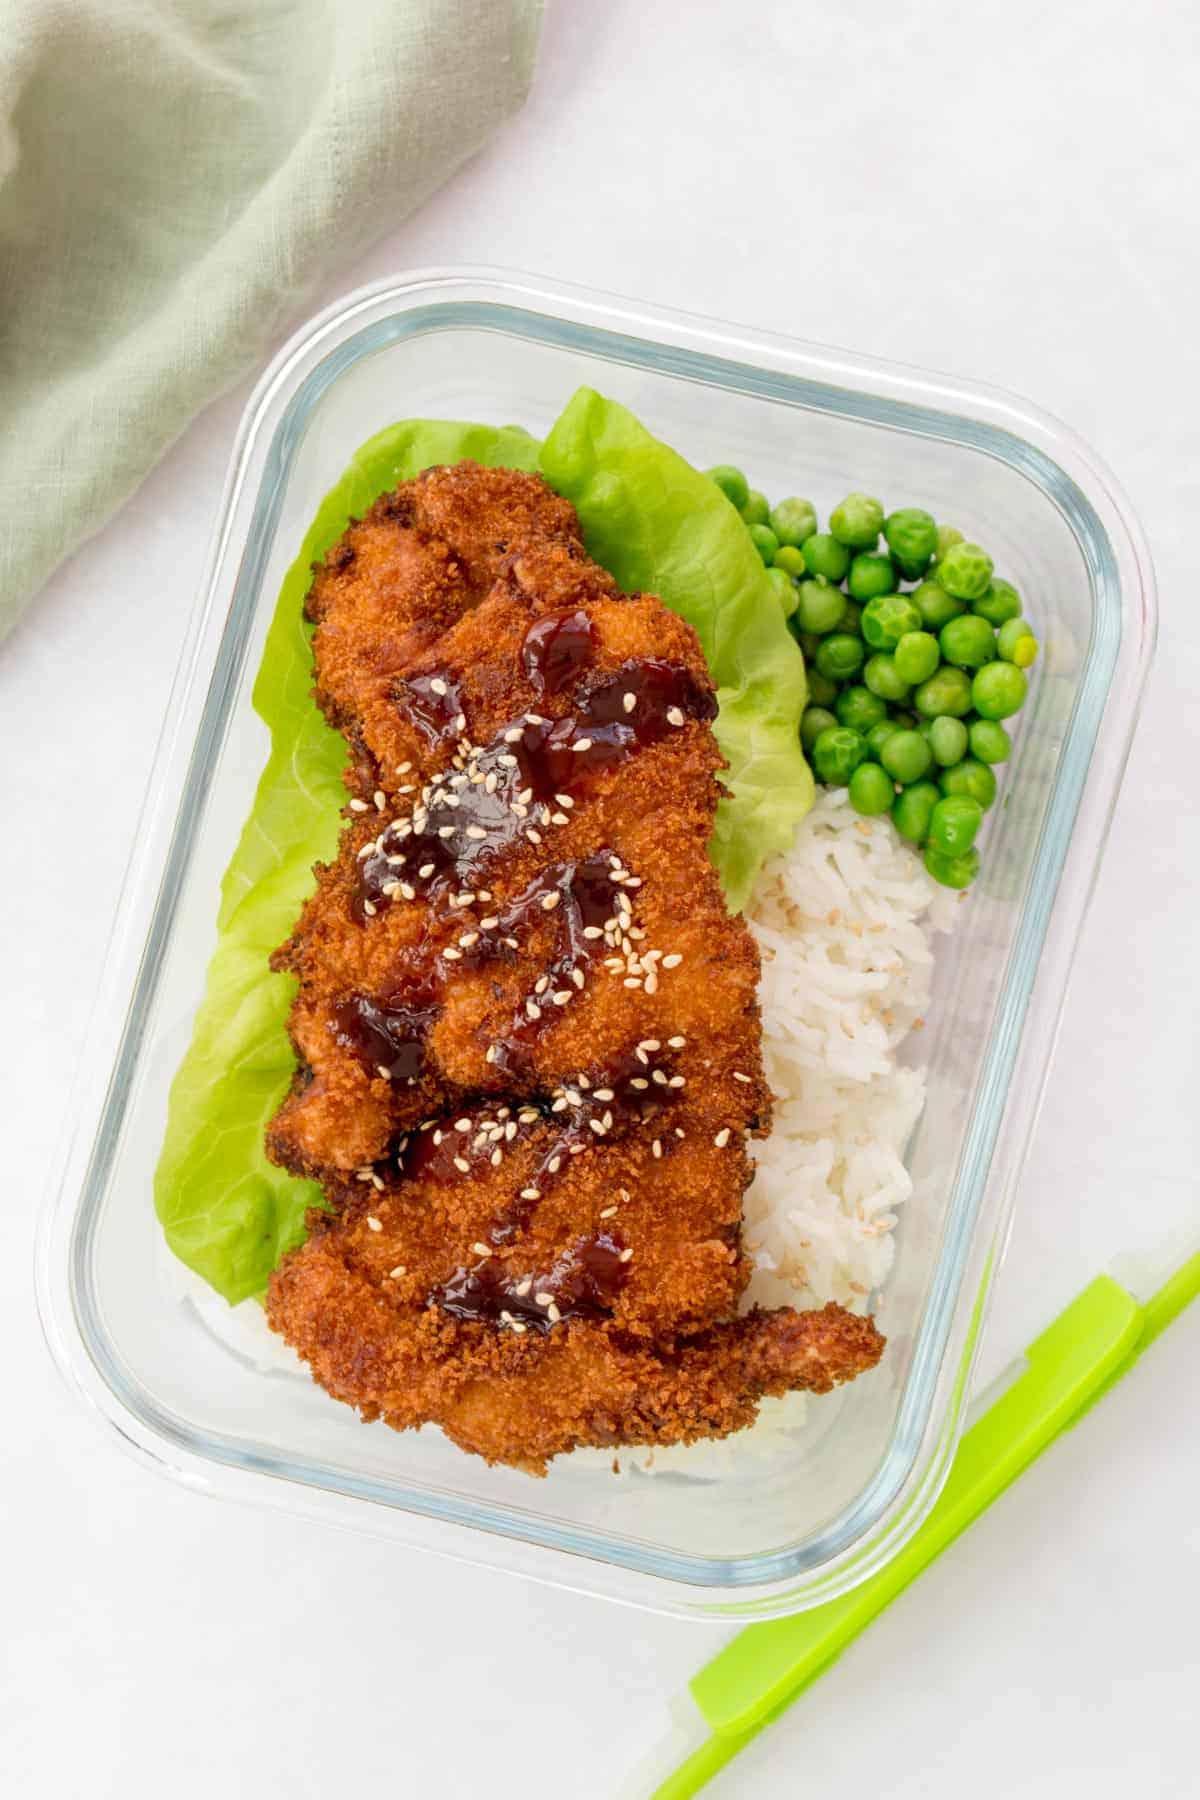
This crispy chicken cutlet is super easy to make at home! Breaded with panko breadcrumbs and fried in oil, these Japanese-style cutlets are crispy on the outside while being juicy and moist on the inside.

Chicken Katsu (チキンカツ) is a Japanese version of chicken schnitzel and the chicken counterpart of the popular pork cutlet, Tonkatsu. It’s one of my favourite things to eat and since moving, I’m hours away from my go-to place so I’ve been making it at home.
Why You’ll Love Chicken Katsu
- It’s simple. It’s going to surprise you just how simple this is to make. Whenever people think of frying, it’s thought to be a ton of effort but it really isn’t that much work. Once you get into the groove, you’ll have this all done efficiently.
- It’s versatile. You can make katsu sando, you can use it for katsu curry, have it on it’s own, place it in a ramen bowl, and more!
- It’s freezer friendly! Whenever I’m making this, I try to make a double batch (might as well since we’re doing dishes regardless lol) and freeze the extra batch. This way, the next time I’m craving it, I can just grab one out of the freezer and reheat without making a full batch.
What You’ll Need
- chicken thighs — boneless, skinless thighs
- mirin — mirin: mirin is a Japanese sweet rice wine, if you are unable to find it, you can try rice vinegar with extra honey.
- garlic & onion powder
- salt & pepper
- flour — all purpose flour is fine.
- eggs
- panko crumbs
- oil for frying — any neutral oil with a high smoke point is fine. I usually use vegetable oil as it’s the most accessible one.
You’ll also need a meat mallet to flatten the chicken thighs, a lined sheet pan with a wire cooling rack on top for the freshly fried chicken katsu to drain. I also like to fry my chicken in my Dutch oven. I also like to top my katsu with tonkastu sauce and toasted sesame seeds. You can make homemade tonkatsu sauce as well if you want just a small portion.
How to Make Chicken Katsu at Home
- Place a chicken thigh in a ziploc bag or between two pieces of waxed paper or plastic wrap and use the mallet to pound them out thin.
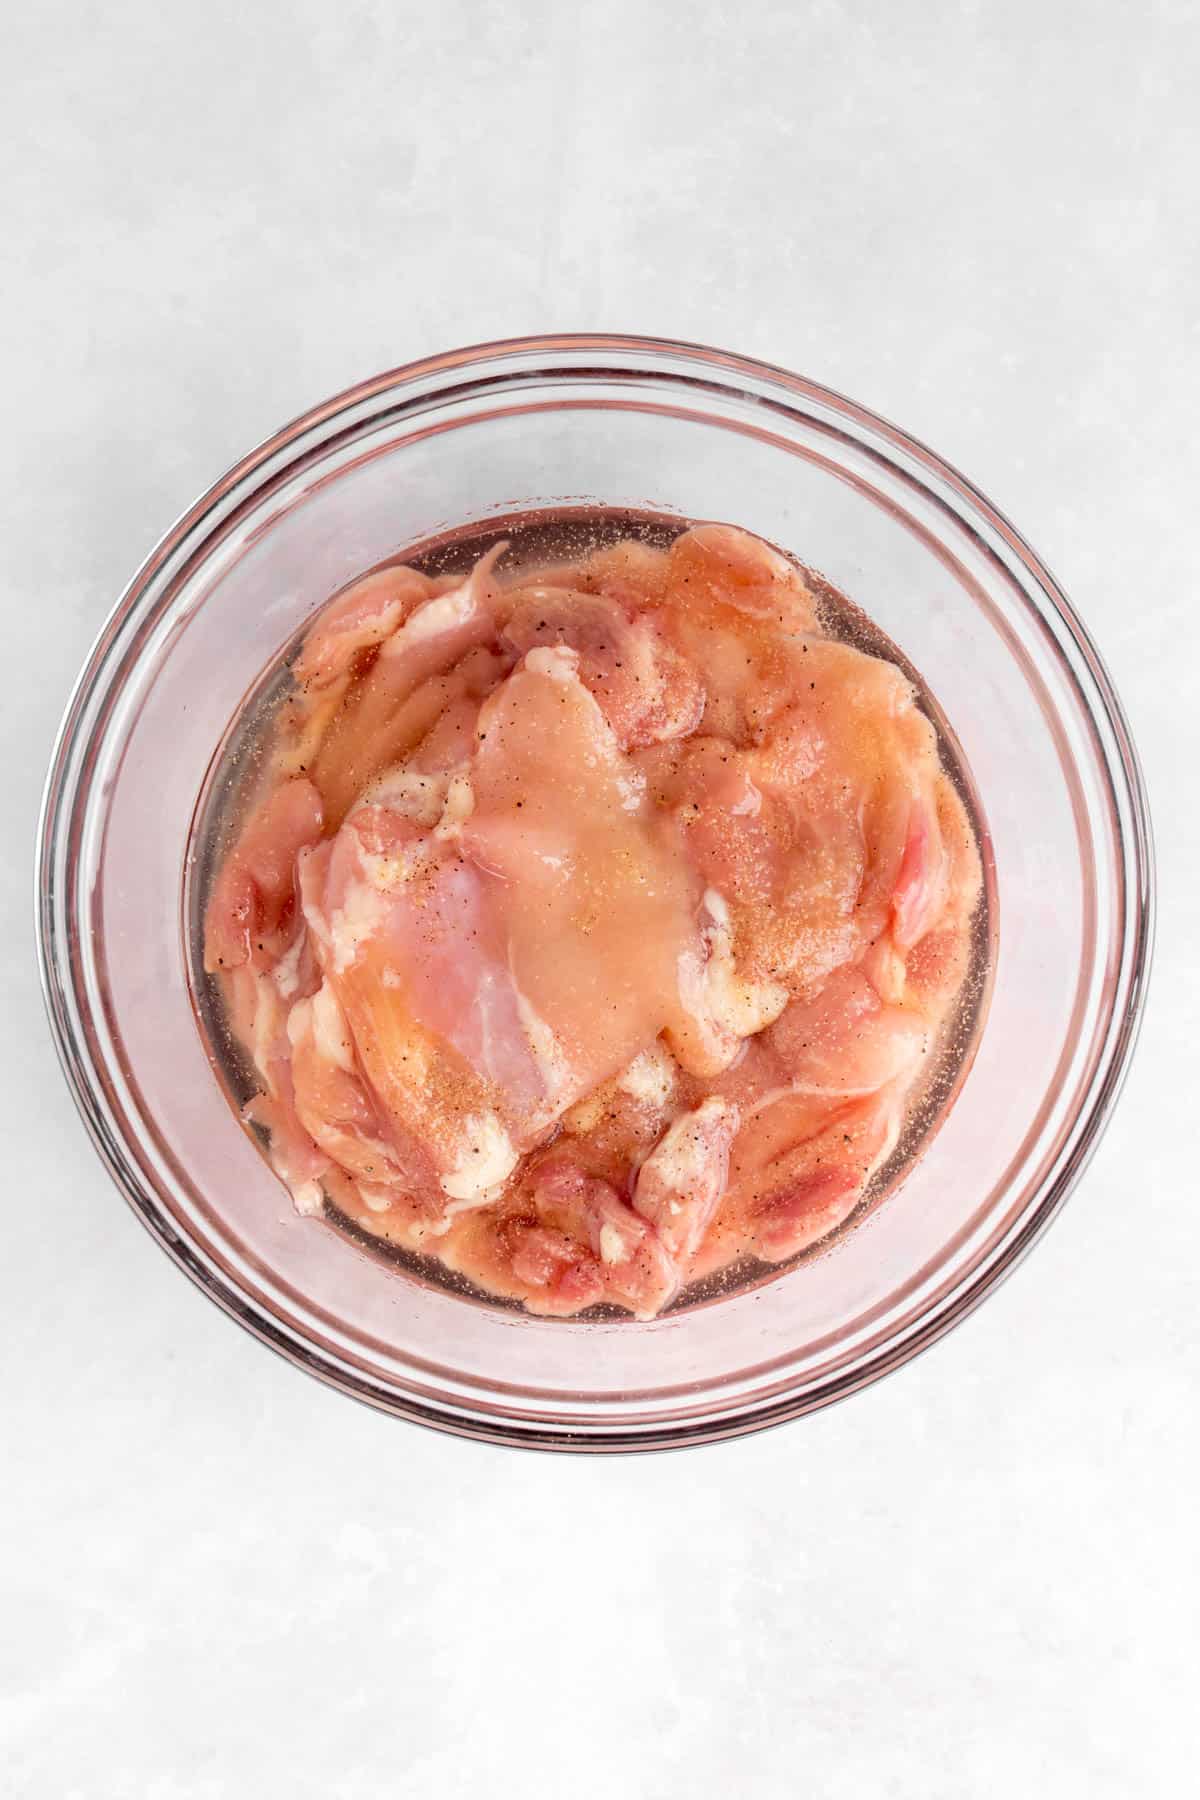
- Add the chicken thighs a shallow bowl and season with garlic powder, onion powder, salt, pepper, and mirin. Marinate for 15 to 30 minutes.
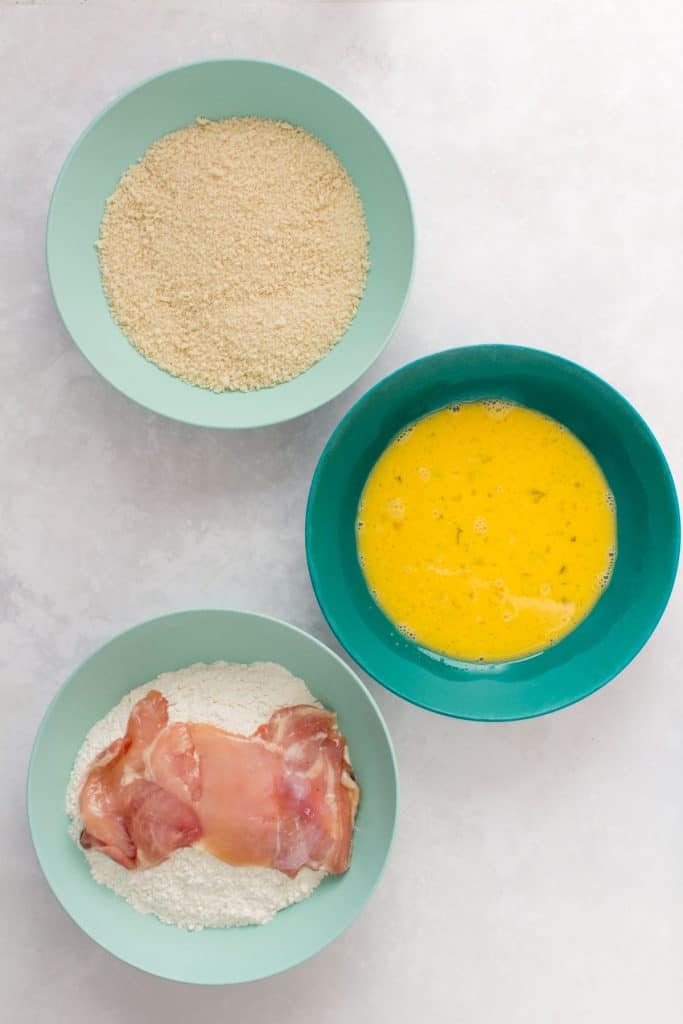
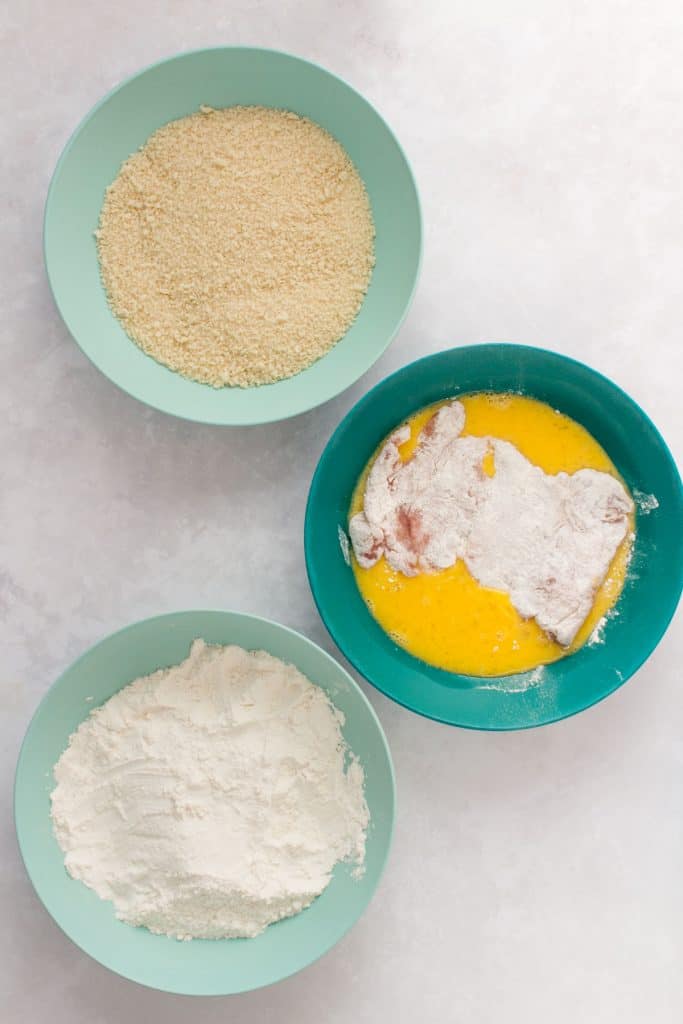
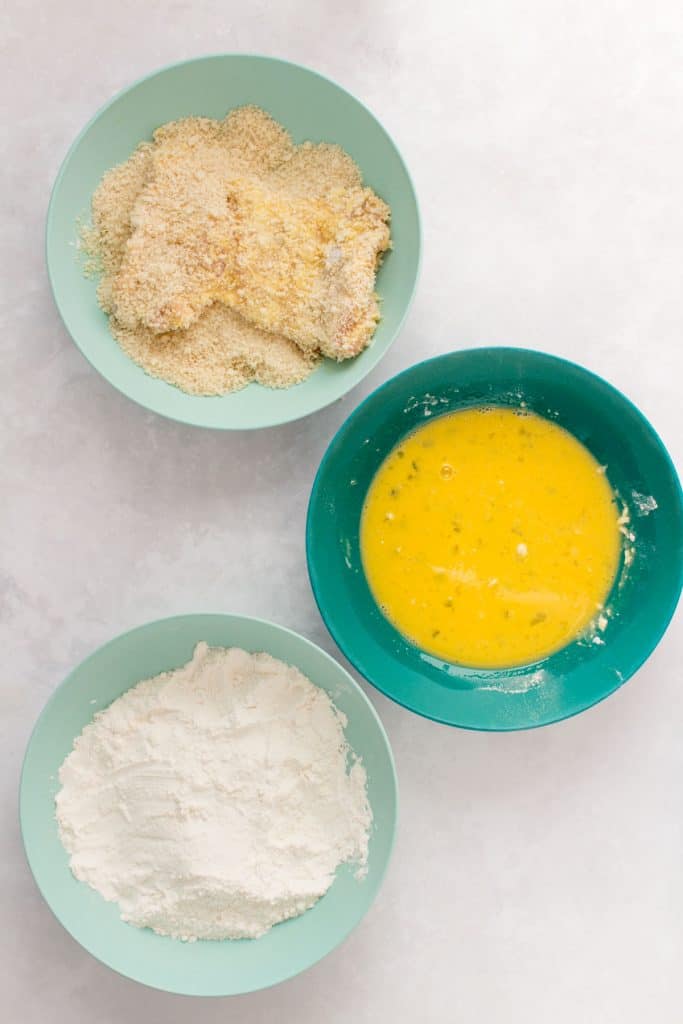
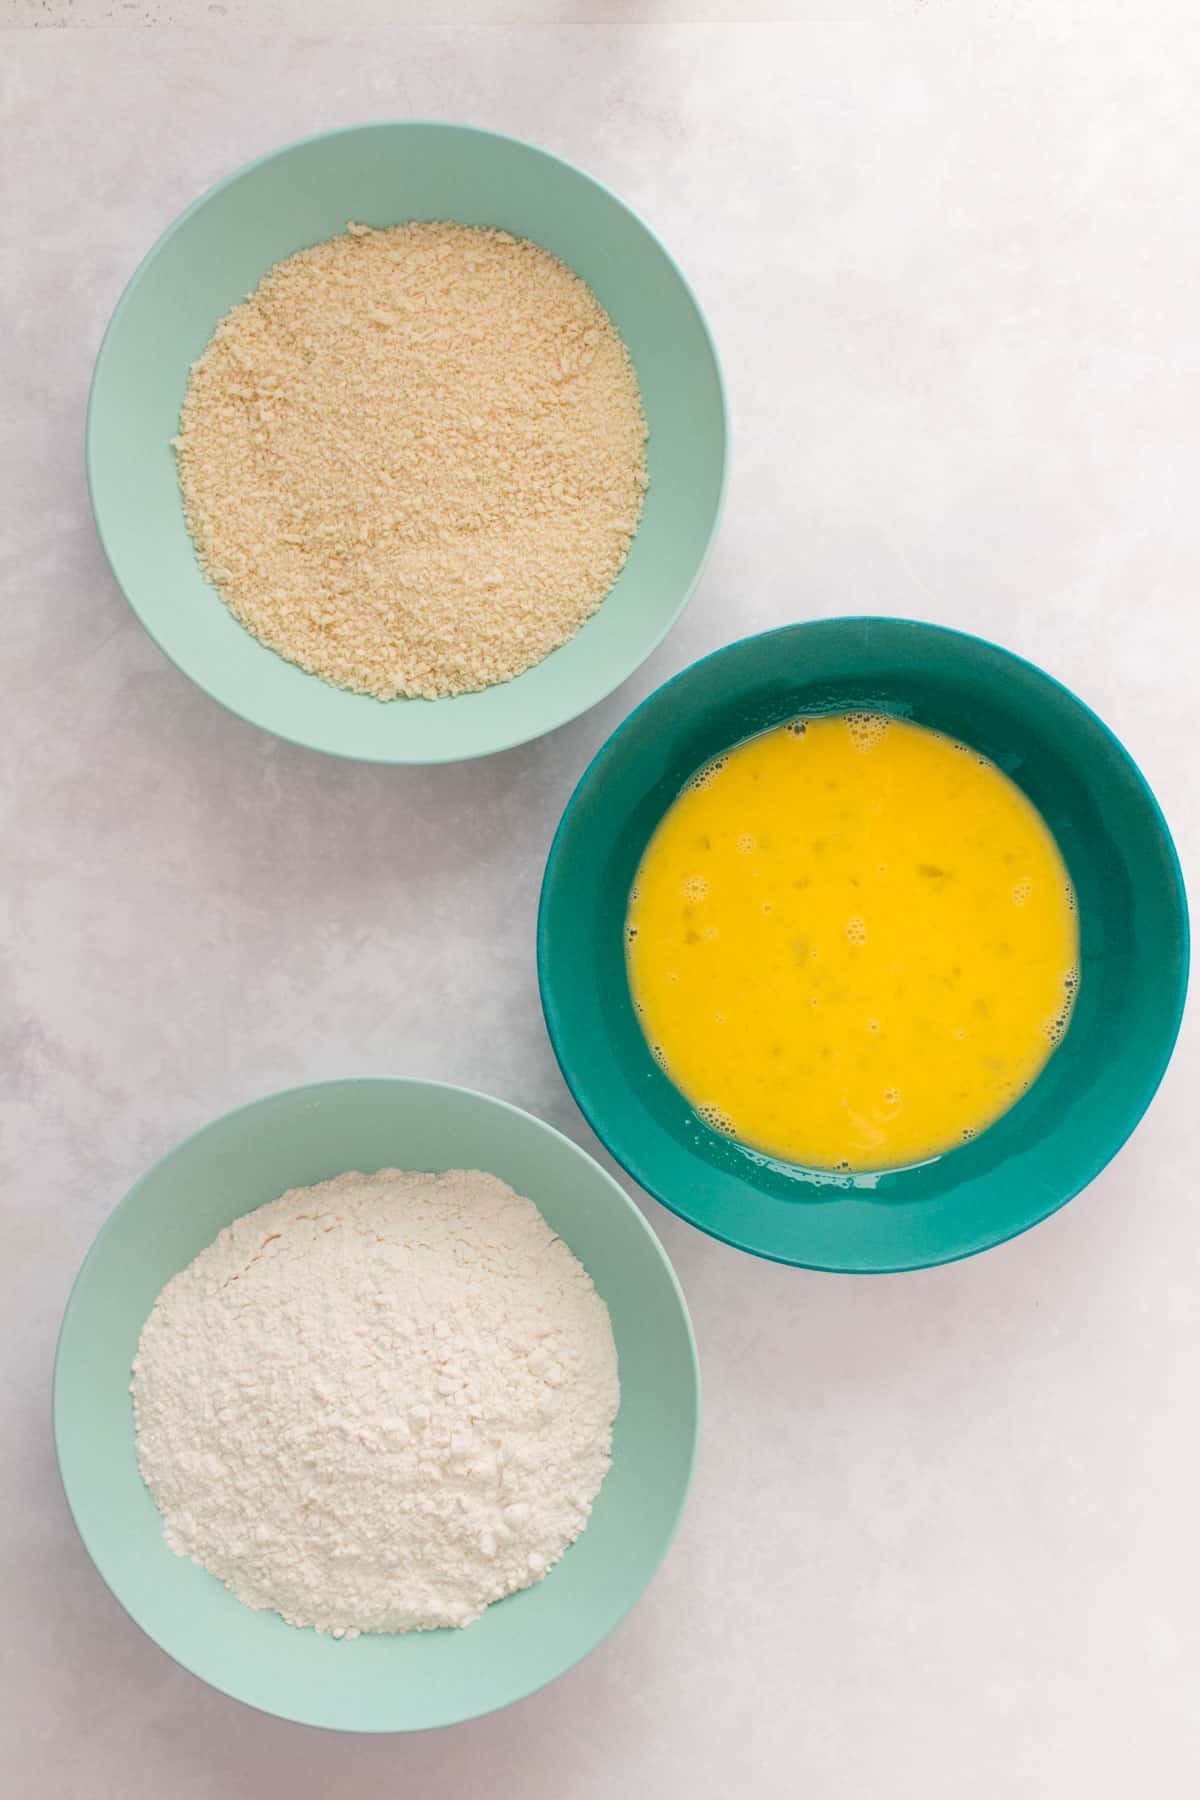
- Dredge the chicken thigh in a bowl of flour (shaking off the excess) before transferring it to a bowl with the beaten eggs before coating the chicken thigh in panko (shaking off the excess).
- Repeat with all the chicken thighs, setting them aside.
- Heat 2 inches of oil in the Dutch oven and allow it to heat up to 180C/350F before adding in the chicken cutlets. My Dutch oven can only fit two at a time.
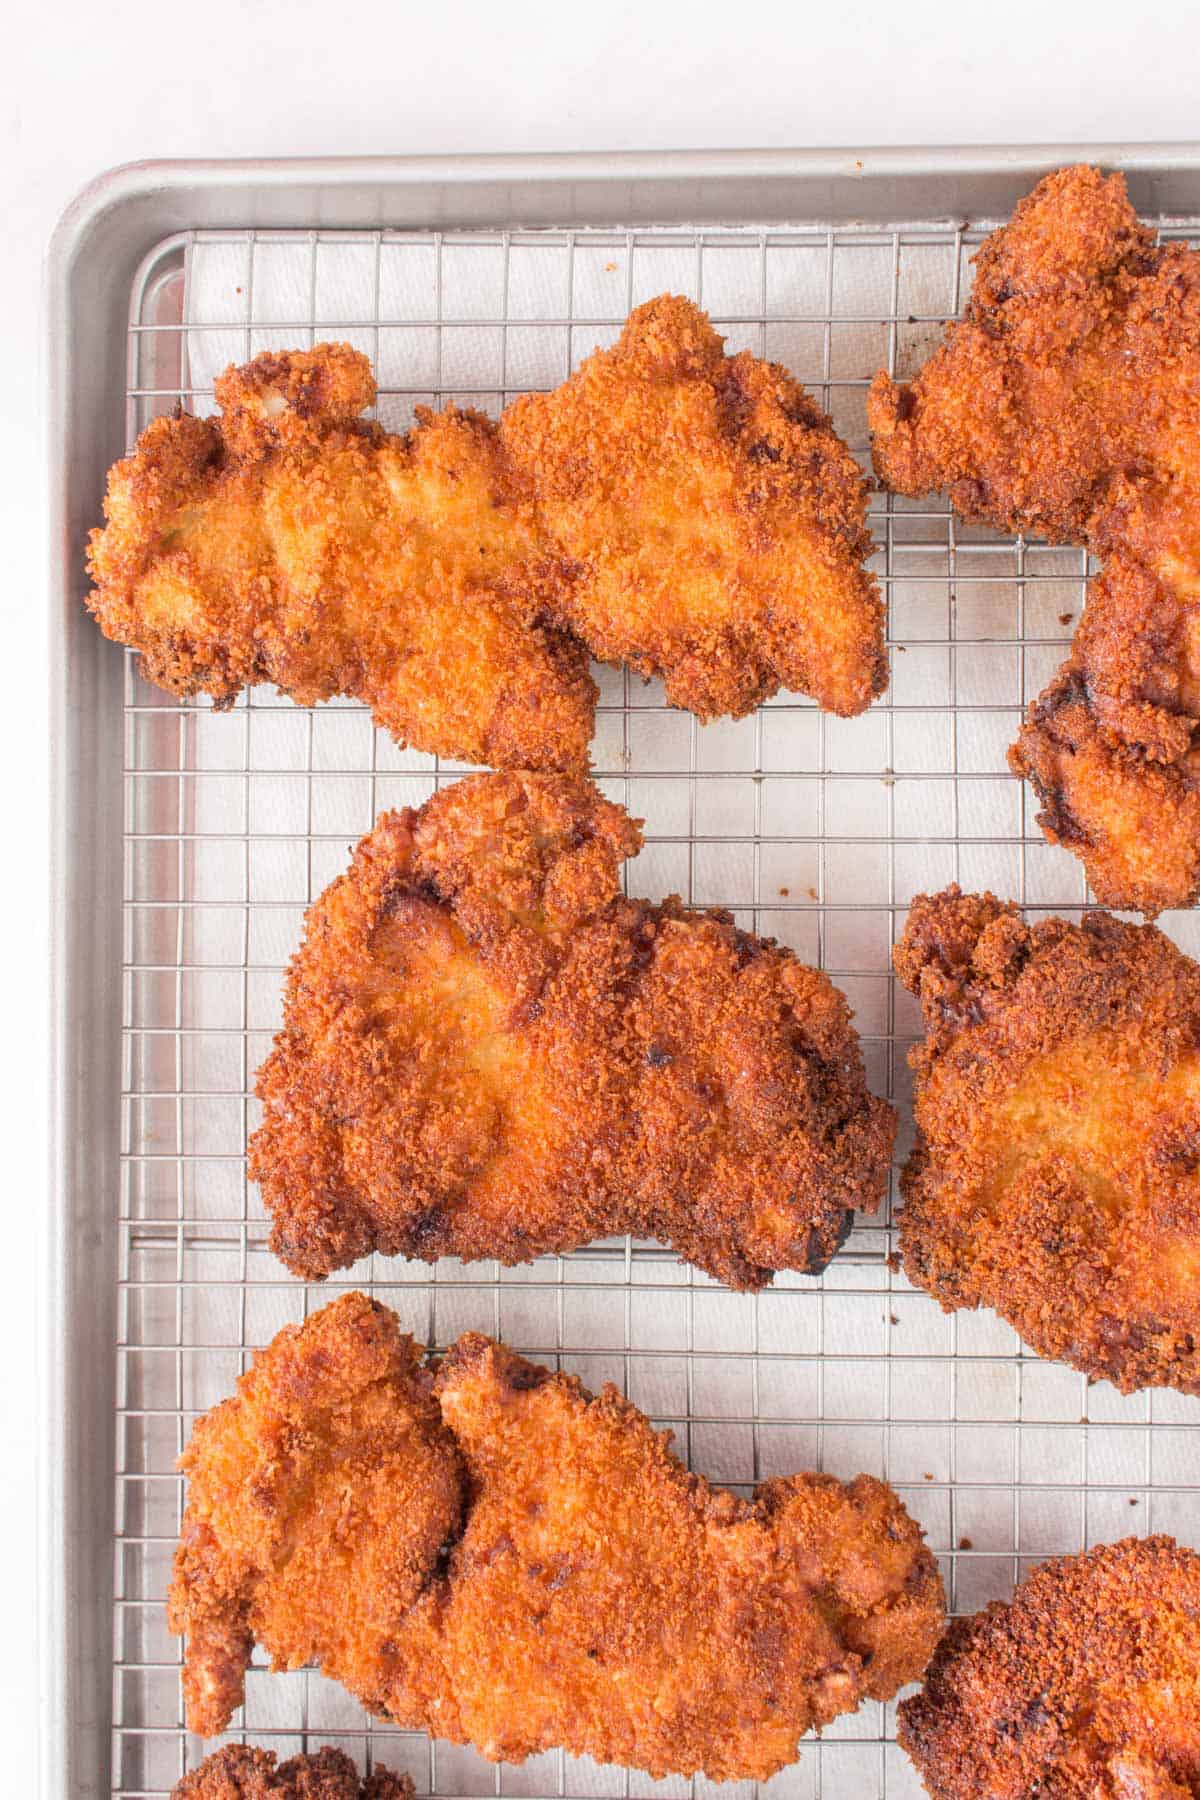
- Deep fry each panko covered chicken cutlets for up to 6 minutes, flipping them at the half way mark.
- Transfer to the wire rack to cool and drain any excess oil and continue to fry the chicken until you’ve finished all of them.
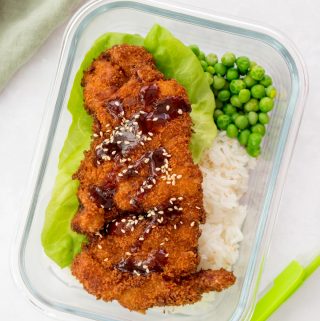
- Serve immediately with tonkastu sauce and toasted sesame seeds on top or store for later.
Tips
- I like to marinate in a shallow bowl as the chicken thighs can stack on top of each other and you can submerge everything in a small amount of marinade without having to constantly turning the meat.
- For extra flavour, you can season the panko as well. I like to add a bit of garlic powder and onion powder to it. You can try curry powder, salt & pepper, Japanese 7-spice, and more.
- Your chicken is cooked through once the internal temperature has reached 165°F (74°C).

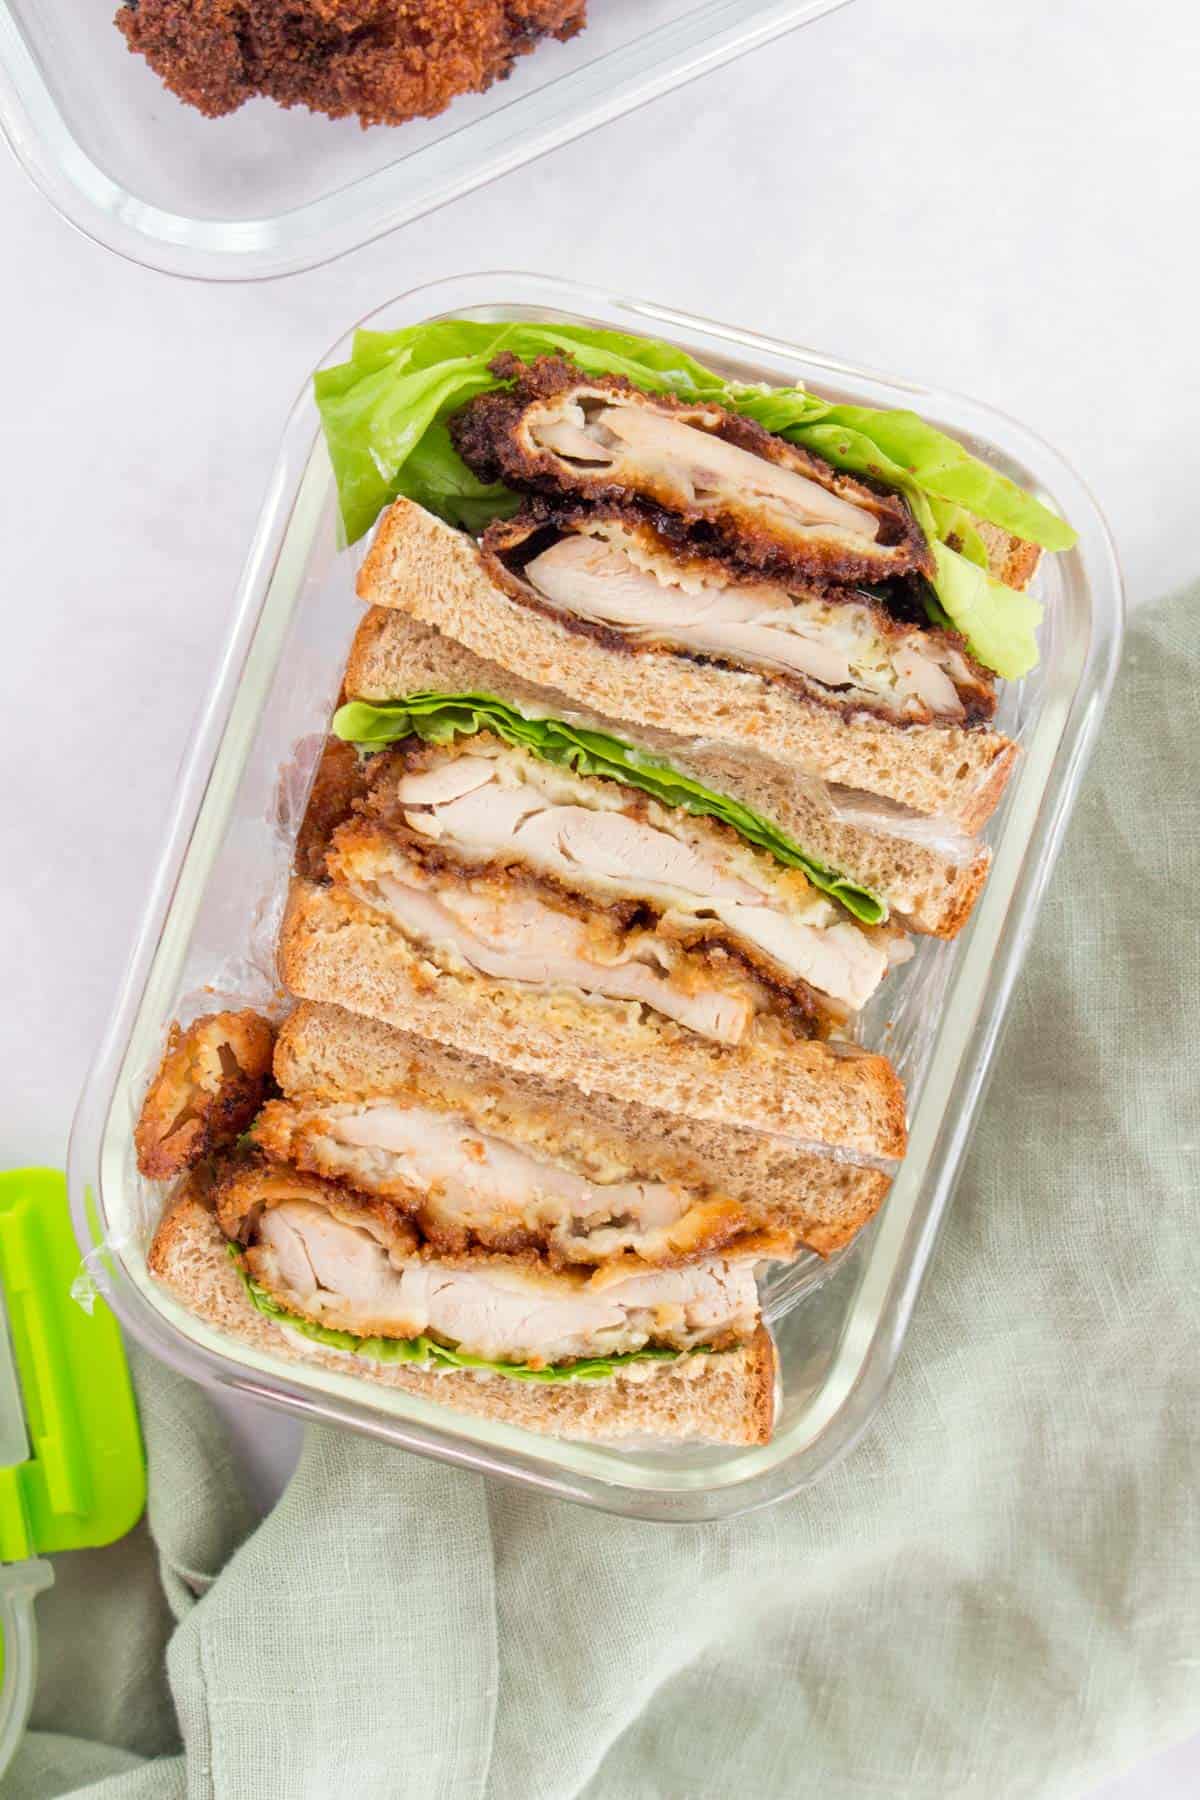
- Want to make a katsu sando? Turn this into a crispy chicken sandwich! Toast two pieces of bread (traditionally Japanese milk bread but I use whatever I have at the moment), butter both sides, add Dijon mustard on one side on top of the butter, add a couple pieces of lettuce, and place your chicken katsu that’s been cut in half with tonkatsu sauce inbetween, and top with the other piece of bread. I wrap it up tightly in plastic wrap while squishing it down so I can cut it in half and not have the sandwich fall apart. You can also use parchment paper if you’d prefer. I like to pre-cut it because I find one sandwich isn’t enough to fill H so I pack one and a half. You can see below for the photo.
Storage Tips
- Meal Prep: Once cooled, transfer to an airtight container and store in the fridge for up to 4 days. For the best results when reheating, I like to heat it back up in the oven/toaster oven or air fryer so it stays super crispy. H has microwaved it at work to reheat it and it comes out fine.
- Freezer: Once cooled, transfer to a freezer safe container or a freezer safe ziploc bag, make sure all the air is squeezed out if using a bag. Freeze for up to 3 months. You can reheat this from frozen or thawed. If thawed, heat at 350F for 15-20 minutes or until warmed through. If frozen, heat at 350F for 30-45 minutes or until warmed through.
More Chicken Recipes You Might Love
Chicken Katsu
Ingredients
- 8 chicken thighs, boneless skinless
- 3 tbsp mirin, or more
- 2 tsp garlic powder
- 2 tsp onion powder
- 2 tsp salt & pepper
- 1 cup flour, or more
- 3 large eggs, beaten
- 1½ cup panko crumbs, or more
- oil for frying
Equipment
- large ziploc
Instructions
- Place a chicken thigh in a ziploc bag or between two pieces of waxed paper or plastic wrap and use the mallet to pound them out thin.
- Add the chicken thighs a shallow bowl and season with garlic powder, onion powder, salt, pepper, and mirin. Marinate for 15 to 30 minutes.
- Dredge the chicken thigh in a bowl of flour (shaking off the excess) before transferring it to a bowl with the beaten eggs before coating the chicken thigh in panko (shaking off the excess).
- Repeat with all the chicken thighs, setting them aside.
- Heat 2 inches of oil in the Dutch oven and allow it to heat up to 180C/350F before adding in the chicken cutlets. My Dutch oven can only fit two at a time.
- Deep fry each panko covered chicken cutlets for up to 6 minutes, flipping them at the half way mark.
- Transfer to the wire rack to cool and drain any excess oil and continue to fry the chicken until you’ve finished all of them.
- Serve immediately with tonkastu sauce and toasted sesame seeds on top or store for later.
Other places to connect with me
@carmyshungry on Instagram
Facebook
Shop my Amazon faves
Email: [email protected]
Leave a Reply