For busy nights, you’ll love this Crispy Pork Belly and Kimchi Rice Bowl. This stir fry is super easy, flavourful, and spicy and takes less than 30 minutes to make from start to finish.

I’m not shy to cooking meals that take hours but some days, I just want something super quick. This kimchi pork bowl is my go-to whenever I need something fast and filling.
Why You’ll Love This Pork Rice Bowl
- Who doesn’t love crispy pork belly? Crispy has to be my favourite texture and there’s really nothing better than crispy pork belly! When cooking the pork belly, you don’t even have to do much since you just let it hang out in the pan until it’s browned on one side and then you flip it. Easy!
- If you’re quick at cutting, you can get this recipe done in 20 minutes or less. Be sure to use to quick cook option on your rice cooker if you’ve got some quick knife skills. I actually just slice my pork first and while it’s browning, I slice my onion and mince my garlic. This way, the prep time overlaps with the cook time and I can get dinner on the table faster.
- It packs a punch. It’s a spicy dish that will warm you up inside out. This recipe isn’t recommended to anyone who can’t eat spicy foods.
- Easily double this recipe if you want leftovers to meal prep with!
What You’ll Need

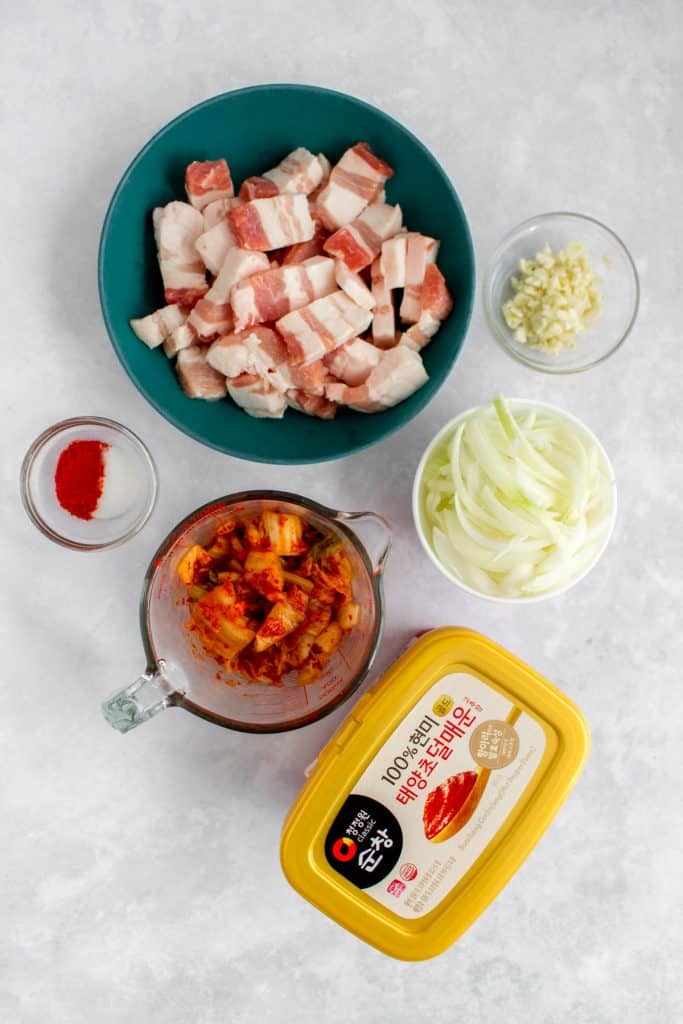
- pork belly strips
- onion
- kimchi
- garlic
- gochugaru (고추가루) aka Korean chili/hot pepper powder
- sugar
- gochujang (고추장), aka hot pepper paste
- cooked rice to serve with
How to Make This Quick Meal

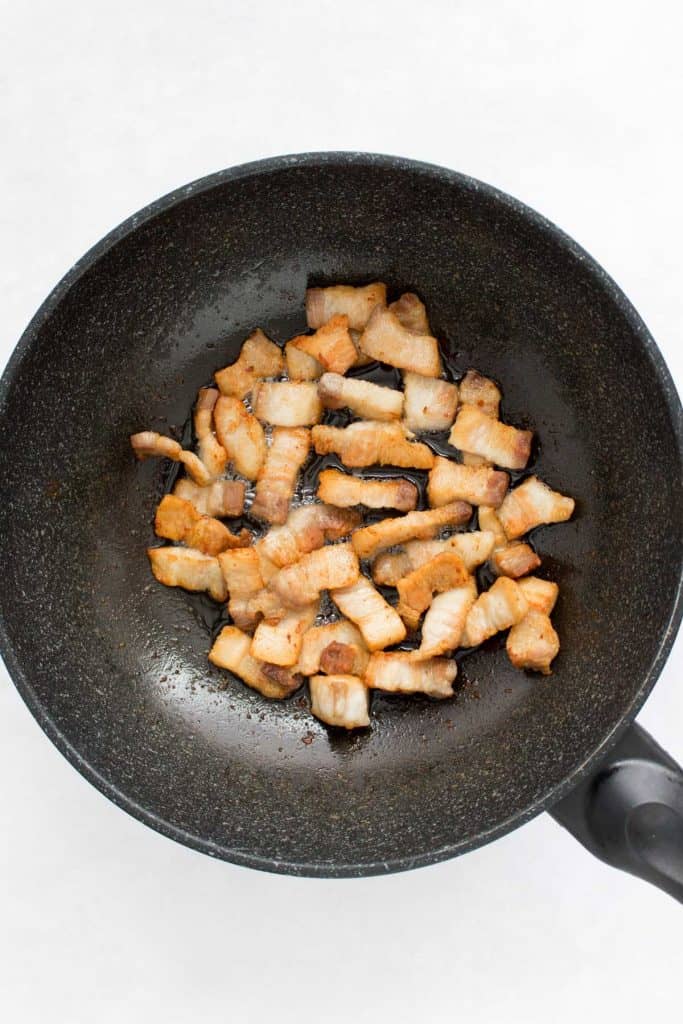
- In a large wok or pan cook your pork belly. I put it in a single layer and let each side crisp up before flipping it over. Once the other side browns, I stir it around with my wooden spoon to get the sides crispy. Drain any excessive oil, leaving only a tablespoon or so left in the pan.
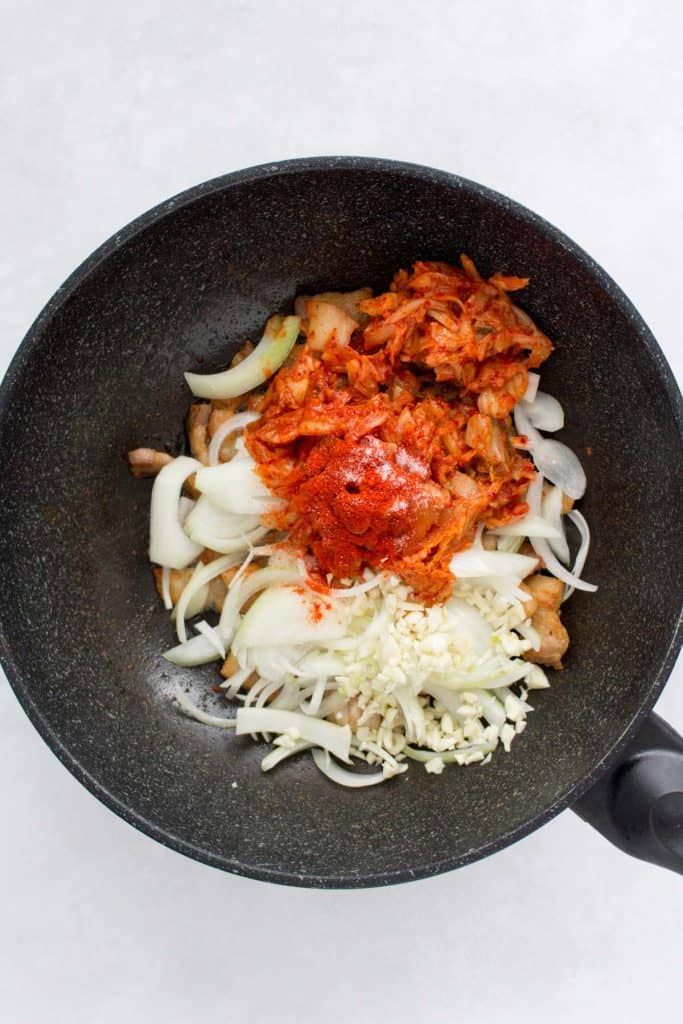
- Once the pork belly has browned, add in the sliced onion, kimchi, garlic, gochugaru, and sugar. Stir until the onions have softened.
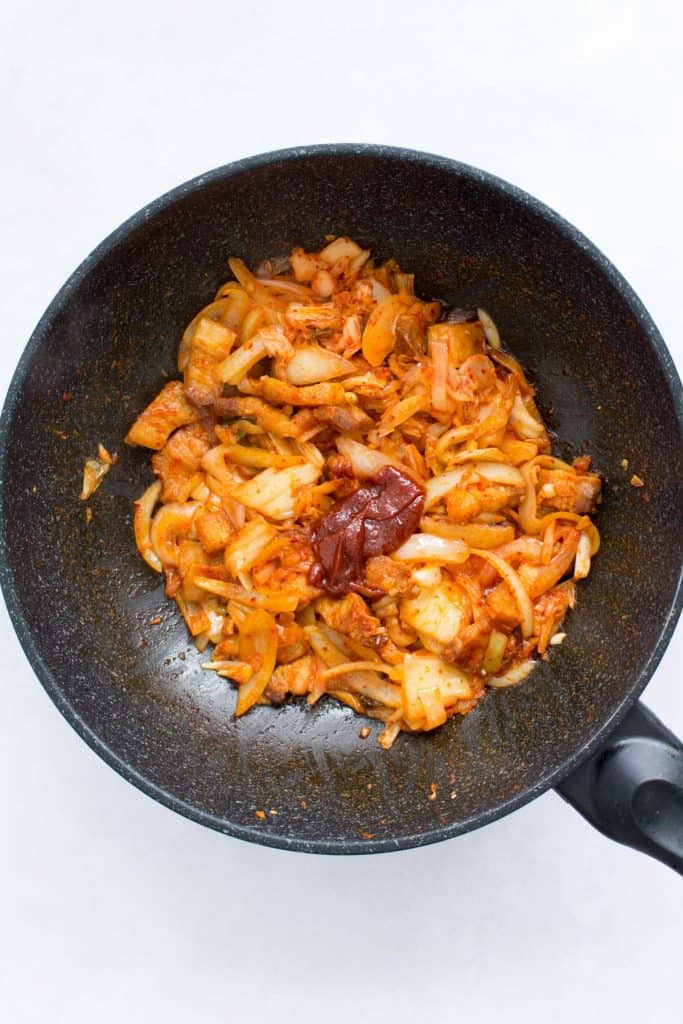
- Add in the gochujang and stir until it’s all been combined.
- Serve with rice or grain of your choice.
Tips and Notes
- The pork belly doesn’t require any oils to cook in the pan as it releases a lot of fat while it cooks in the pan. I find that there’s usually quite a bit so I drain the extra oil so it doesn’t make the dish too oily.
- Easily double this recipe. Pork belly might have to be cooked in two batches if you double it.
- I use cabbage kimchi. I always cut it to make eating it easier in this stir fry since it can come in long pieces.
- My pork belly comes in long strips that I tend cut into smaller pieces.
- This recipe does splatter while it’s cooking so I use a splatter screen.
- I like to top it with some green onions as garnish but that’s optional.
Make Ahead Tips
- Meal prep: store the cooked pork and kimchi stir fry in an airtight container for up to 4 days in the fridge. Reheat in the microwave or on the stovetop.


Crispy Pork Belly and Kimchi Rice Bowl
For busy nights, you’ll love this Crispy Pork Belly and Kimchi Rice Bowl. This stir fry is super easy, flavourful, and spicy and takes less than 30 minutes to make from start to finish.
Print Recipe
Rate this Recipe
Servings: 4 servings
Ingredients
Instructions
- In a large wok or pan cook your pork belly. I put it in a single layer and let each side crisp up before flipping it over. Once the other side browns, I stir it around with my wooden spoon to get the sides crispy. Drain any excessive oil, leaving only a tablespoon or so left in the pan.
- Once the pork belly has browned, add in the sliced onion, kimchi, garlic, gochugaru, and sugar. Stir until the onions have softened.
- Add in the gochujang and stir until it’s all been combined.
- Serve with rice or grain of your choice.
Notes
- This is four servings for myself but for my partner, it’s closer to 3 servings. It depends on how much pork per serving you can consume.
Tried this recipe?Did you make this recipe? I’m always so happy to hear about it! I’d love to see how it turned out. Tag me at @CarmysHungry on Instagram so I can see it! If you enjoyed the recipe, I’d really appreciate a comment with a 5 star rating! ♥
Nutrition Disclaimer


Leave a Reply