


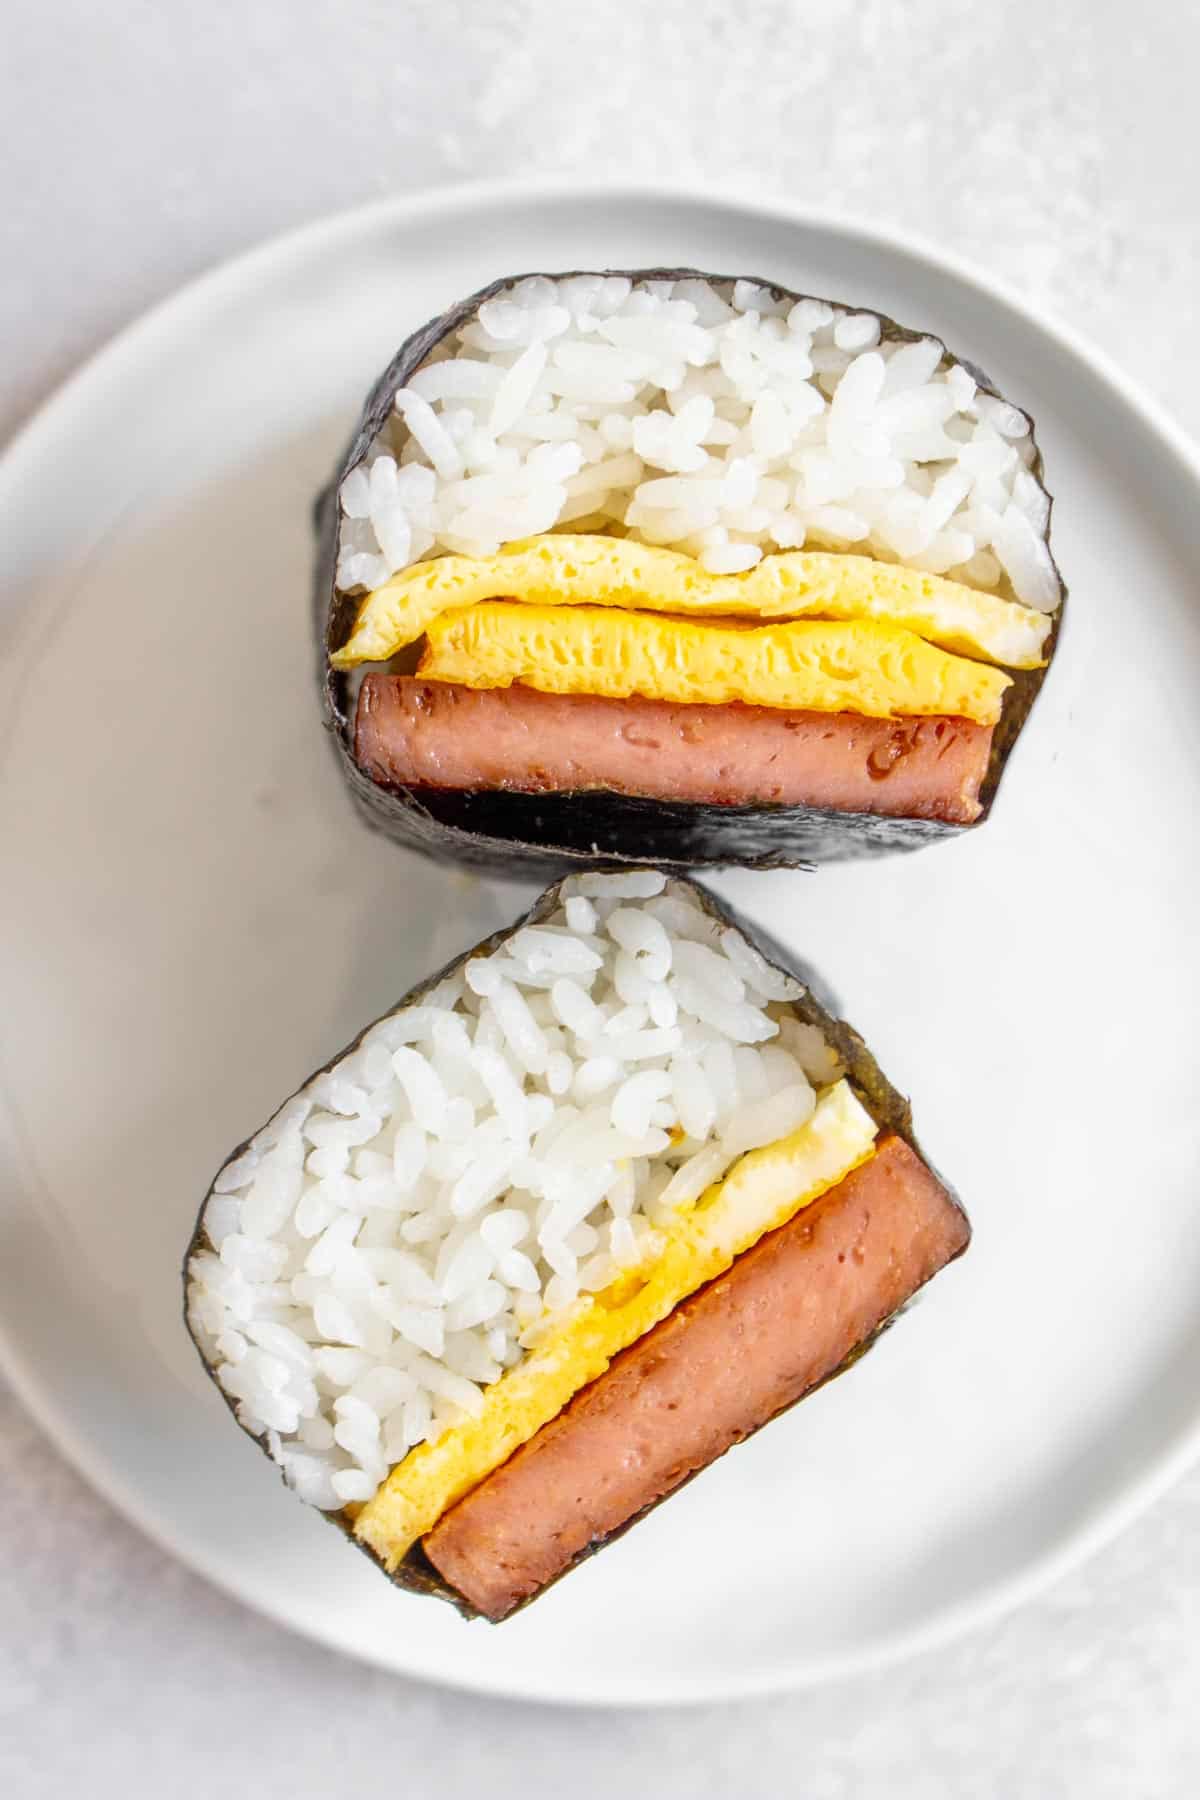
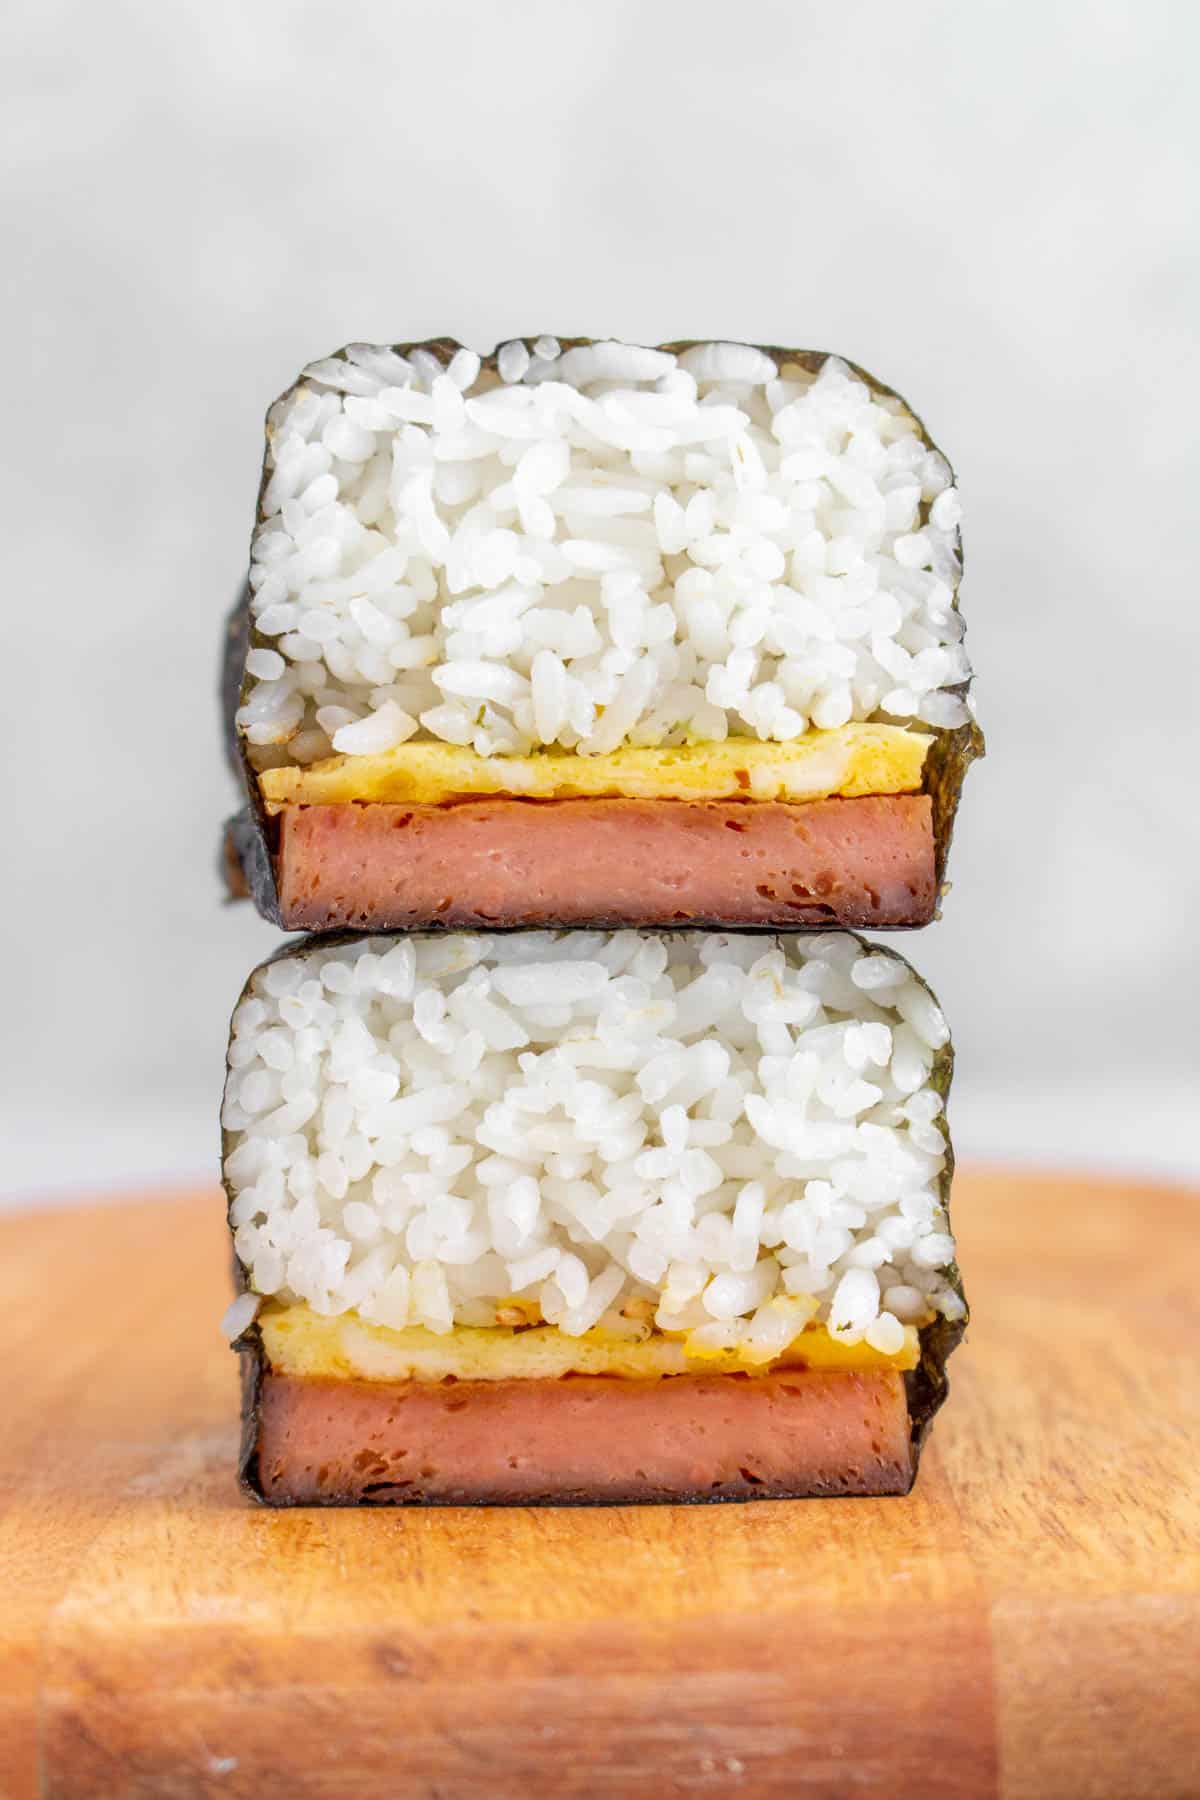
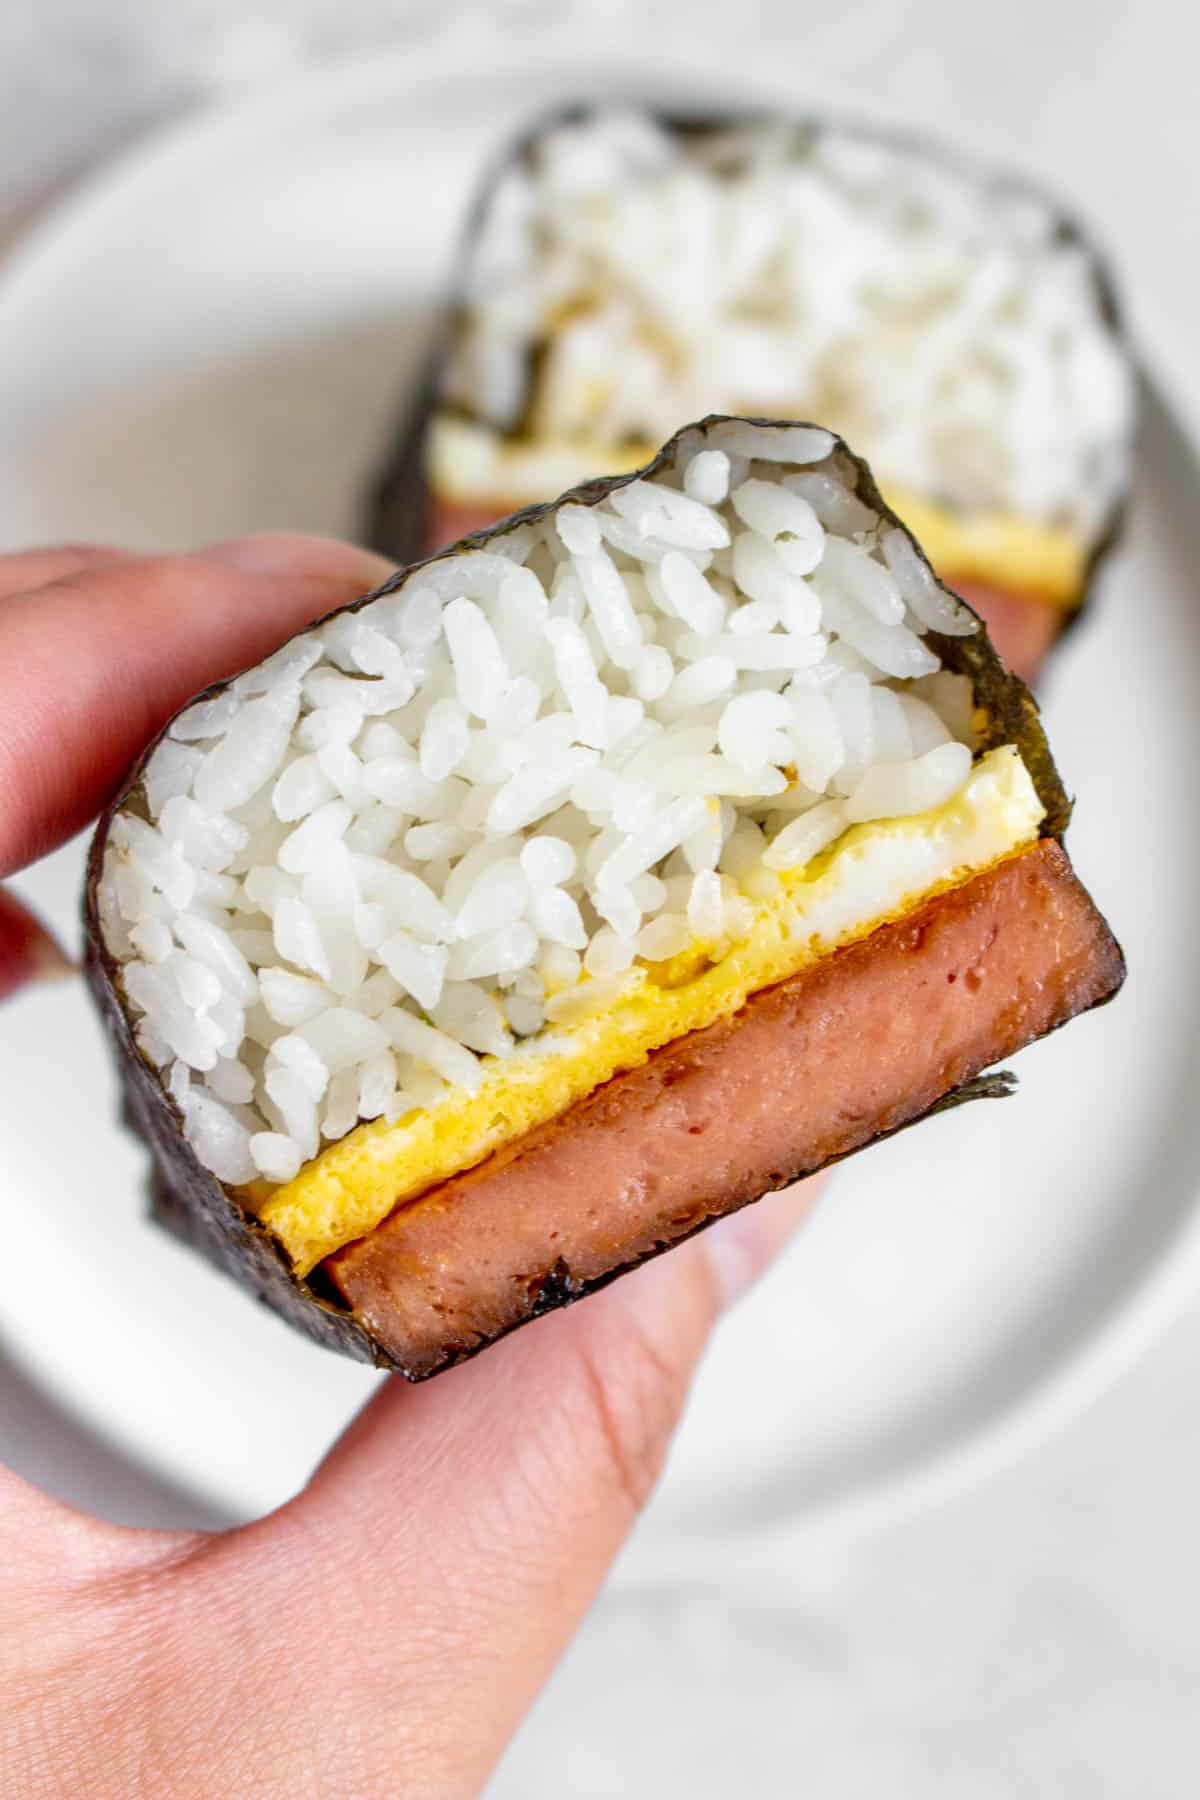
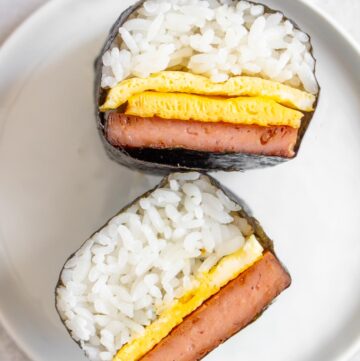
Made with pantry staples and a few simple steps, this homemade Spam Musubi with Egg is the perfect handheld snack or breakfast. Perfectly caramelized slices of spam on top of a layer (or two) of egg, fluffy rice, and furikake, all wrapped up in a nori sheet, you’ll want to eat this weekly.
I love spam musubi, and this version is a spin on that, adding a layer or two of egg to the roll to make it more filling! I love making this spam musubi for breakfast as the addition of eggs makes it a delicious way to start off the day haha.
Why You’ll Love This Spam and Egg Musubi
- It’s made with pantry staples. There’s always a can of spam lying around, eggs in the fridge, and rice is a staple in my household. You can whip up this spam musubi with egg within minutes (once the rice is cooked, of course).
- You can customize this however you want. I LOVE nori (seaweed sheets), so I wrap the entire spam musubi up in the sheet instead of cutting a strip. Go as heavy or as light as you’d like with the furikake. Make the spam as sweet or savoury as you’d prefer.
- Don’t have a musubi mold? I’ve got you! Check out down below to learn how you can make musubi without any special equipment.
Ingredients You’ll Need
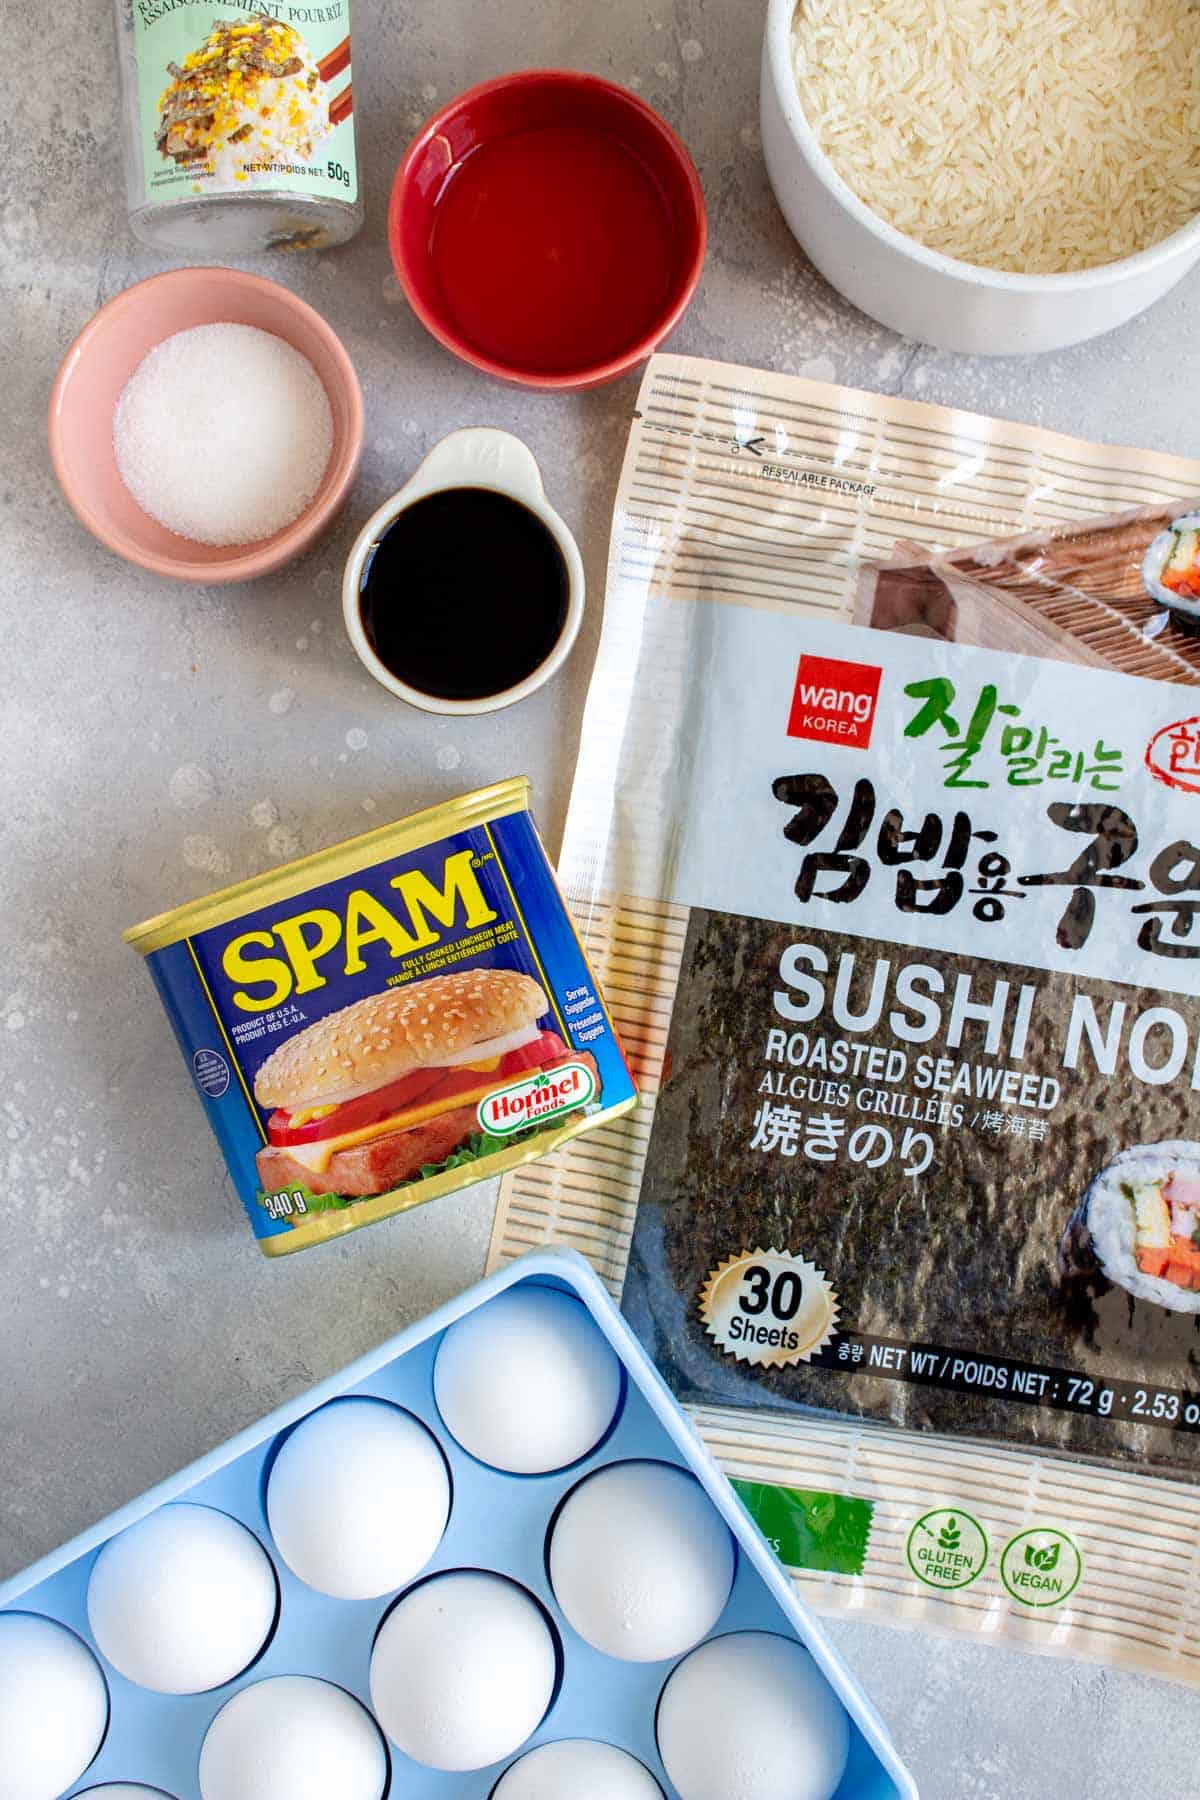
- rice — I used sushi rice as I find jasmine rice does not stick together as well and it’ll fall apart.
- eggs — you’ll need around 4 to 5 eggs for this, depending on how thick you’d like the egg layer to be or if you want a single or double layer. This is the pan I use to cook my eggs, so they’re perfectly rectangular.
- soy sauce — I recommend using low-sodium soy sauce as the spam can be salty on its own.
- mirin — mirin is a Japanese sweet rice wine, if you are unable to find it, you can try rice vinegar with honey. (See my what is mirin post for more recipes to use up your mirin!)
- sugar — you’ll just need a bit of white sugar for added sweetness.
- furikake — feel free to use any furikake seasoning. This one is my favourite furikake. I also use with for my sourdough discard crackers!
- spam — spam is technically the brand name for luncheon meat, like how kleenx is the brand name for tissue paper.
- nori — you’ll want to large sheets of seaweed and not the small packs.
How to Make Spam Musubi with Egg
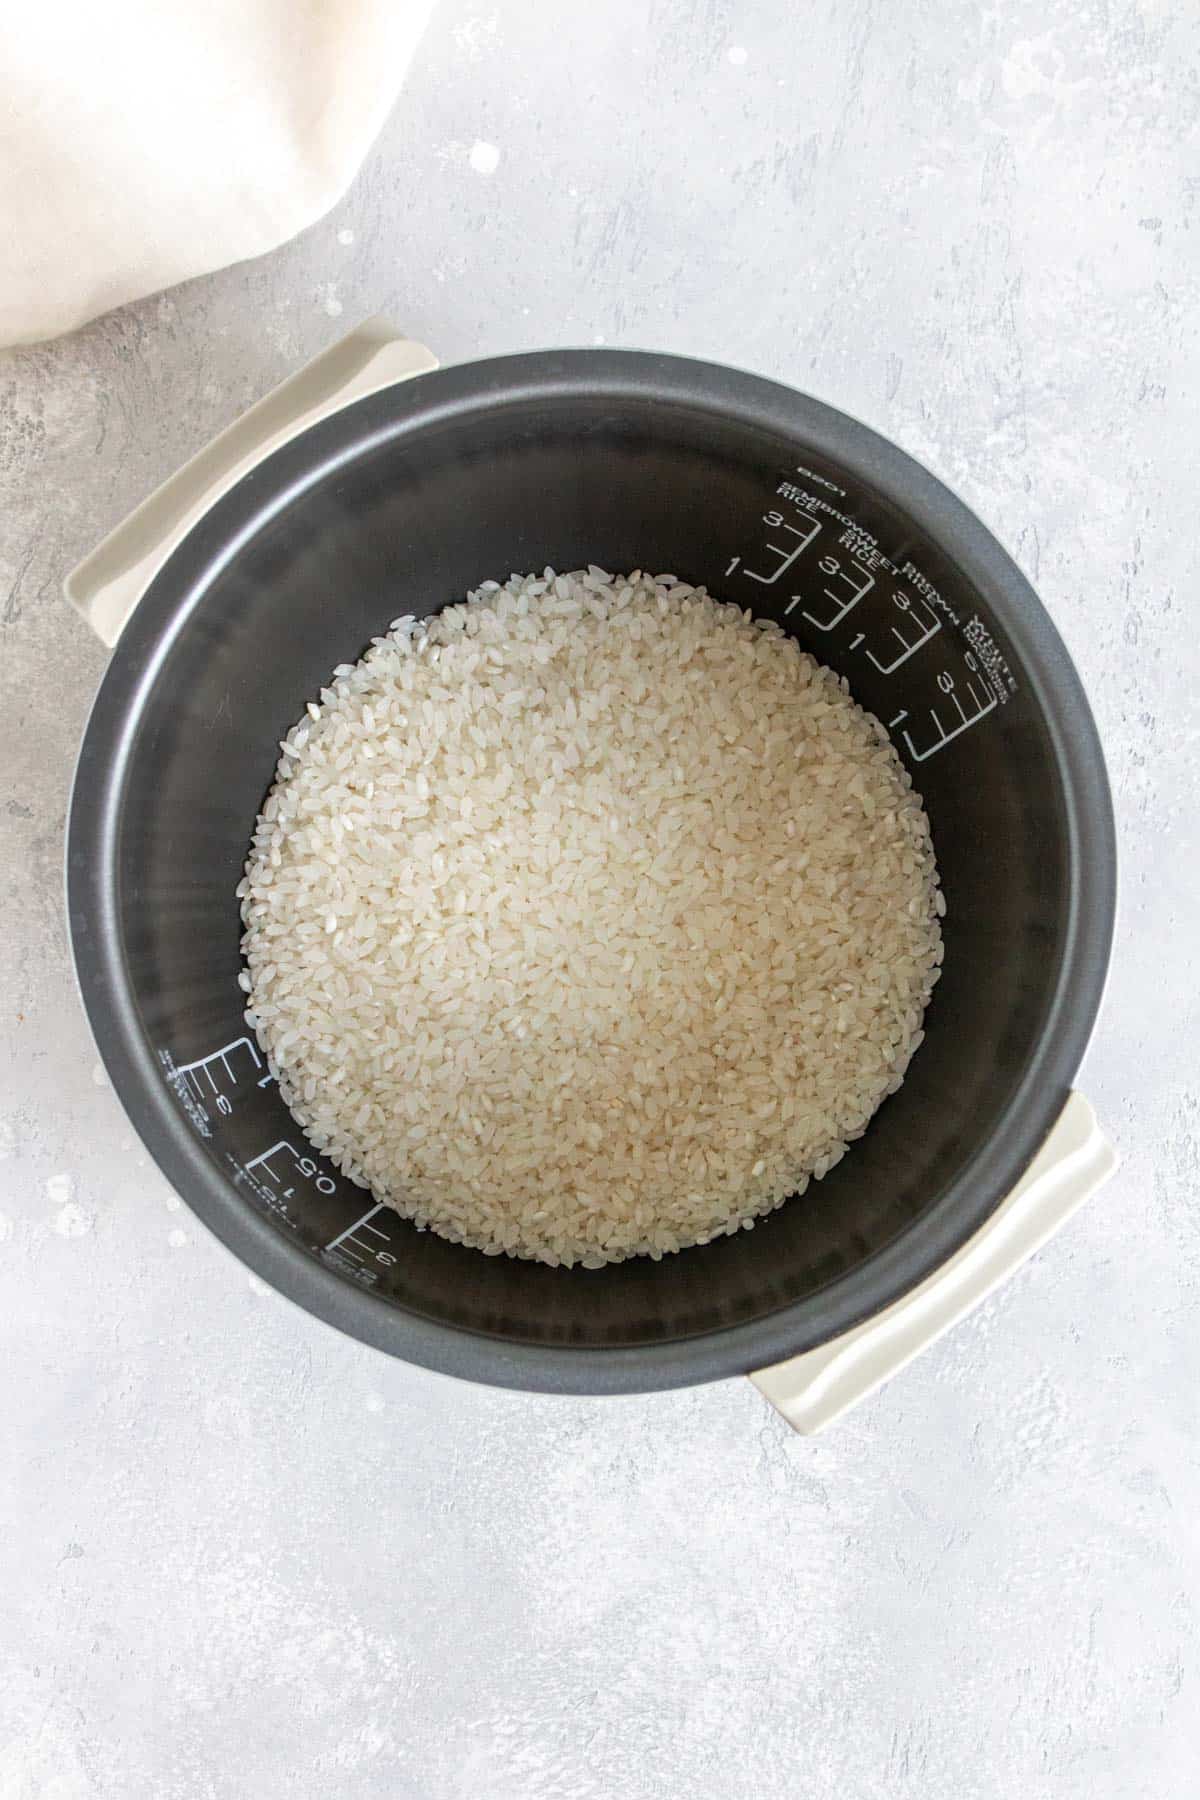
- Rinse and cook the rice according to the package instructions. I use a rice cooker.
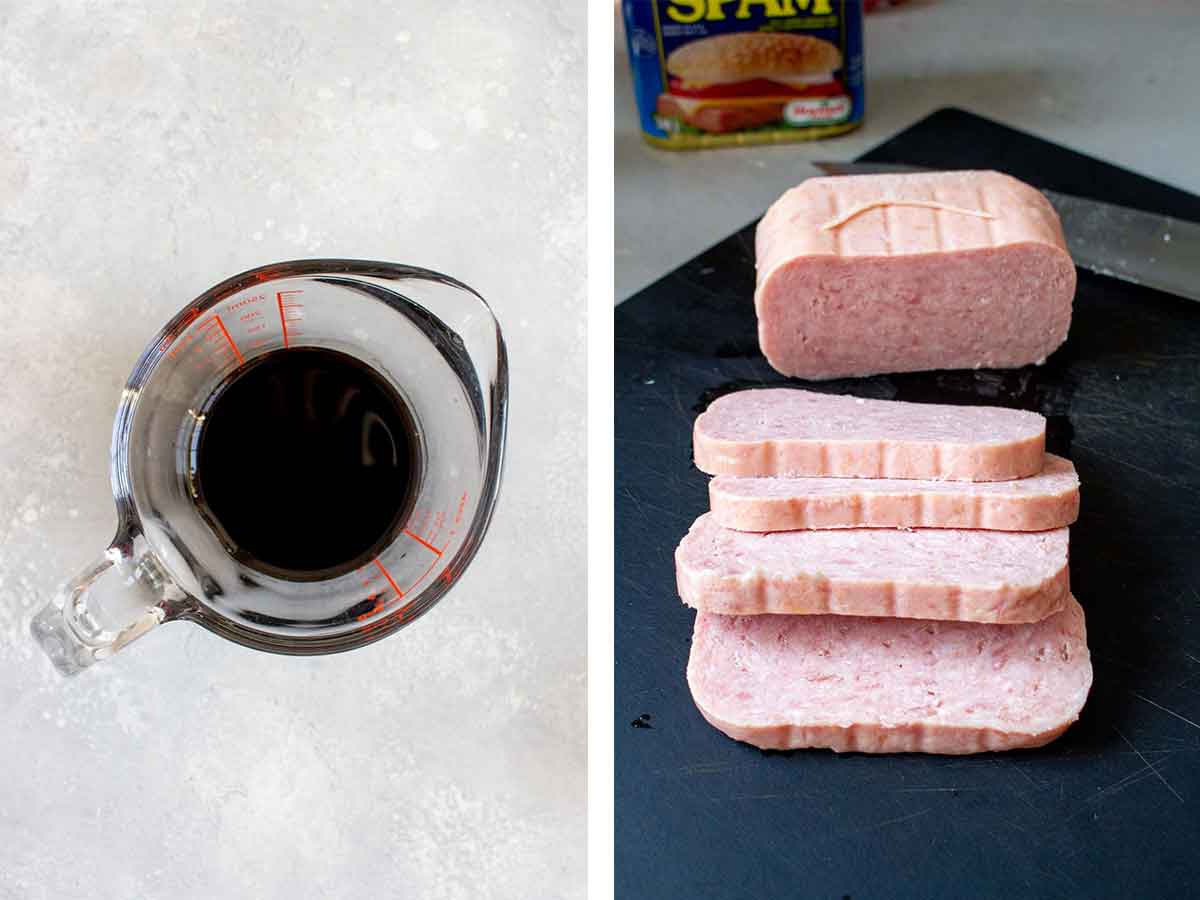
- Combine the soy sauce, mirin, and sugar and set aside.
- Slice the can of spam into 8 even slices.
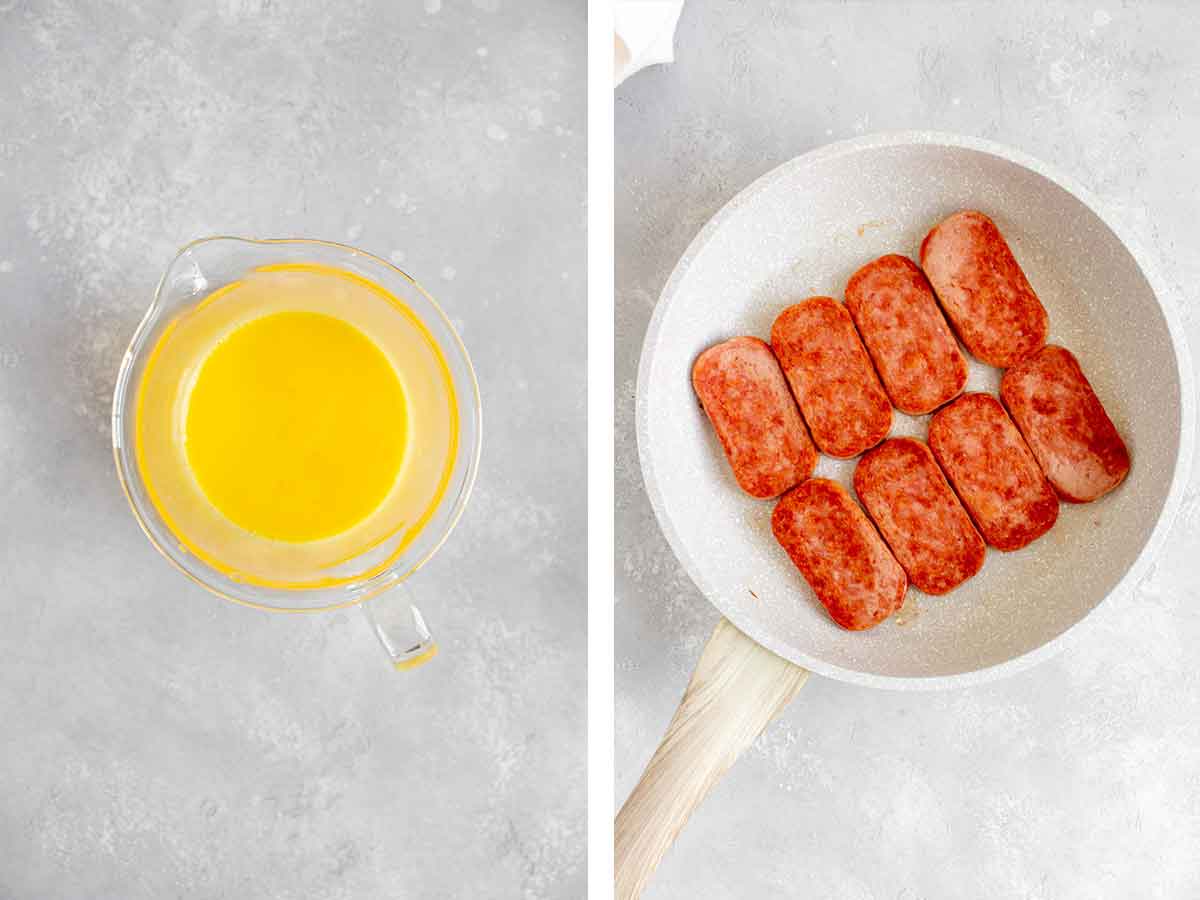
- Whisk the eggs together. Feel free to add a splash of milk if desired.
- In a large non-stick pan, place the sliced spam in a single layer and cook on medium for 3 to 5 minutes, until it is golden. Flip over the spam.
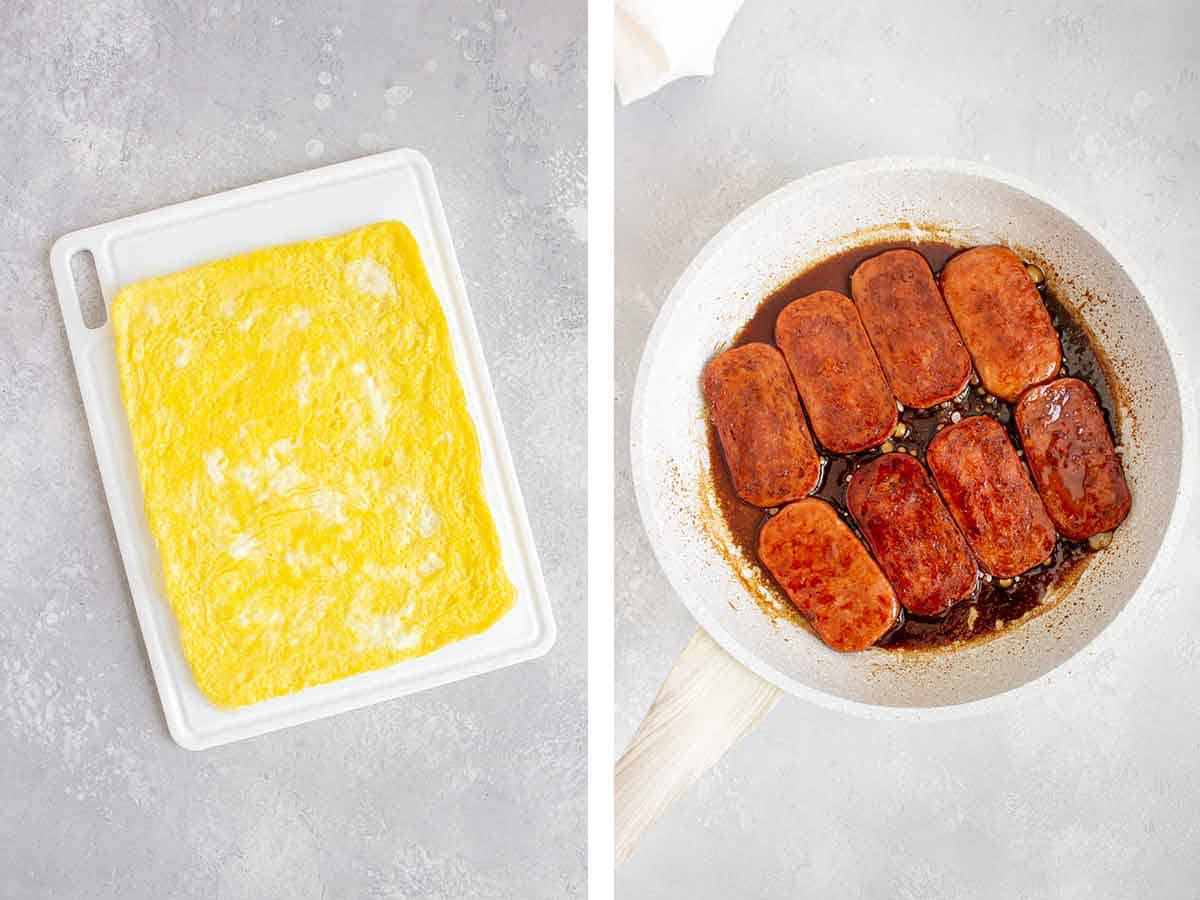
- As the spam cooks, lightly grease a skillet and place it over medium-low heat, and add the eggs (in batches if you’re using a small skillet like I am). Let cook for 3 to 5 minutes or until the bottom is set and gently flip it. Slide the eggs out onto a cutting board, and let cool. If you’re using a large round skillet, cut the egg into rectangles that can fit the size of your musubi mold, if you’re using the same pan as I am, you’ll have two rectangles that you can cut into 3, width-wise. You might have a little leftover.
- Add the soy sauce mixture to the skillet and let the spam cook for another 3 to 5 minutes.
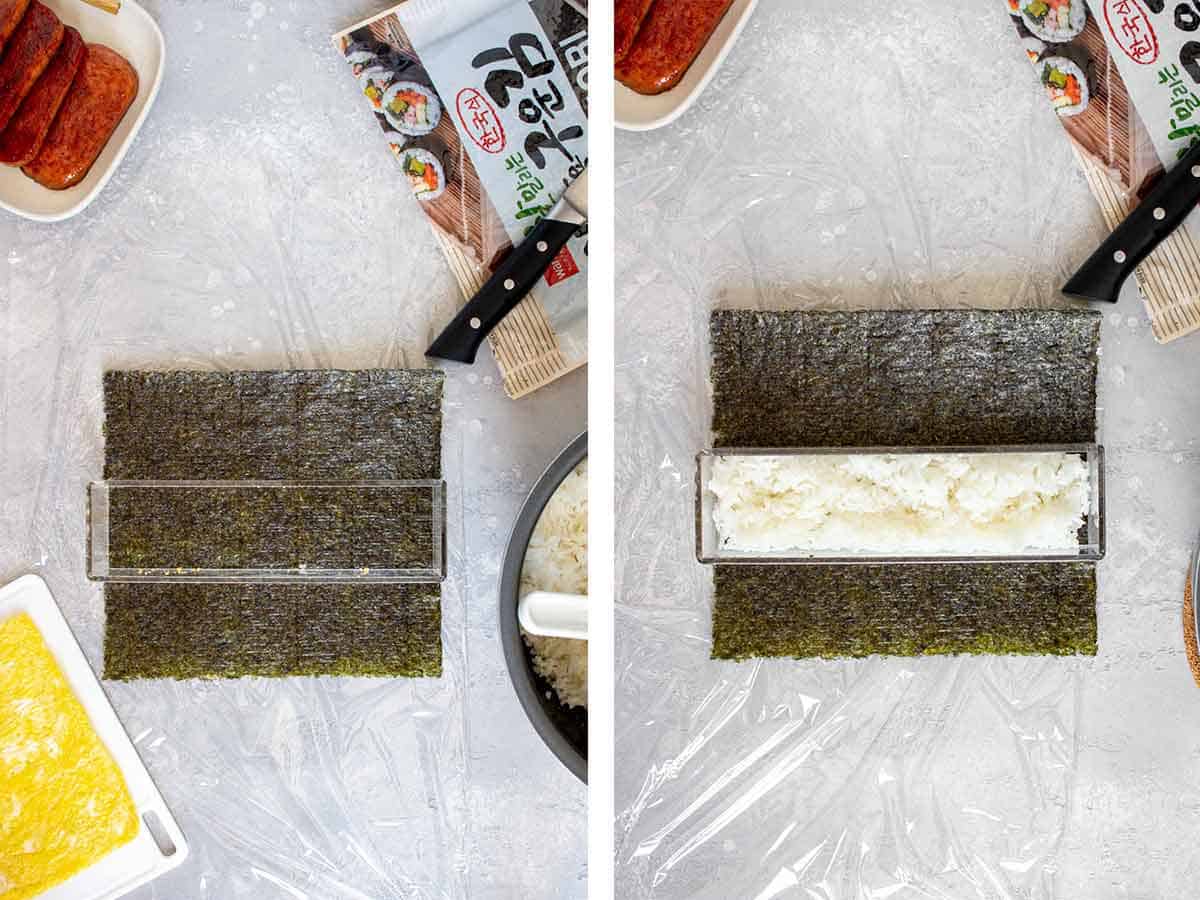
- To build the spam musubi, start with a sheet of plastic wrap laid over your workstation. Place the nori sheet, smooth-side down with the slightly longer side on your end, and position the musubi mold just a bit under the center.
- Gently add the rice to the mold until it is almost full. Avoid packing it down too much in this step.
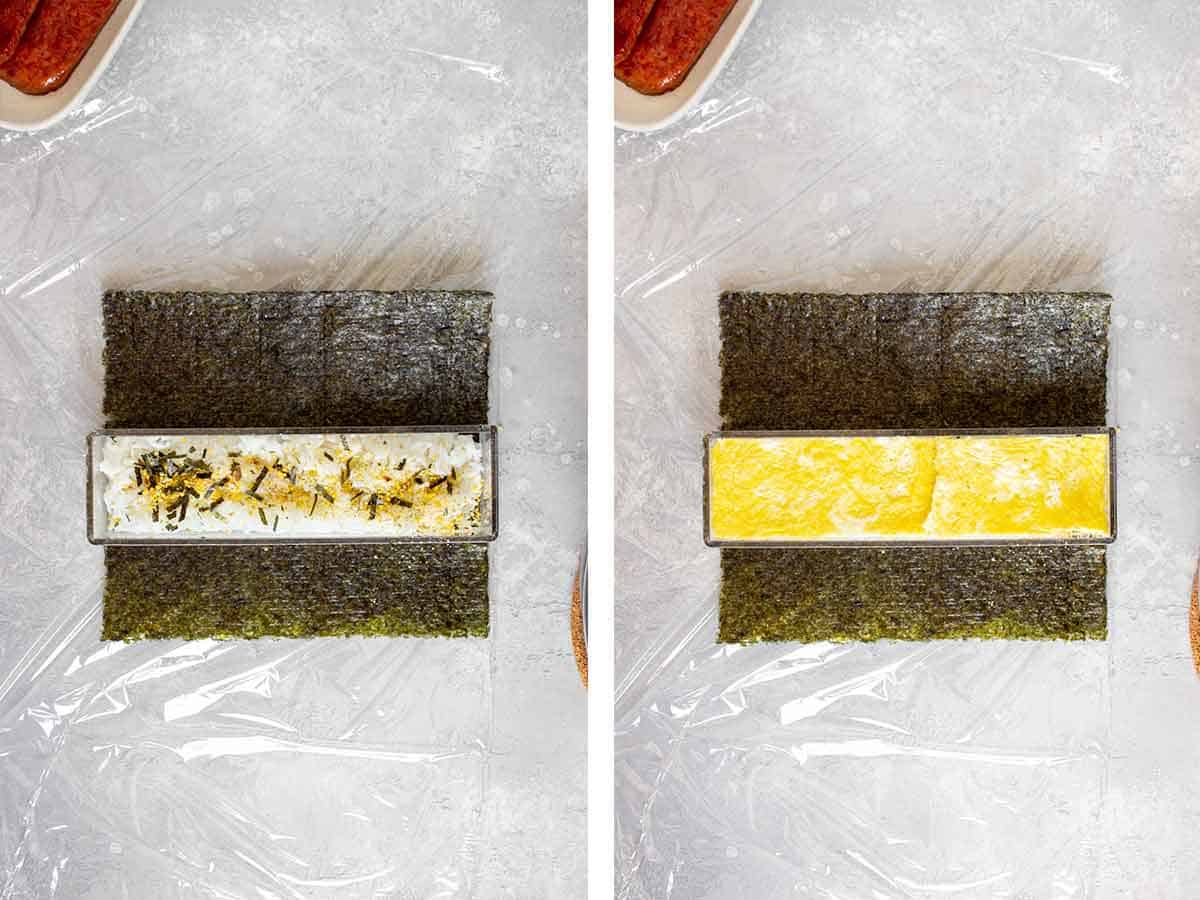
- Sprinkle furikake over the rice. You can be as generous as you’d like.
- Add the cut egg pieces on top to fill the mold.
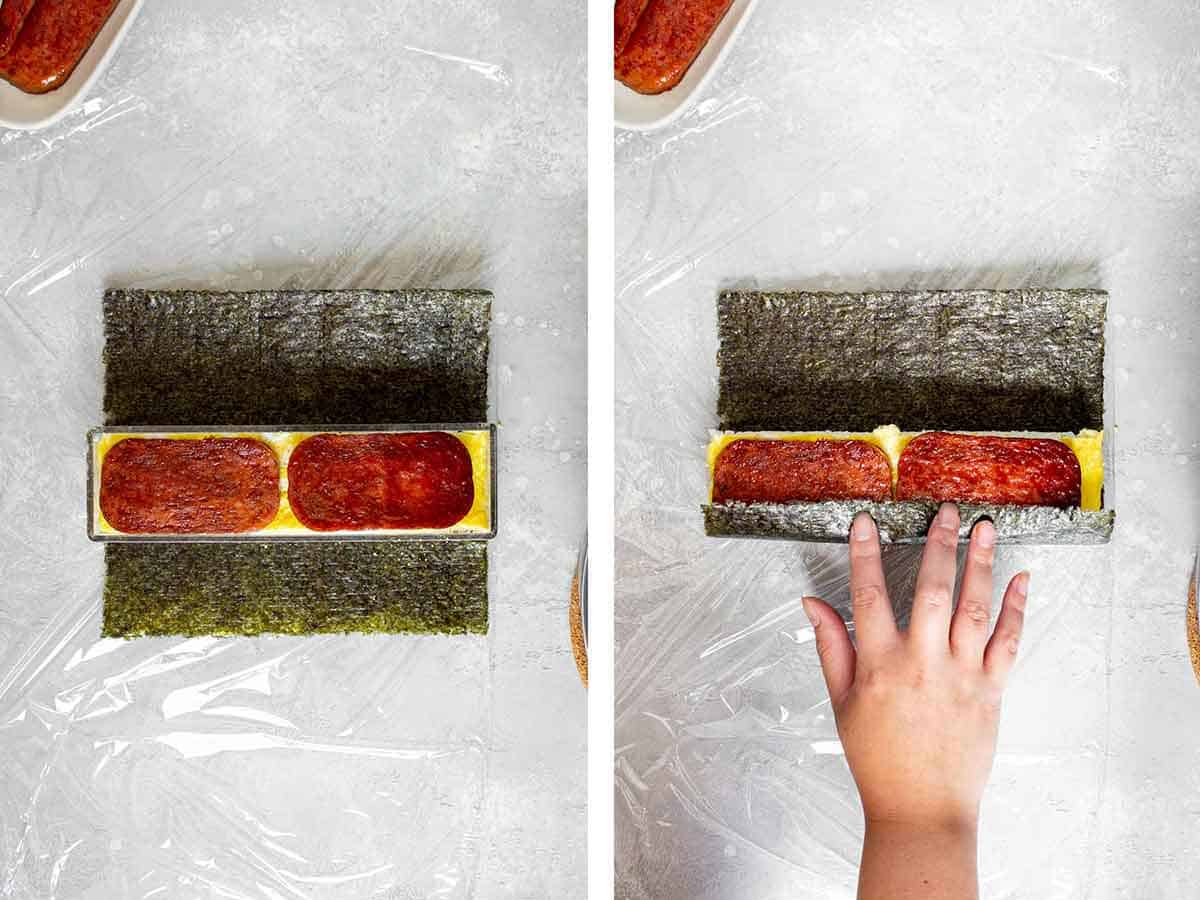
- Place two pieces of spam on top, side by side in the mold. Place the musubi mold lid on top and gently press down. Lift the mold off the musubi and then remove the lid.
- Optional: Brush a little bit of water on the top of the nori sheet to help the wrap hold. However, I find that I don’t need to do this if I wrap it with the plastic wrap.
- Fold up the nori sheet and wrap up the spam musubi. You can then roll up the musubi in the plastic wrap for a few minutes to help it hold its shape.
- Repeat with the rest of the spam, egg, and rice.
- Slice the whole roll into 2 or 4 before serving.
Recipe Tips
- Medium and long grain rice are less starchy, so they don’t hold together as well like short grain sushi rice does. Make sure to use the right rice to prevent the spam musubi from falling apart.
- If you do not have furikake, you could add some toasted sesame seeds to the rice instead.
- The glaze and the spam combined can be on the saltier side, so the rice will help balance that out. Always use low sodium soy sauce when possible and use less soy sauce if you’re worried about the saltiness.
- There’s no need to add any oil to the skillet when you brown the spam. There’s enough fat on the spam that it’ll render off to brown the slices.
- Brown the spam as much as you prefer, as it’ll become crispier the longer you keep it on the skillet before adding the sauce.
- Feel free to make extra egg and double up the layer of egg in the spam musubi.
- The cook time of your egg layer will depend on how thin you make them.
Make Ahead Tips
- Leftovers: It’s best to eat spam musubi the same day you make it as the rice will harden in the fridge, and reheating it in the microwave will make the nori a bit soggy. However, you can store any leftovers in the fridge in an airtight container and reheat it if you don’t mind the nori being soft. It’s perfect to make for a lunch box or picnic if you’ll be consuming it on the same day.
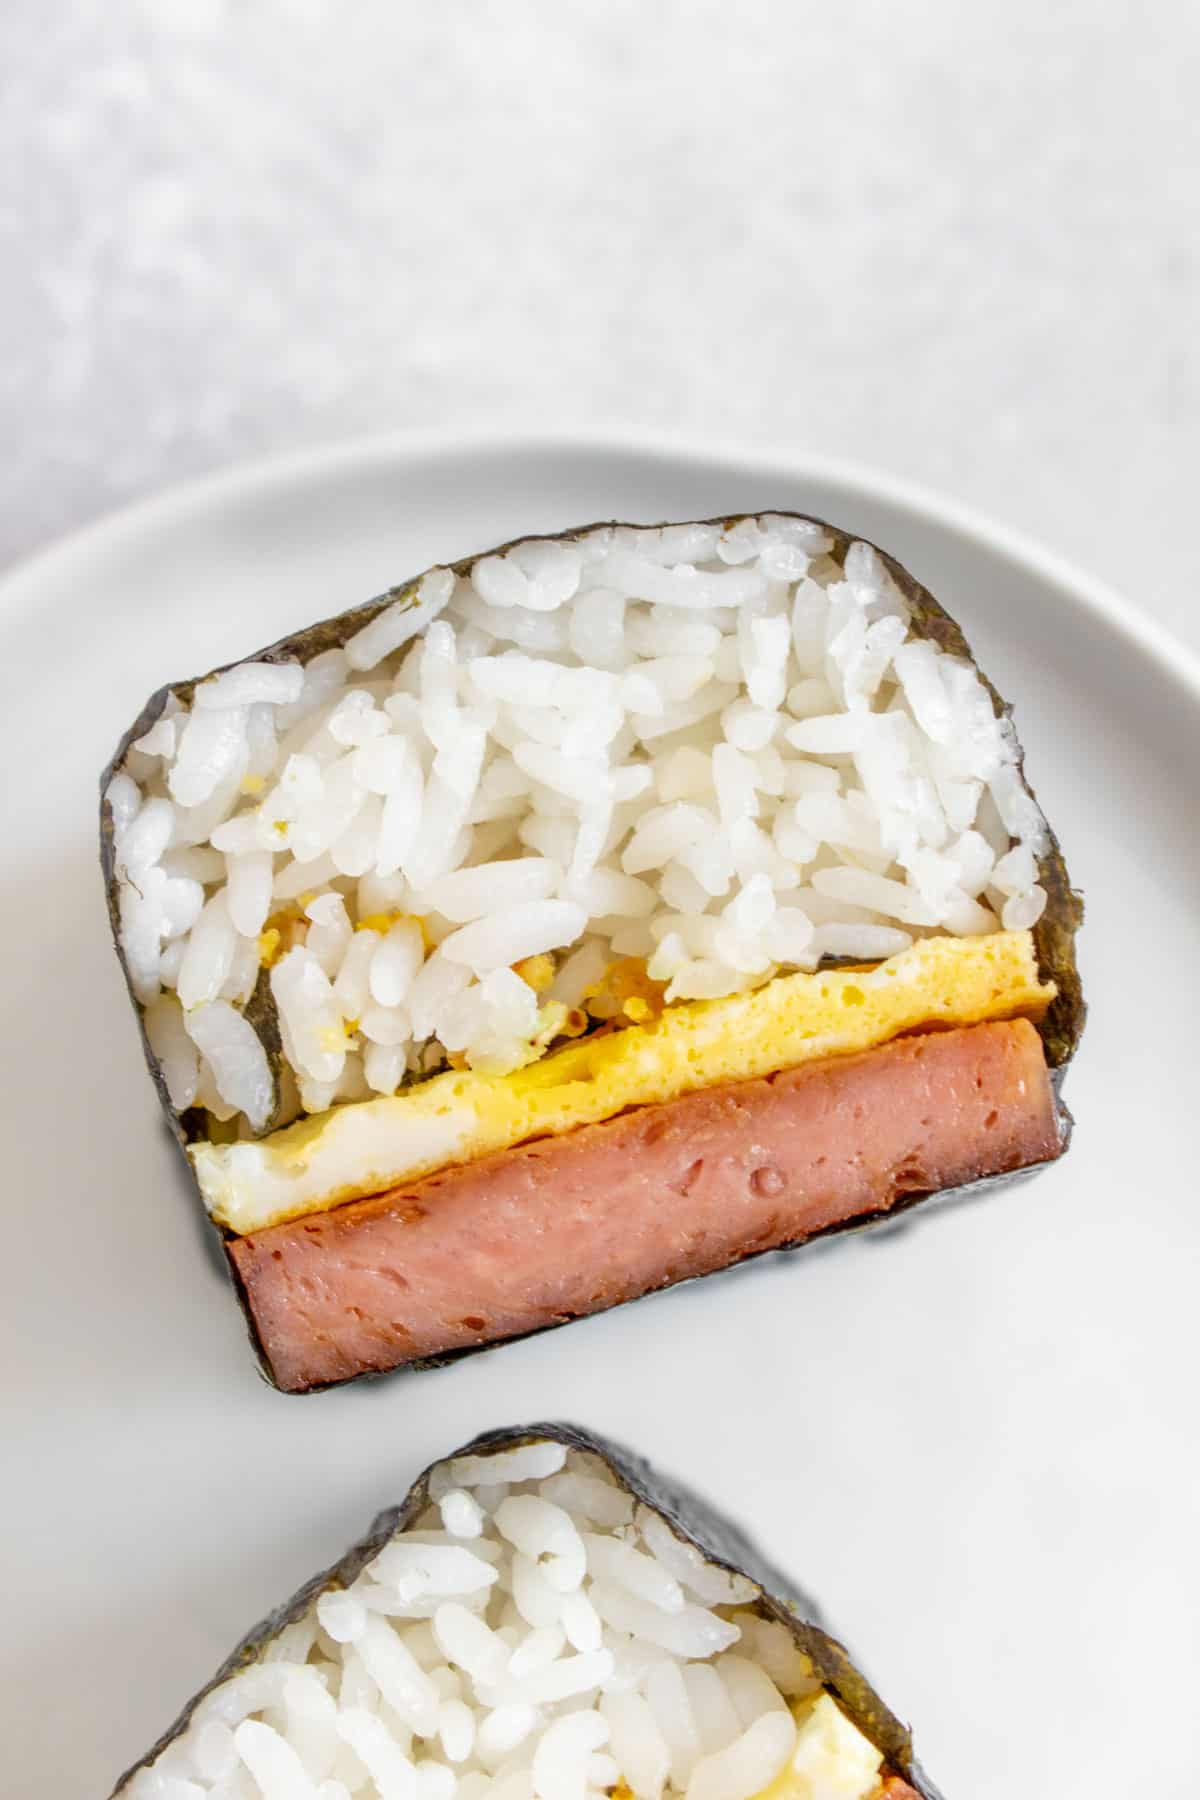
Musubi translates to rice ball in Japanese, so spam musubi is pretty much spam rice balls!
According to Time magazine, “Barbara Funamura, a Japanese-American woman from Hawaii, is credited with having invented Spam musubi, a slice of grilled Spam on top of a block of rice, wrapped together with nori.” However, the Star Bulletin shared that in “Hawaii’s 2nd Spam Cookbook,” Mitsuko Kaneshiro first made them for her children before selling them in the ’80s.
If you don’t have a spam mold, you can still easily make spam musubi. Start by rinsing out the tin can that the spam came in. Then line the inside (roughly, no need to be precise) with plastic wrap. Press the rice into the plastic wrap, using the tin as a mold. Then add the furikake and spam on top. Press down to gently pack everything into the shape of the tin. Cut the nori in half and transfer the rice and spam onto the nori half-sheet by lifting the plastic out of the tin. Wrap it as instructed and repeat with the rest of the spam. The tin is essentially the same shape and makes for the perfect mold.
Spam Musubi with Egg
Ingredients
Equipment
- Musubi Mold or the tin can from the spam
Instructions
Cook the Rice
- Rinse and cook the rice according to the package instructions. I use a rice cooker.
Cook the Spam
- Combine the soy sauce, mirin, and sugar and set aside.
- Slice the can of spam into 8 even slices. I do so by cutting it in half first and cutting each half in half again, twice.
- In a large non-stick pan, place the sliced spam in a single layer and cook on medium for 3 to 5 minutes, until it is golden. Flip over the spam.
- Add the soy sauce mixture to the skillet and let the spam cook for another 3 to 5 minutes.
Cook the Eggs
- Whisk the eggs together. Feel free to add a splash of milk if desired.
- As the spam cooks, lightly grease a skillet and place it over medium-low heat, and add the eggs (in batches if you’re using a small skillet like I am). Let cook for 3 to 5 minutes or until the bottom is set and gently flip it. Slide the eggs out onto a cutting board, and let cool. If you’re using a large round skillet, cut the egg into rectangles that can fit the size of your musubi mold, if you’re using the same pan as I am, you’ll have two rectangles that you can cut into 3, width-wise. You might have a little leftover.
Assembly
- Start with a sheet of plastic wrap laid over your work station. Place the nori sheet, smooth-side down with the slightly longer side on your end and position the musubi mold just a bit under the center.
- Gently add the rice to the mold until it is almost full. Avoid packing it down too much in this step.
- Sprinkle furikake over the rice. You can be as generous as you’d like.
- Add the cut egg pieces on top to fill the mold.
- Place two pieces of spam on top, side by side, in the mold.
- Place the musubi mold lid on top and gently press down. Lift the mold off the musubi and then remove the lid.
- Fold up the nori sheet and wrap up the spam musubi. You can then roll up the musubi in the plastic wrap for a few minutes to help it hold its shape. Repeat with the rest of the spam and rice. Slice the whole roll into 2 or 4 before serving.
- Optional: Brush a little bit of water on the top of the nori sheet to help the wrap hold. However, I find that I don’t need to do this if I wrap it with the plastic wrap.
Nutrition Per Serving
More Recipes to Try
- Japanese Corn Rice
- Teriyaki Chicken Skewers
- Teriyaki Salmon (Air Fryer)
- Tempura Udon
- Yaki Udon
- Agedashi Tofu
- Hibachi Shrimp with Fried Rice
- Hibachi Chicken with Fried Rice
- Soy Sauce Eggs
- Spam Musubi
Other places to connect with me
@carmyshungry on Instagram
Facebook
Shop my Amazon faves
Email: [email protected]
Leave a Reply