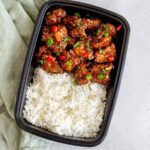
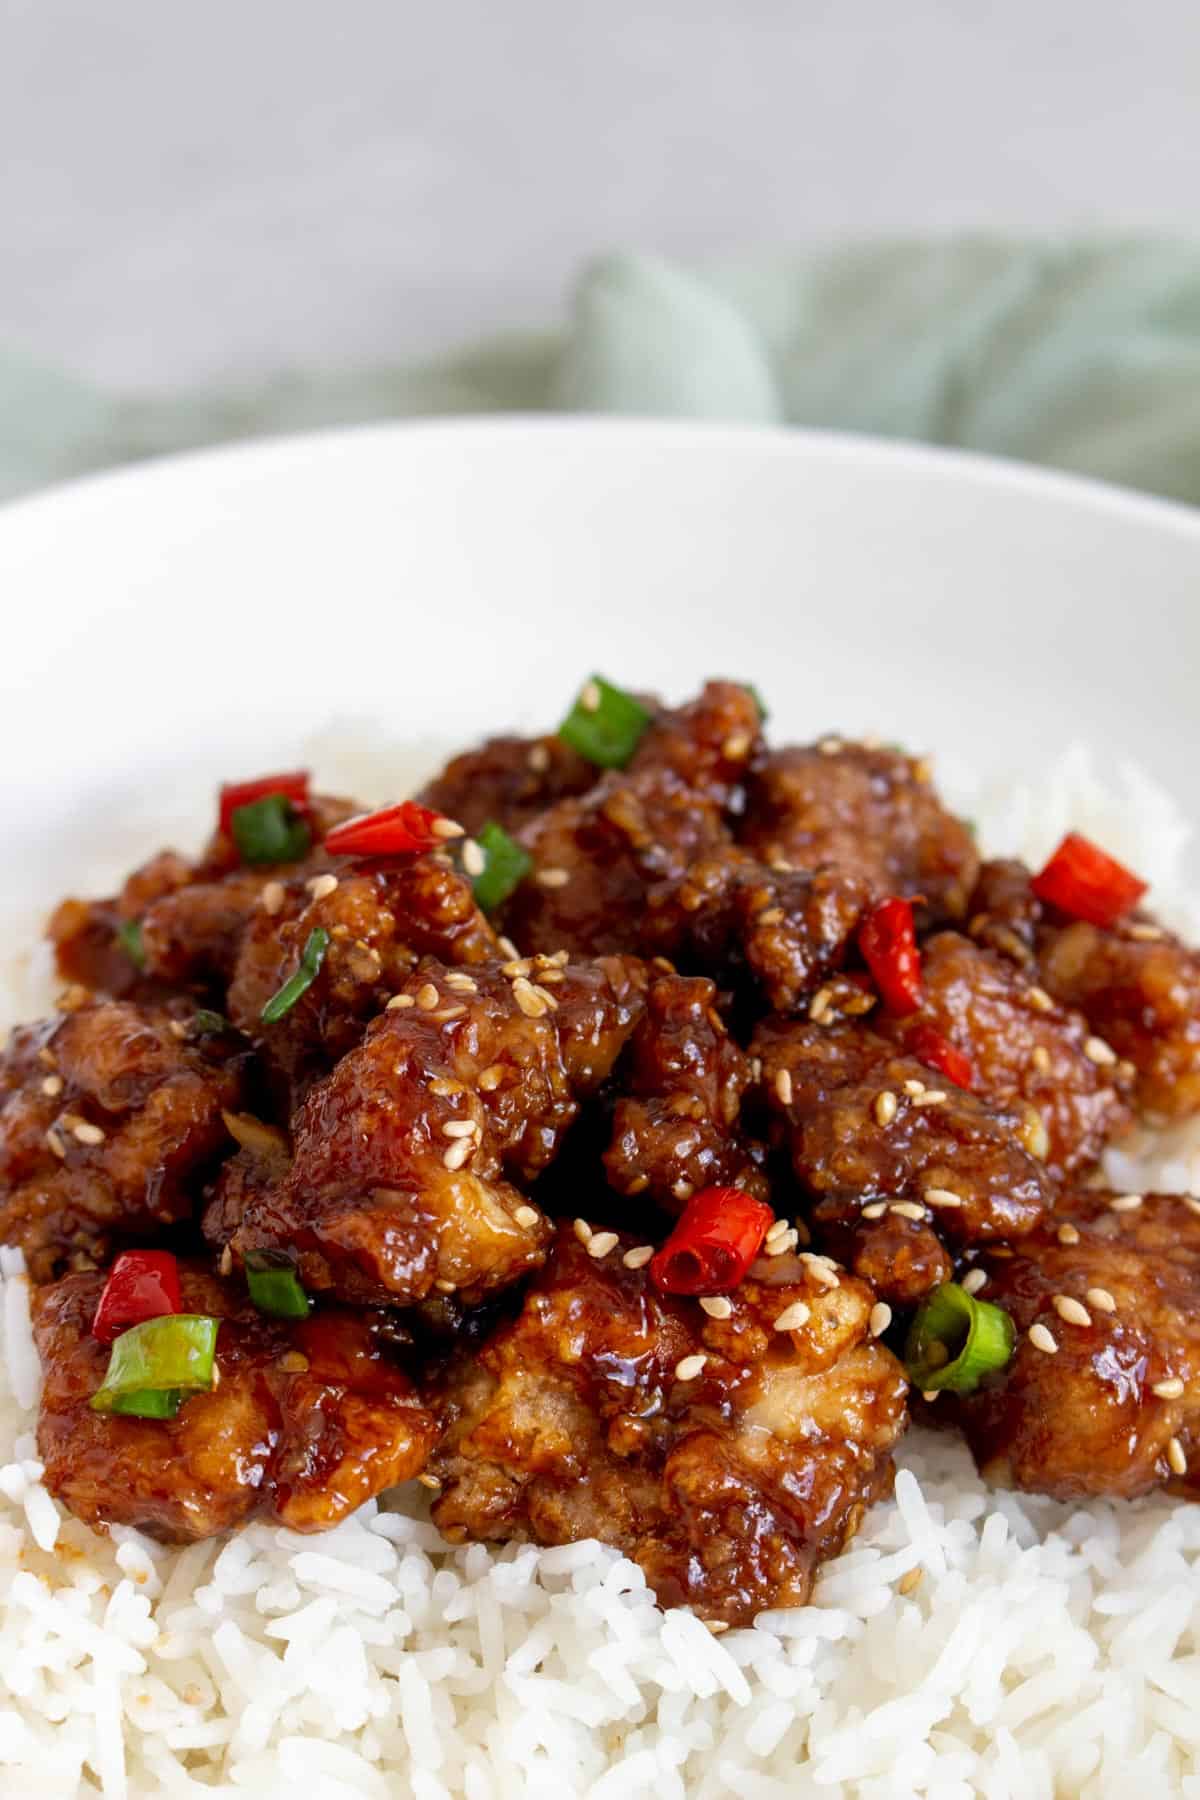
Made with a few simple ingredients, this Mongolian Chicken comes together in a few easy steps. Crispy fried chicken coated in a sauce that’s slightly spicy, sweet, and savoury, this easy Mongolian chicken recipe is bursting with flavour. Make this classic takeout at home in no time!

Why You’ll Love This Chicken Recipe
- Is it just me, or has takeout gotten super expensive recently? This Mongolian chicken is just like takeout but at a fraction of the price! I highly recommend trying to make this at home.
- All you need are a few simple ingredients. I had everything already at home in my fridge, pantry, and freezer, so I didn’t even have to head out to the store!
- Full of flavour, you’ll want to eat every last bite of this Mongolian chicken. Crispy on the outside and coated in a sticky, flavourful sauce, you won’t be able to stop yourself from sneaking a few bites before serving it.
Ingredients You’ll Need
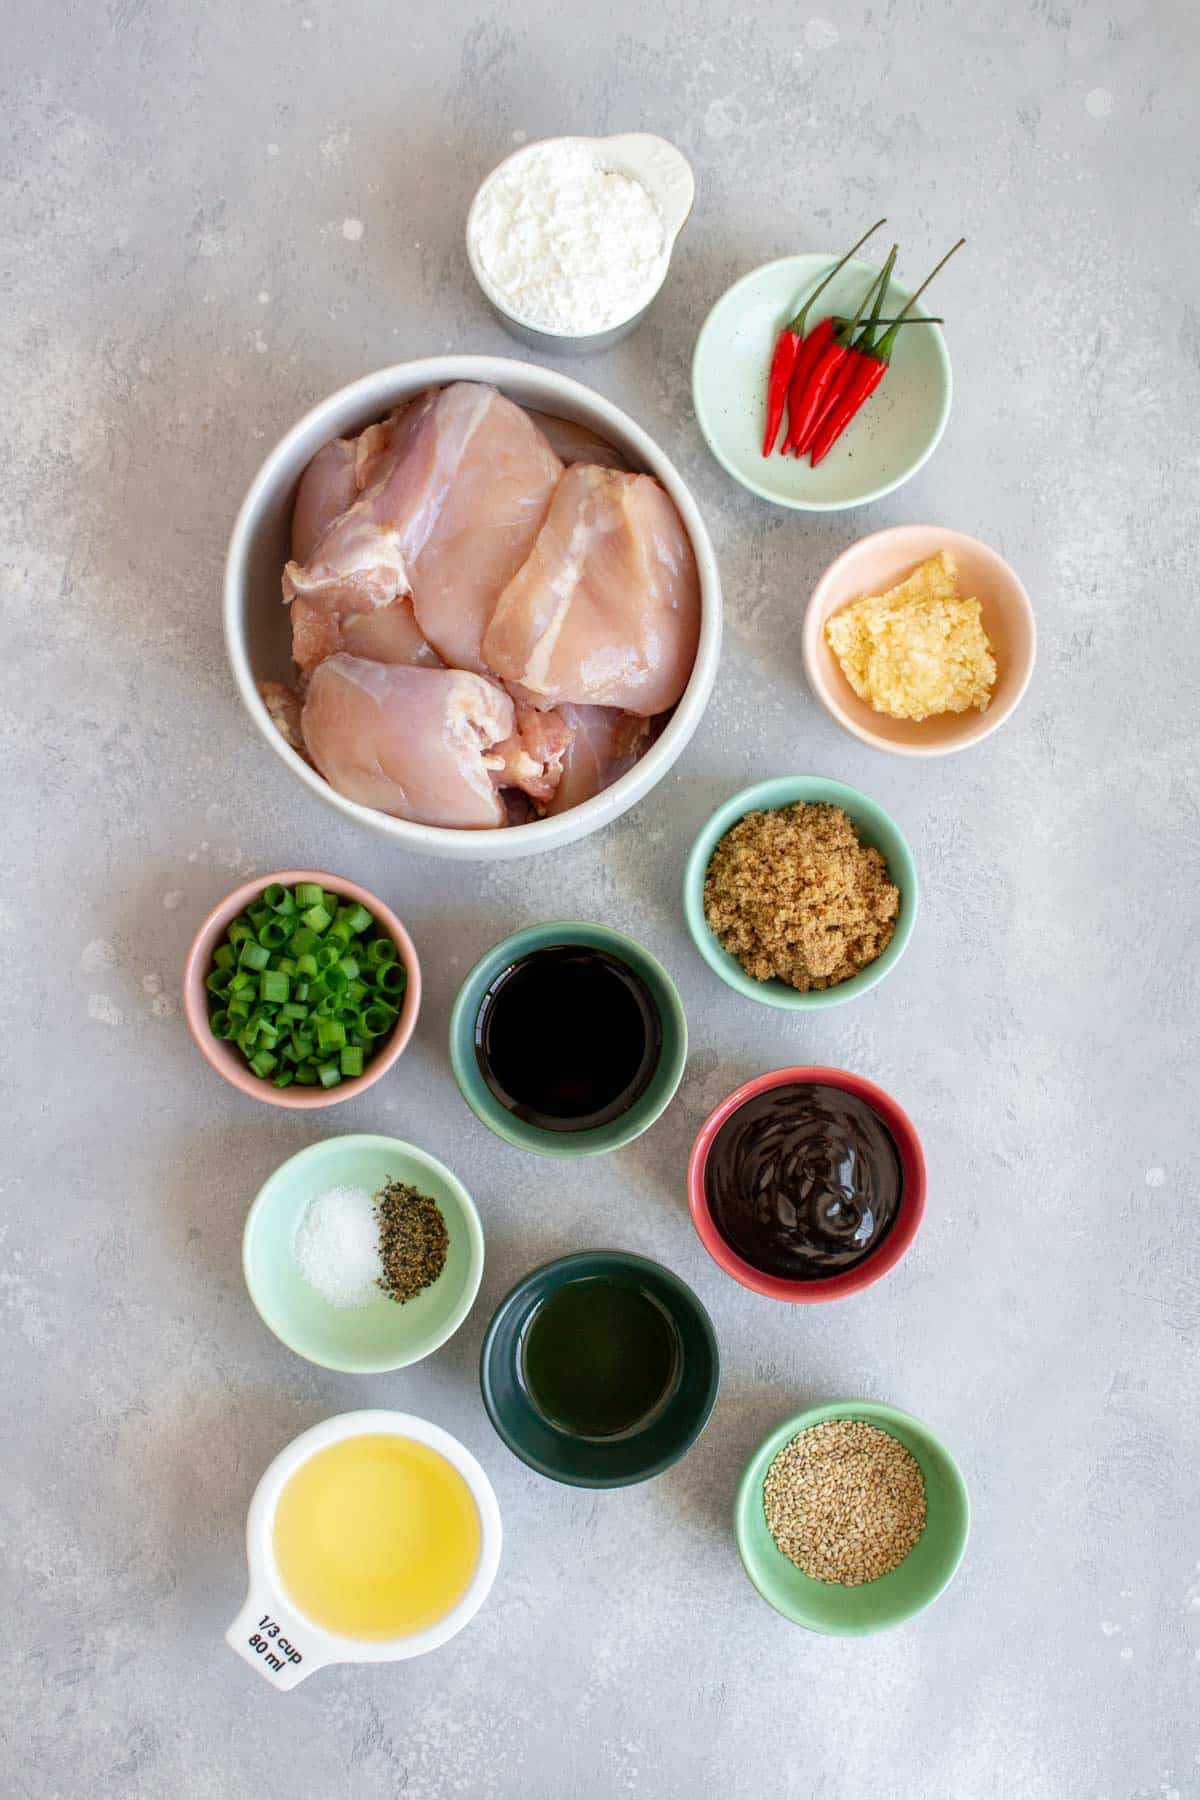
- hoisin sauce — this adds a salty and sweet flavour to the sauce.
- soy sauce — you can use regular or light soy sauce for this recipe.
- brown sugar — to add sweetness to the sauce.
- sesame oil — for an extra nutty flavour.
- chicken thighs — I prefer using boneless, skinless chicken thighs for super flavourful bites of Mongolian chicken but you can also use chicken breasts.
- cornstarch — to give the chicken that crispy exterior.
- vegetable oil — to fry the chicken in. Feel free to use a different oil such as peanut oil.
- garlic — I like to pre-mince and freeze my own garlic! It’s super convenient and tastes way better than store-bought minced garlic.
- red Thai chili peppers — while Mongolian chicken usually uses dried chili peppers, it’s difficult for me to find locally, so I use red Thai chili peppers.
- green onions and toasted sesame seeds — for garnish.
How to Make Mongolian Chicken
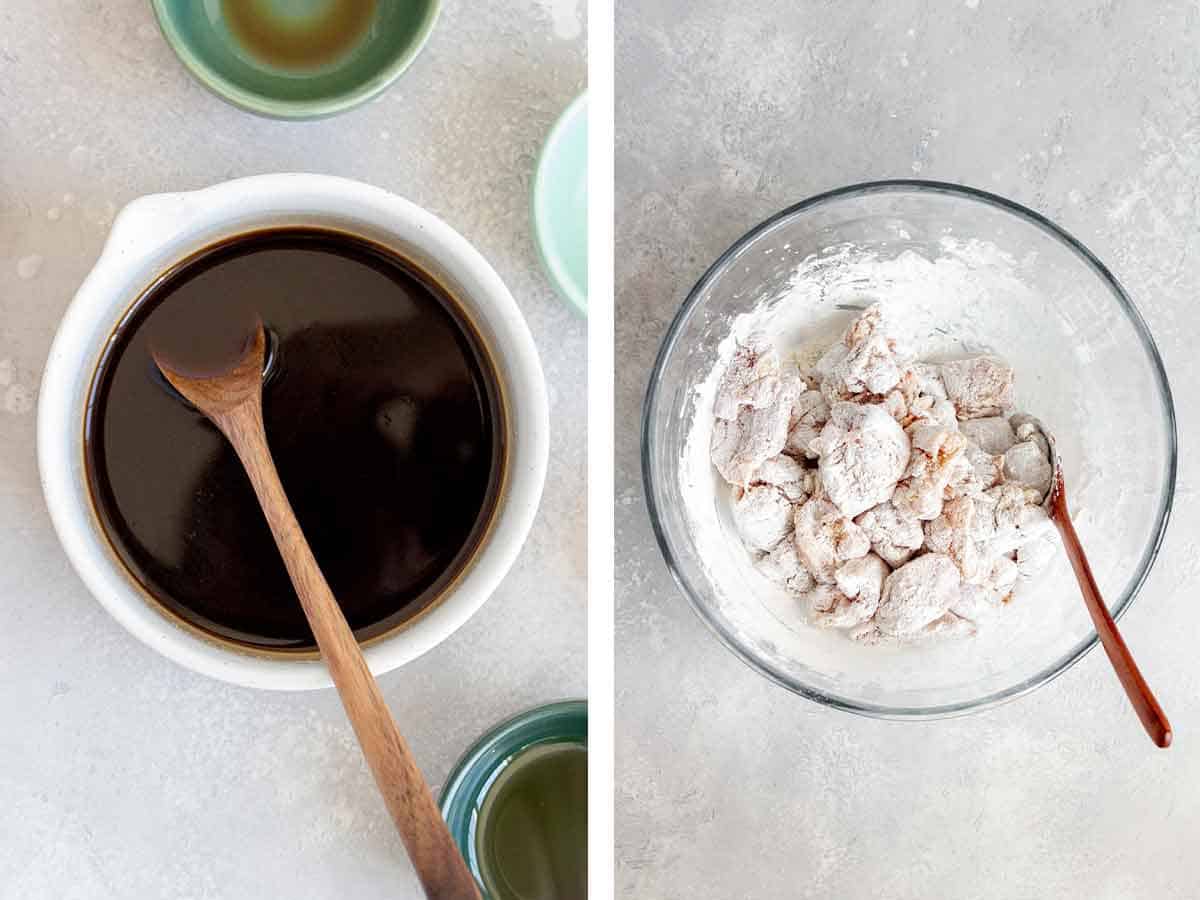
- In a small bowl, combine hoisin sauce, soy sauce, brown sugar, sesame oil, and 2 tablespoons of water. Set aside.
- Make a cornstarch slurry by combining a tablespoon of cornstarch with a tablespoon of water. Set aside.
- In a large bowl, season the chicken cubes with salt and pepper before coating the chicken with the cornstarch.
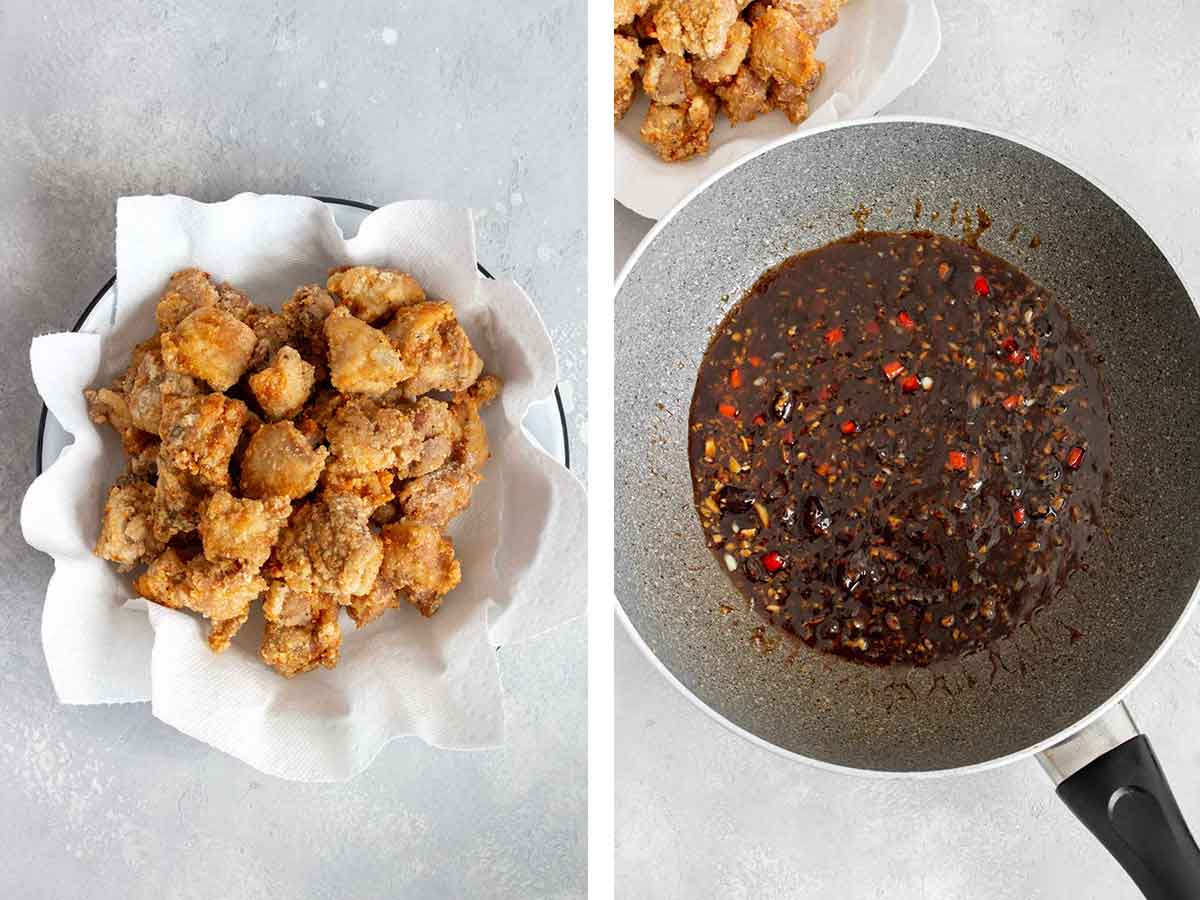
- In a large skillet, heat up the vegetable oil over medium heat until hot. Then, add the cornstarch-coated chicken into the skillet in a single layer (cook in batches as to not overcrowd the pan). Fry the chicken for around 5 to 6 minutes per side or until the chicken is golden and crispy, flipping once.
- Once the chicken is done frying, discard the oil, leaving around a tablespoon left, or add a new tablespoon of oil. Saute the garlic for 30 seconds and then add the red chili peppers. Cook for another 30 seconds before adding the sauce and cornstarch slurry. Let the sauce simmer for a minute or until thickened.
- Add the fried chicken pieces into the sauce and toss to coat. Garnish with the green onions and sesame seeds.

Recipe Tips and Notes
- You will have to give the cornstarch slurry another quick mix before adding it to the sauce.
- Once I’ve added the chicken in a single layer to the skillet, I do not touch it until it’s time to flip it. This ensures each side gets a chance to get a beautiful golden crust on the outside.
- If you’re a fan of ginger, feel free to add it. I’m pretty indifferent to it so I don’t add it to most of my recipes.
- I serve my orange chicken with jasmine rice but it’s up to you what you’d like to serve it with.
- Make sure you prepare everything before you start cooking. The recipe moves fast so you won’t have time to prep while cooking.
- Have extra vegetables on hand? Simply throw them in and stir fry them with the chicken.
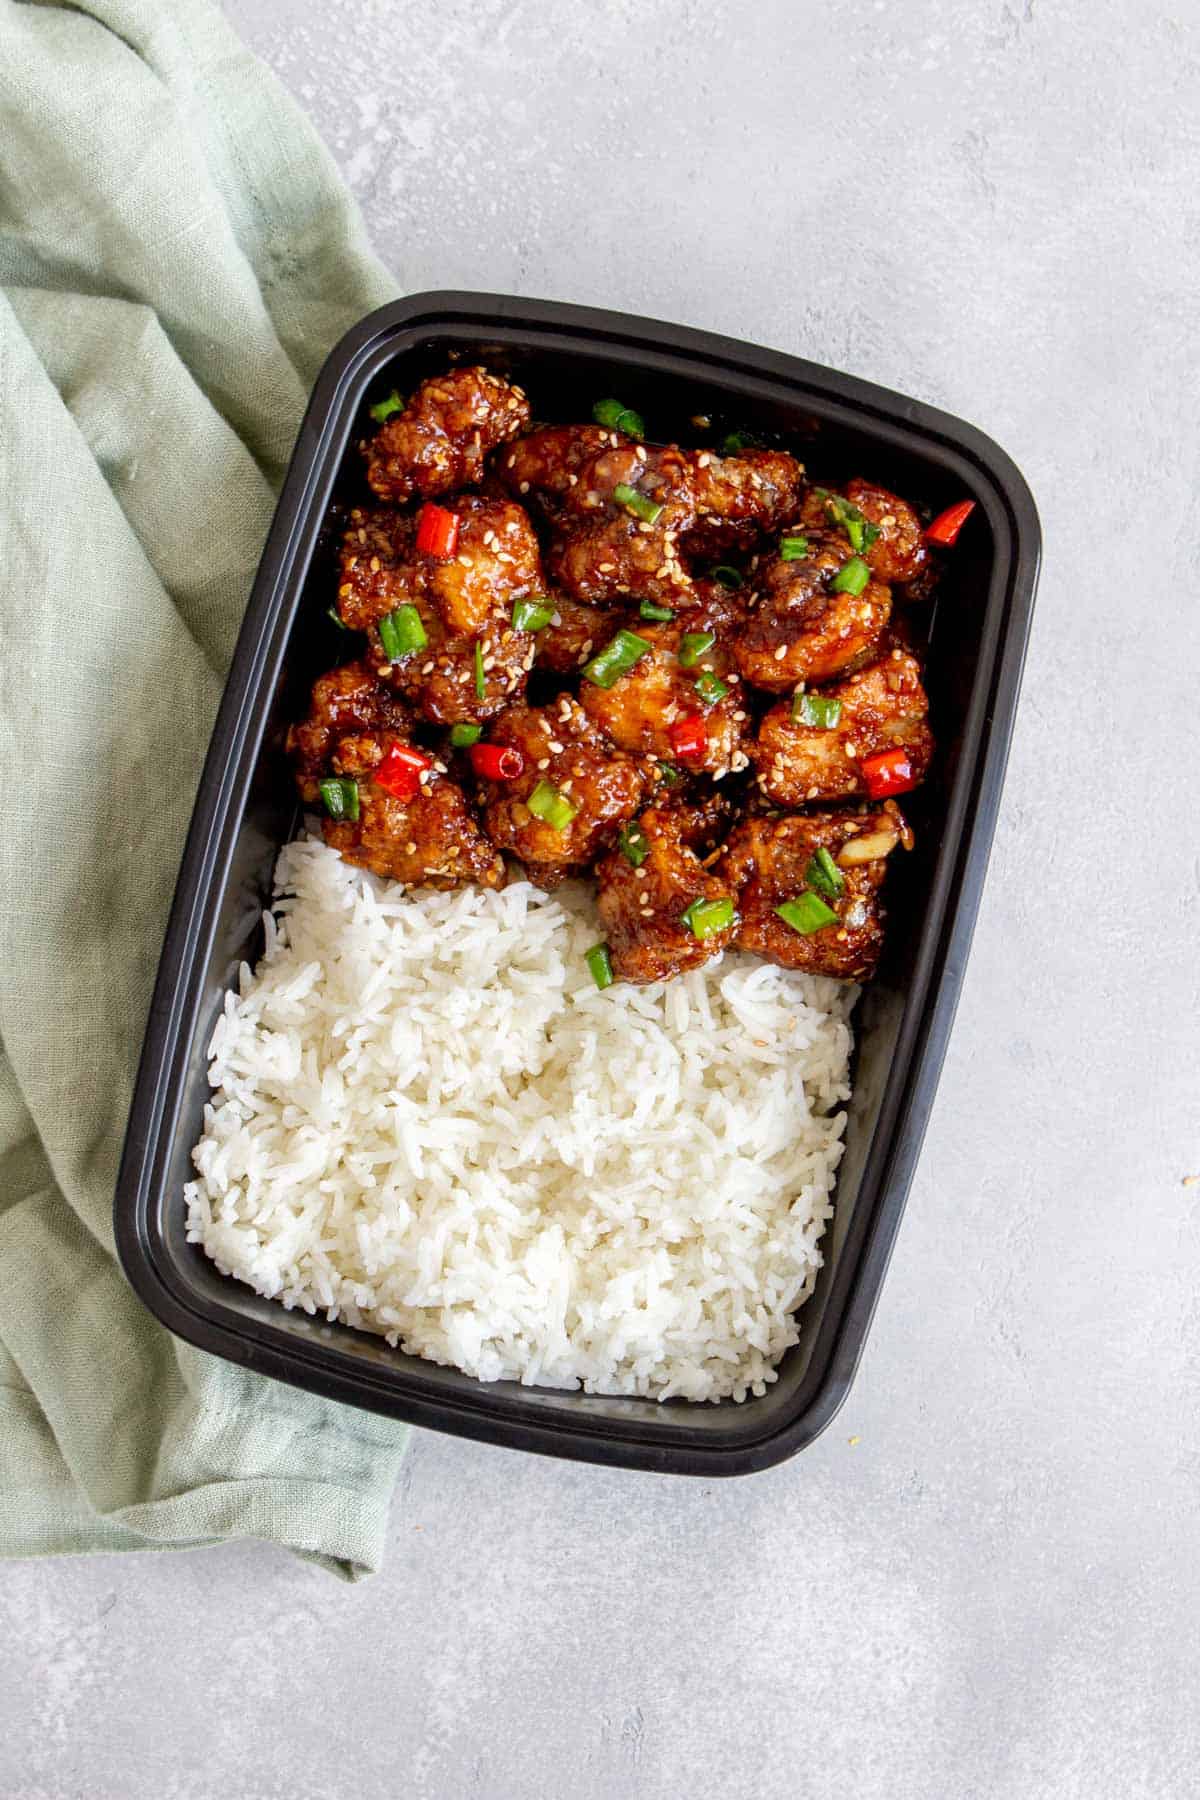
Make Ahead Tips
- Make ahead: if you would like to make your Mongolian chicken ahead of time, skip coating your chicken in the orange sauce to avoid it getting soggy. Store separately in the fridge. When ready to enjoy, add all the cooked chicken back into an air fryer or toaster oven to crisp it back up and reheat the sauce in the microwave or stovetop.
- Store in an airtight container for up to 3 days in the fridge.
- Meal prep: if you don’t might your chicken to be a little bit softer, you can meal prep this. If you have access to an air fryer or toaster oven, you can crisp it back up at lunch! Alternatively, you can keep the chicken and sauce separate and combine them at lunch. Or if it doesn’t bother you, simply just pack up the Mongolian chicken with rice and call it a day!

Click here to sign up to stay up to date with new recipes sent straight to your inbox PLUS a free ebook with 10 easy chicken recipes!
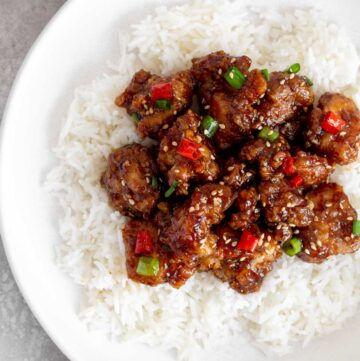
Mongolian Chicken
Made with a few simple ingredients, this Mongolian Chicken comes together in a few easy steps. Crispy fried chicken coated in a sauce that’s slightly spicy, sweet, and savoury, this easy Mongolian chicken recipe is bursting with flavour. Make this classic takeout at home in no time!
Print Recipe
Rate this Recipe
Servings: 4 servings
Ingredients
For the Sauce
- 3-4 tablespoons hoisin sauce
- 2 tablespoons soy sauce
- 3 tablespoons brown sugar
- 1 tablespoon sesame oil
- 2 tablespoons water
For the Cornstarch Slurry
- 1 tablespoon cornstarch
- 1 tablespoon water
For the Chicken
- 6-8 boneless, skinless chicken thighs, cut into cubes
- ½ teaspoon salt
- ½ teaspoon pepper
- ⅓ cup cornstarch
- ⅓ cup vegetable oil
- 3-4 cloves garlic, minced
- 3-4 green onions, sliced
- 4 red Thai chili pepper, sliced
Instructions
- In a small bowl, combine hoisin sauce, soy sauce, brown sugar, sesame oil, and 2 tablespoons of water. Set aside.
- Make a cornstarch slurry by combining a tablespoon of cornstarch with a tablespoon of water. Set aside.
- In a large bowl, season the chicken cubes with salt and pepper before coating the chicken with the cornstarch.
- In a large skillet, heat up the vegetable oil over medium heat until hot. Then, add the cornstarch-coated chicken into the skillet in a single layer (cook in batches as to not overcrowd the pan). Fry the chicken for around 5 to 6 minutes per side or until the chicken is golden and crispy, flipping once.
- Once the chicken is done frying, discard the oil, leaving around a tablespoon left, or add a new tablespoon of oil. Saute the garlic for 30 seconds and then add the red chili peppers. Cook for another 30 seconds before adding the sauce and cornstarch slurry. Let the sauce simmer for a minute or until thickened.
- Add the fried chicken pieces into the sauce and toss to coat. Garnish with the green onions and sesame seeds.
Notes
- Recipe adapted from Woks of Life.
Tried this recipe?Did you make this recipe? I’m always so happy to hear about it! I’d love to see how it turned out. Tag me at @CarmysHungry on Instagram so I can see it! If you enjoyed the recipe, I’d really appreciate a comment with a 5 star rating! ♥
Nutrition Per Serving
Calories: 501kcal | Carbohydrates: 28g | Protein: 34g | Fat: 28g | Saturated Fat: 5g | Polyunsaturated Fat: 13g | Monounsaturated Fat: 7g | Trans Fat: 1g | Cholesterol: 161mg | Sodium: 640mg | Potassium: 514mg | Fiber: 1g | Sugar: 12g | Vitamin A: 167IU | Vitamin C: 10mg | Calcium: 41mg | Iron: 2mg
More Recipes to Try
- Beef and Onions
- Air Fryer Orange Chicken
- Black Pepper Beef
- Sticky Orange Glazed Chicken Thighs
- Crispy Sesame Chicken
- Hibachi Shrimp with Fried Rice
- Hibachi Chicken with Fried Rice
- Chow Mein
- Shrimp Stir Fry with Noodles
Other places to connect with me
@carmyshungry on Instagram
Facebook
Shop my Amazon faves
Email: [email protected]
Leave a Reply