
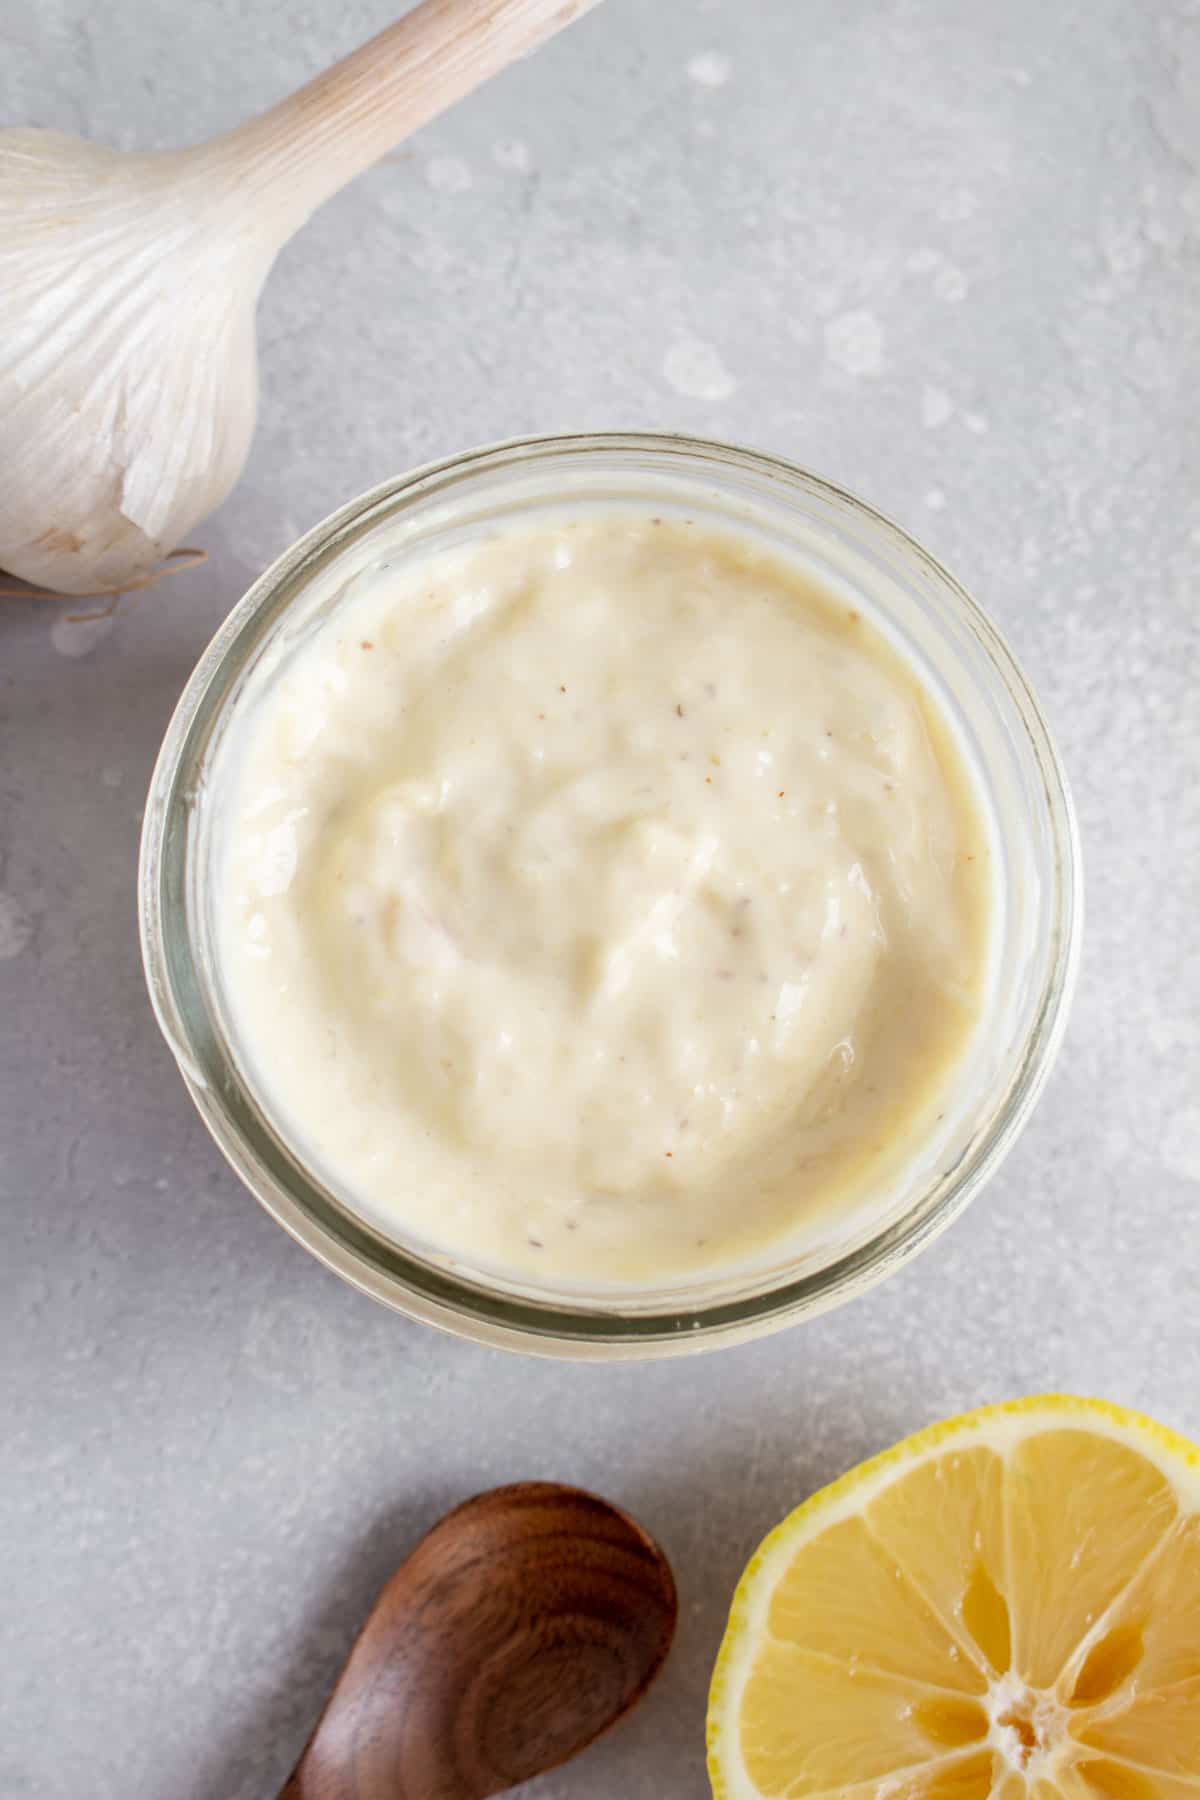
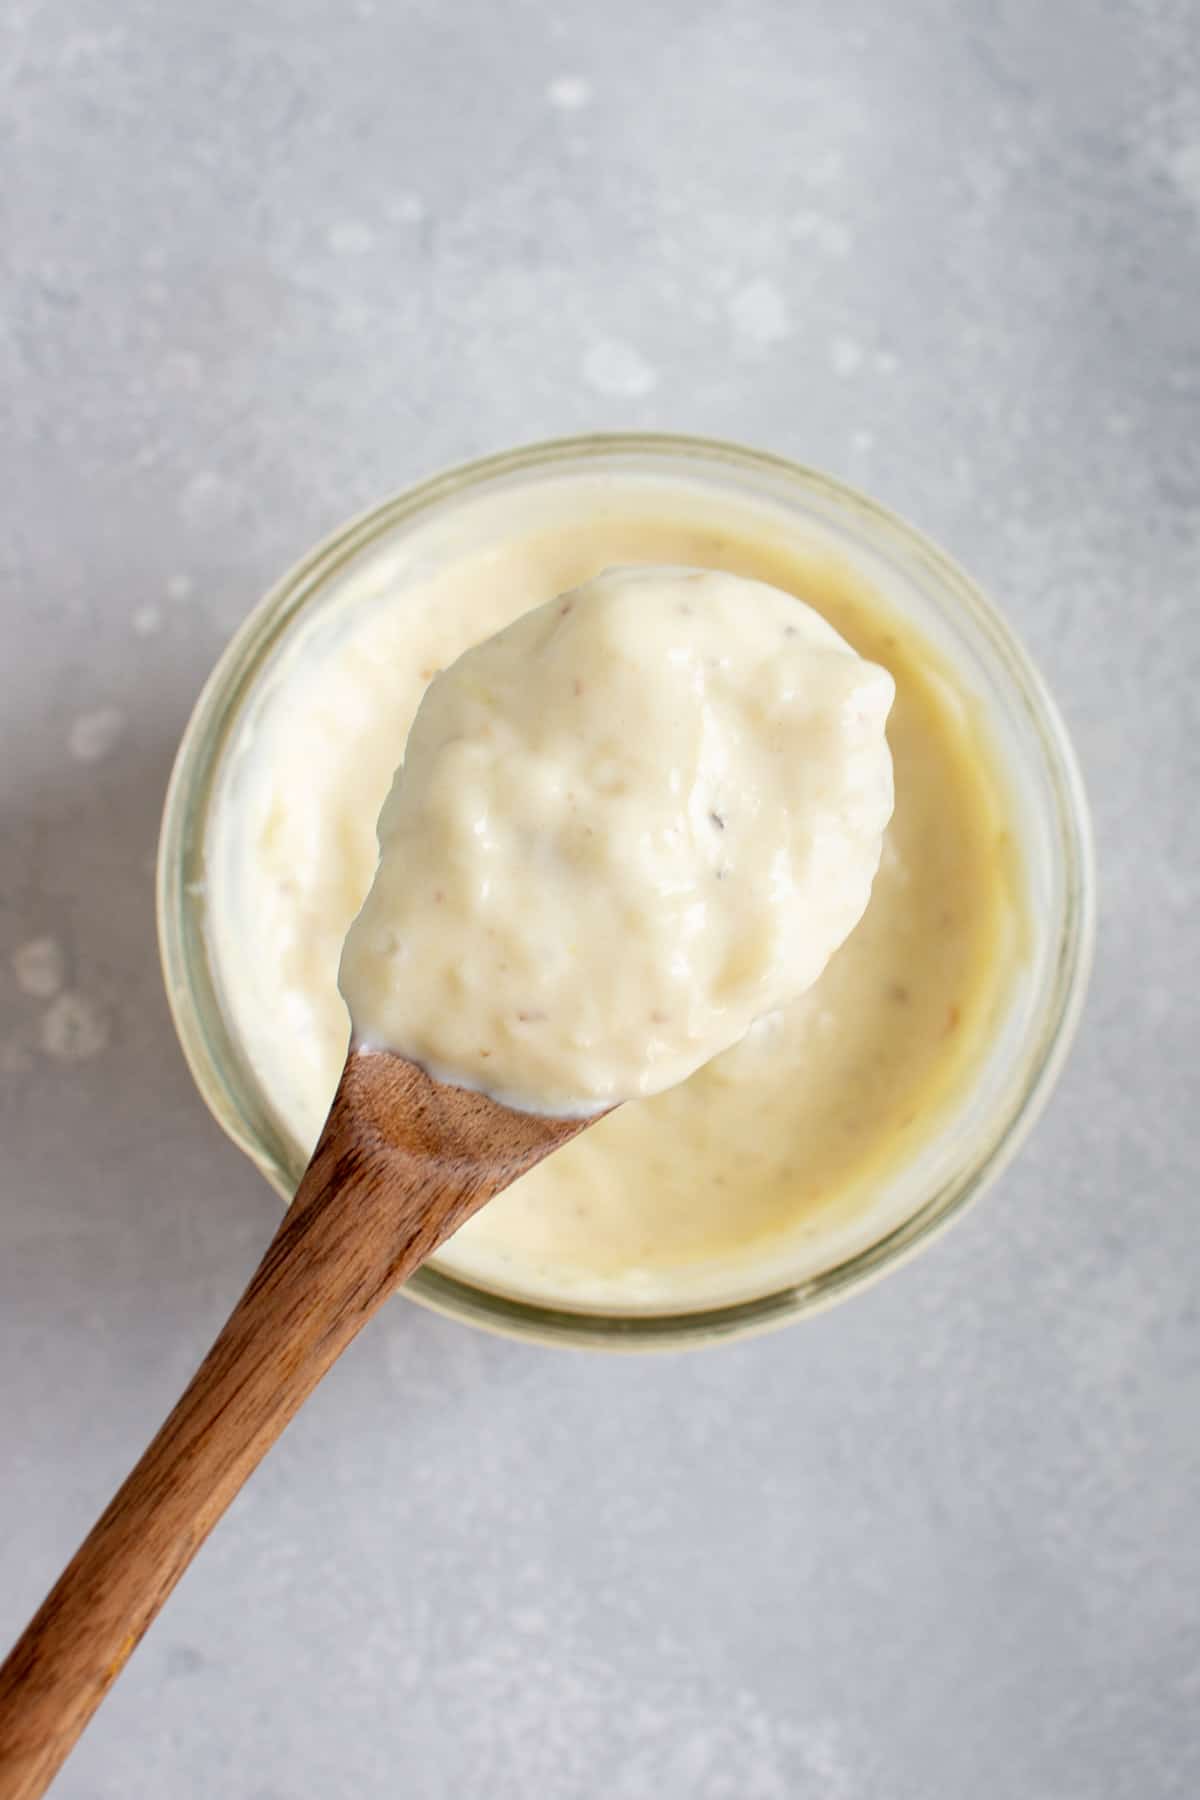
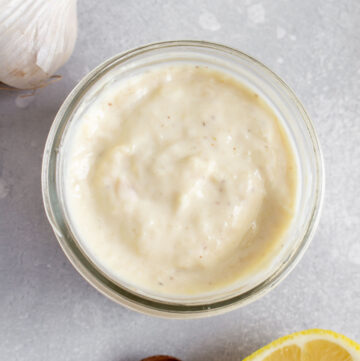
Creamy, garlicky, and flavorful, this homemade Roasted Garlic Aioli is so easy to make. Thanks to the combination of roasted garlic, mayonnaise, and lemon juice, this aioli is bright, tangy, and goes with everything. It’s perfect as a dipping sauce or as a flavorful spread that comes together in around or less than 30 minutes.
If there’s one thing that I always have in my kitchen, it’s garlic. I will make H take me to the yearly garlic festive to stock up with garlic from the local farmers. That’s how much I love garlic. A delicious thing I love making with garlic is this roasted garlic aioli. It’s so tasty and goes with everything.
Why You’ll Love This Recipe
- Aioli is so versatile. You can use it as a condiment and serve it with fries, serve it with vegetables, spread it on bread, and more! I even use it as I would with mayo for grilled cheese.
- It comes together super easily. You simply roast the garlic, then mix everything together.
- I won’t say that this is way better than store-bought because there’s a local place that makes theirs from locally grown garlic, and it is amazing, but this homemade roasted garlic aioli is pretty dang good. You’ll be inhaling all of it immediately!
Ingredients You’ll Need
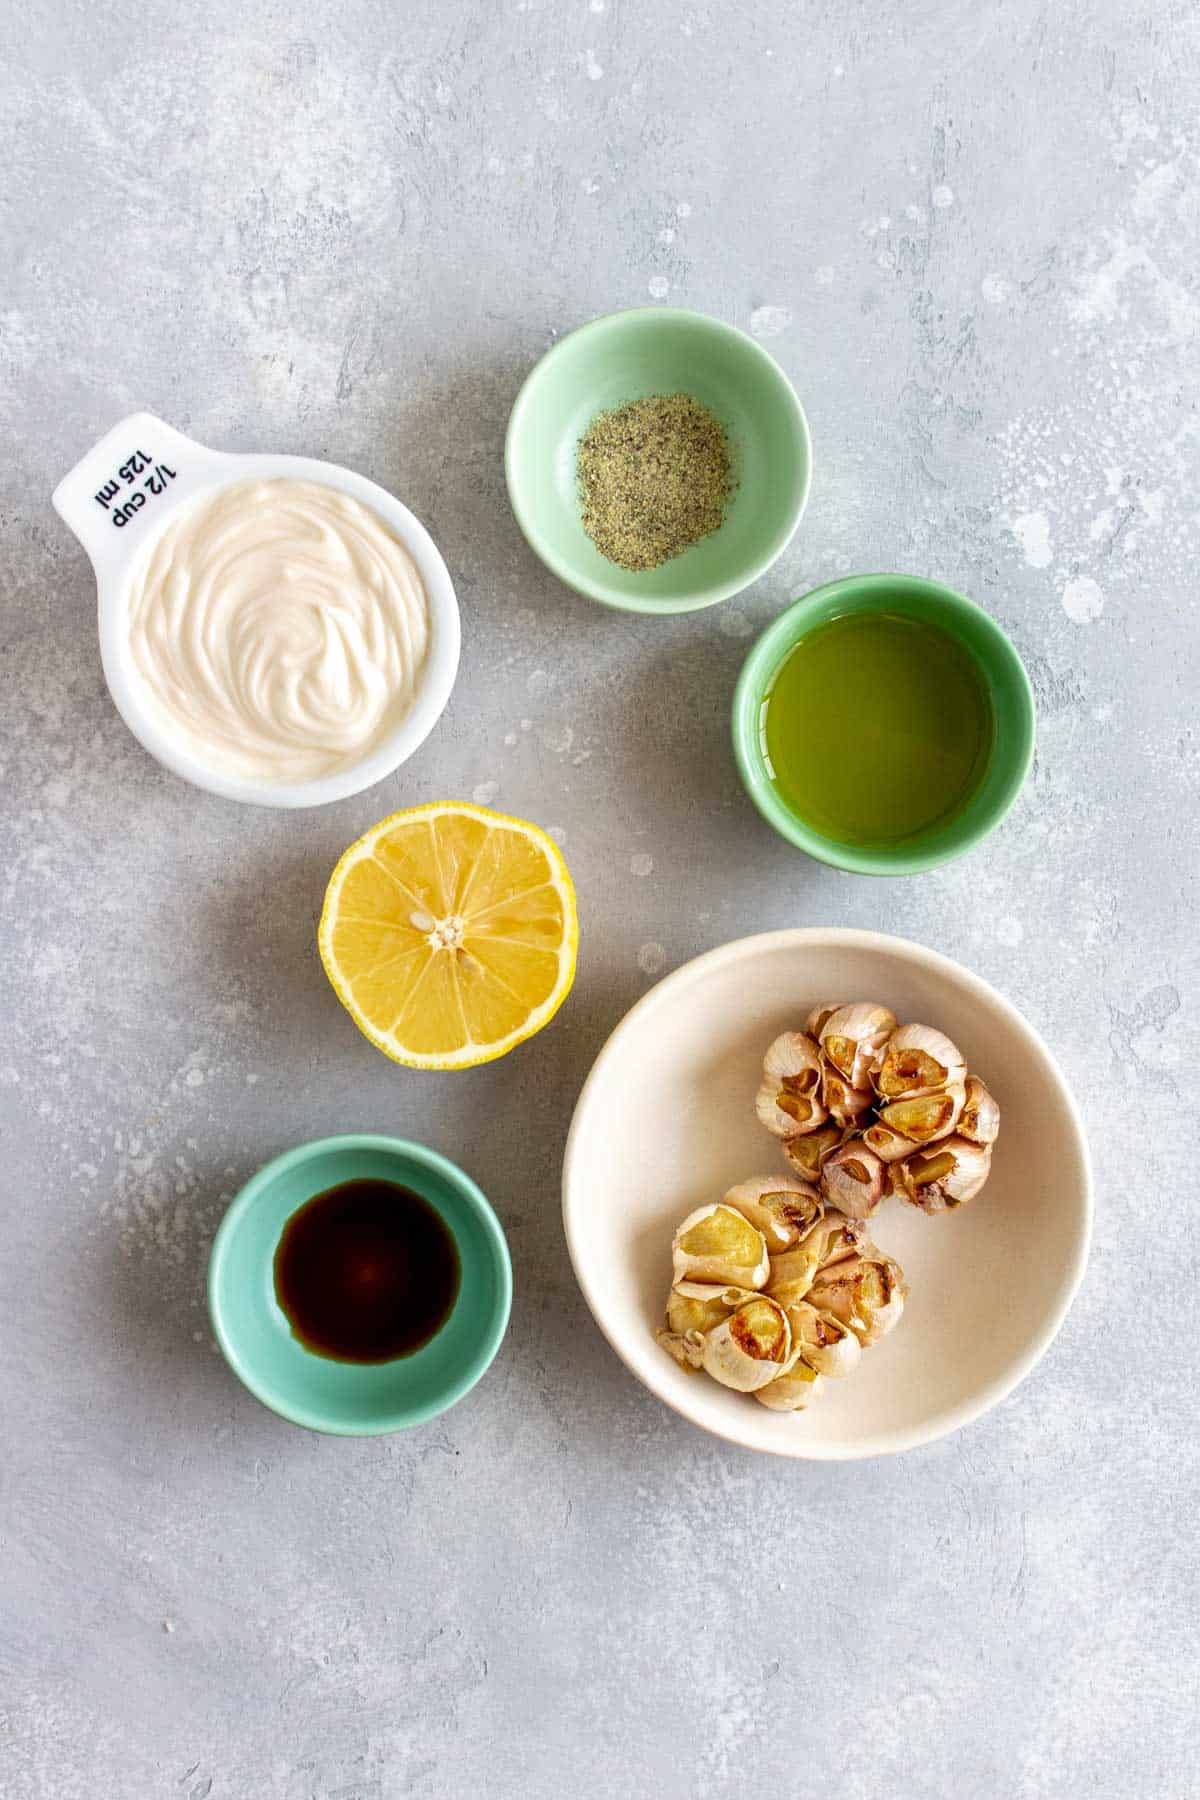
- roasted garlic — you can roast garlic in the oven or roast garlic in the air fryer. It does require a little extra time, but it tastes amazing. You can always prepare this ahead of time, as roasted garlic can be stored in the fridge for up to a week.
- oil — you can use olive oil or any netural oil you’d like. Sunflower oil is a great option for the aioli.
- mayonnaise — using mayonnaise means we don’t have to emulsify eggs with oil etc.
- lemon juice — I love the tang you get some lemon juice. You need to use fresh lemon. Bottled lemon juice does not have the same brightness or fresh taste.
- pepper — I use white pepper just because it blends into the aioli. You can use black pepper as well.
- Worcestershire sauce — all you need is a dash of Worcestershire sauce for some savoury umami flavor.
How to Make Roasted Garlic Aioli
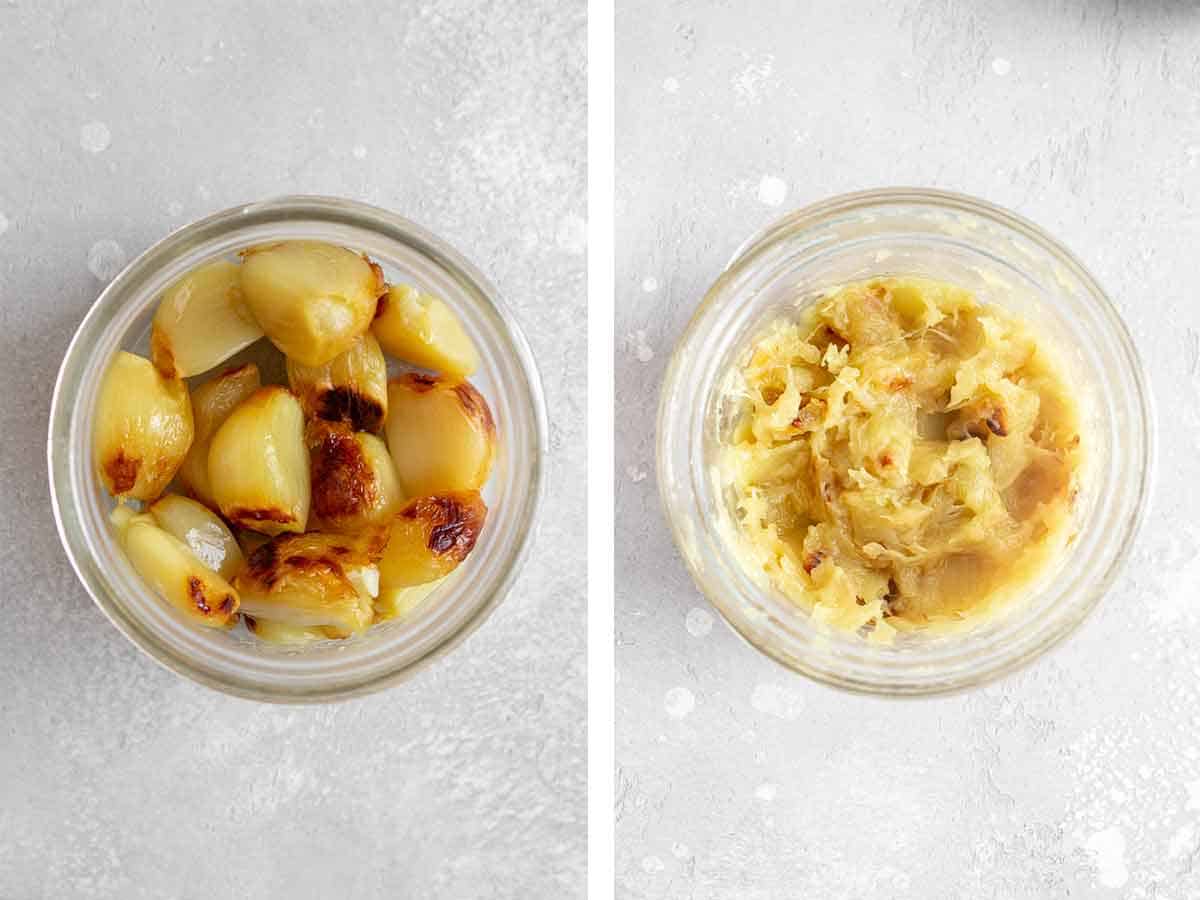
- In a small bowl or container, add the roasted garlic.
- Mash the garlic until they’re no longer whole.
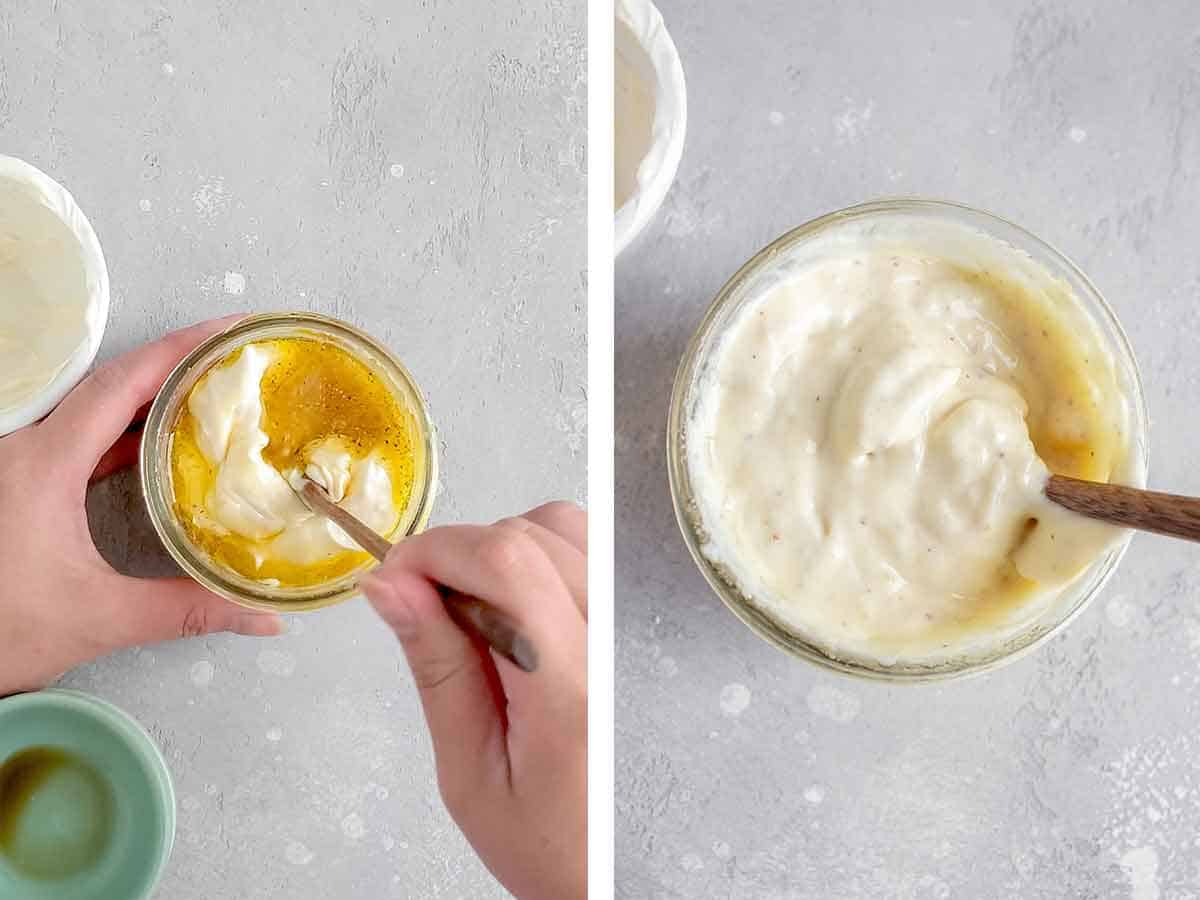
- Add the oil, mayonnaise, lemon juice, pepper, and Worcestershire sauce to the mashed roasted garlic.
- Mix until well combined.
Recipe Tips and Notes
- You can use a mortar and pestle to mash the garlic but I used a honey dipper since it was the first thing I found haha. You can also use the stick end of a thick wooden spoon or small rolling pin as well. Anything that can easily mash the garlic.
- For some extra spice, you can add chipotle powder, a pinch of cayenne pepper, sriracha, or even gochujang to the roasted garlic aioli.
- Fresh herbs such as chives or rosemary make for a delicious addition to the aioli.
- I like refrigerating the aioli for 10 to 20 minutes after making it and before serving it so the flavours have time to meld together. You can use it right after making it but the flavour won’t be as strong.
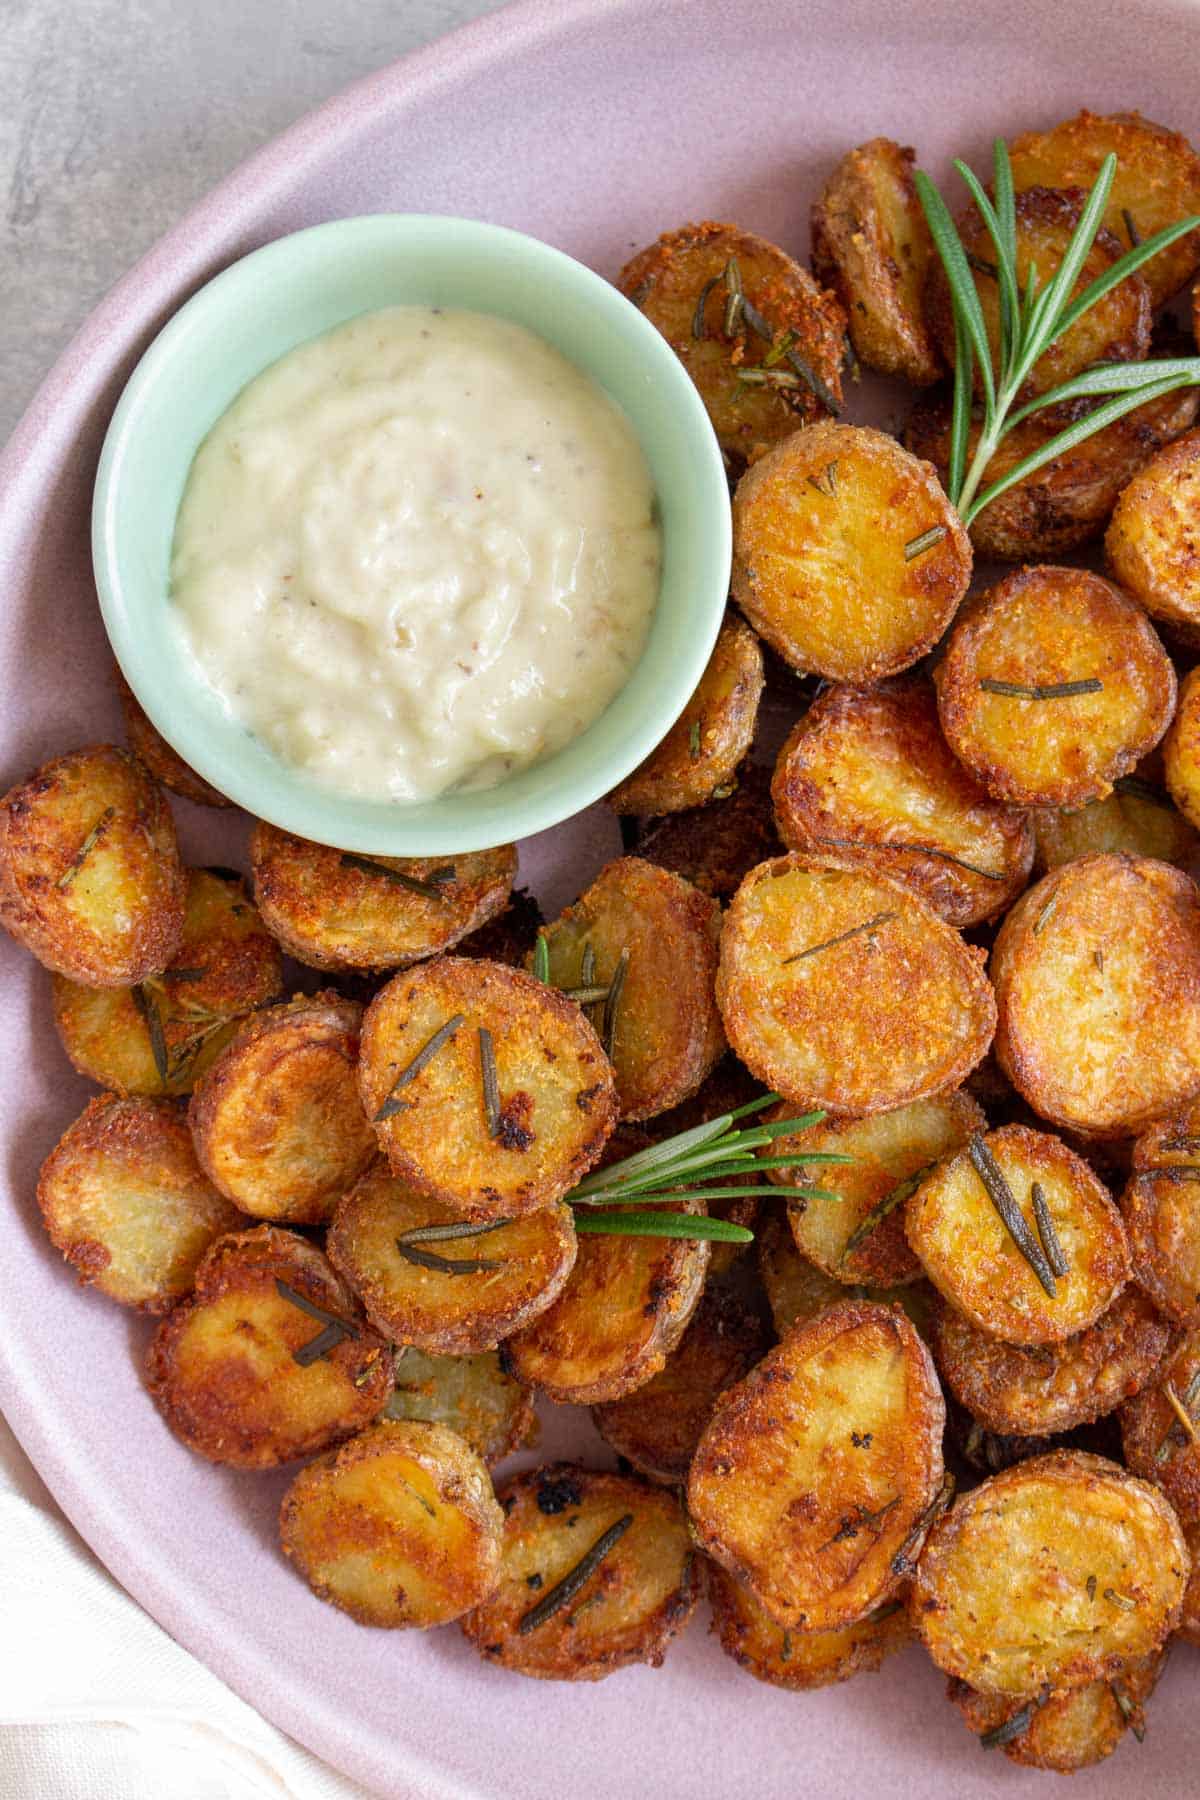
- I love serving the roasted garlic aioli with crispy potatoes, chicken, fish, fries, and more. It truly goes with everything!
- To store: Keep the roasted garlic aioli in an airtight container in the fridge for up to a week. I do not recommend freezing the aioli as it may split when thawed.
Aioli is a French emulsion that is creamy and rich. It’s traditionally made with raw eggs, olive oil, salt, garlic, and lemon juice. This roasted garlic aioli is made with mayonnaise, which is also an emulsion itself, to skip us having to do it.
Roasted Garlic Aioli
Ingredients
- 2 heads roasted garlic
- 2 tbsp olive oil
- ½ cup mayo, full fat
- 2 tbsp lemon juice
- ¼ tsp pepper, I use white pepper
- ½ tsp Worcestershire sauce
Instructions
- In a small bowl or container, add the roasted garlic. Mash the garlic until they’re no longer whole.
- Add the oil, mayonnaise, lemon juice, pepper, and Worcestershire sauce to the mashed roasted garlic.
- Mix until well combined.
Notes
- To make the roasted garlic, cut off the tops of the garlic bulb. Drizzle with oil and a pinch of salt. Air fry at 400F for 20 to 25 minutes. For more information, see my posts here on how you can roast garlic in the oven or roast garlic in the air fryer.
Nutrition Per Serving
More Garlic Recipes to Try
- Garlic Shrimp Stir Fry
- Rosemary and Garlic Focaccia
- Korean Cream Cheese Garlic Bread
- Air Fryer Garlic Bread
- How to Freeze Garlic
- Roasted Garlic, Bacon, White Bean Soup
Other places to connect with me
@carmyshungry on Instagram
Facebook
Shop my Amazon faves
Email: [email protected]
Leave a Reply