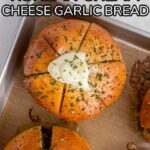
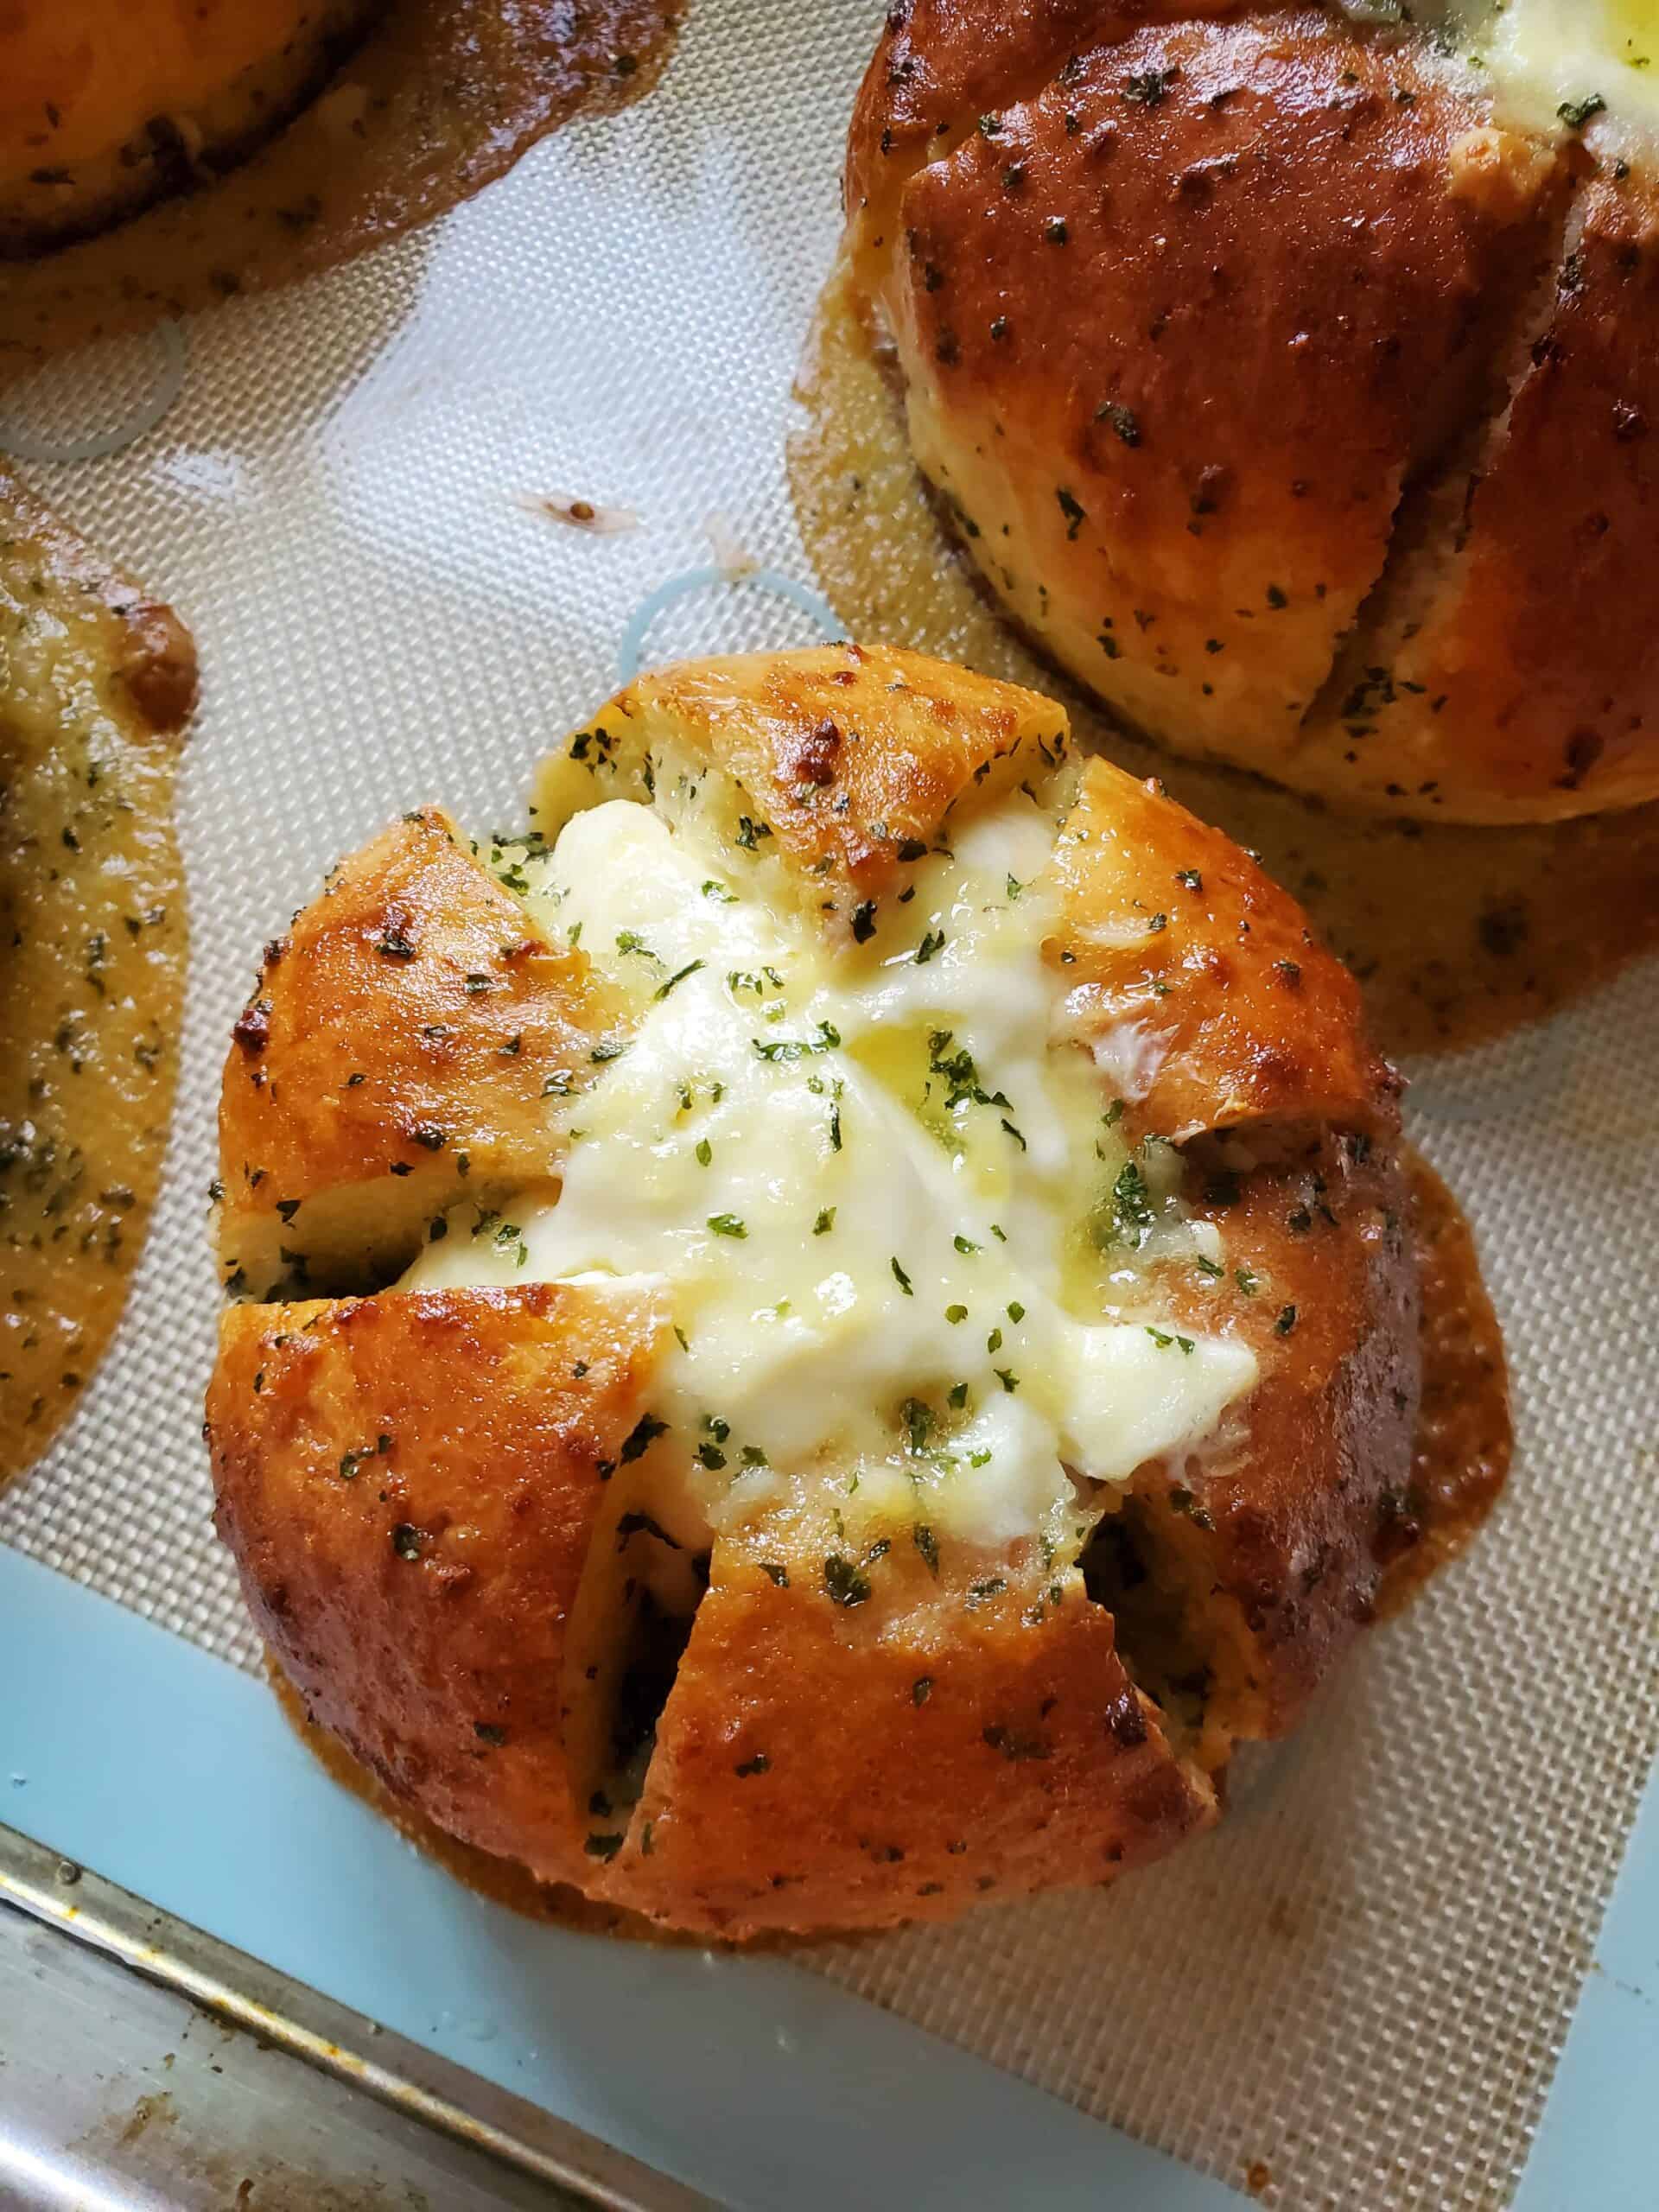
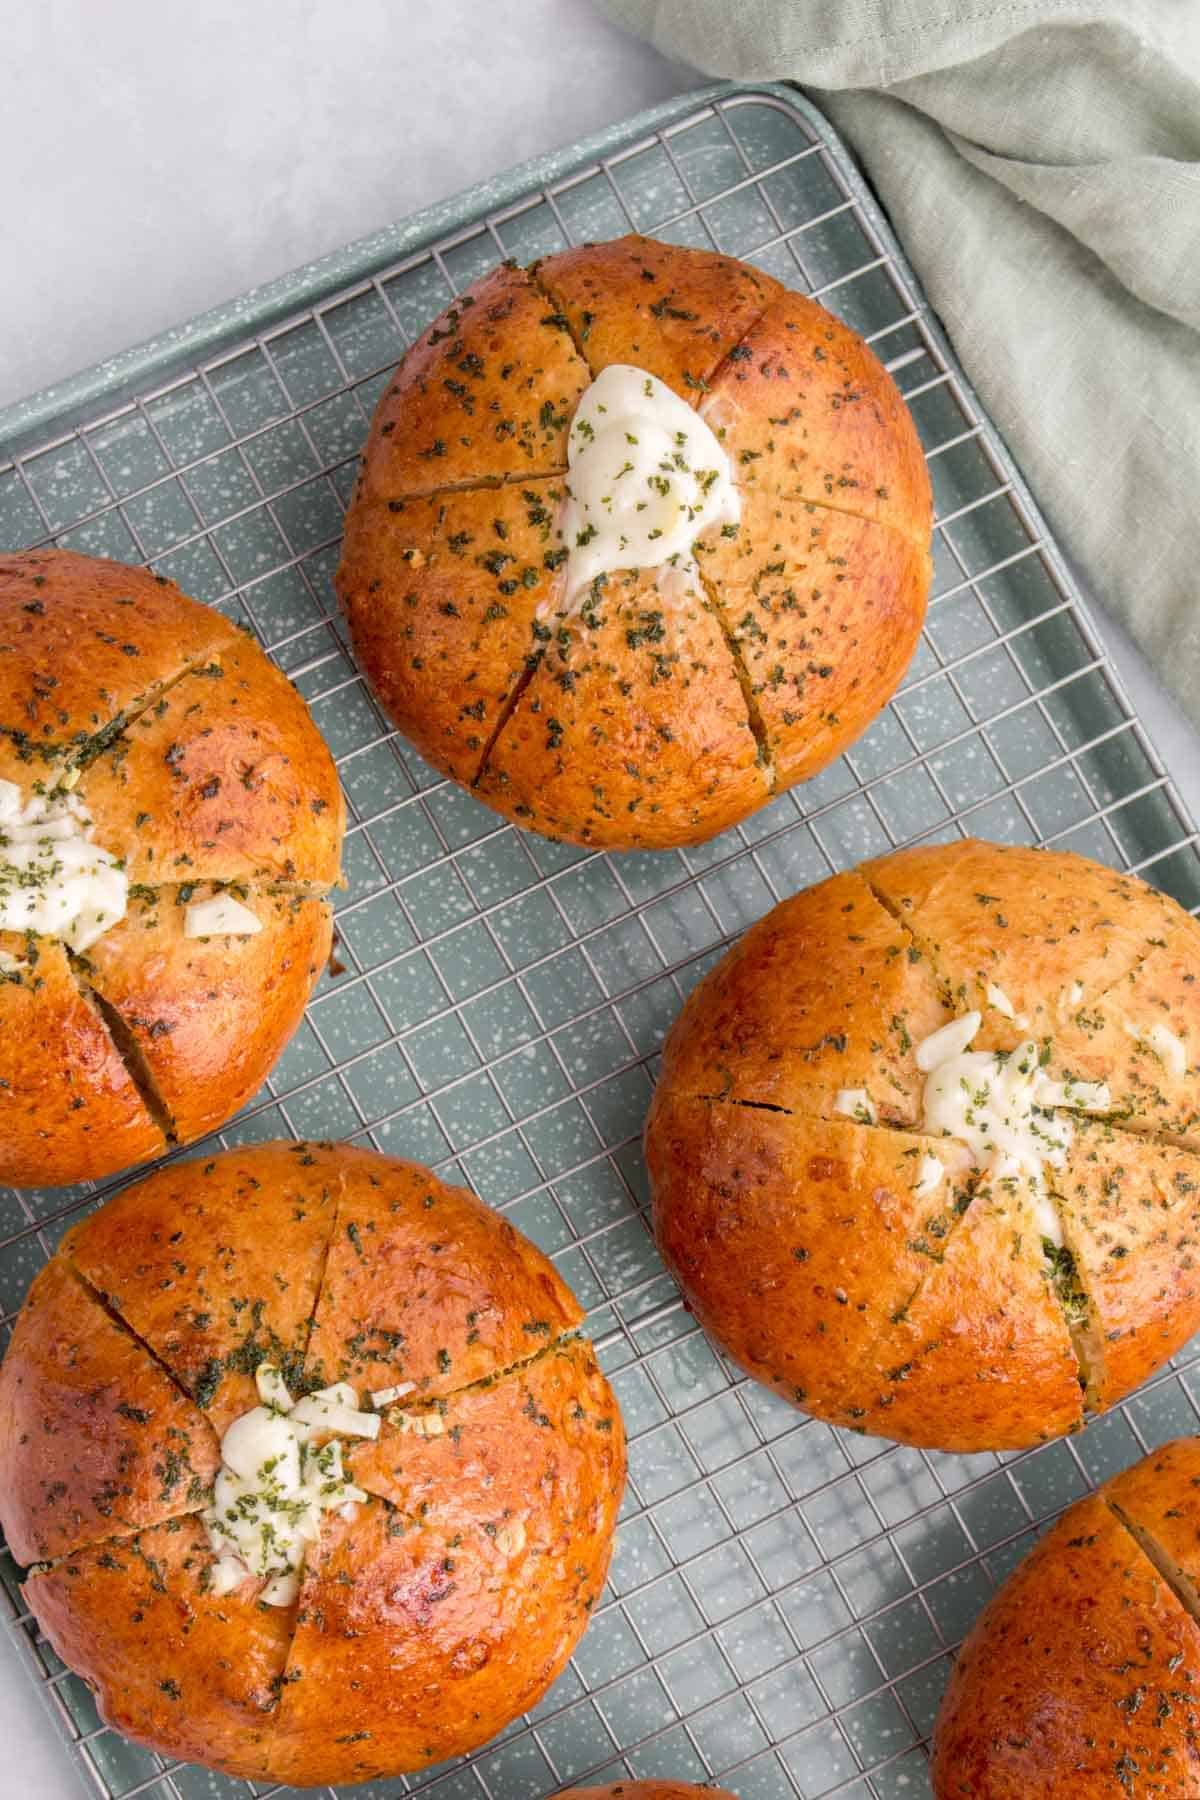
Take your garlic bread to the next level with this delicious Korean Cream Cheese Garlic Bread. Stuffed with sweetened cream cheese and coated in garlic butter, you’re going to be reaching for seconds.
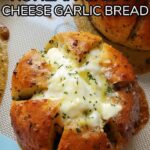
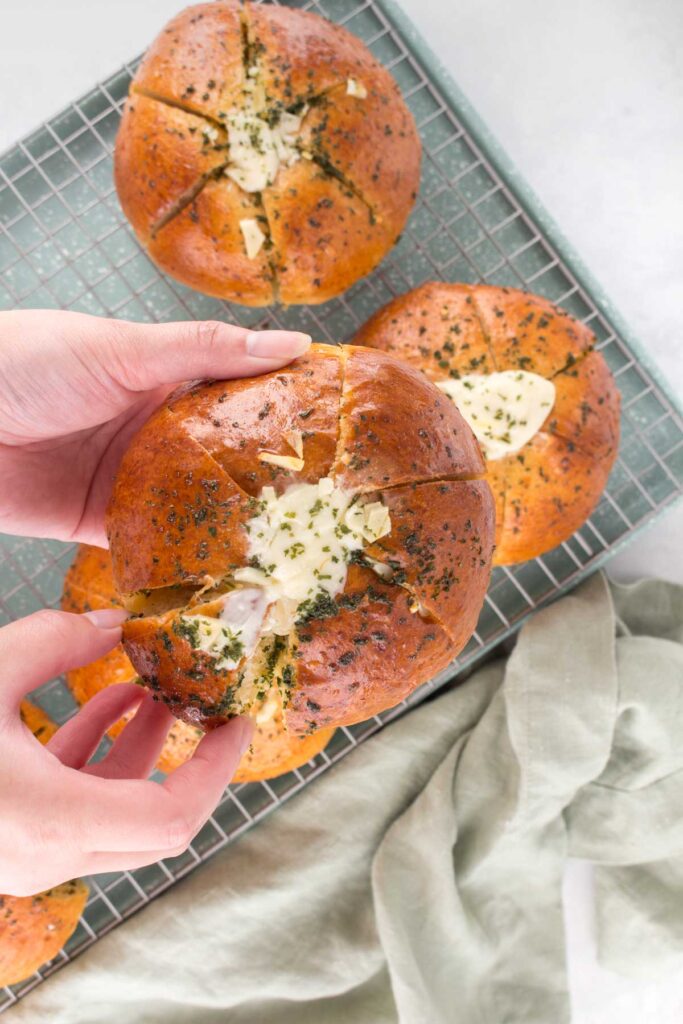
I wouldn’t even consider this Korean garlic bread as a side dish. This cream cheese garlic bread is the main attraction!! It’s soft but crispy, sweet but savoury, and packed with garlic and buttery flavours. I’m obsessed with it and hope you’ll be as well.
This popular Korean street food featuring a twist on classic garlic bread where the bread rolls are filled with cream cheese. Whenever we drive back into the city, I will buy a minimum of two to bring home. Honestly, if H wasn’t around, I would be buying five lol.
Why You’ll Love This Korean Garlic Bread
- Unlike regular garlic bread, the buns are dunked and coated in a custard like garlic butter with egg and milk added. This makes the bread even more moist.
- It’s super easy to make. I adapted my bread from my Cheese Buns recipe then whipped up some cream cheese and dunked it in garlic butter. The recipe is very straightforward. You can even shortcut this by buying bread from the store!
- When I uploaded the photo to IG stories below during my testing phase, everyone went nuts in my DM. That’s definitely an indication that you’ll love this Korean garlic bread recipe.
Ingredients You’ll Need
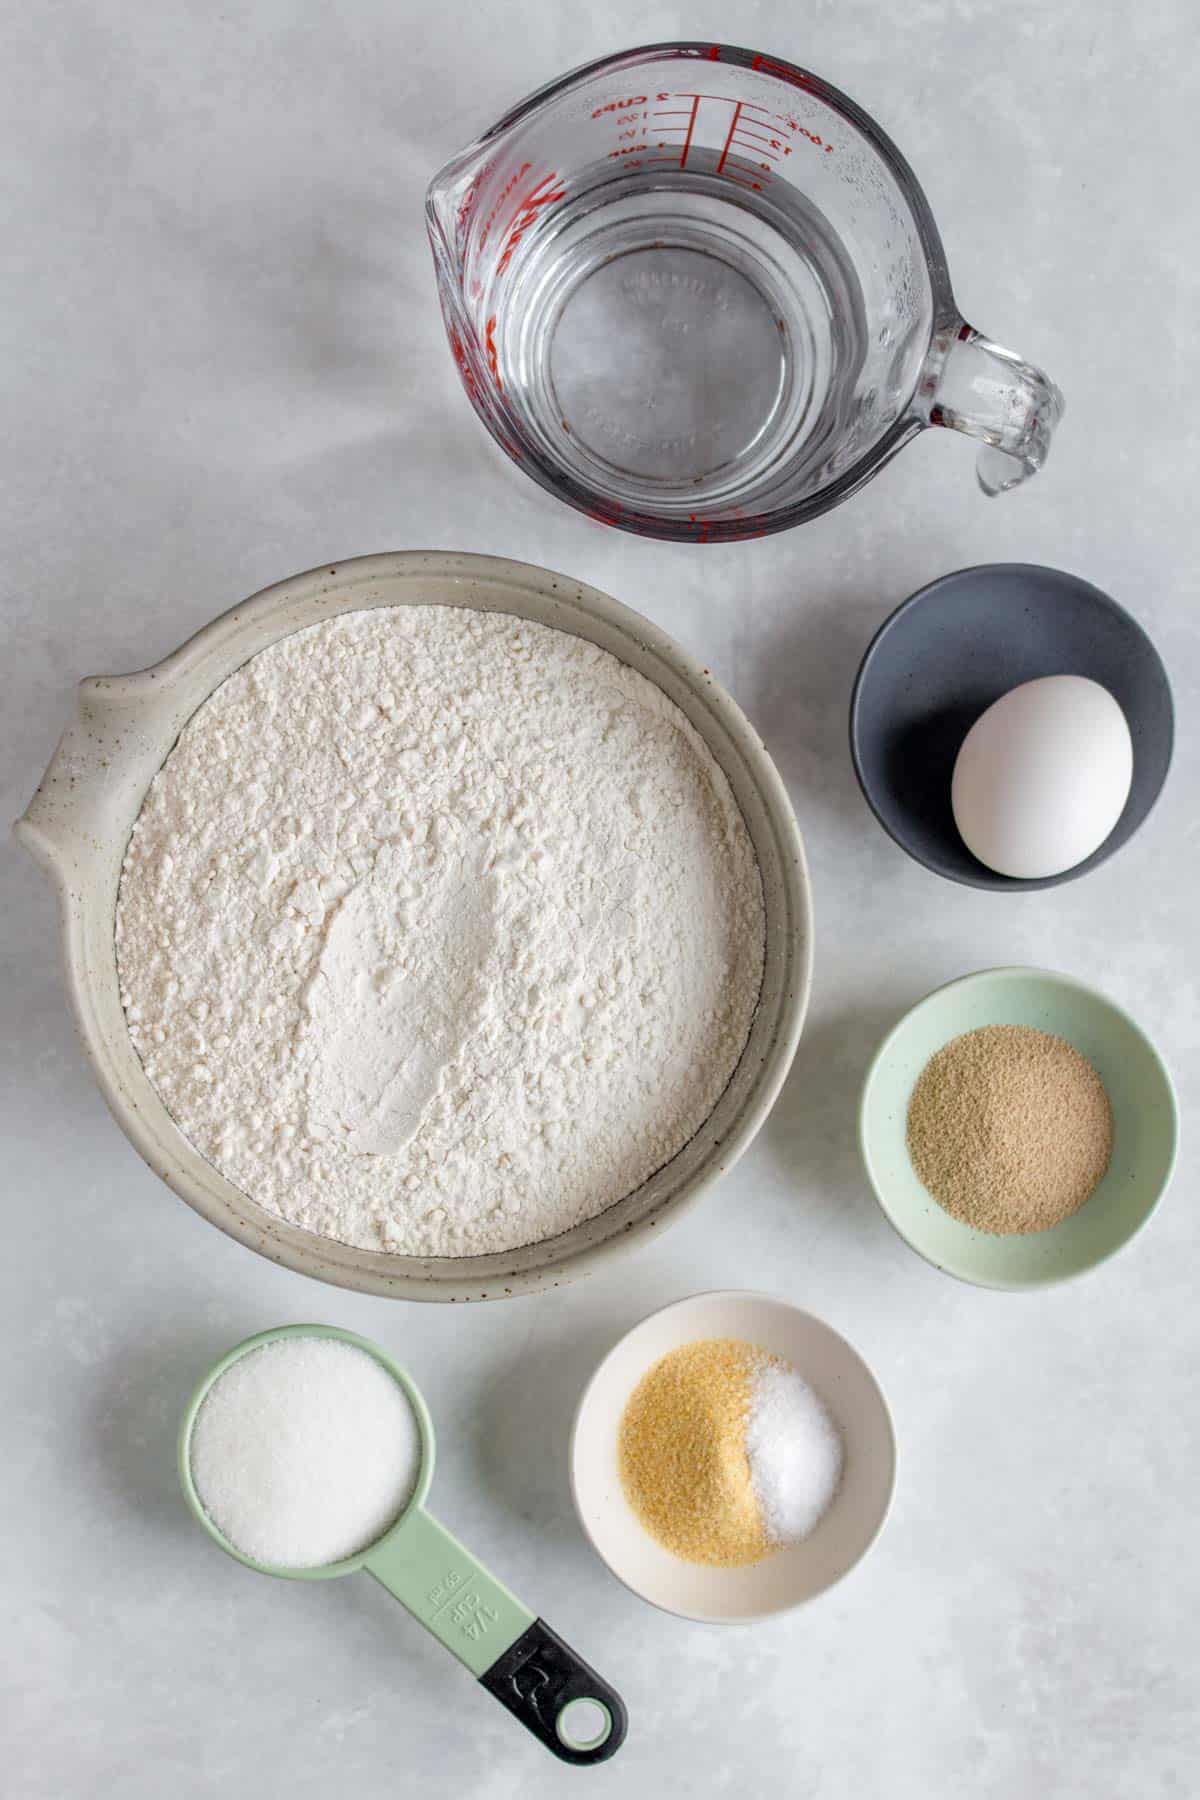
For the Bread Rolls
- flour — all-purpose flour is perfect for this recipe. I haven’t tested this with bread flour yet as I’m out but have 2 upper-body sized bag of all-purpose flour that I need to work through first lol.
- warm water — between 105°F to 115°F.
- yeast — I use instant yeast to skip the blooming.
- sugar — granulated white sugar.
- egg — room temperature is ideal but it’s ok if it’s cold.
- garlic powder
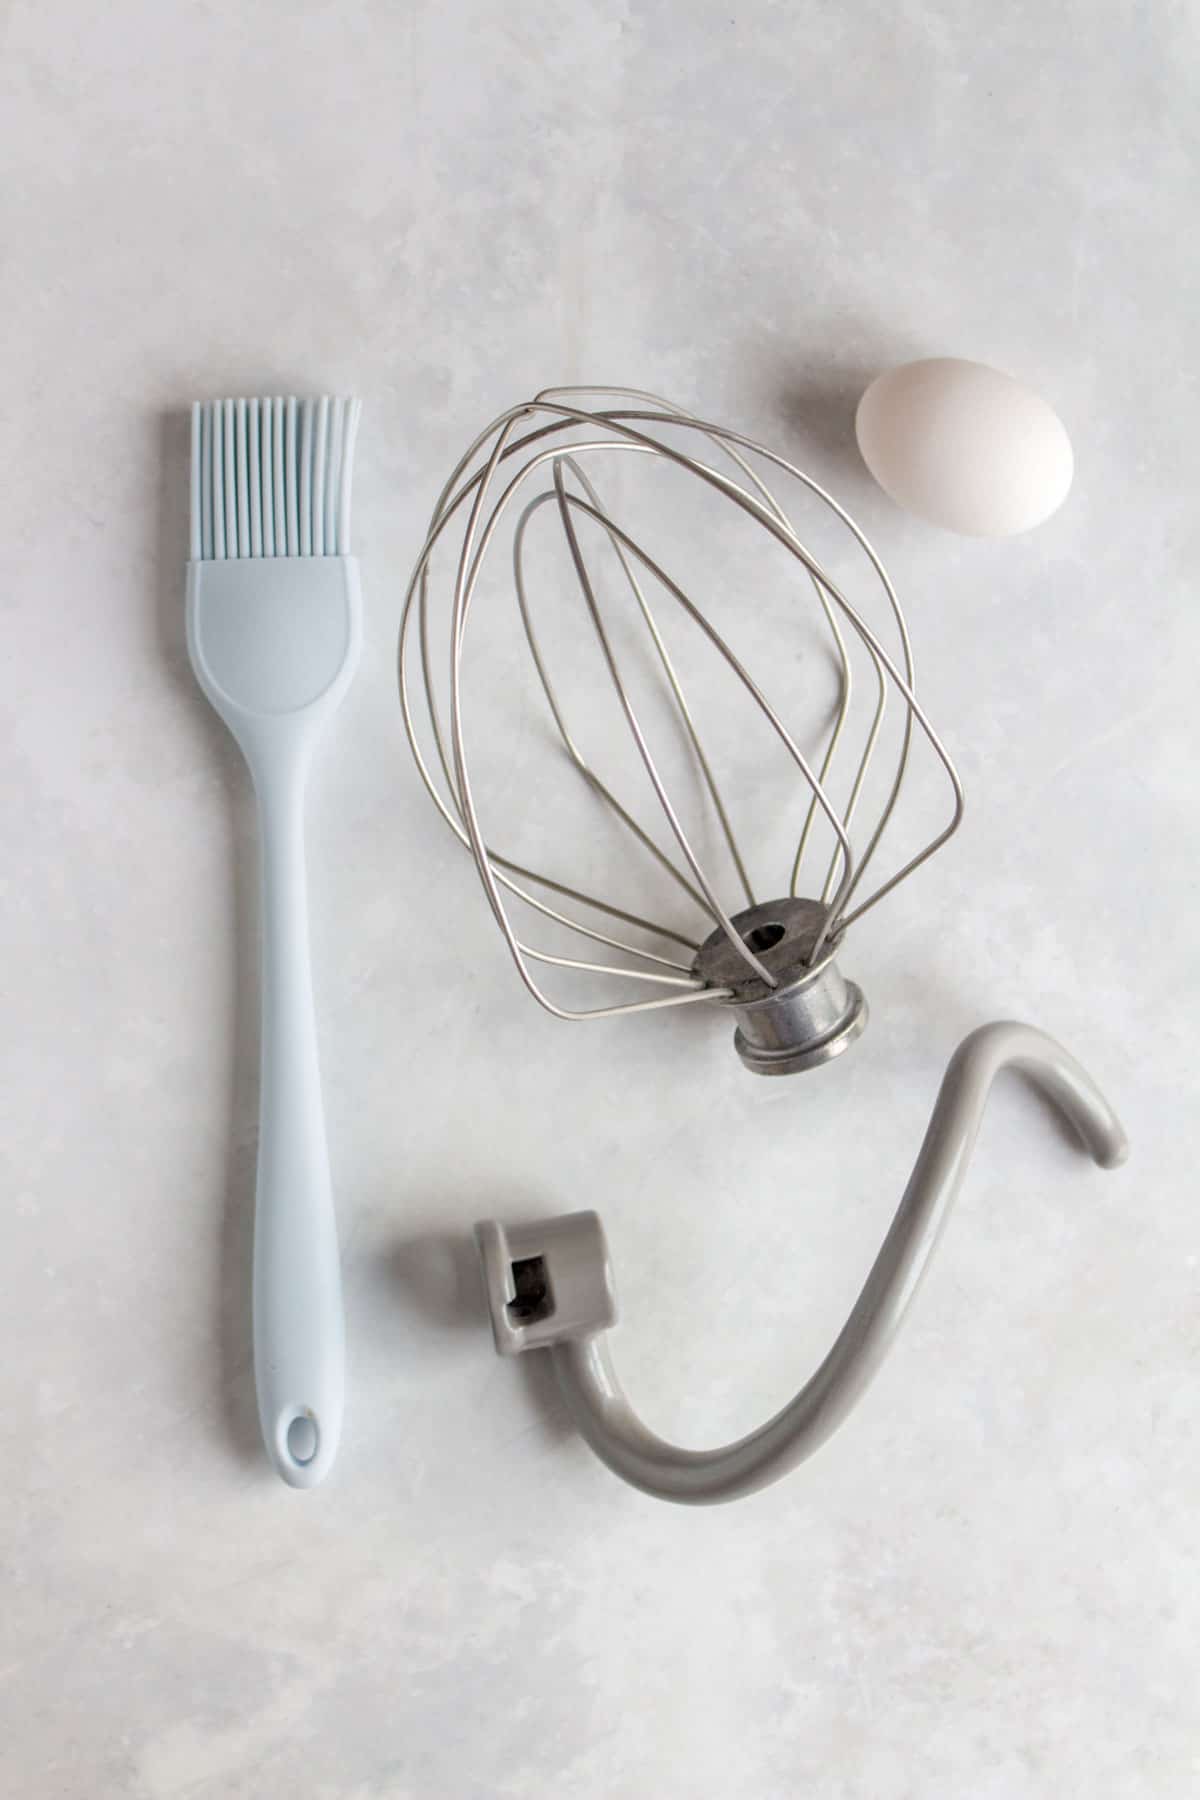
You’ll also need 1 egg for an egg wash, a mixer with a spiral dough hook, wire whip, and a brush.
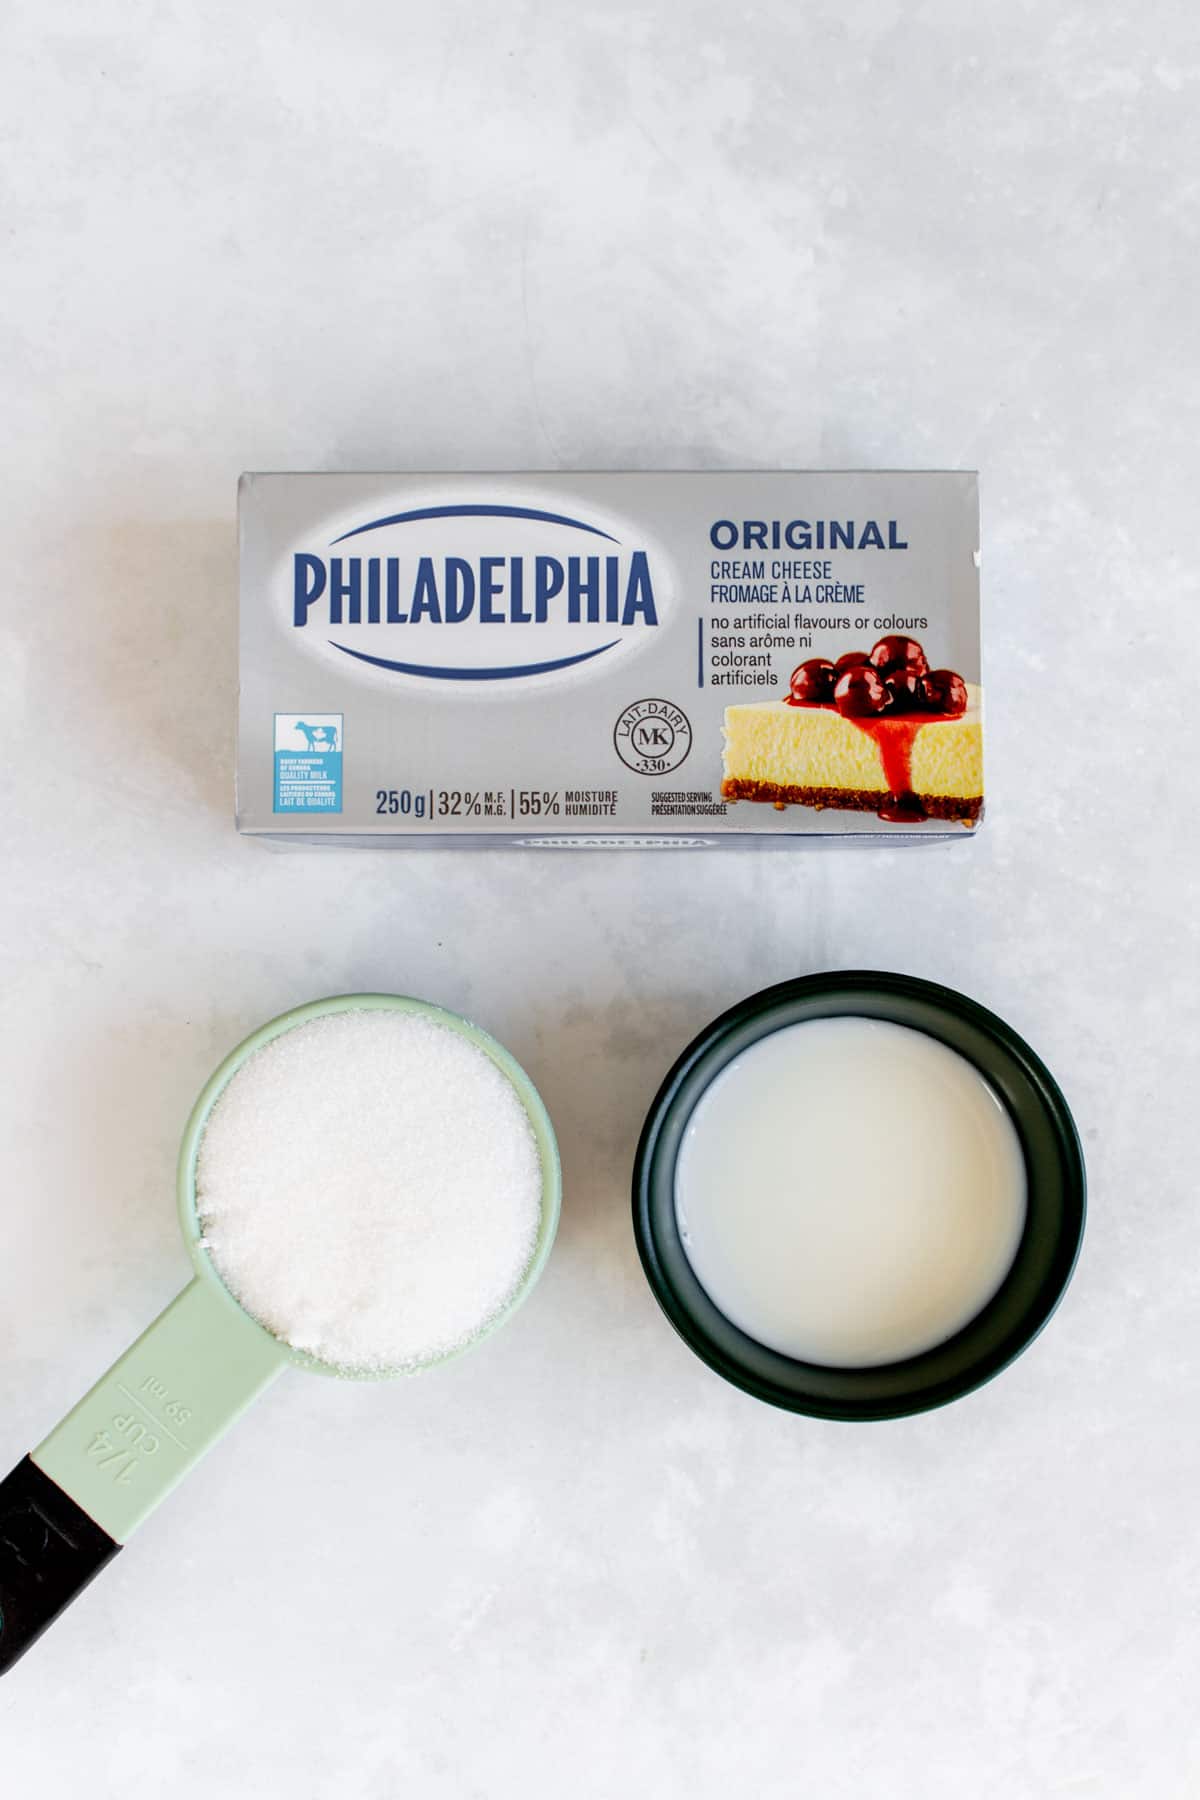
For the Sweetened Cream Cheese
- cream cheese — softened to room temperature. Make sure to buy the blocks of cream cheese and not tubs. This is also not the time to use low-fat, this is a full-fat cream cheese recipe!
- sugar — granulated white sugar
- milk — you only need a splash. I use around one tablespoon.
You’ll also need a piping bag or a Zipoloc bag.
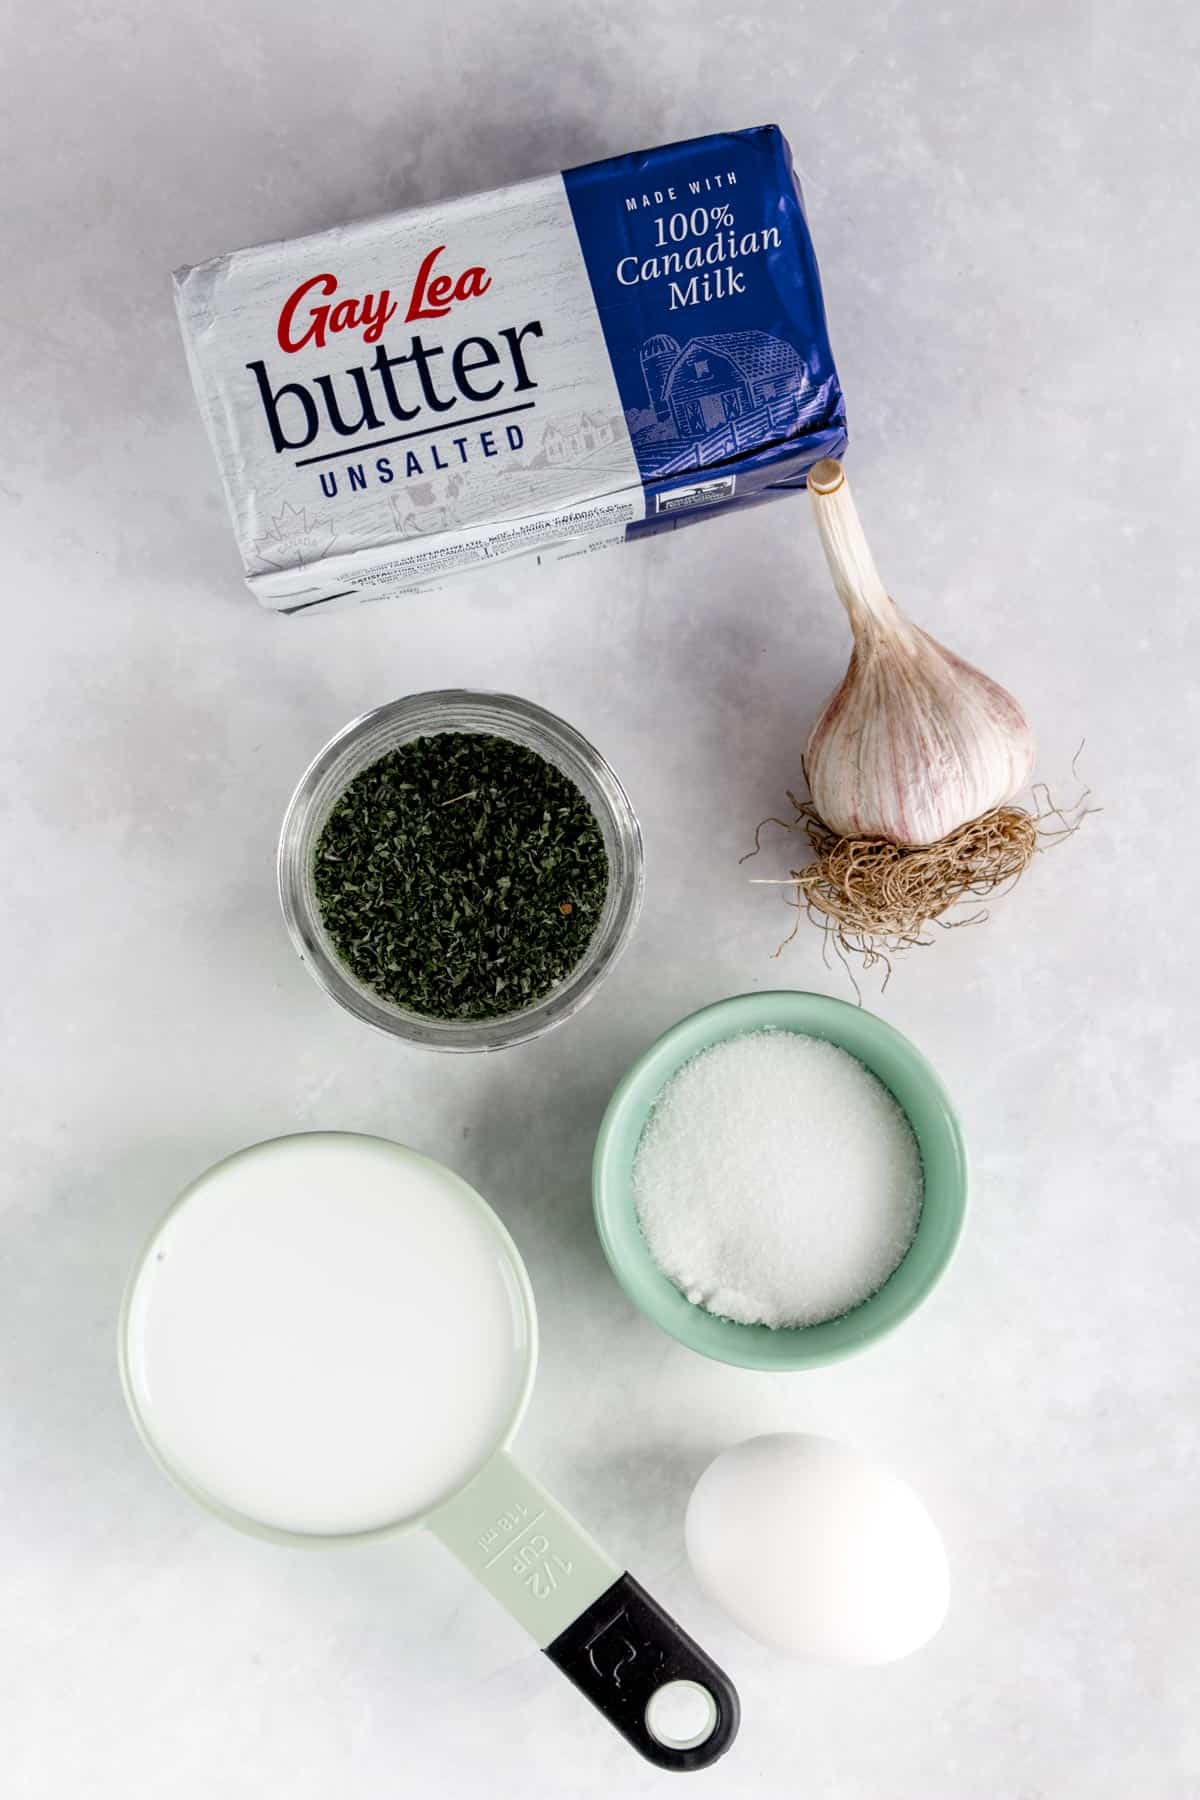
For the Garlic Butter Custard
- butter — use unsalted butter as you don’t want a salty garlic bread.
- sugar — granulated white sugar.
- dried parsley
- milk
- garlic — it’s best to use freshly minced garlic. When I used frozen minced garlic, the butter got lumpy.
- egg
How to Make Korean Cream Cheese Garlic Bread
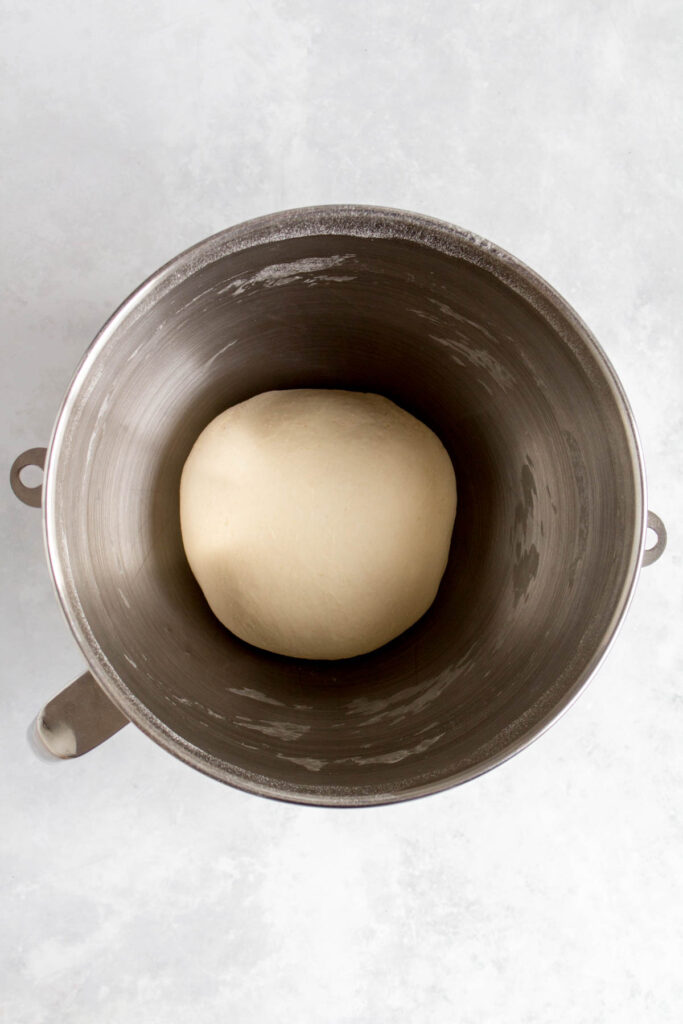

- To a stand mixer, add the flour, warm water, yeast, sugar, egg, garlic powder, and then salt. Mix on speed 4 (I have a KitcheAid), for 6 to 7 minutes, or until the dough has gone from raggedly to smooth.
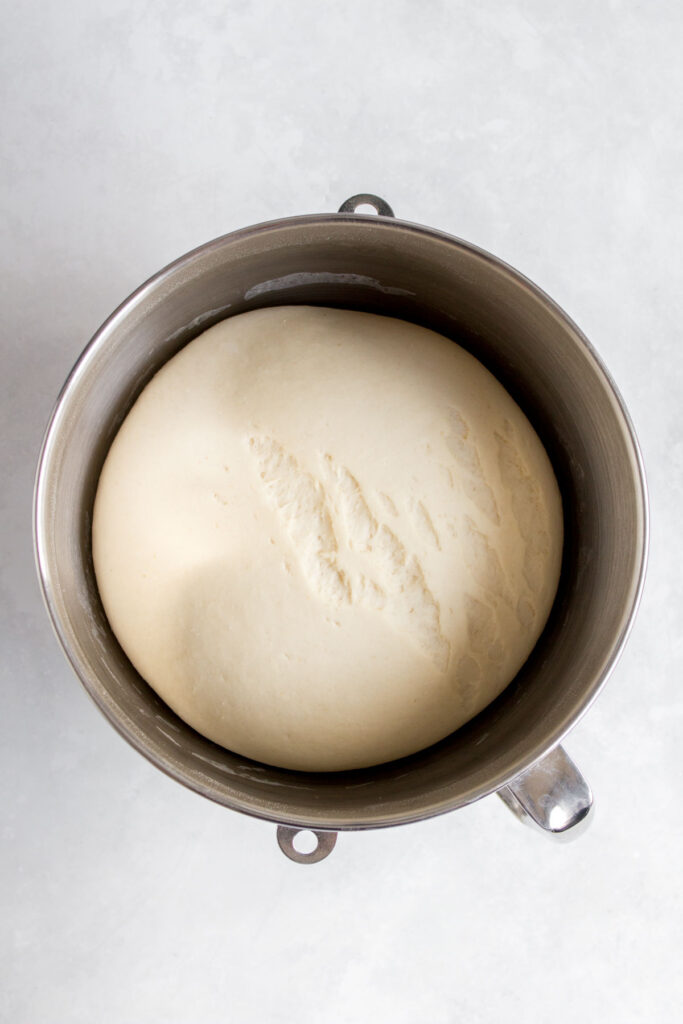
- Tuck the dough into the shape of a ball and place it into the bowl, cover, and let rise until doubled in size (around an hour).
- Once doubled, punch the dough down.

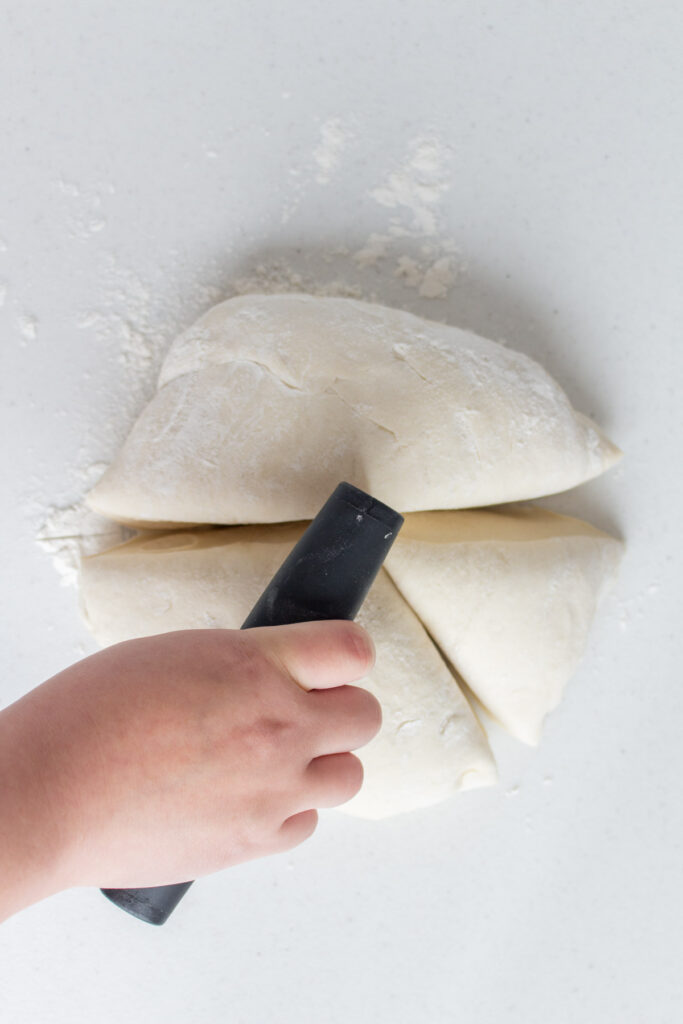
- Turn the dough into a lightly floured surface and then cut into six equal pieces with a bench scraper.
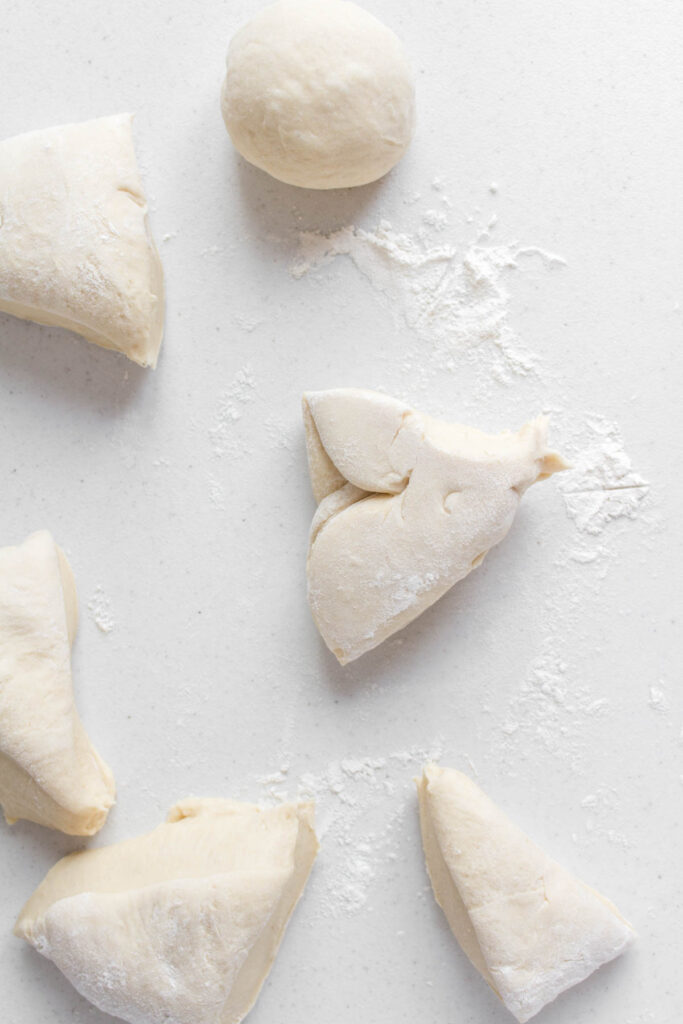
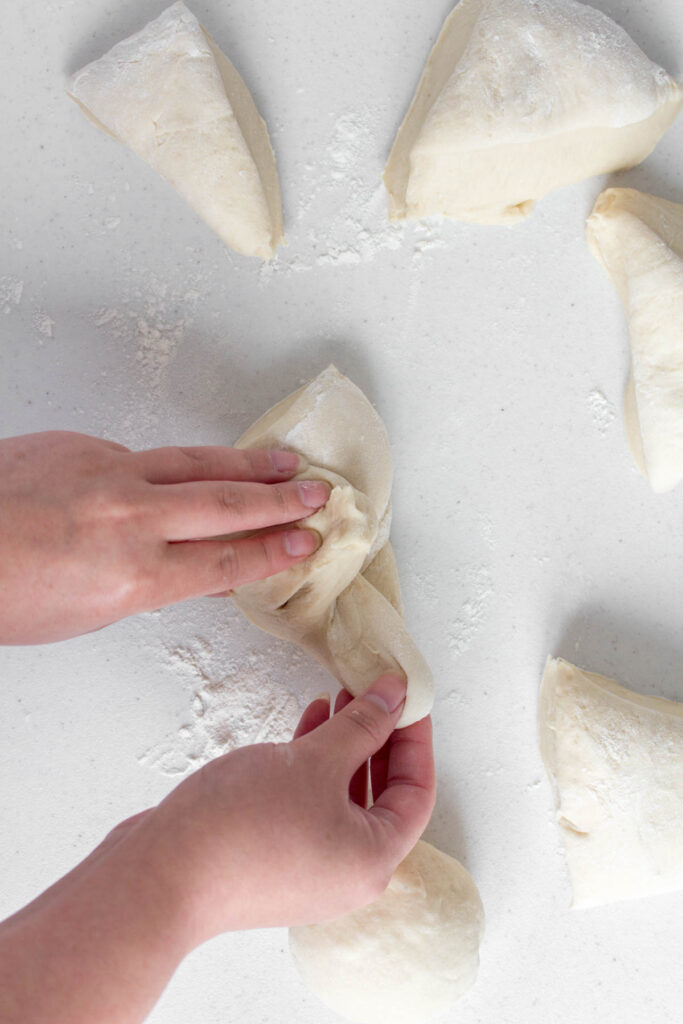
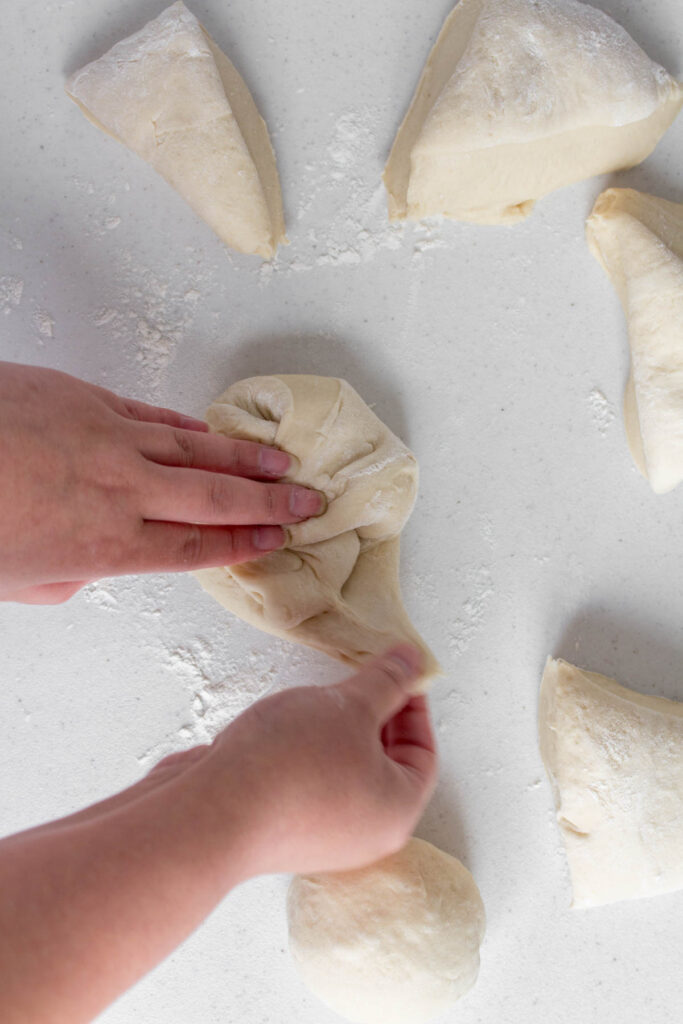
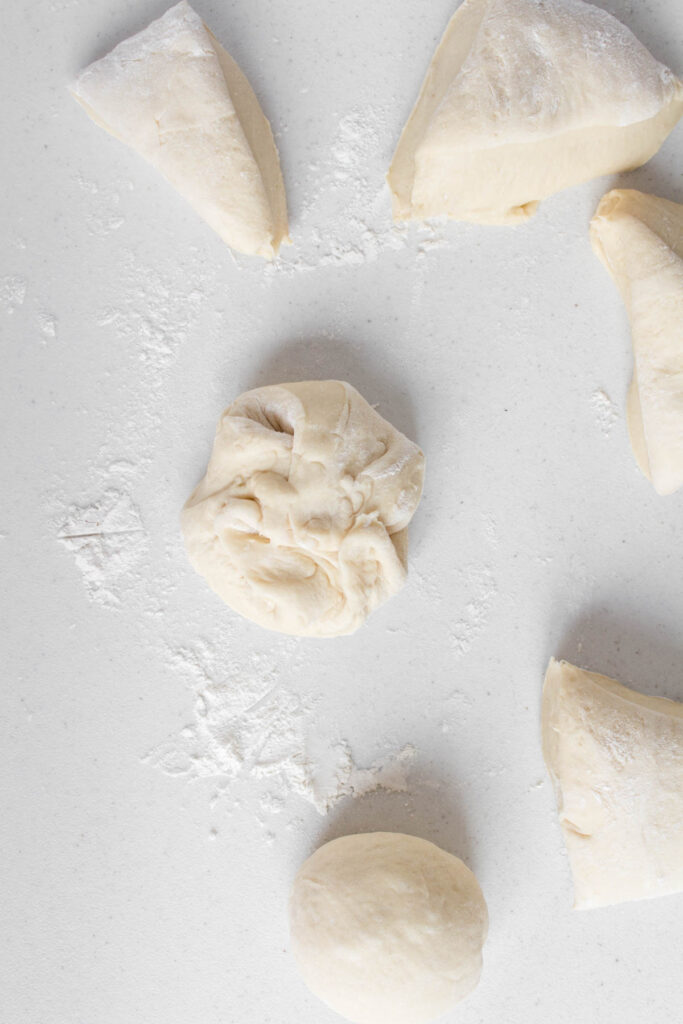
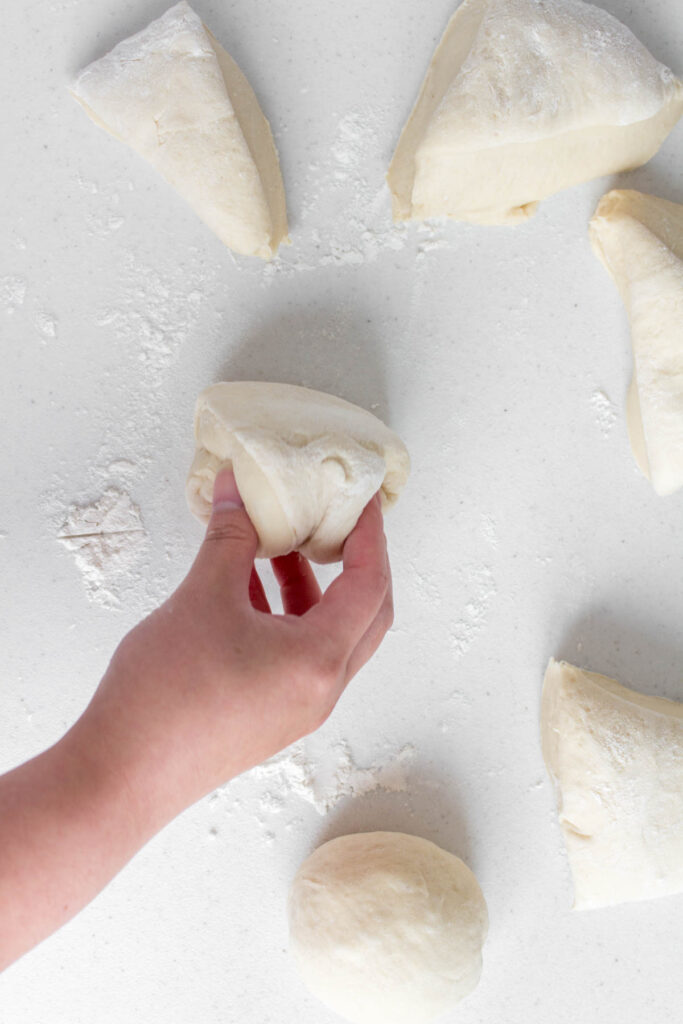
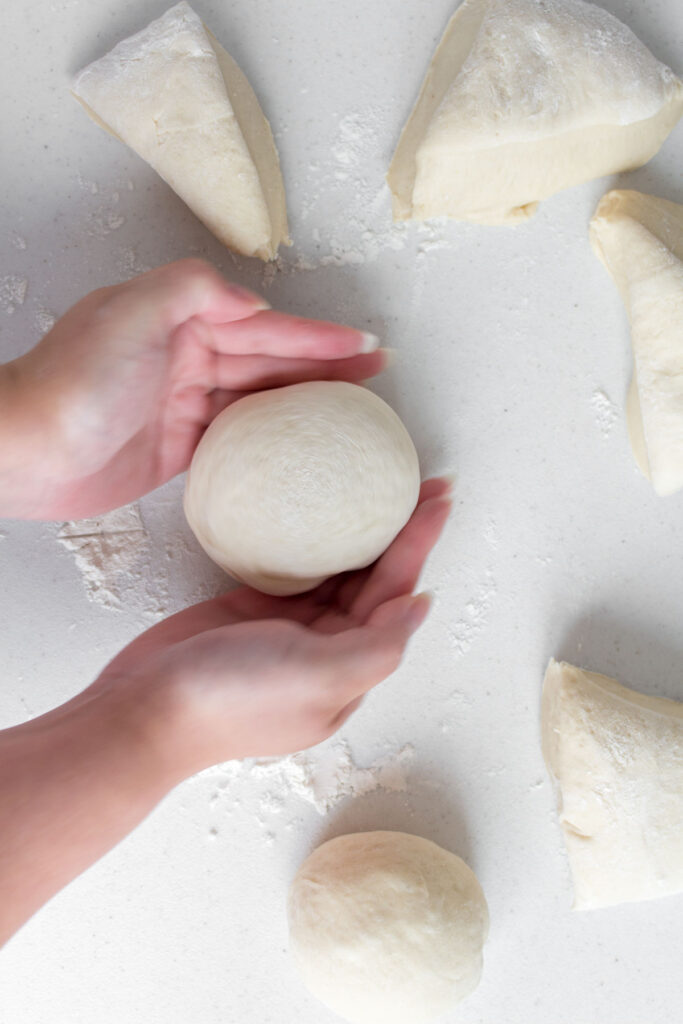
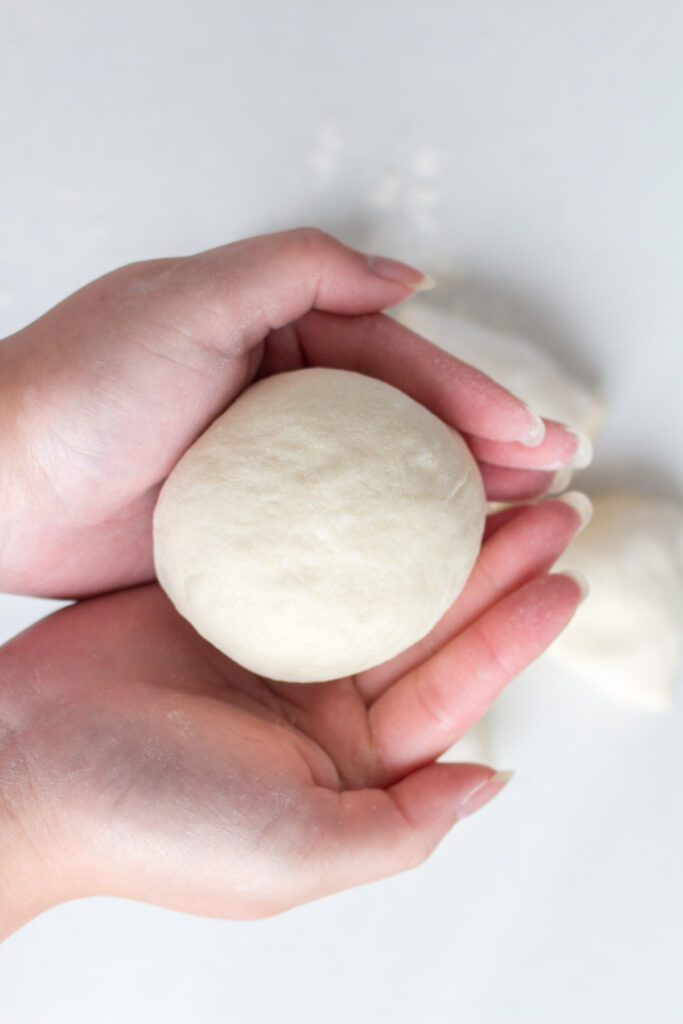
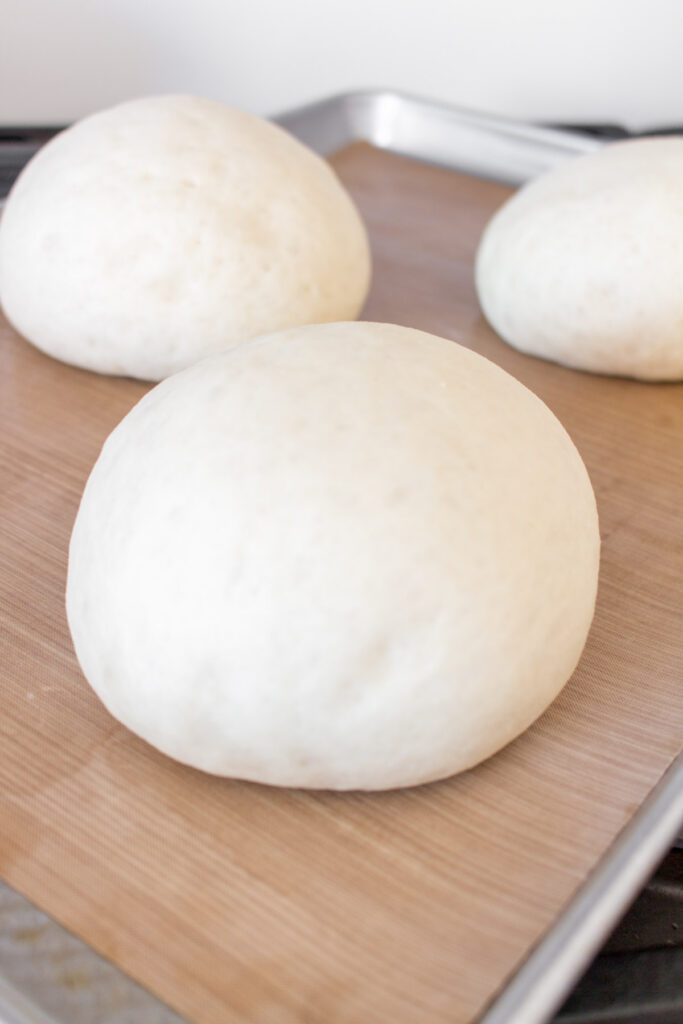
- Roll each of the six wedges into a ball. Folding the edge of the dough into the middle, pinching the folds together, then flipping the dough over and turn the dough in a circular motion to round it out. They should be around 3 inches wide.
- For a video tutorial on rolling the balls, check out my Japanese Milk Bread Rolls. If you do not see the video, you’ll have to turn off adblock.
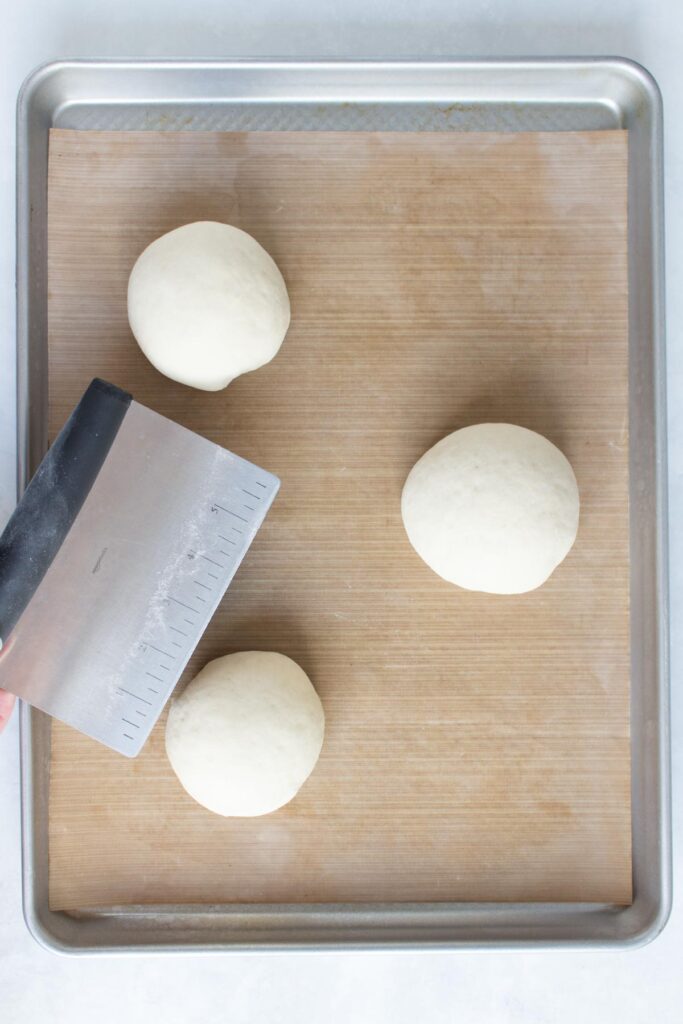
- Transfer the dough balls to a lined parchment paper. I usually do 3 balls per sheet pan.
- Cover and allow to rise until almost doubled in size, around an hour.
- Heat oven to 350°F.
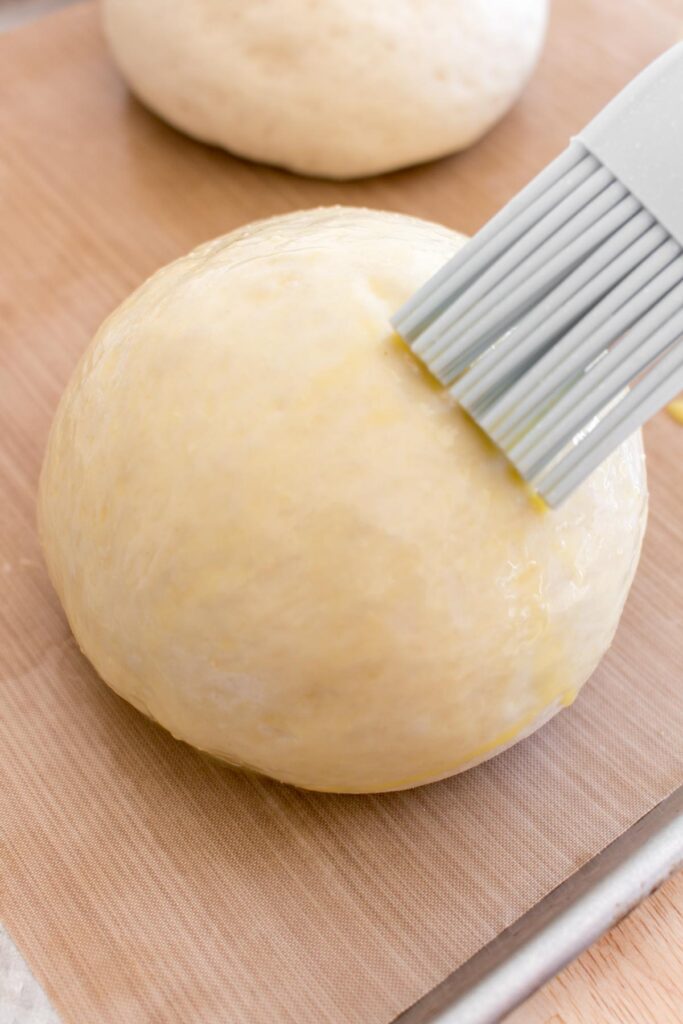
- Once doubled, brush with an egg wash.
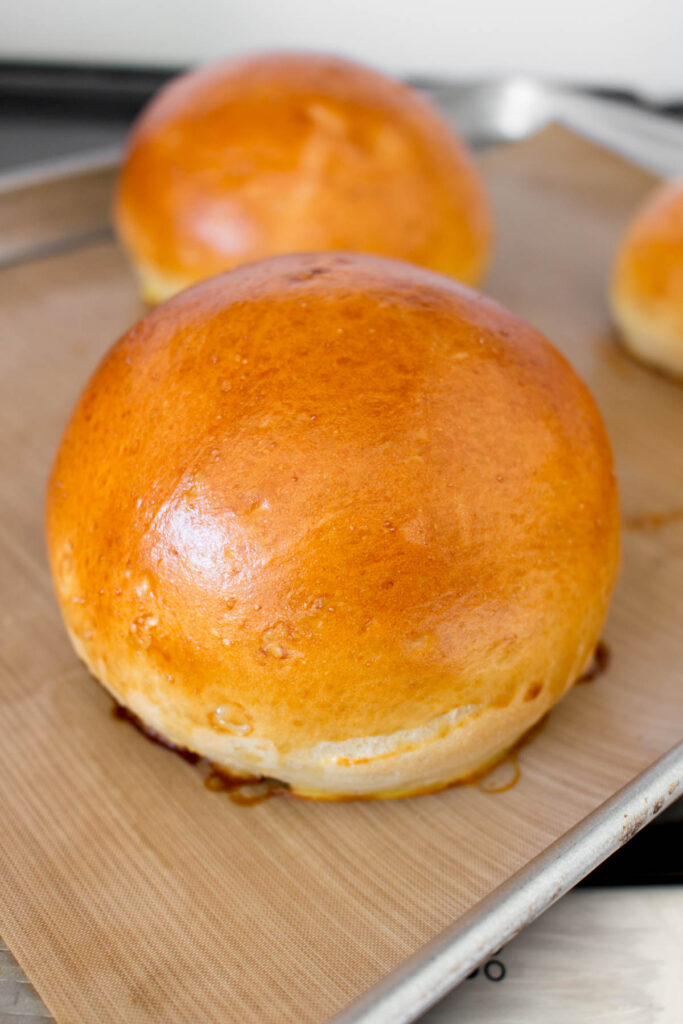
- Bake for 20 minutes to 25 minutes or until the buns are golden brown.
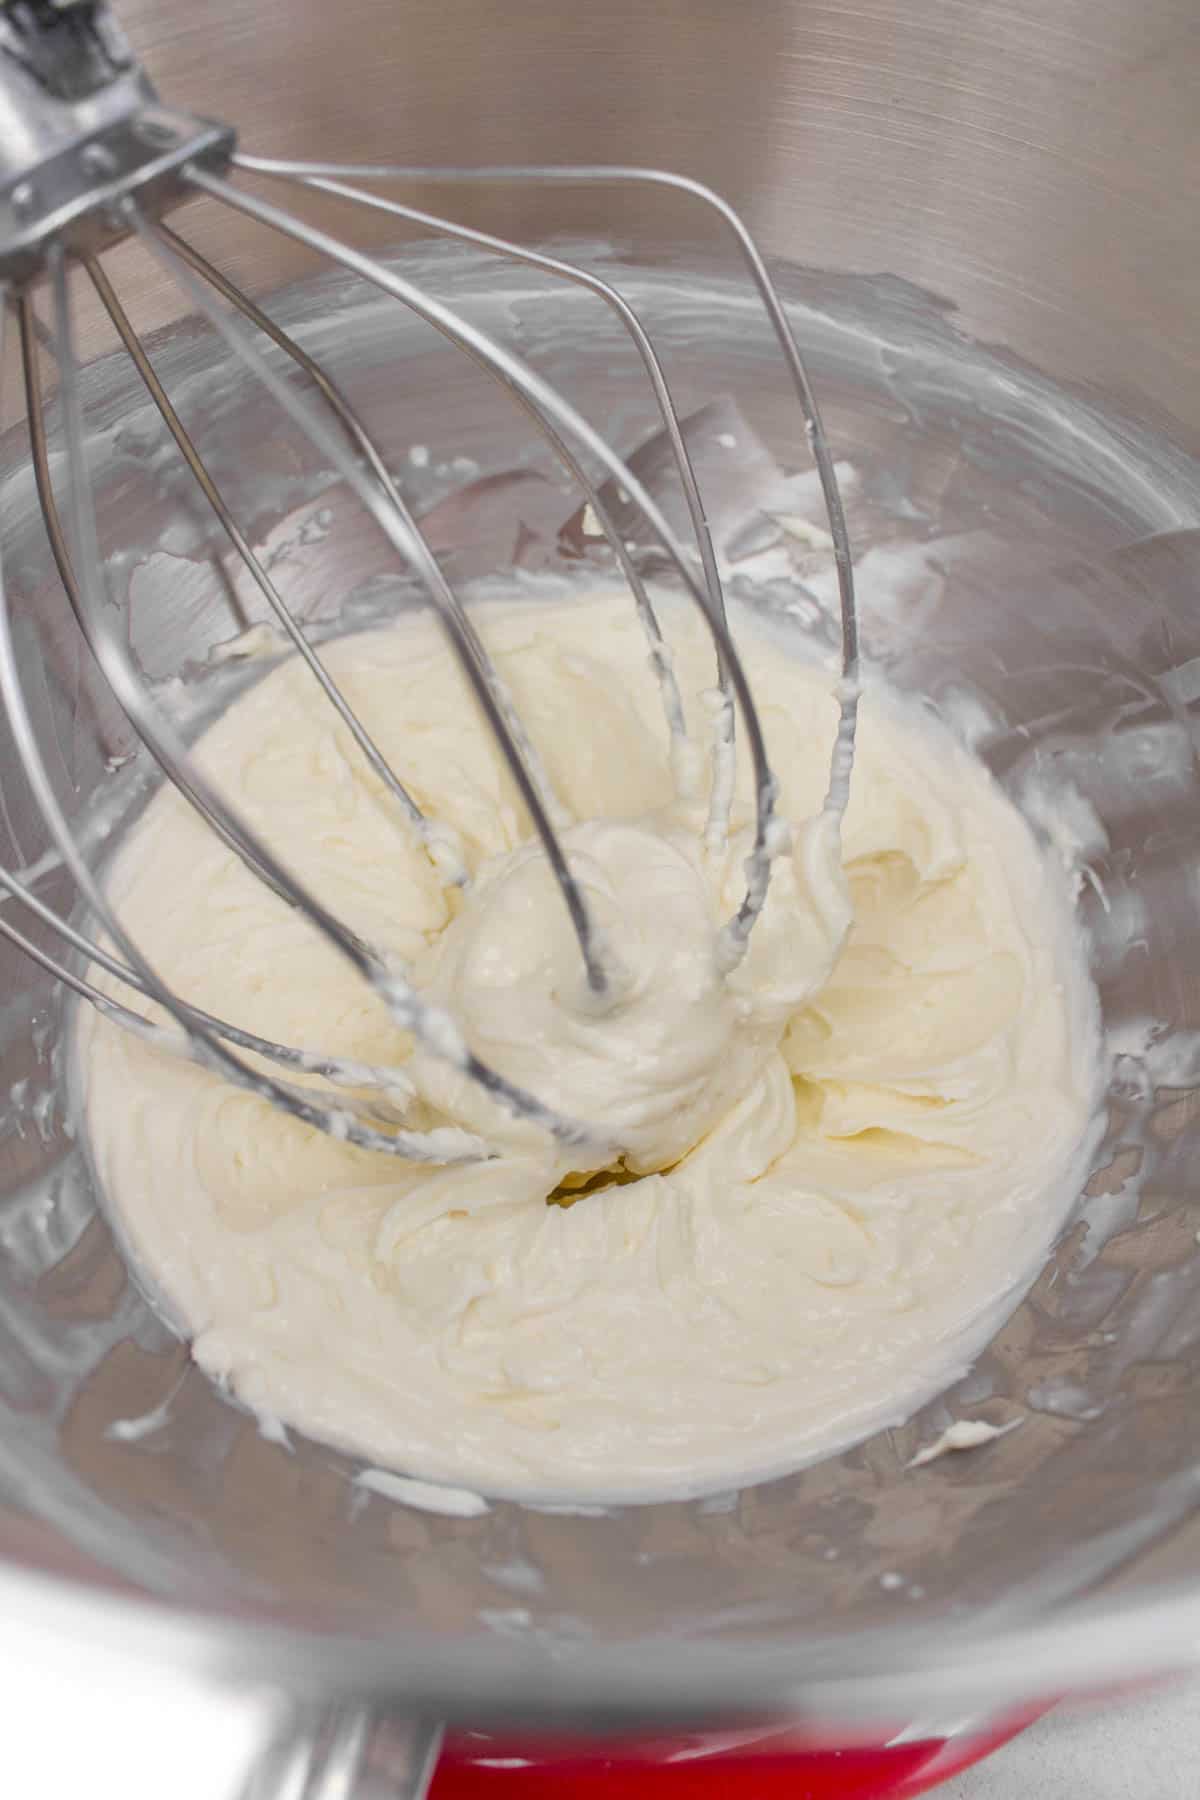
- While the buns are baking, in a clean mixing bowl with a wire whip, whip together the softened cream cheese, sugar, and milk until smooth. Transfer to a piping bag or a Ziploc bag with a tip cut off.
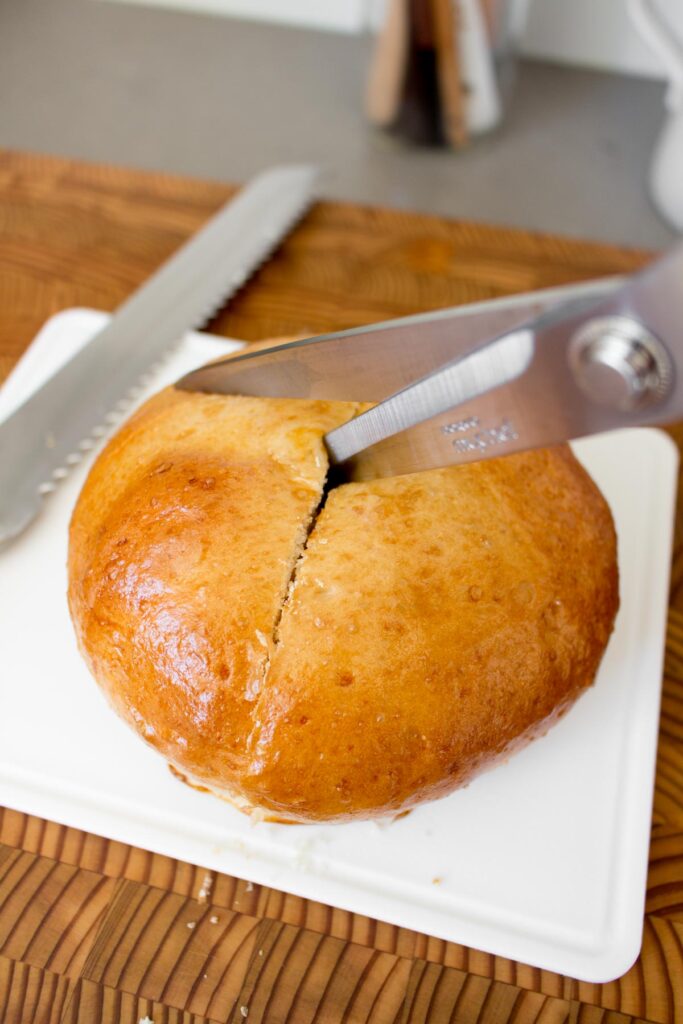
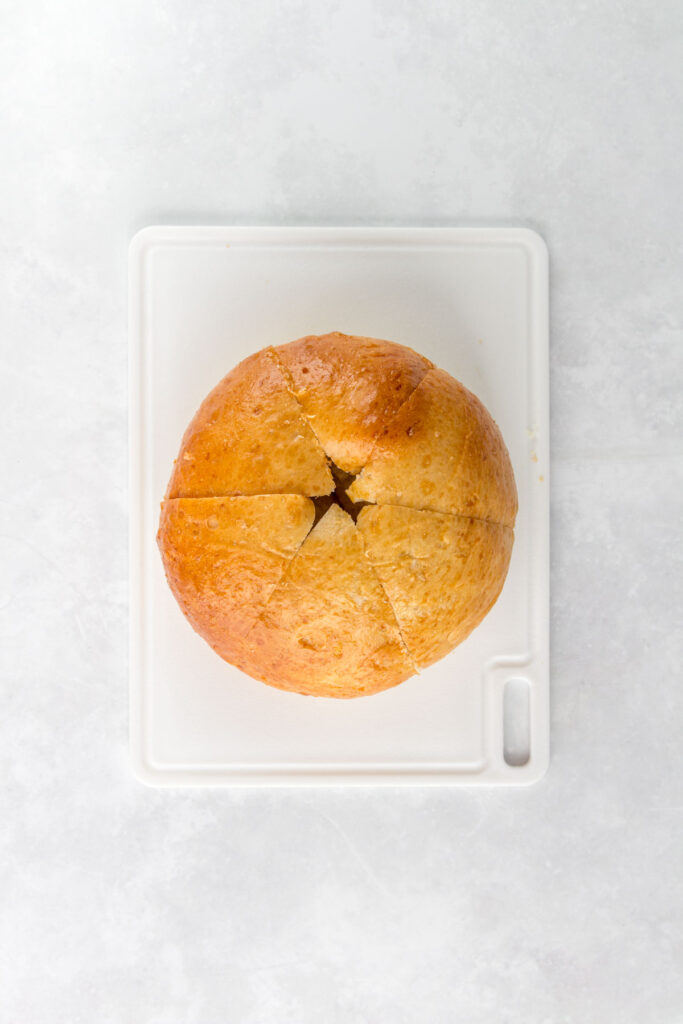
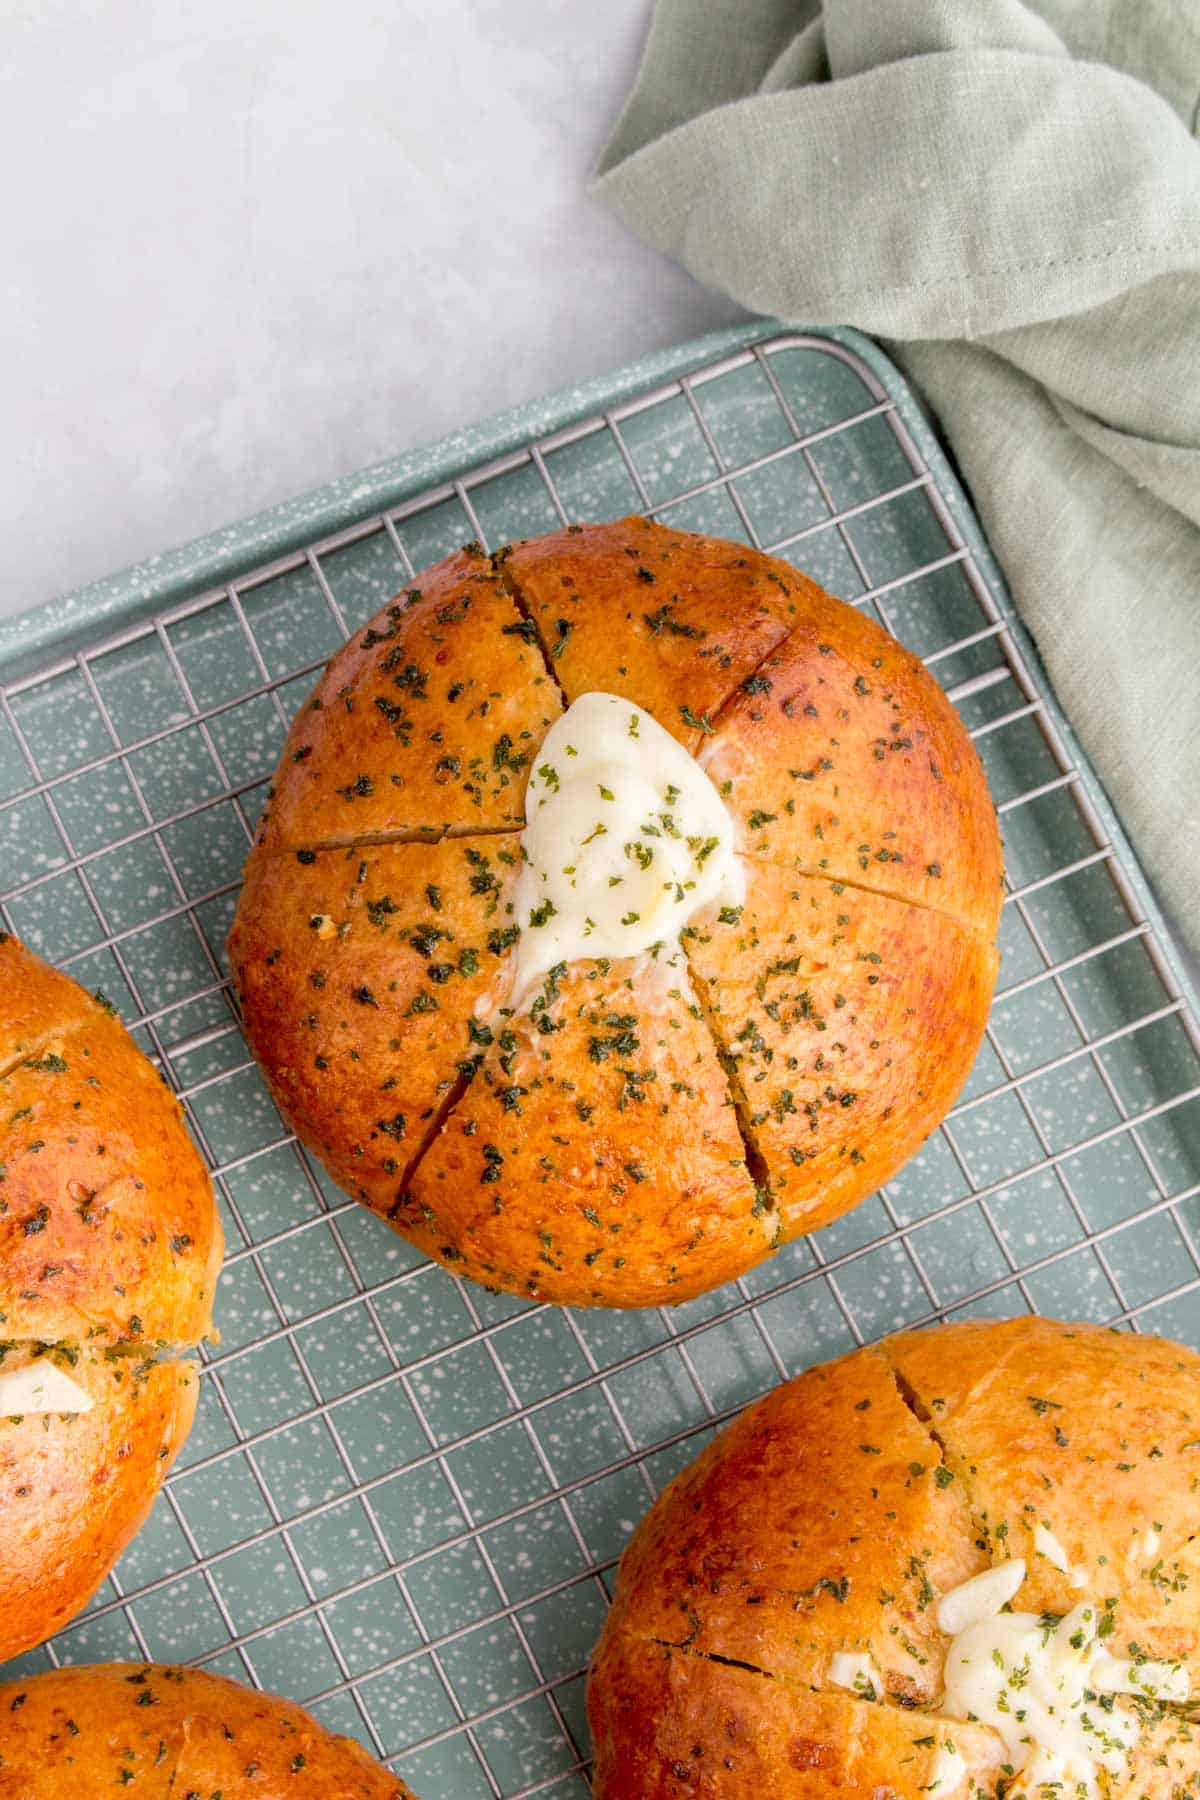
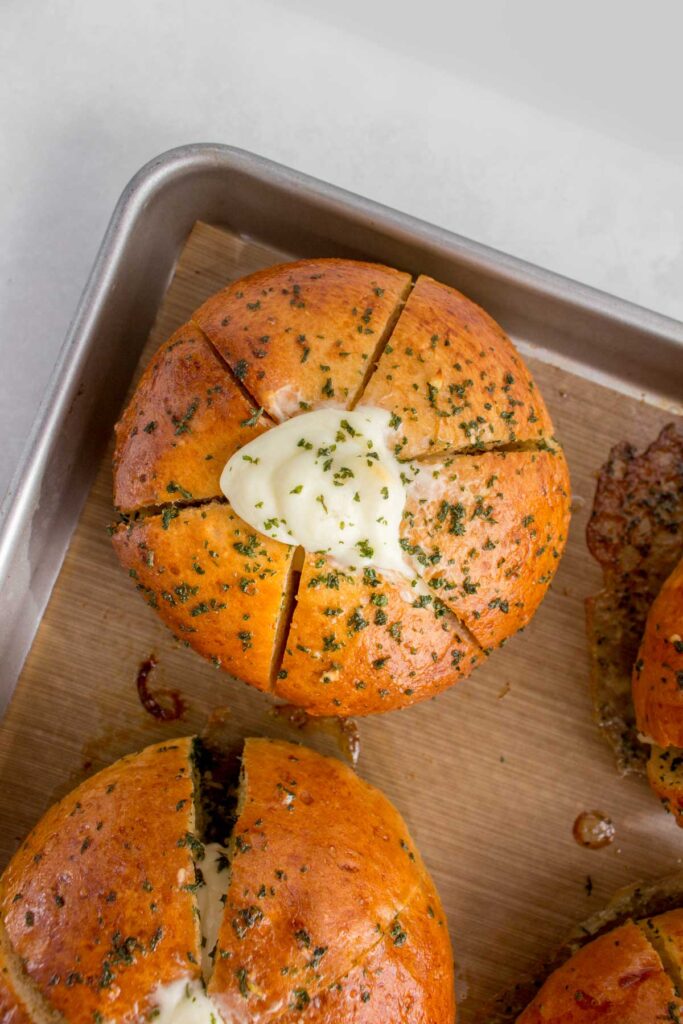
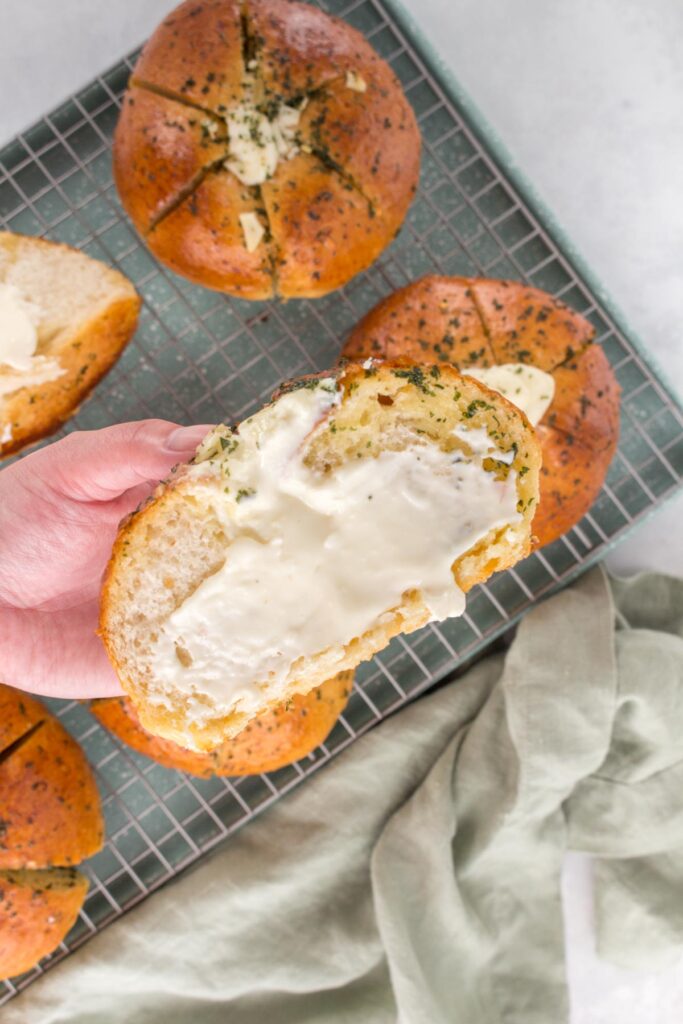
- Once the buns are cool enough to touch, cut the bread into 6 wedges, but not all the way through. I usually make one cut down the middle with a bread knife then use scissors to snip the rest to avoid crushing the bread to slice it.
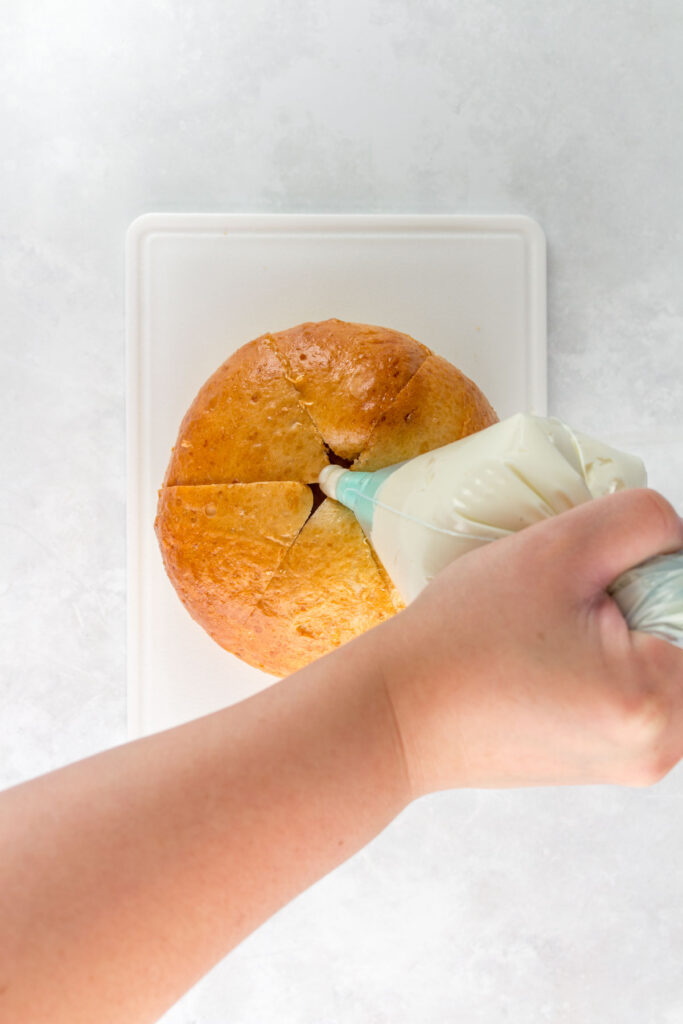
- Pipe the cream cheese into the center of the buns. You can pipe them between the wedges as well but usually the cream cheese pushes out from the middle and makes its way into the crevasses, if not, the cream cheese usually fills the inside of the bread. This recipe uses all of the cream cheese so there’s a ton in each bun without having the pipe inbetween cuts.
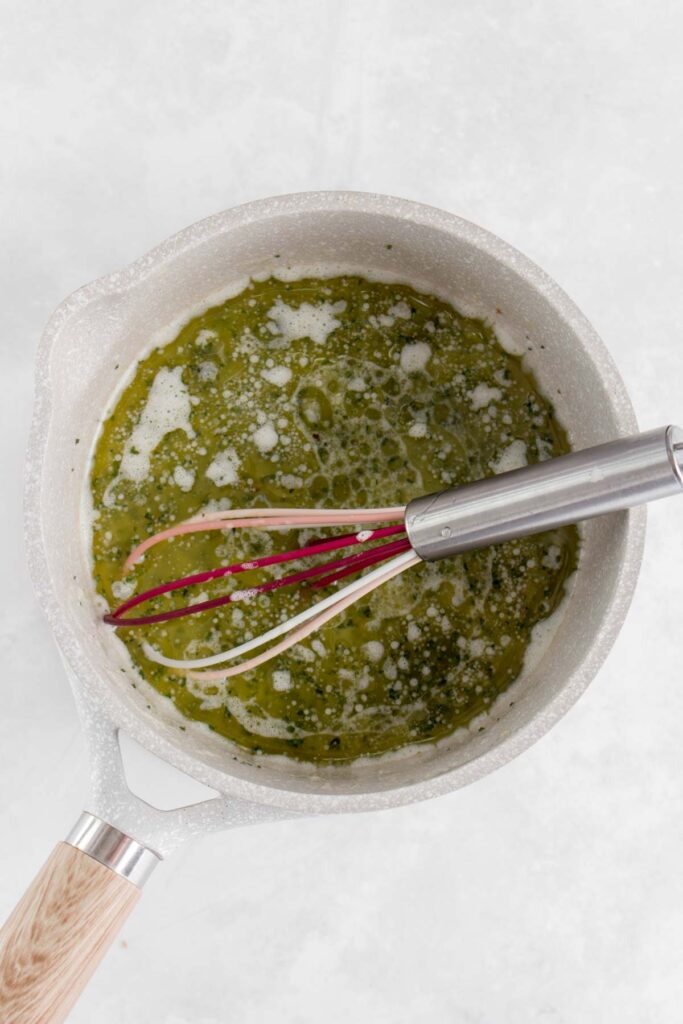
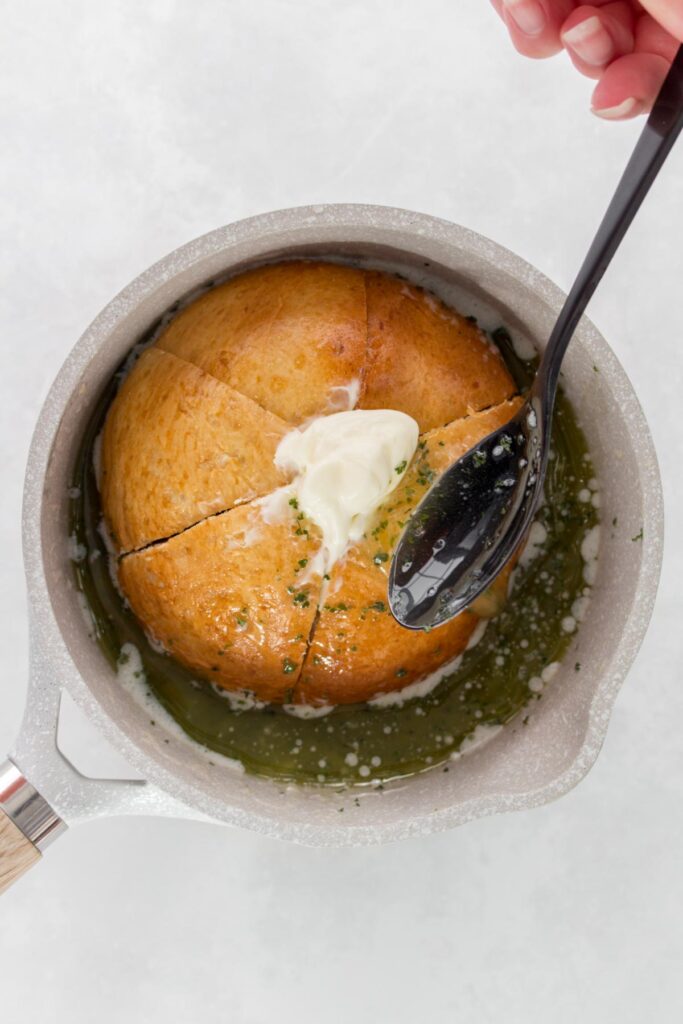
- Combine the (warm, not hot) melted butter, sugar, parsley, milk, egg, and garlic in a deep bowl or sauce pot.
- Add the stuffed bread into the garlic butter and spoon the mixture over top. Try to get the garlic butter in-between the wedges.
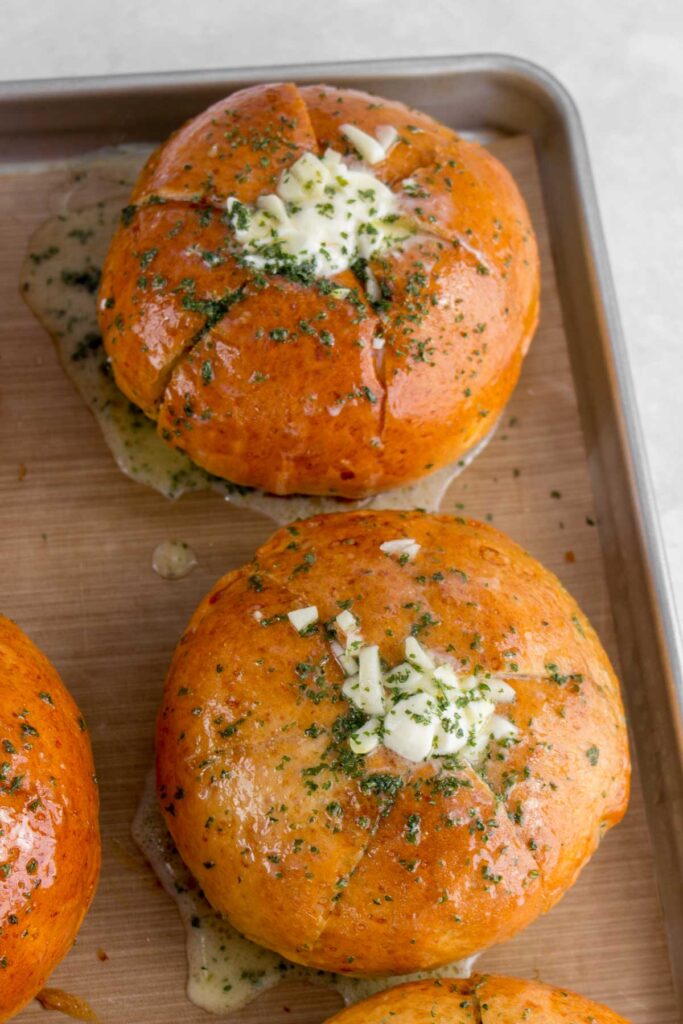
- Bake for another 10 to 15 minutes or until the cream cheese garlic breads are crispy. Enjoy immediately or refrigerate for later.
Recipe Tips and Notes
- Roughly chop the garlic. If minced too finely, it might burn before the buns crisp up. If you can get the garlic into the cuts, that’s even better.
- You can double the cream cheese mixture if you’d like more filling. I find 1 block to be just enough though.
- The melted butter needs to be warm for the best results. However, it can’t be piping hot as it’ll cook the egg added.
- I usually let the dough rise in the oven with the oven light on to help speed things up.
- I like to use this dough scraper to cut and divide my dough as it has a ruler on it so I can tell each dough ball is 3″ wide.
- Make sure the dough balls are tightly tucked when you prepare them for the second rise. If they’re not taut, the buns will flatten as it rises.
- This recipe was tested with a silicone mat, reusable baking parchment, and regular. They all work with no adjustment needed.
Make Ahead Tips
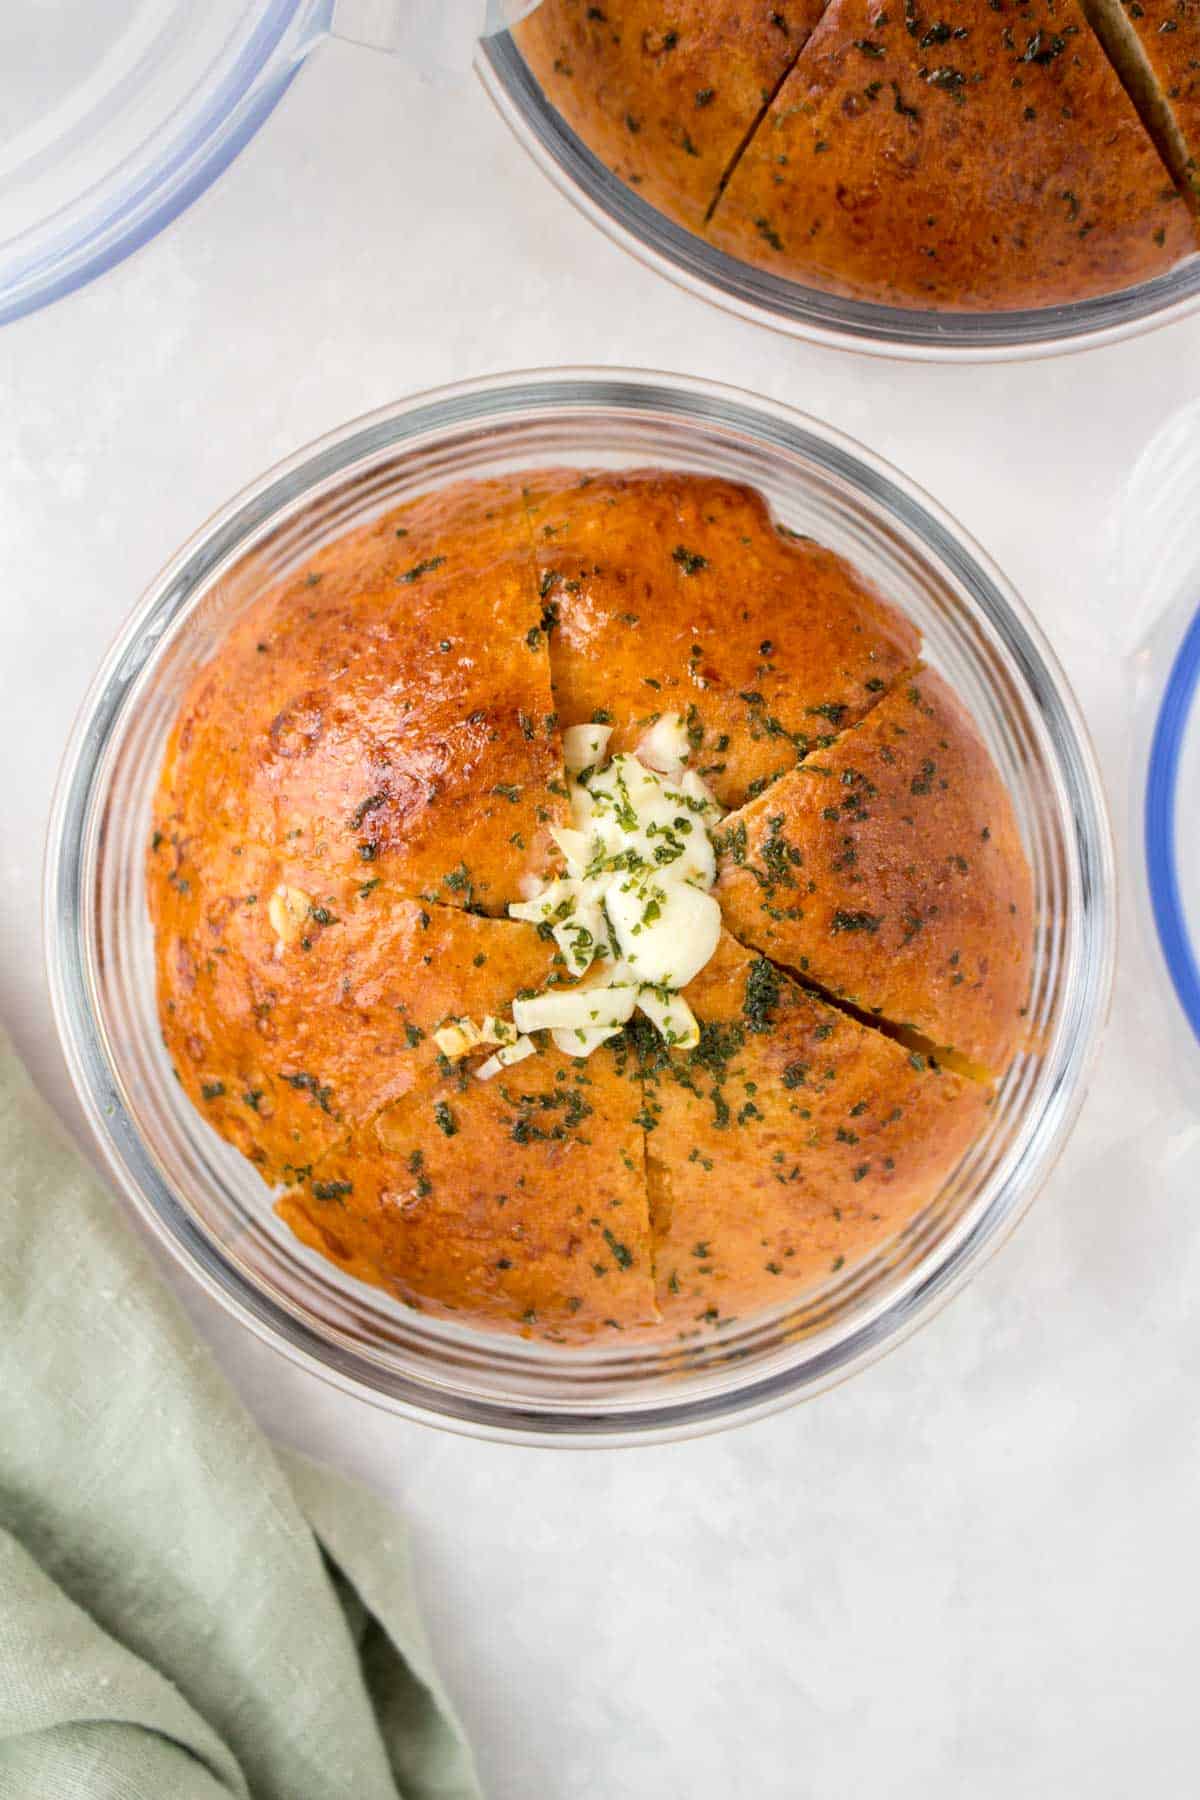
- Make Ahead: once cooled, store the Korean cream cheese garlic bread in an airtight container for up to 4 days in the fridge. When ready to enjoy, reheat in a 350°F oven for 5 to 10 minutes.
- Freezer: allow the Korean garlic bread to cool then wrap tightly in plastic wrap. They can last for up to 2 months. When ready to eat, bring to room temperature and reheat in a 350°F oven for 5 to 10 minutes.

Korean Cream Cheese Garlic Bread
Ingredients
For the Bread Rolls
- 4½ cup all-purpose flour, 540 grams
- 1⅓ cup warm water, between 105°F to 115°F
- 1 tbsp instant yeast, 10 grams
- ¼ cup sugar, 50 grams
- 2 eggs, 1 for the dough, 1 for the egg wash
- 1 tbsp garlic powder, 10 grams
- ¼ tsp salt
For the Cream Cheese Filling
- 1 block cream cheese, 250 grams
- ¼ cup sugar, 50 grams
- 1-2 tbsp milk
For the Garlic Butter Custard
- 1 cup unsalted butter, melted but warm
- 3 tbsp sugar, 37.5 grams
- ½ cup milk
- 1 tbsp dried parsley
- 1 egg
- 4-5 cloves garlic, roughly chopped
Equipment
- Bowl for proofing
Instructions
Make the Bread
- To a stand mixer, add the flour, warm water, yeast, sugar, egg, garlic powder, and then salt. Mix on speed 4 (I have a KitcheAid), for 6 to 7 minutes, or until the dough has gone from raggedly to smooth.
- Tuck the dough into the shape of a ball and place it into the bowl, cover, and let rise until doubled in size (around an hour).
- Once doubled, punch the dough down and turn the dough onto a lightly floured surface and then cut into six equal pieces with a bench scraper.
- Roll each of the six wedges into a ball. Folding the edge of the dough into the middle, pinching the folds together, then flipping the dough over and turn the dough in a circular motion to round it out. They should be around 3 inches wide.
- Transfer the dough balls to a lined parchment paper. I usually do 3 balls per sheet pan. Cover and allow to rise until almost doubled in size, around an hour.
- Heat oven to 350°F.
- Once doubled, brush with an egg wash. Bake for 20 minutes to 25 minutes or until the buns are golden brown.
Make the Filling, Custard, and Assemble
- While the buns are baking, in a clean mixing bowl with a wire whip, whip together the softened cream cheese, sugar, and milk until smooth. Transfer to a piping bag or a Ziploc bag with a tip cut off.
- Once the buns are cool enough to touch, cut the bread into 6 wedges, but not all the way though.*
- Pipe the cream cheese into the center of the buns.
- Combine the (warm, not hot) melted butter, sugar, parsley, milk, egg, and garlic in a deep bowl or sauce pot.
- Add the stuffed bread into the garlic butter and spoon the mixture over top. Try to get the garlic butter in-between the wedges.
- Bake the coated buns on a lined sheet pan for another 10 to 15 minutes or until the cream cheese garlic breads are crispy.
Notes
- For a video tutorial on rolling the balls, check out my Japanese Milk Bread Rolls. If you do not see the video, you’ll have to turn off adblock.
- You can pipe the cream cheese mixture between the wedges as well but usually, the cream cheese pushes out from the middle and makes its way into the crevasses, if not, the cream cheese usually fills the inside of the bread. This recipe uses all of the cream cheese so there’s a ton in each bun without having the pipe inbetween cuts.
Nutrition Per Serving
More Easy Bread Recipes to Try
- Strawberry Swirl Milk Bread Rolls
- Basil and Garlic No Knead Bread
- Air Fryer Garlic Bread
- Cinnamon Raisin Swirl Milk Bread
- Matcha Swirl Milk Bread
- Homemade Breadsticks
Other places to connect with me
@carmyshungry on Instagram
Facebook
Shop my Amazon faves
Email: [email protected]
Kayla DiMaggio says
Okay, this garlic bread was out of this world amazing! So delicious I kept going back for more!
nancy says
this recipe was such a hit at home and better than store bought!
Helen says
Just wondering, can I make the cream cheese and garlic sauce ahead of time and assemble all on the day of the party?
Carmy says
Hi Helen! I recommend making the buns ahead of time and then freezing them if that’s the case. Once they’ve cooled, you can wrap them up in plastic and before serving, place the buns in the oven to warm them up again. I did that for Canadian Thanksgiving a few weeks back :)
Holly says
can we freeze them without baking?
Carmy says
Hi Holly! Unfortunately, I haven’t tried that. If you do, please let me know as I’m sure others are curious too 🥰
Dude says
Can we proof the dough overnight?
Carmy says
For sure :)