
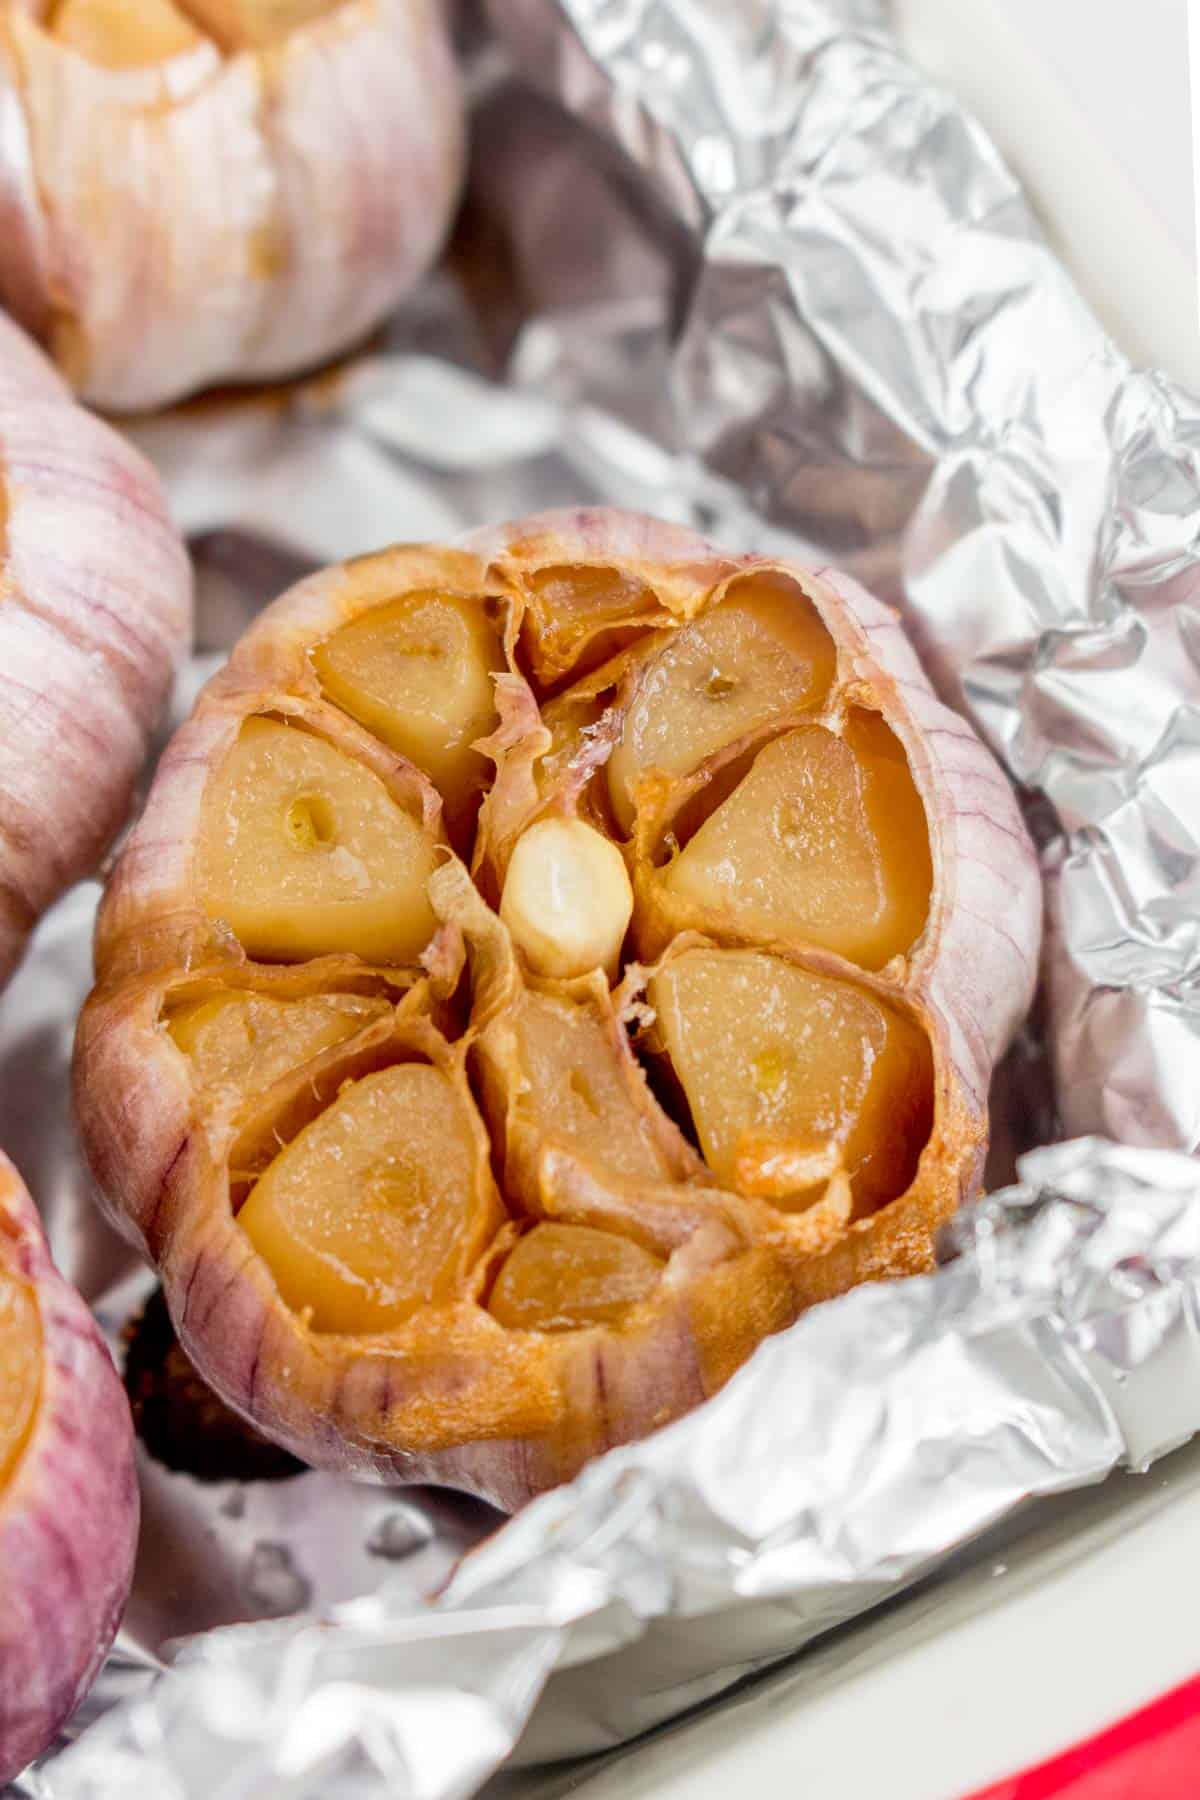
Roasting garlic adds so much flavour to a dish and couldn’t be easier! When roasted, garlic becomes sweet, creamy, and spreadable. Here’s how to roast garlic in the oven in a few simple steps.
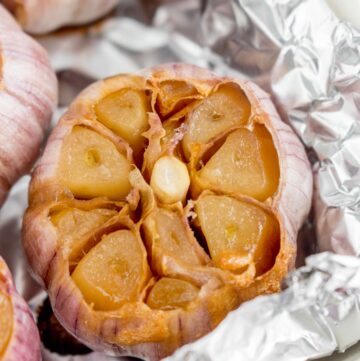
I am obsessed with garlic and one of my favourite way of enjoying garlic is by roasting it. The garlic cloves come out buttery as well as sweet but savoury. Once caramelized, the garlic flavour mellows out and spreads like butter.
Once roasted, the garlic can be used in so many different ways. From putting it in salad dressings, stirring it into mashed potatoes, mixed into soup, and more! No matter what you’re adding roasted garlic into, it will instantly make it more flavorful. You can even just spread it directly on some bread or crackers and enjoy it as it.
Ingredients You’ll Need

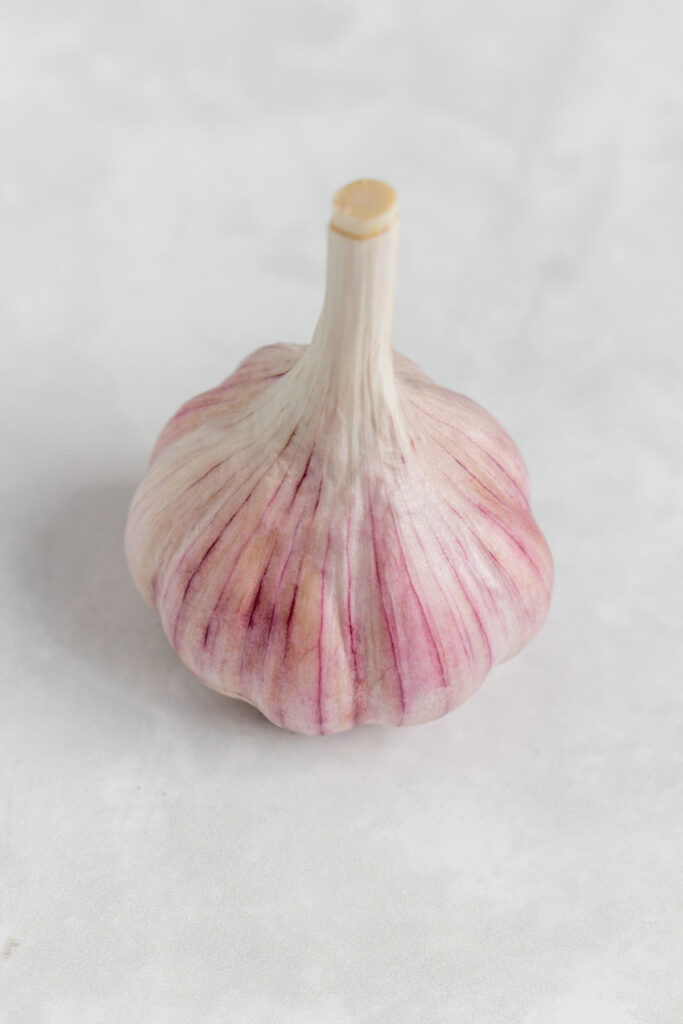
- garlic — you can use whatever garlic you have. I usually use music garlic as it’s commonly sold at my local farmers’ market. I will say, buying local garlic is game changing as there’s much more flavour to them! The amount of garlic bulbs can vary as it doesn’t affect the cook time.
- olive oil
- salt
How to Roast Garlic
- Heat the oven to 400F.
- Remove the paper-thin skin of the garlic. This prevents the skin from burning while roasted and allows the heat to reach the cloves quickly.
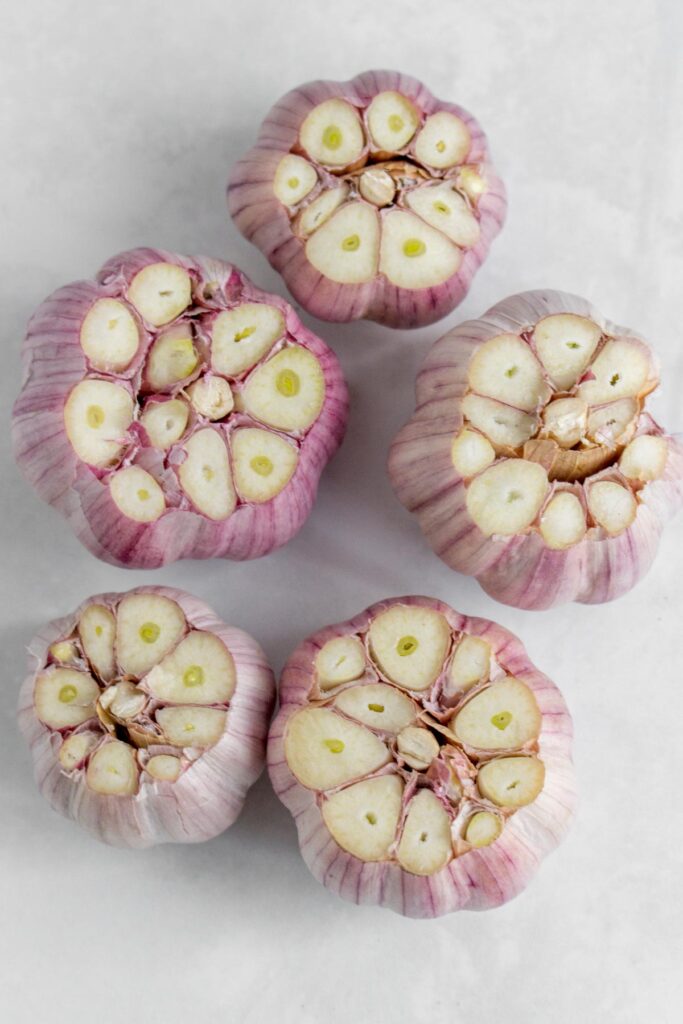
- Trim the top ¼ inch off the top of the garlic bulb.
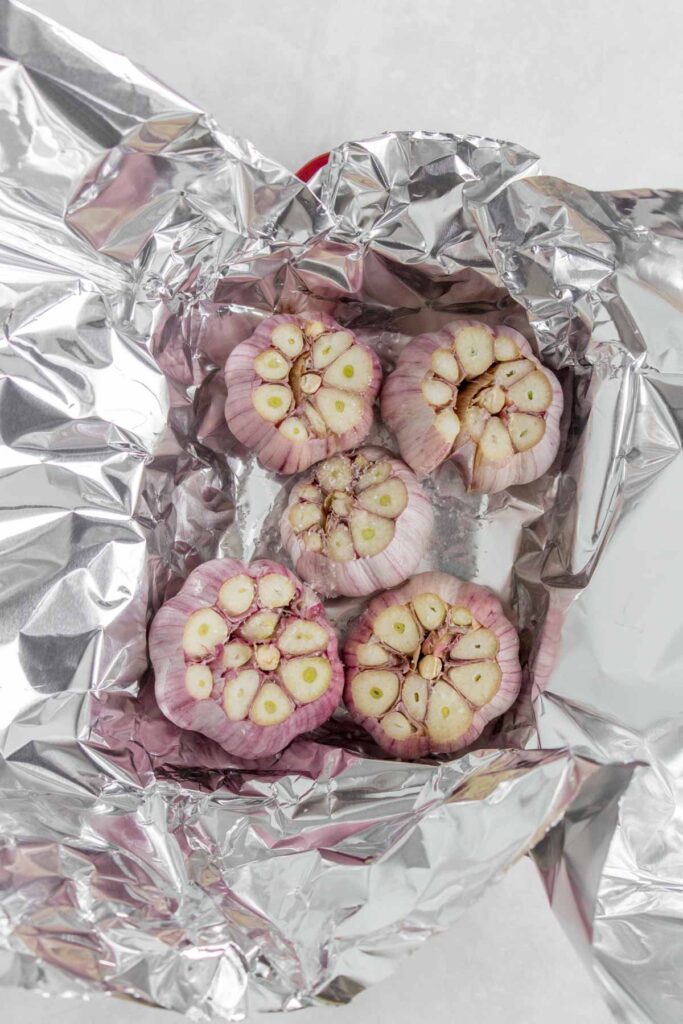
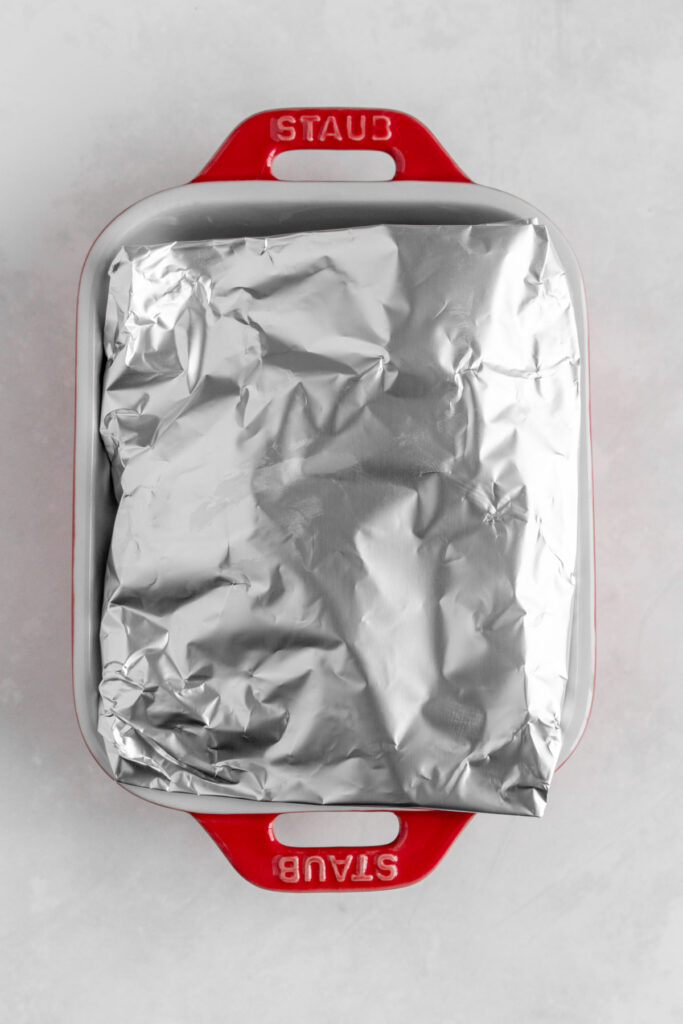
- Place the heads of garlic onto a piece of tin foil and drizzle with olive oil, and sprinkle with salt.
- Tightly wrap the garlic in the foil. Make sure the cut side of the garlic is facing upwards.
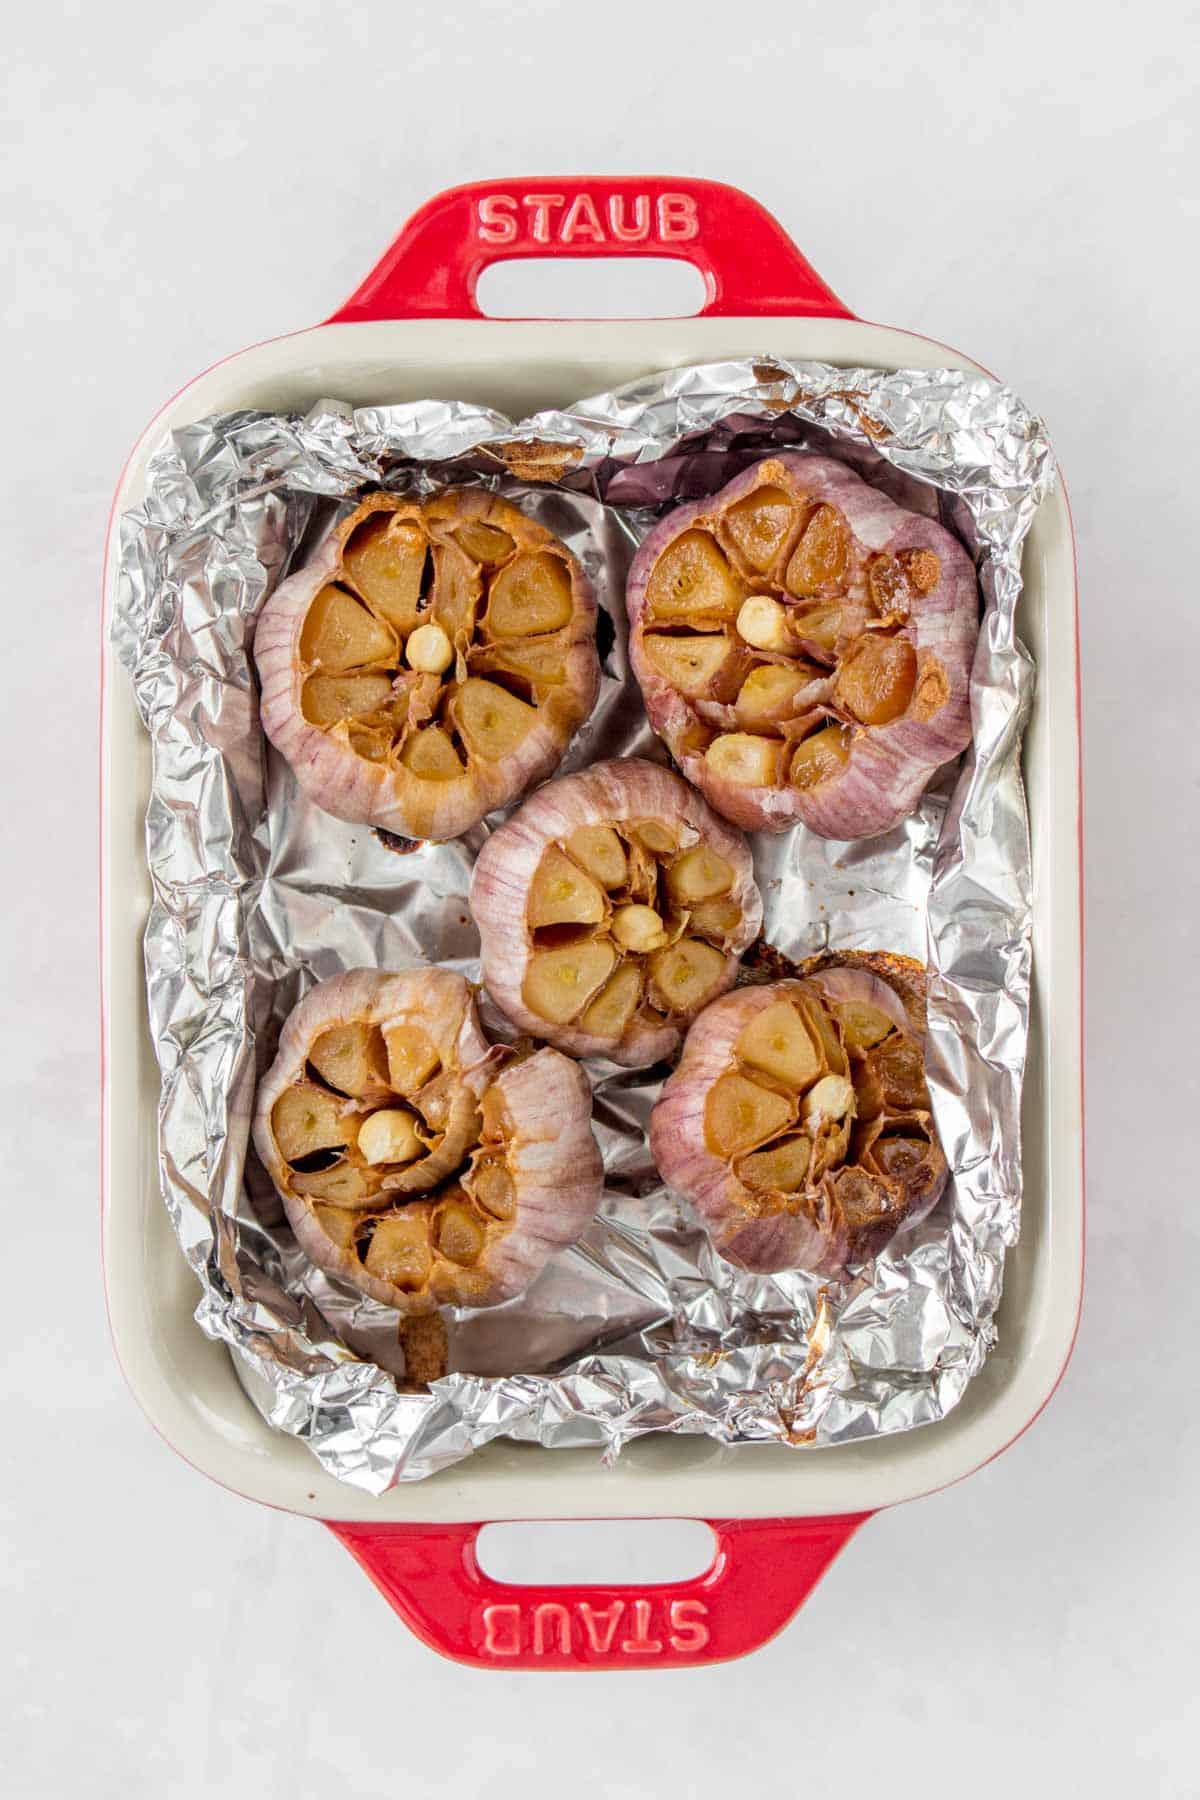
- Roast in the oven for 40 to 60 minutes.
- When cool to touch, remove the garlic cloves from the skin and set aside. You can squeeze the cloves out or simply peel the skin off.
Recipe Tips and Notes
- I use around 1 teaspoon of olive oil per head of garlic.
- To add more flavour, you can place a couple pieces of fresh rosemary, thyme, or sage over top the heads of garlic before wrapping them up in tin foil.
- You can place the wrapped garlic in a baking dish, ramekin, or sheet pan. Sometimes, I place the wrapped garlic directly in the oven if I don’t have space for a dish.
How to Store and Freeze Roasted Garlic
- Store for up to 5 days in an airtight container in the refrigerator if you’re not using them immediately.
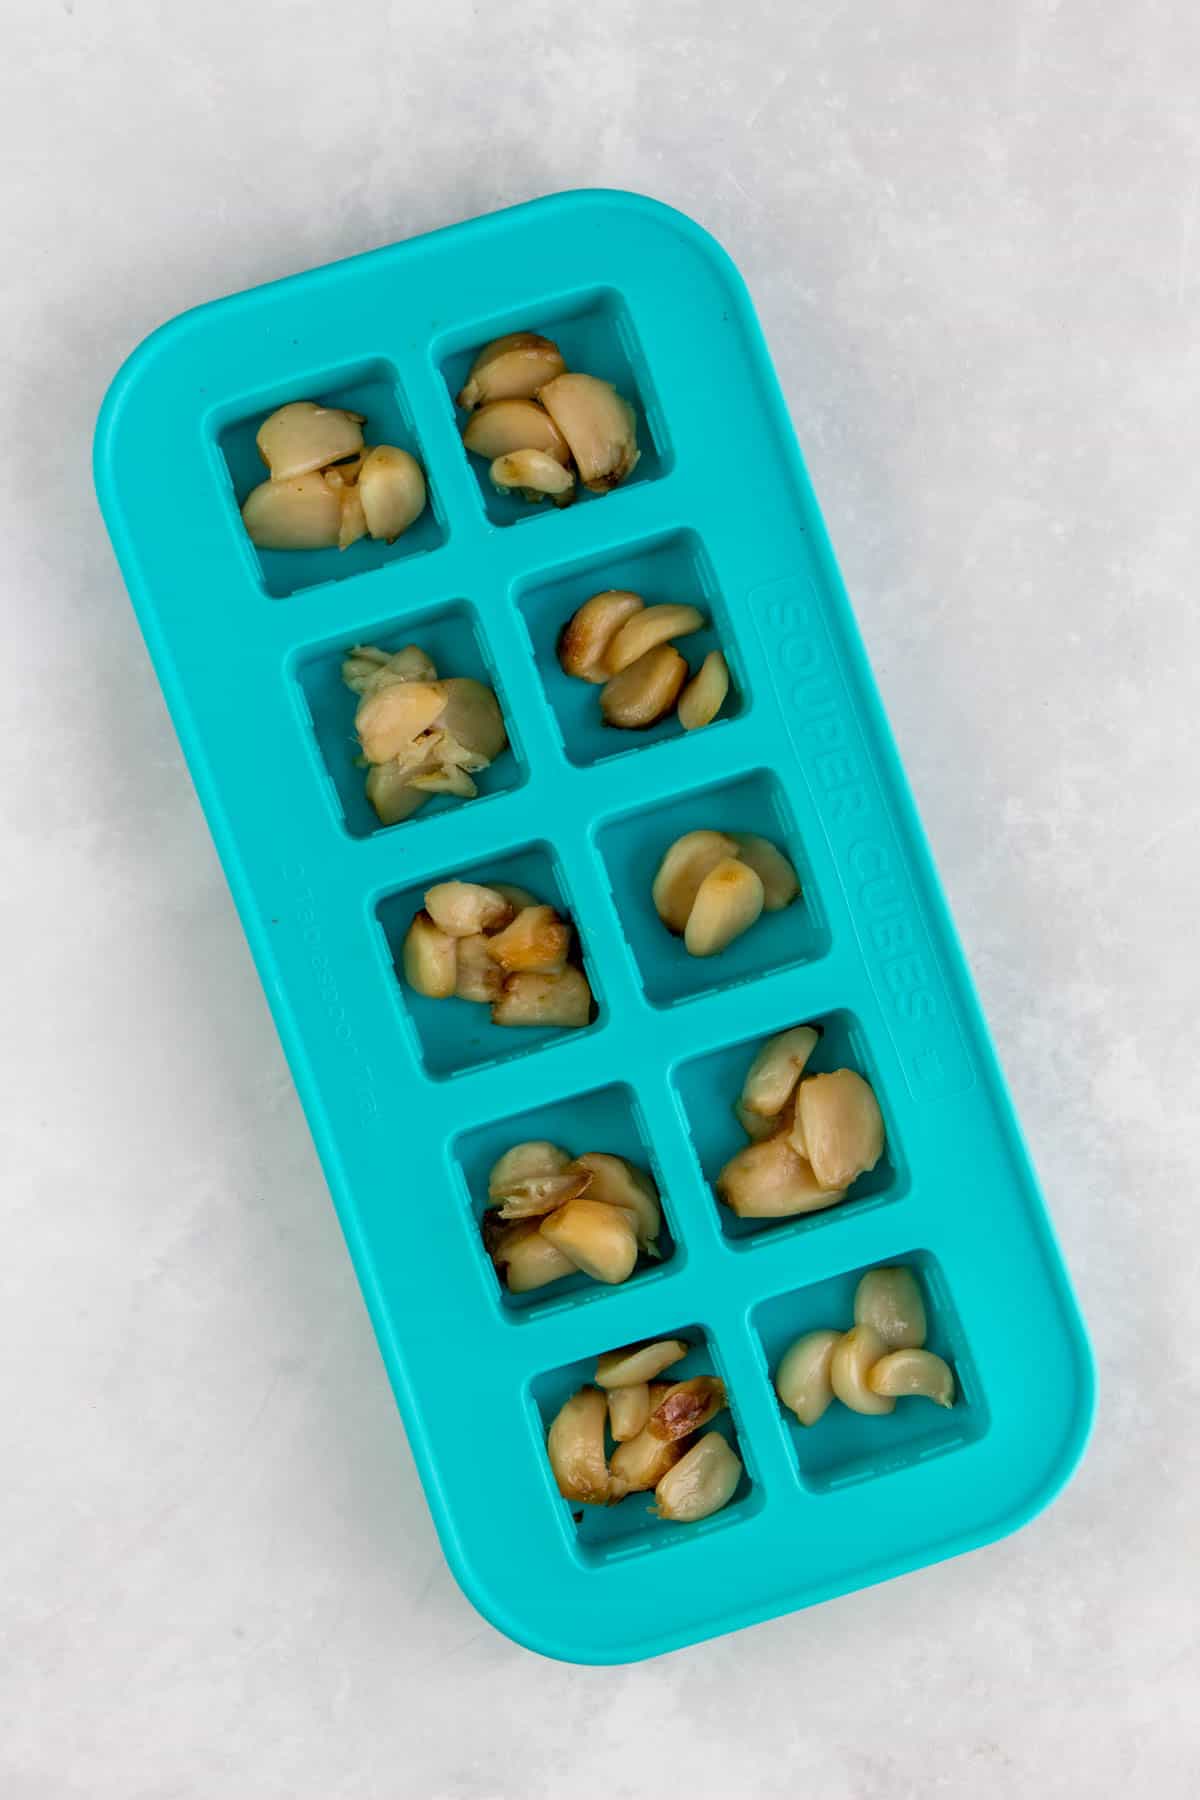
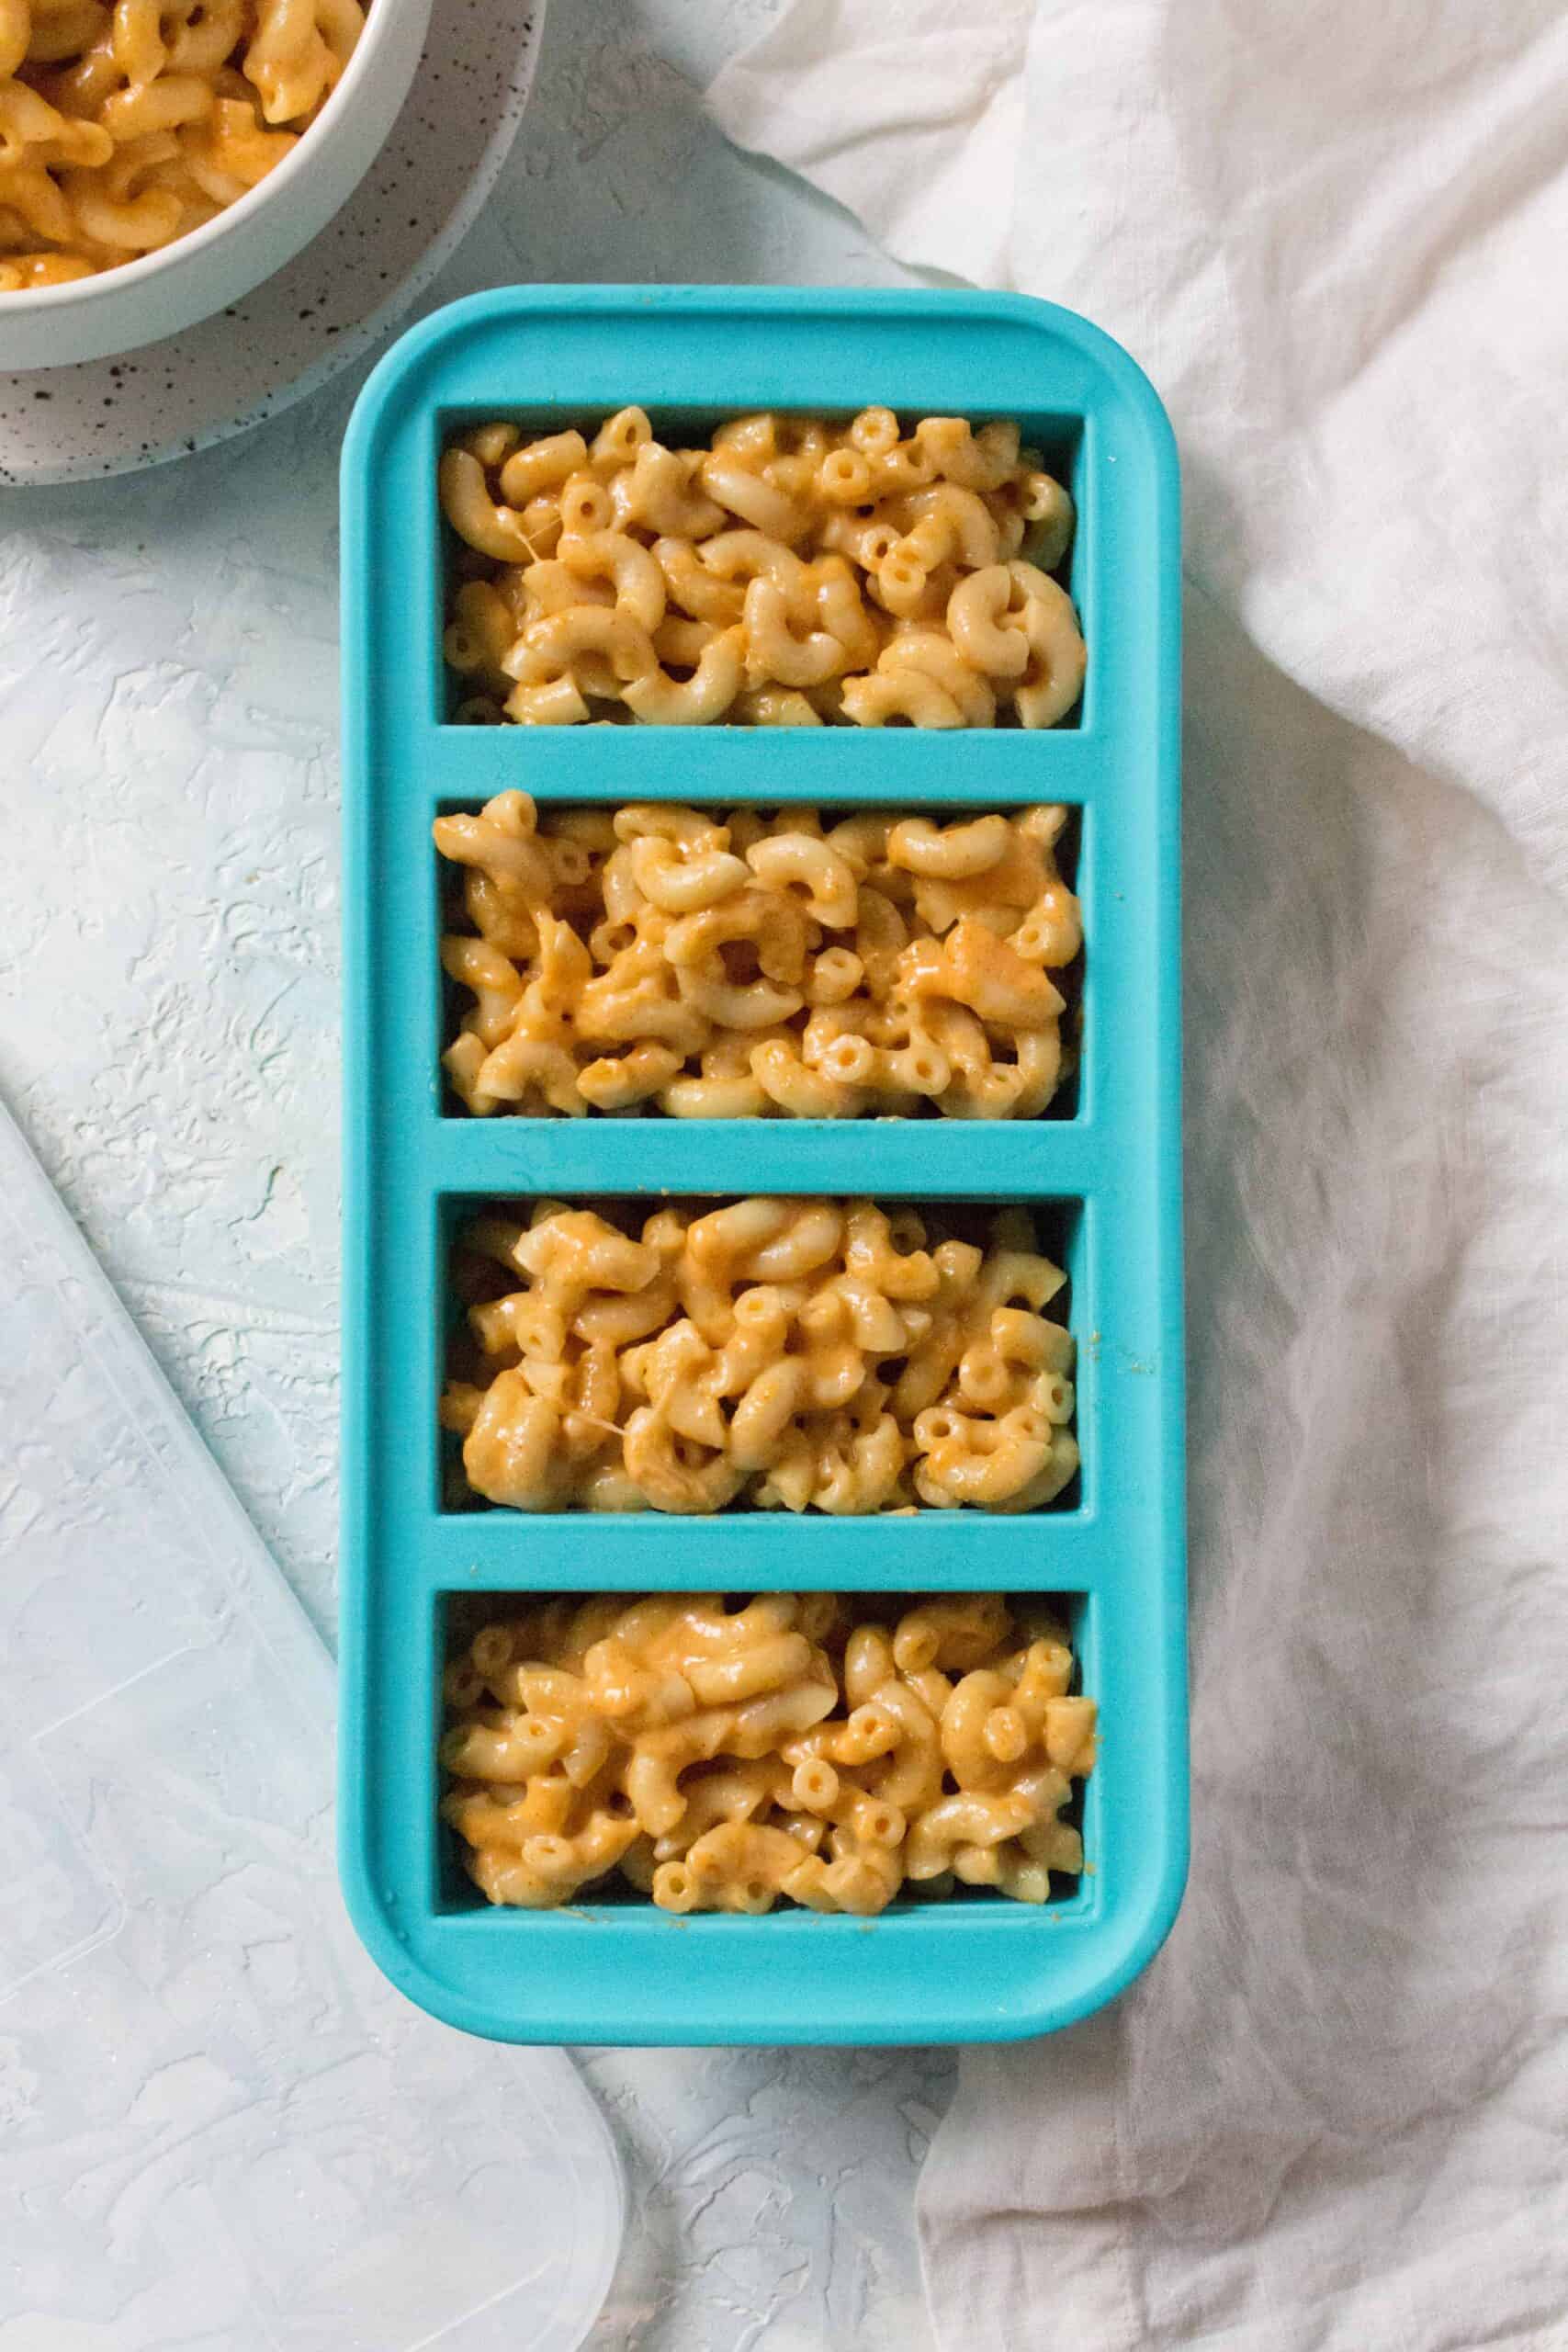
- Roasted garlic can be frozen for about 2 months. Simply defrosted when ready to use. My go-to way of freezing them is separating out the roasted cloves and portioning them in my Souper Cubes tray.
How to Roast Garlic
Equipment
Instructions
- Heat the oven to 400F.
- Remove the paper-thin skin of the garlic.
- Trim the top ¼ inch off the top of the garlic bulb.
- Place the heads of garlic onto a piece of tin foil and drizzle with olive oil, and sprinkle with salt.
- Tightly wrap the garlic in the foil.
- Roast in the oven for 40 to 60 minutes.
- When cool to touch, remove the garlic cloves from the skin and use or store them for later. You can squeeze the cloves out or simply peel the skin off.
Nutrition Per Serving
More Cooking Basics
- How to Freeze Minced Garlic
- How to Freeze Green Onions
- How to Press Tofu
- How to Freeze Butter
- How to Make Purple Rice
- How to Cut Romaine Lettuce
- How to Roast Frozen Vegetables
Other places to connect with me
@carmyshungry on Instagram
Facebook
Shop my Amazon faves
Email: [email protected]
Leave a Reply