
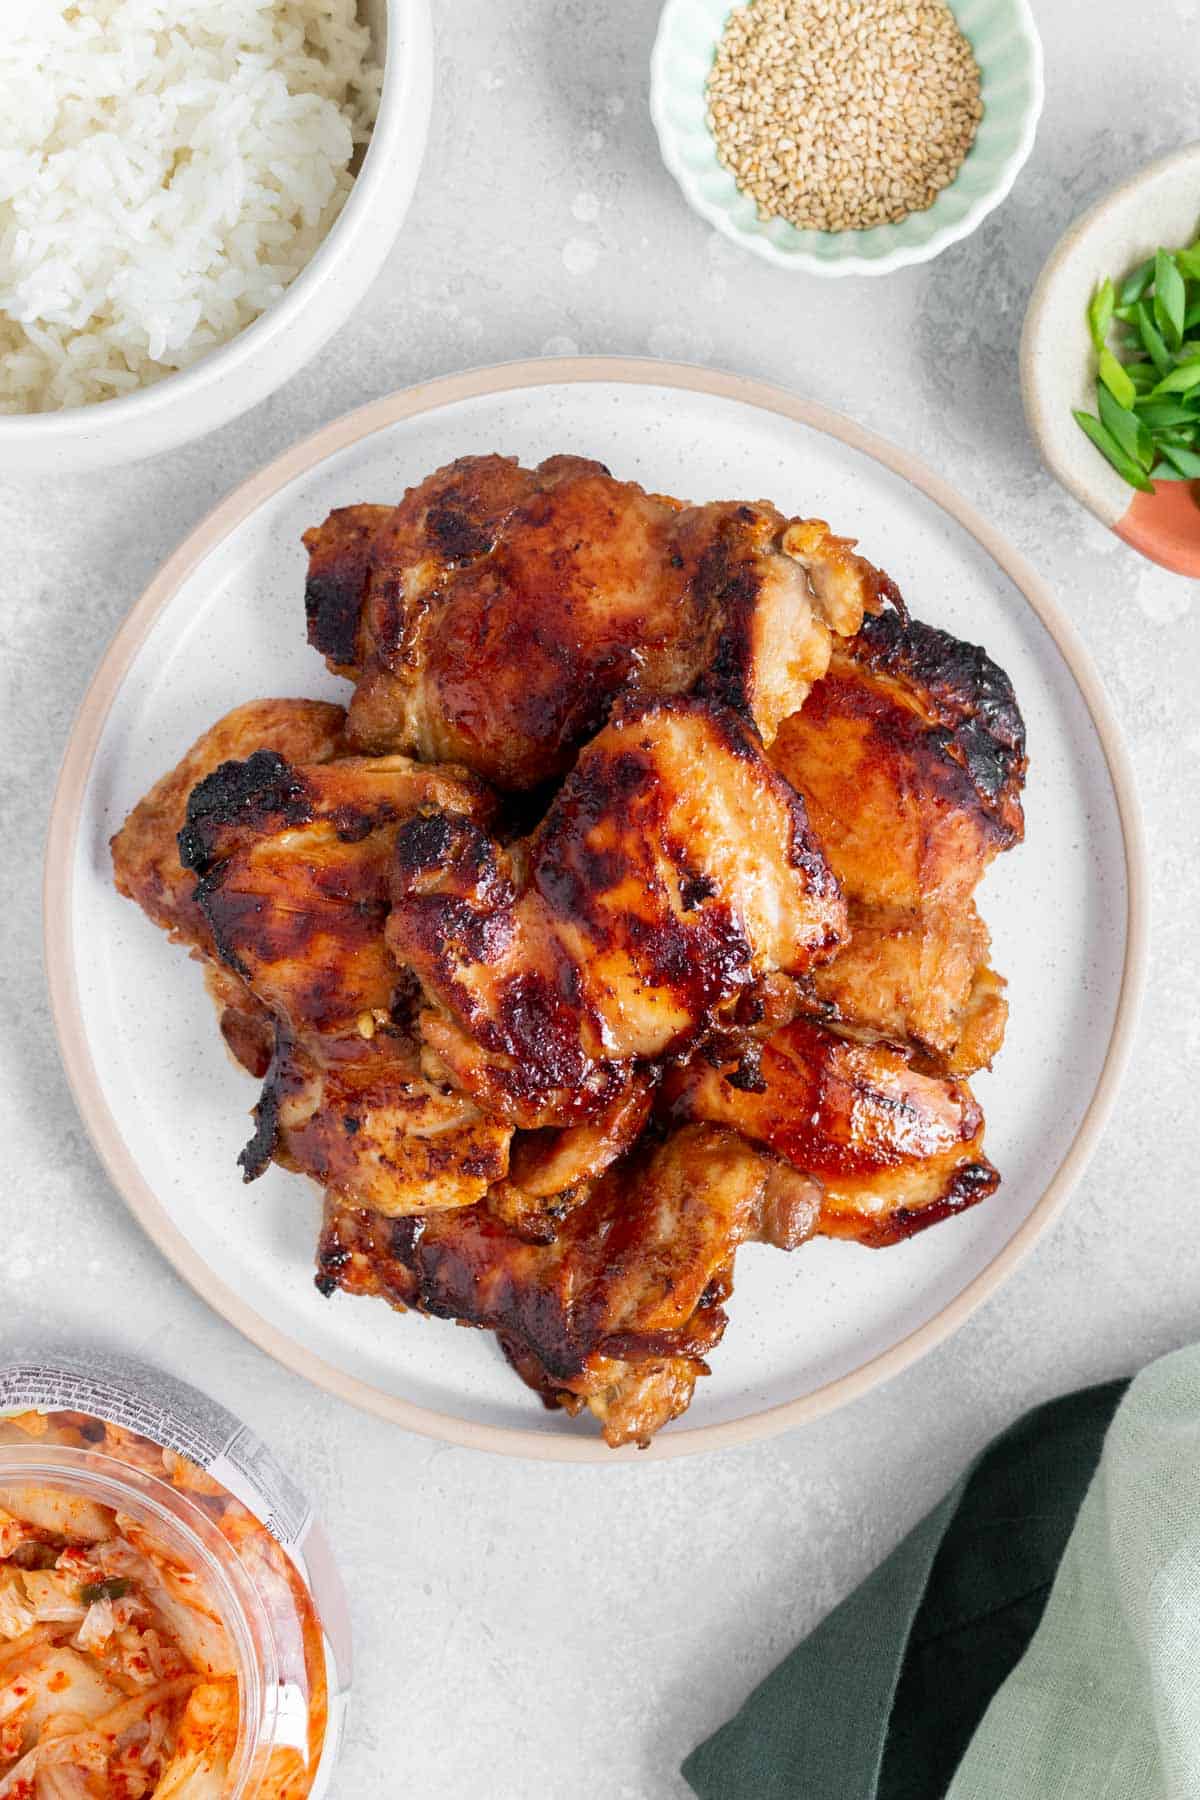
This easy chicken bulgogi (also known as dak-bulgogi) is a simple recipe you can whip up on a skillet on a busy weeknight. Marinaded in pantry staples and seared to perfection, this homemade Korean BBQ chicken is a household favorite! Sweet, savory, and salty, this chicken bulgogi recipe is irresistible!
If you’re a fan of beef bulgogi but want to change up the protein, this chicken bulgogi will be your new favorite recipe! Tender chicken thighs marinaded in a sweet but salty and garlicky mixture, this chicken will make your mouth water! “Bul” means fire in Korean, and “gogi” is a general term for meat, so fire meat is usually grilled on a barbecue or a stove-top griddle to get that signature smoky flavor and char. Dak bulgogi is a variation made with chicken. Dak means chicken.
Why You’ll Love This Recipe
- This chicken bulgogi recipe is so easy to make! Simply mix together the marinade, then marinate the chicken before cooking it on a cast iron skillet.
- It uses a lot of pantry staples to make the marinade and I always have chicken thighs in the freezer, so this meal comes together without me having to run out to the store! Love that!
- It’s perfect for a busy weeknight meal or as a meal prep! It reheats like a dream.
Ingredients You’ll Need
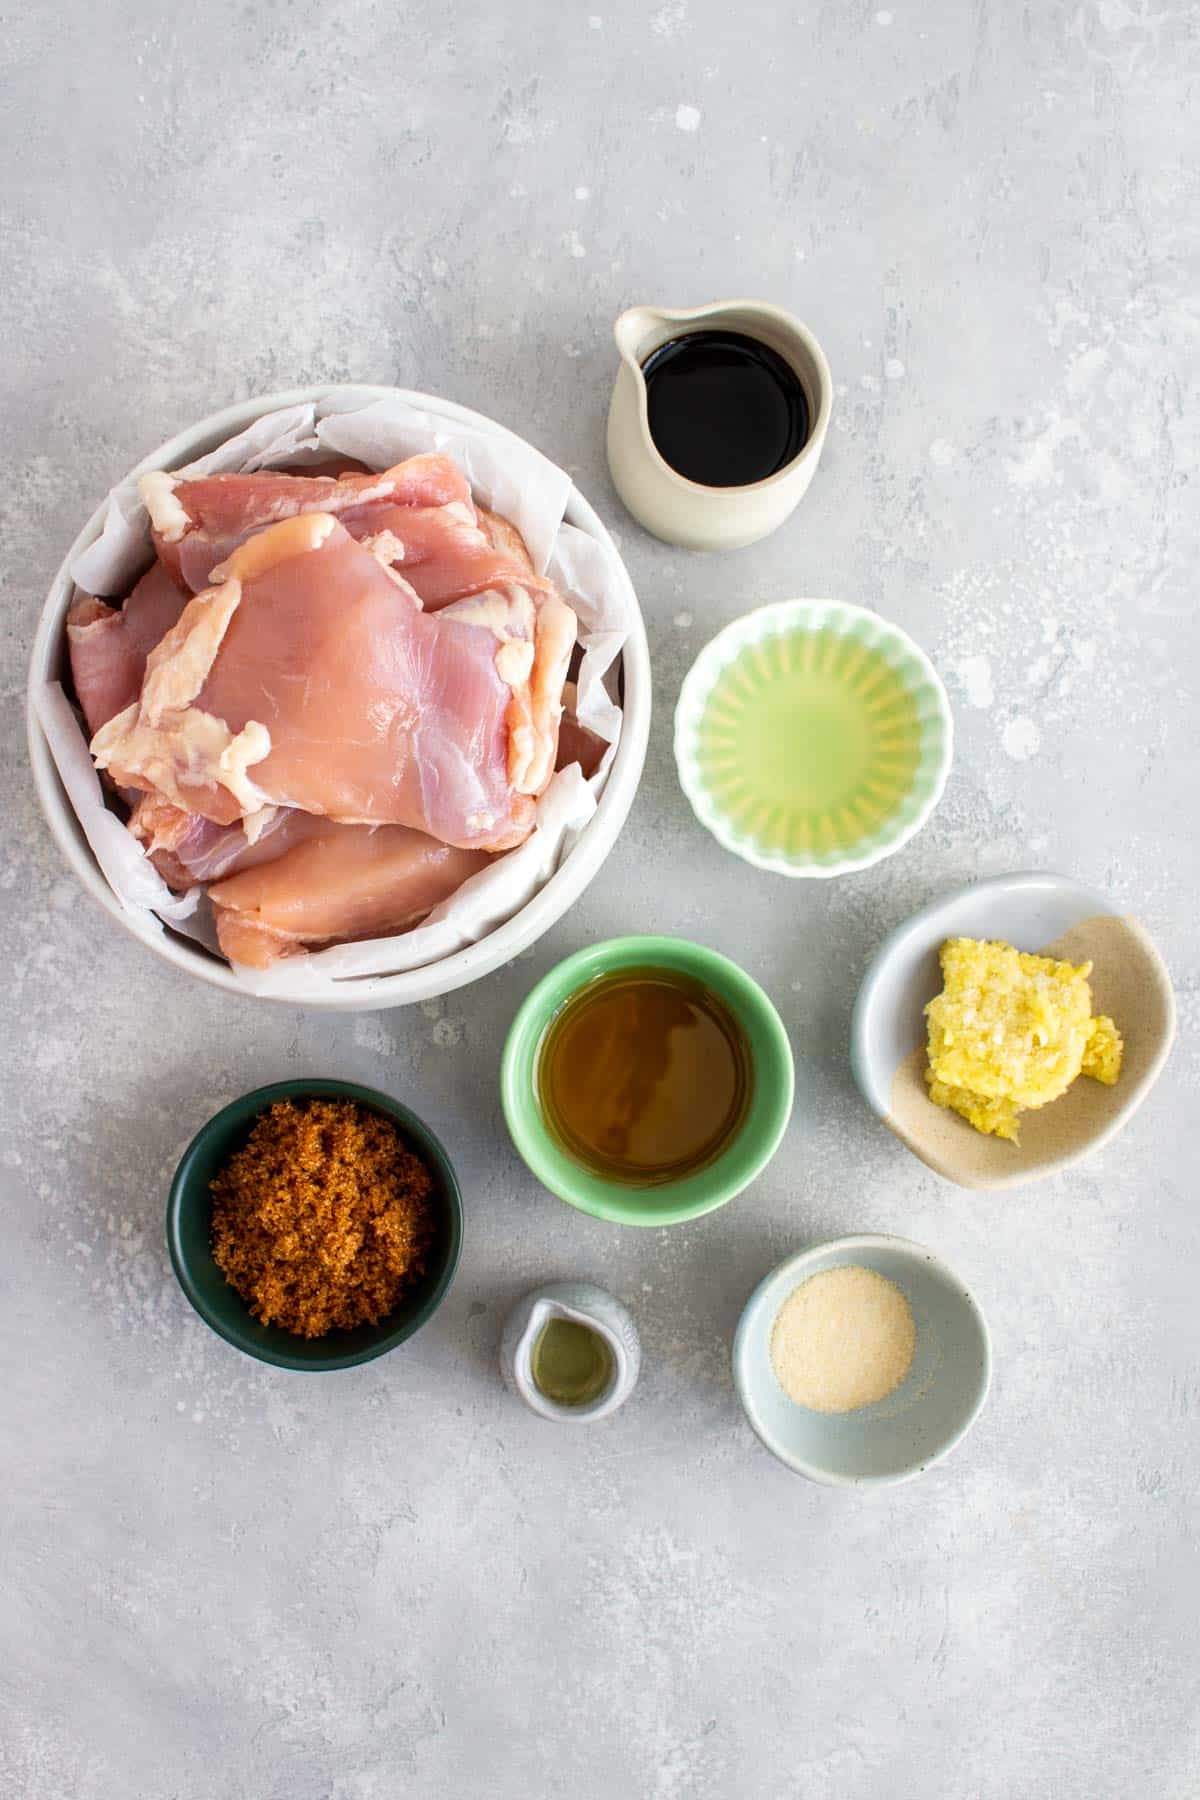
- soy sauce — I recommend using low sodium soy sauce.
- brown sugar — for added sweetness in the marinade.
- mirin — mirin is a Japanese sweet rice wine, if you are unable to find it, you can try rice vinegar with extra brown sugar or honey.
- garlic — I always have local minced garlic frozen in my freezer! I very much prefer it to store-bought jars of minced garlic.
- onion powder — for an extra oomph in the flavor department.
- sesame oil — I use pure sesame oil to add a nice nutty flavor to the sauce.
- chicken — I use boneless, skinless chicken thighs.
- oil — you’ll need another oil to cook the chicken in. You can use additional sesame oil or change it up with olive oil, canola oil, or vegetable oil.
How to Make Chicken Bulgogi
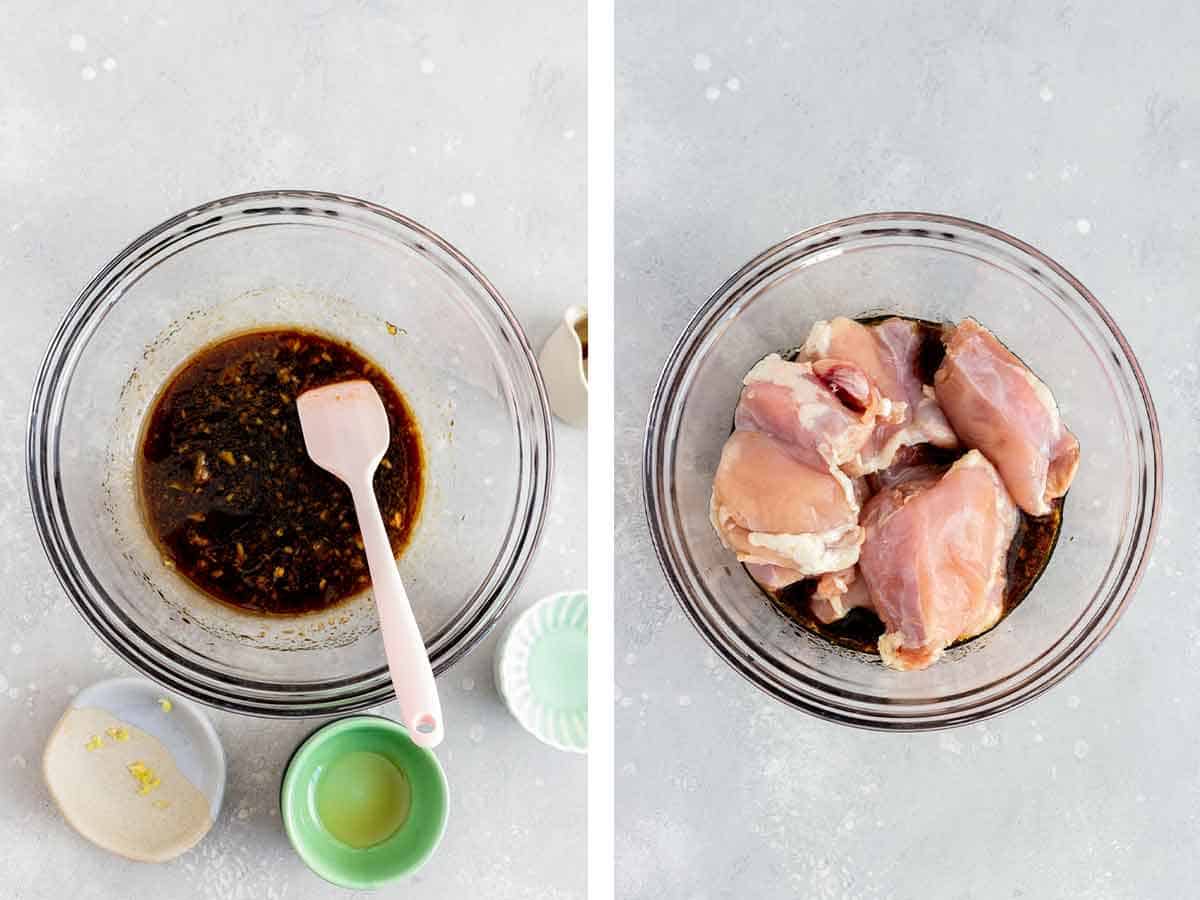
- In a bowl, combine the soy sauce, mirin, brown sugar, minced garlic, sesame oil, and onion powder.
- Add the chicken thighs to the marinade.
- Toss to combine, making sure the chicken is well coated by the marinade. Set aside to marinate for a minimum of 30 minutes in the fridge.
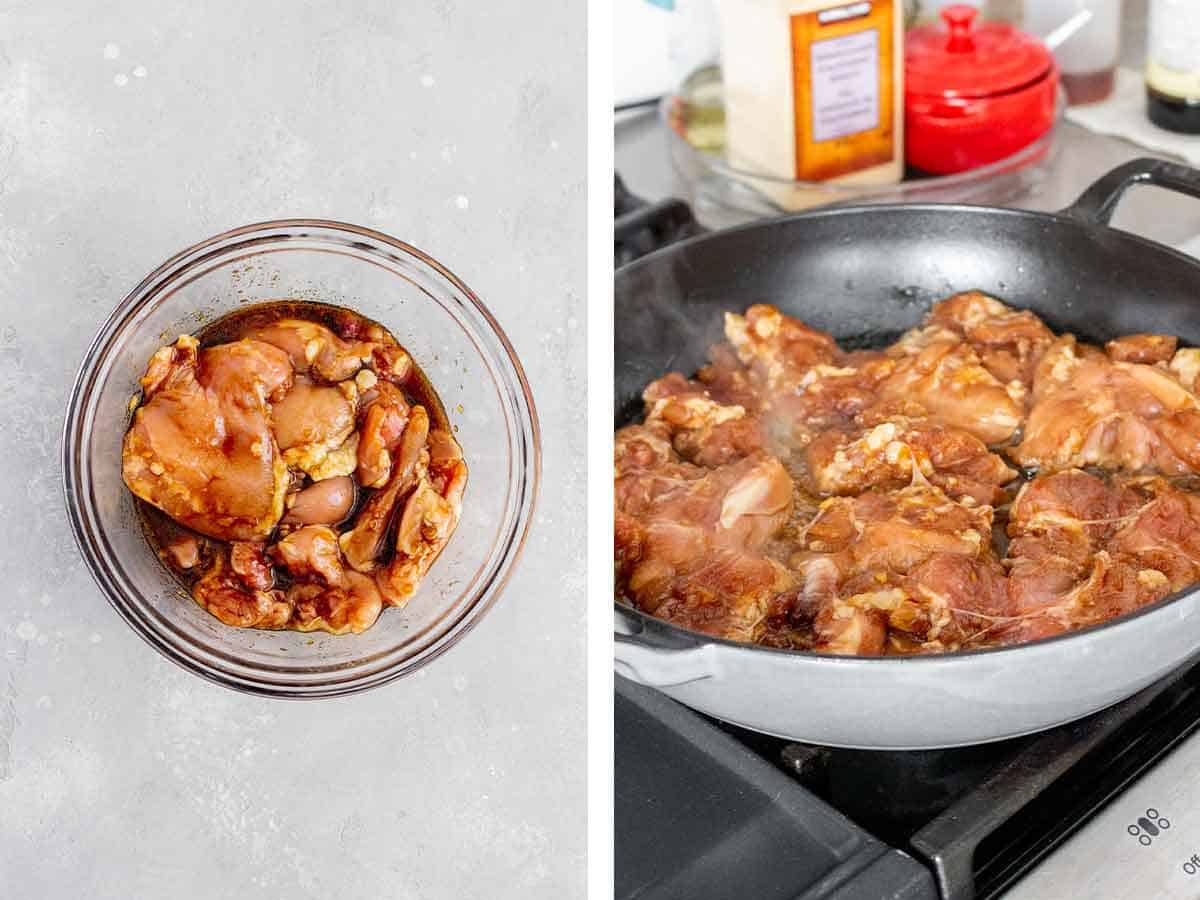
- In a large cast iron pan over medium-high heat, heat up the cooking oil and once hot, add the chicken thighs into the pan, smooth-side down.
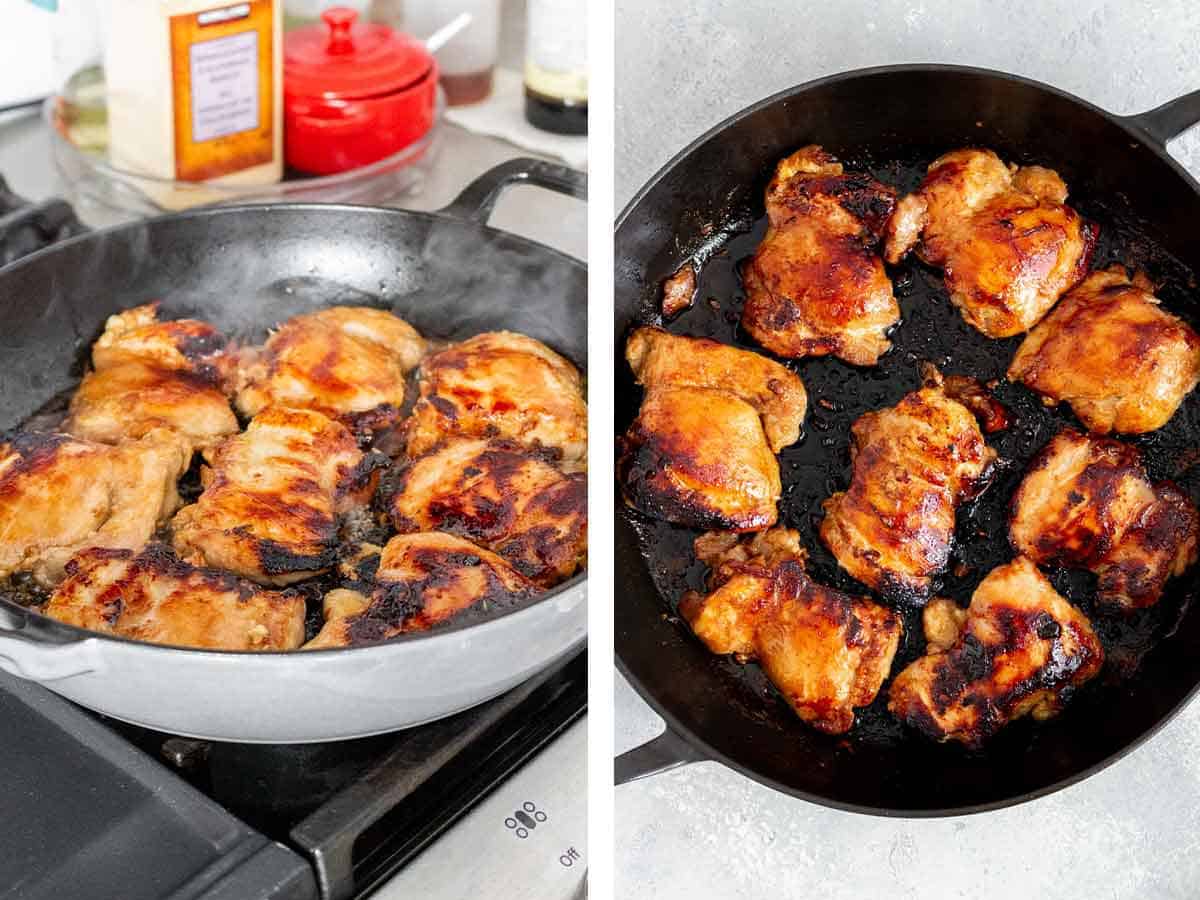
- Cook for 4 to 5 minutes and then flip the chicken thighs and cook for another 4 to 5 minutes. If you’d like for the chicken to be more charred, you can flip it one more time and sear it for another minute.
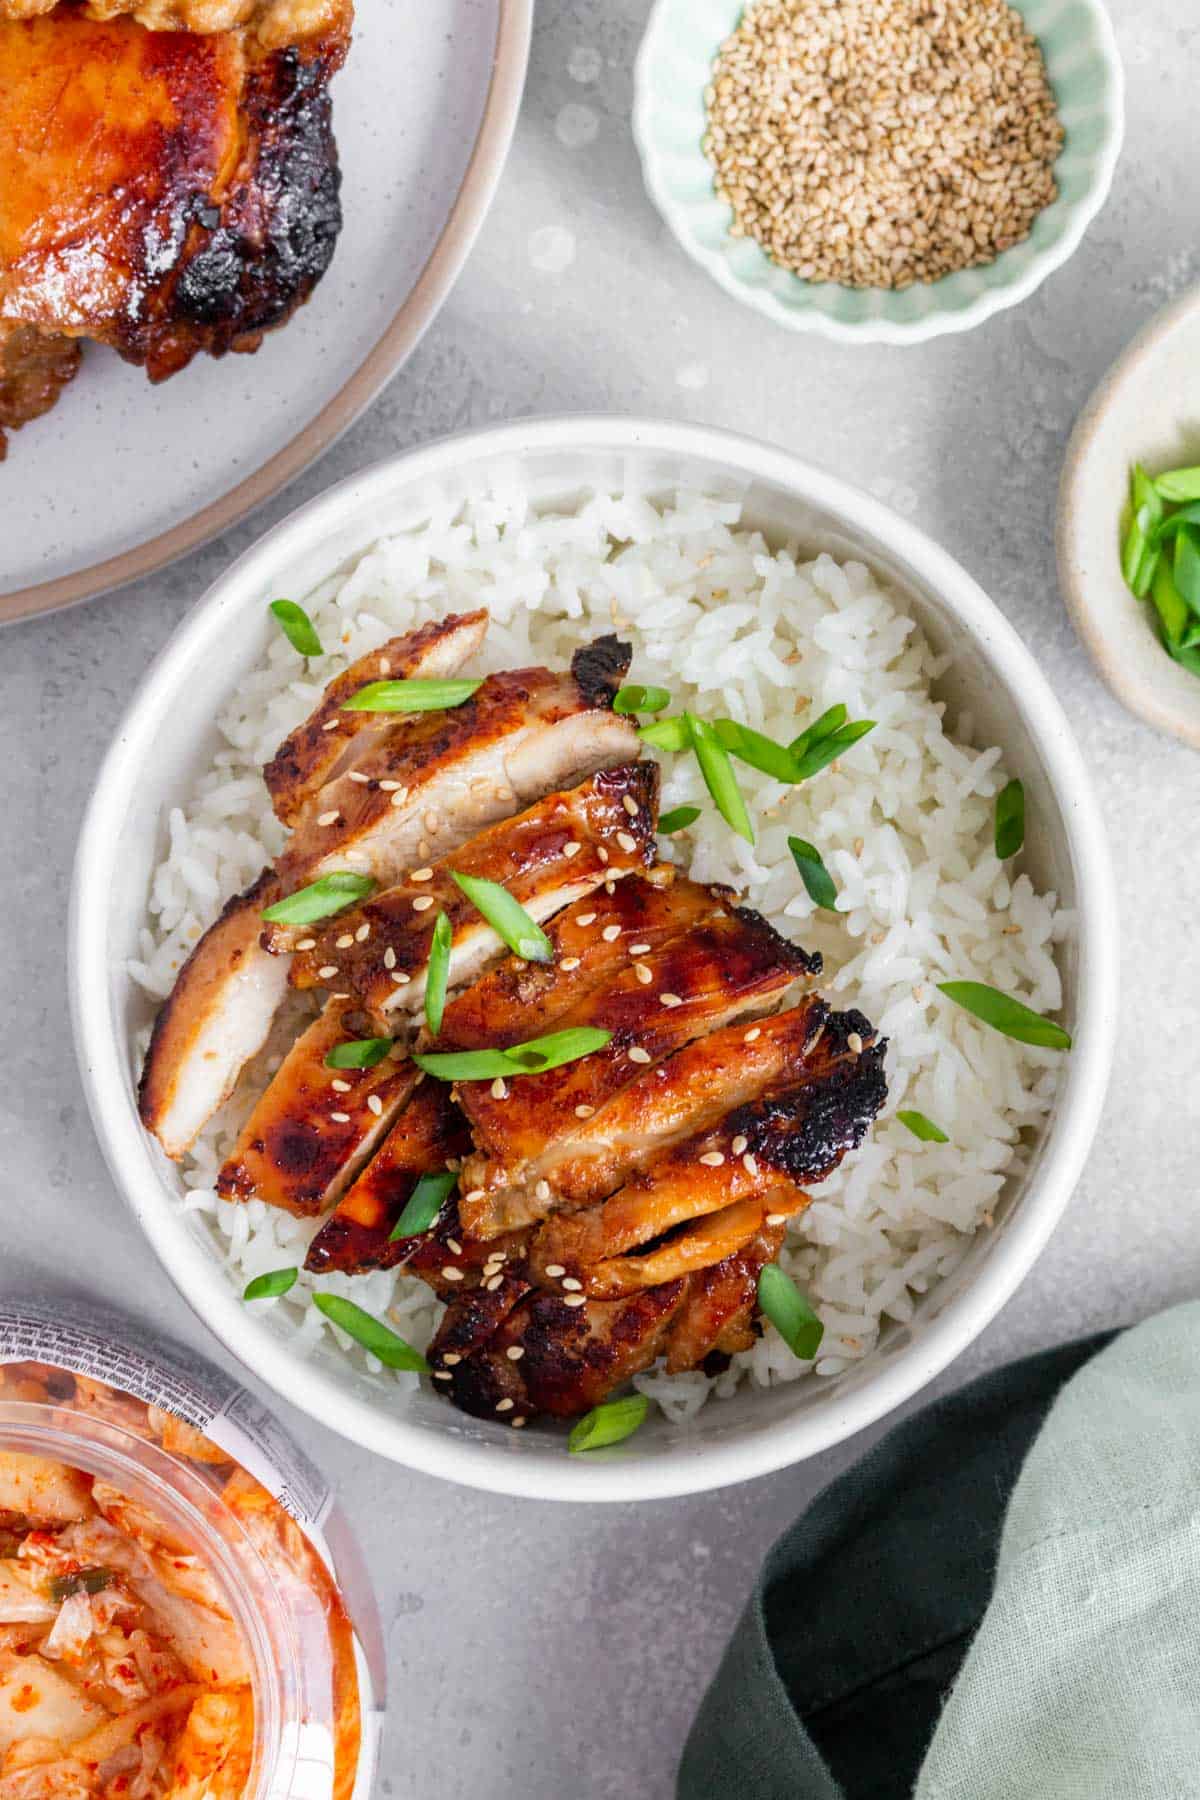
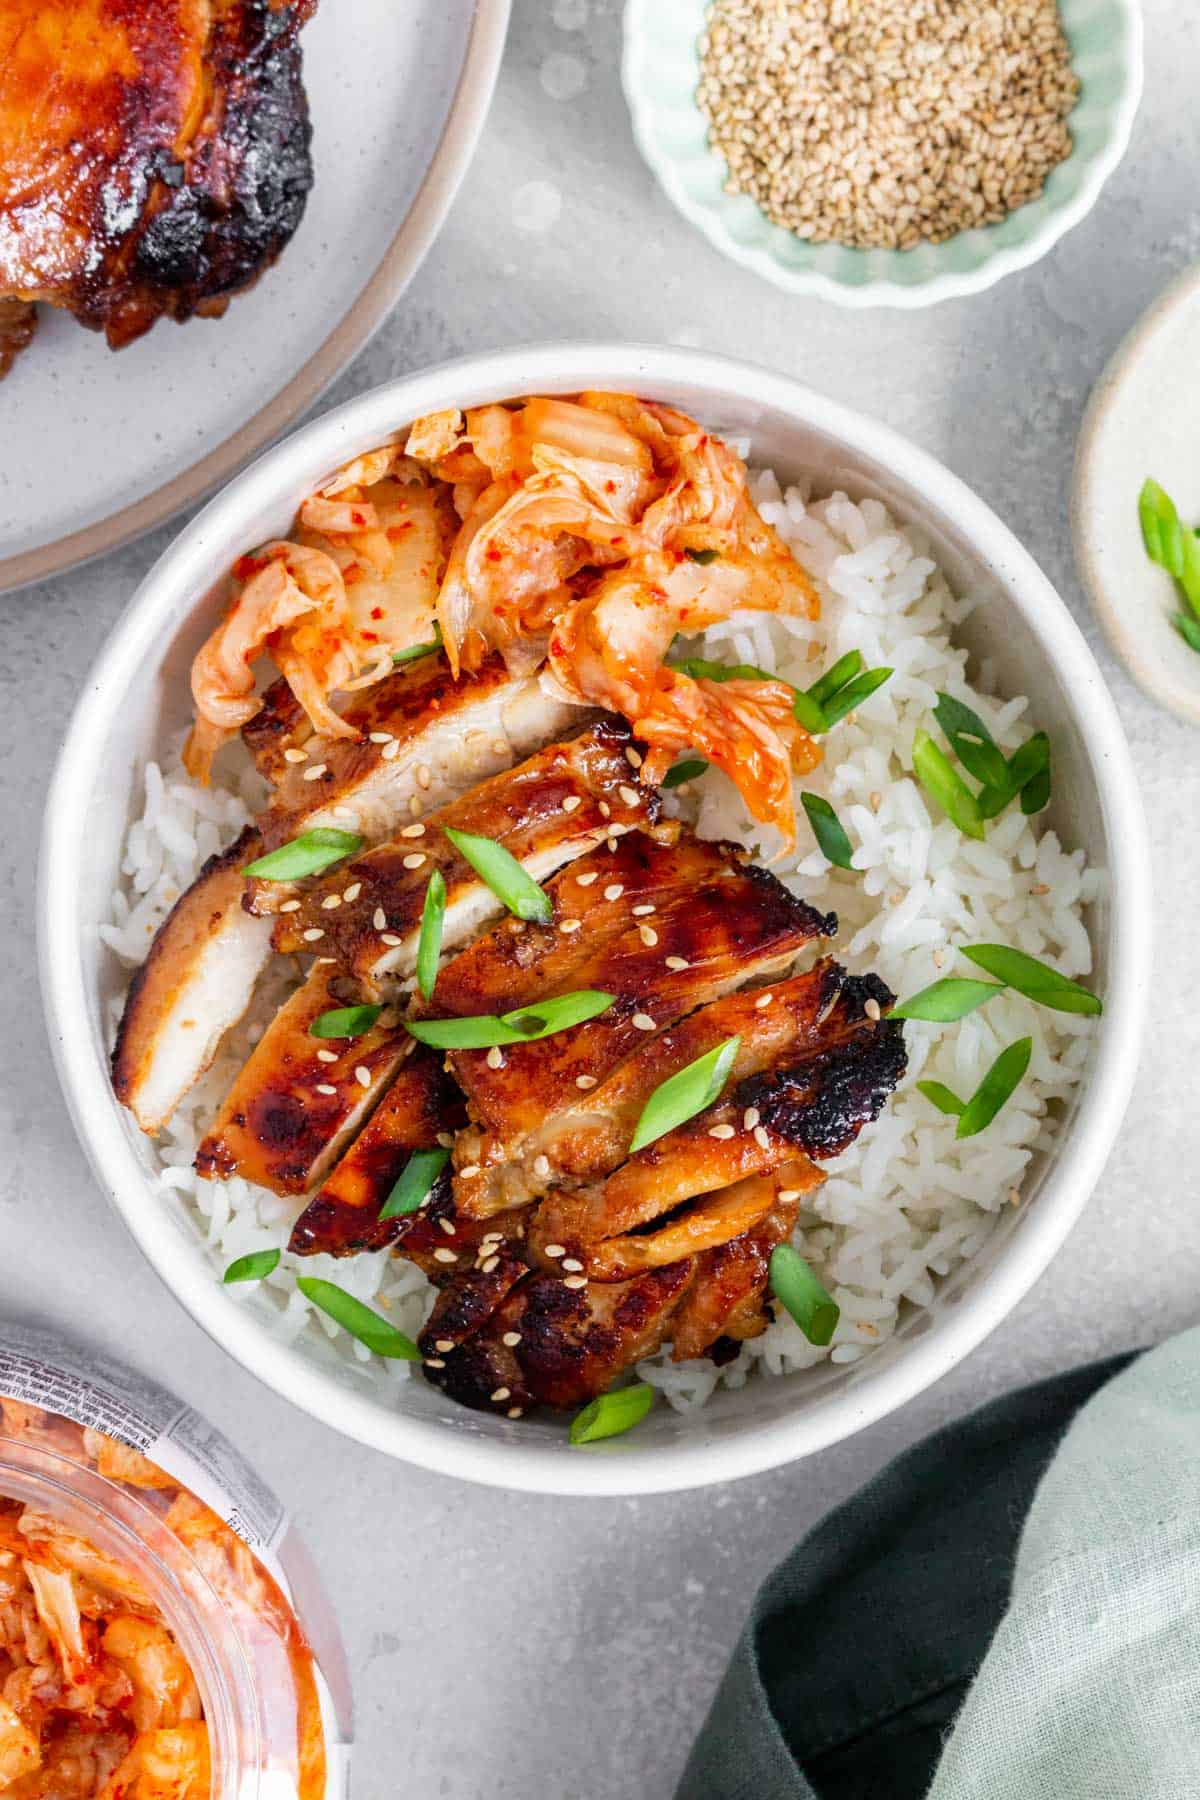
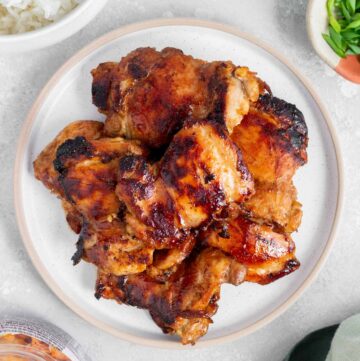
- When done, transfer the chicken thighs to a plate to let them rest for 5 to 10 minutes before slicing and serving.
Recipe Tips and Notes
- If the chicken thighs are stuck to the pan, give it a few more extra minutes. The chicken should release once it’s ready to be flipped. If you try to flip the bulgogi chicken too early, the exterior will tear as it sticks to the pan.
- The internal temperature of the chicken thighs should reach 165°F (74°C) before taking them off the pan.

- Allow the cast iron skillet to heat up before adding the chicken to the pan so you can get a nice sear on the chicken thighs.
- The smaller the bowl you use to marinade your chicken in, the less marinade you’ll need!
- This is the cast iron skillet I use. If you have a smaller skillet, cook the chicken in two batches to ensure they sear nicely instead of steaming.
- You can marinate the chicken thighs up to 8 hours in advance.
Make Ahead Tips
- Meal prep: once cooled, store the cooked chicken thighs in an airtight container for up to 4 days in the fridge. I like to pack my bulgogi chicken thighs with some rice and vegetables to make it a complete meal.
- Freezer: allow the chicken thighs to cool before transferring them into an airtight container before storing them in the freezer. They can last for up to 3 months.
- How to prep this for the freezer: place the marinade and chicken thighs in a large freezer friendly ziploc bag, to prep this meal ahead of time. Freeze for up to 3 months. When ready, thaw overnight in the fridge before cooking.

Click here to sign up to stay up to date with new recipes sent straight to your inbox PLUS a free ebook with 10 easy chicken recipes!
Chicken Bulgogi
Ingredients
Marinade
- 3 tablespoons soy sauce, low sodium
- 2 tablespoons mirin
- 2 tablespoons brown sugar
- 2 tablespoons minced garlic
- 1 tablespoon sesame oil
- 1 teaspoon onion powder
For the Chicken Bulgogi
- 1 tablespoon oil
- 1 pound boneless skinless chicken thighs
Instructions
- In a bowl, combine the soy sauce, mirin, brown sugar, minced garlic, sesame oil, and onion powder. Add the chicken thighs to the marinade.
- Toss to combine. Set aside to marinate for a minimum of 30 minutes in the fridge.
- In a large cast iron pan over medium-high heat, heat up the cooking oil and once hot, add the chicken thighs into the pan, smooth-side down.
- Cook for 4 to 5 minutes and then flip the chicken thighs and cook for another 4 to 5 minutes. If you’d like for the chicken to be more charred, you can flip it one more time and sear it for another minute.
- When done, transfer the chicken thighs to a plate to let them rest for 5 to 10 minutes before slicing and serving.
Nutrition Per Serving
More Korean Recipes to Try
- Air Fryer Korean Fried Chicken (or my double fried Korean Fried Chicken)
- Japchae
- Korean Cheese Corn
- Seasoned Spinach
- Mayak Eggs
- Silken Tofu Recipe
- Korean Cream Cheese Garlic Bread
- Korean Potato Salad (Gamja Salad)
- Bacon Kimchi Fried Rice
- Spicy Pork Stir Fry (Jeyuk Bokkeum)
- Gochujang Chicken
Other places to connect with me
@carmyshungry on Instagram
Facebook
Shop my Amazon faves
Email: [email protected]
Leave a Reply