
This super easy Kimchi Fried Rice with Bacon is one of my go-to weeknight dinners. It is SO easy to make and so satisfying to eat. Made with less than 10 simple ingredients, you can whip this up so quickly!
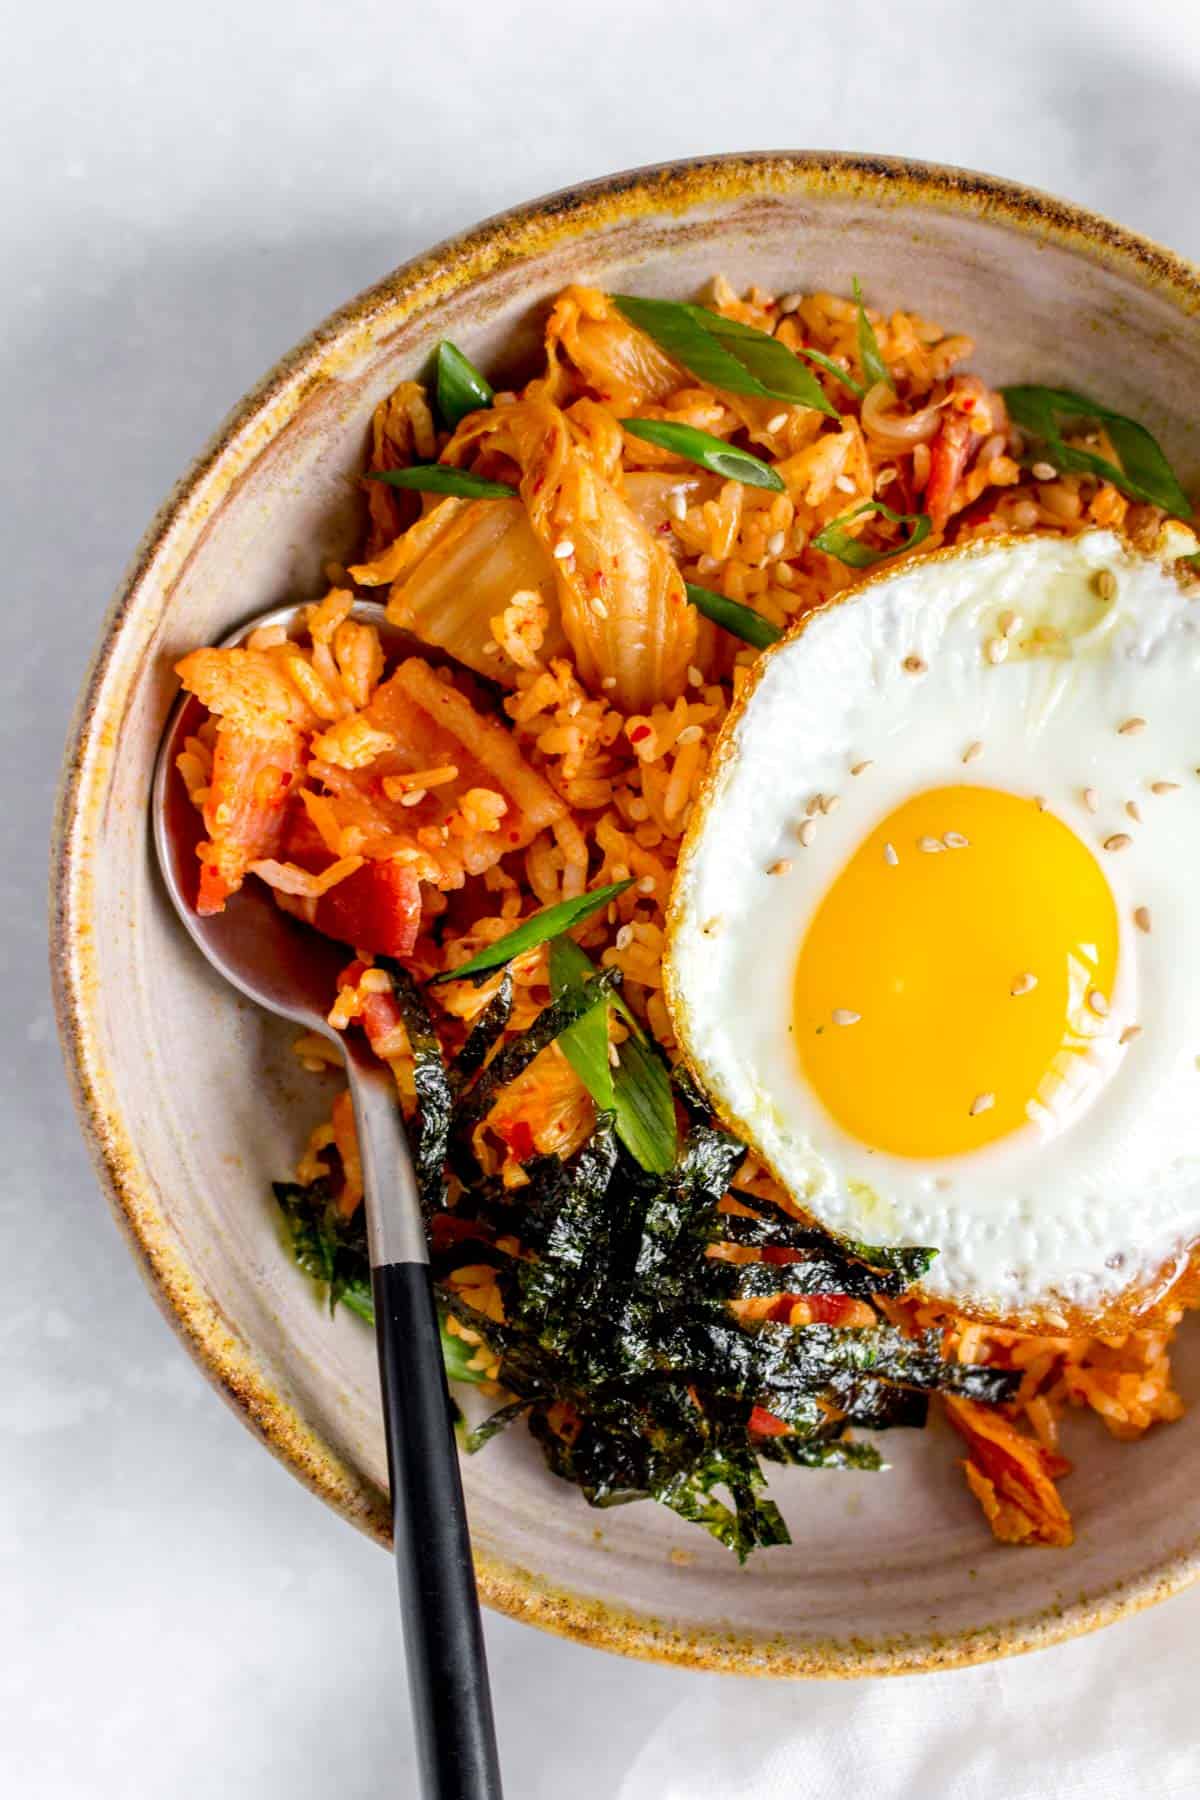
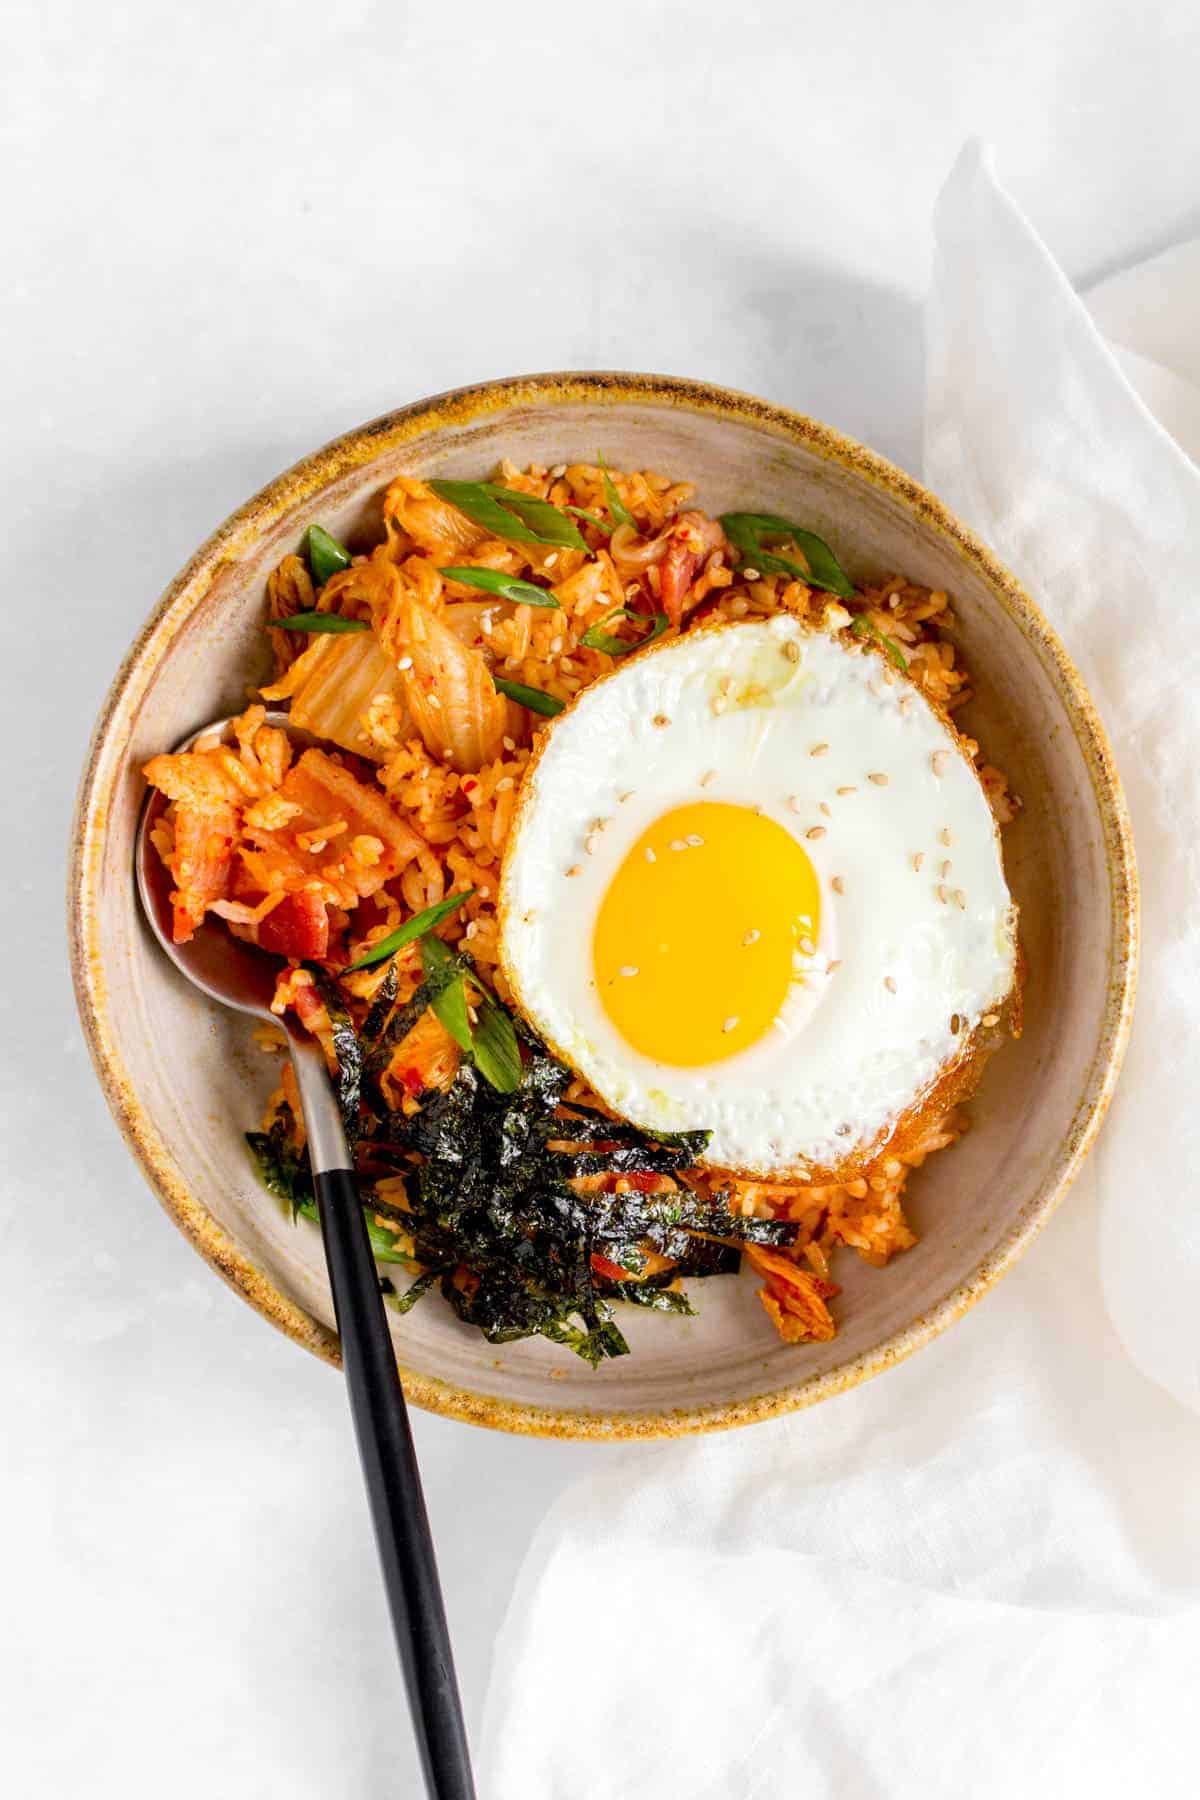
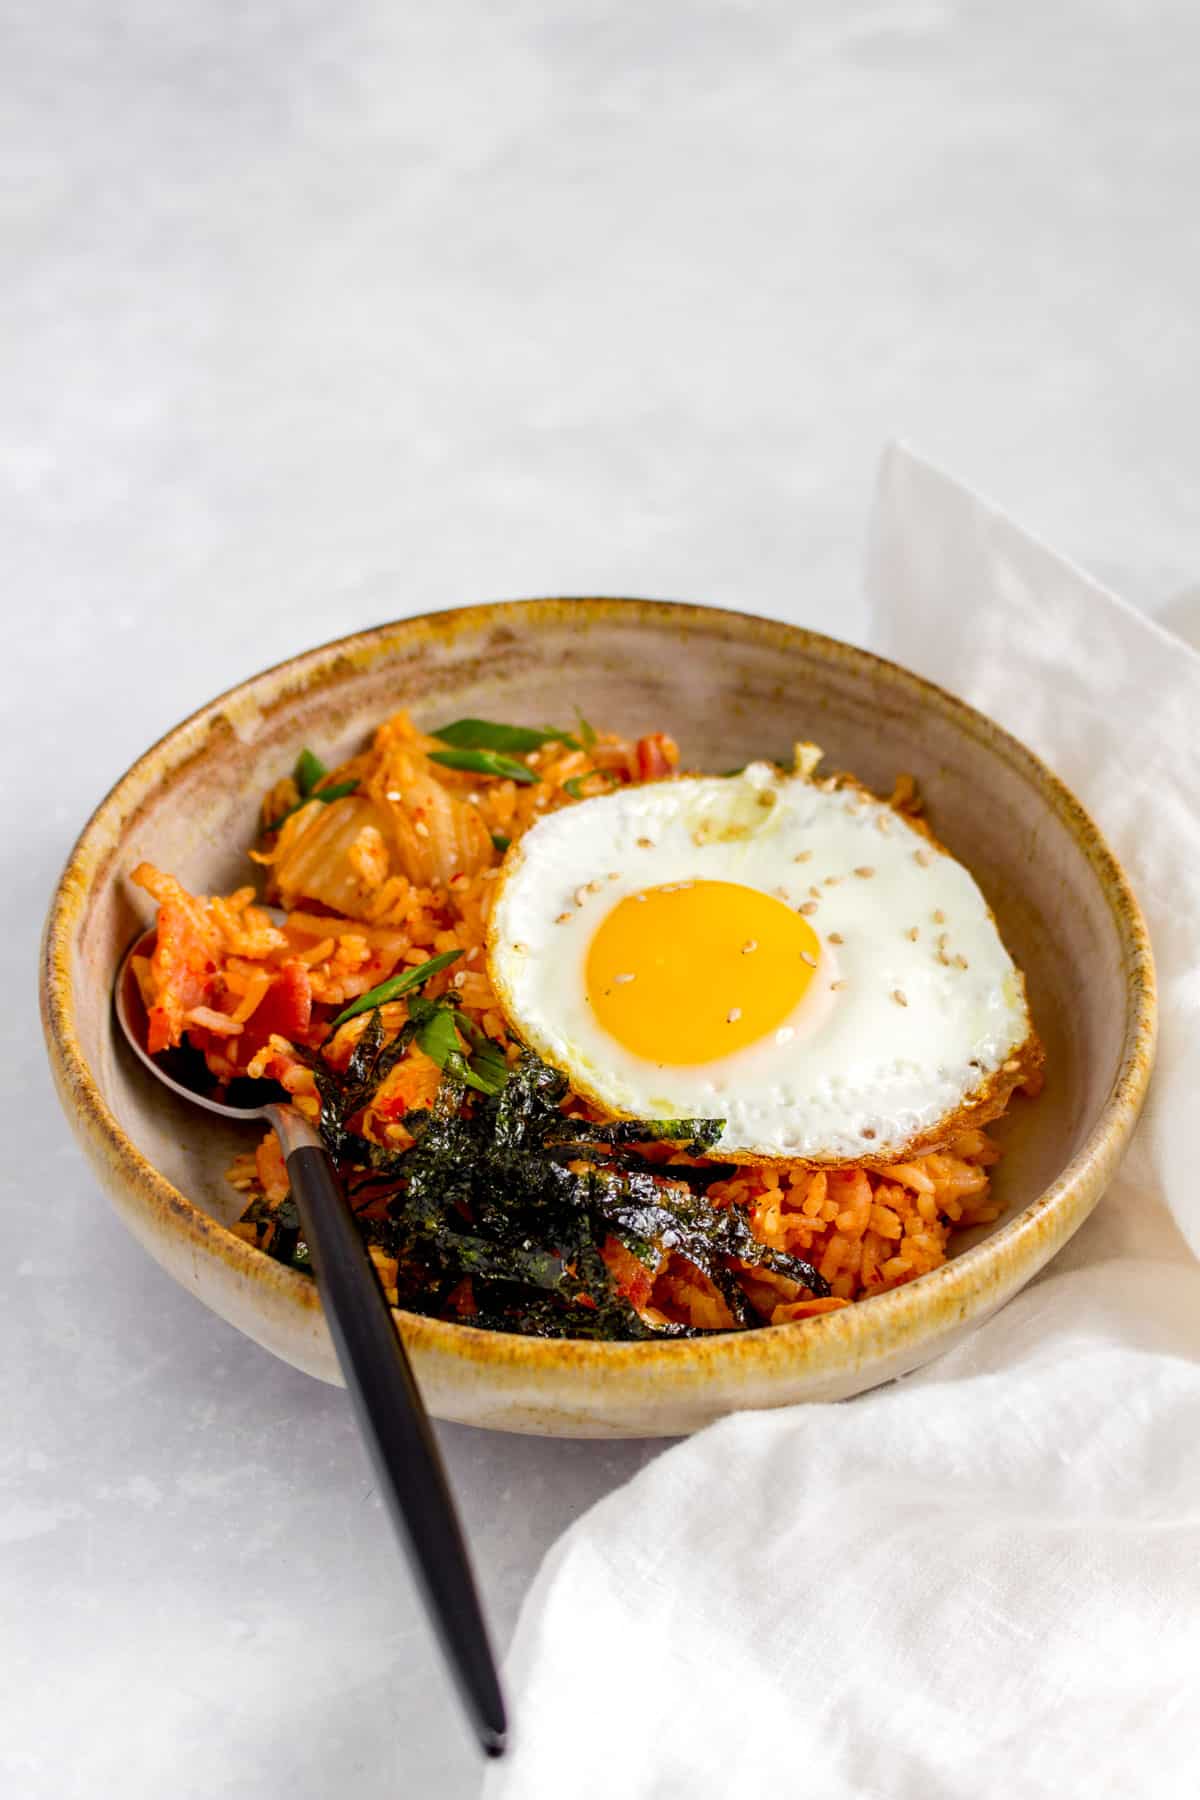
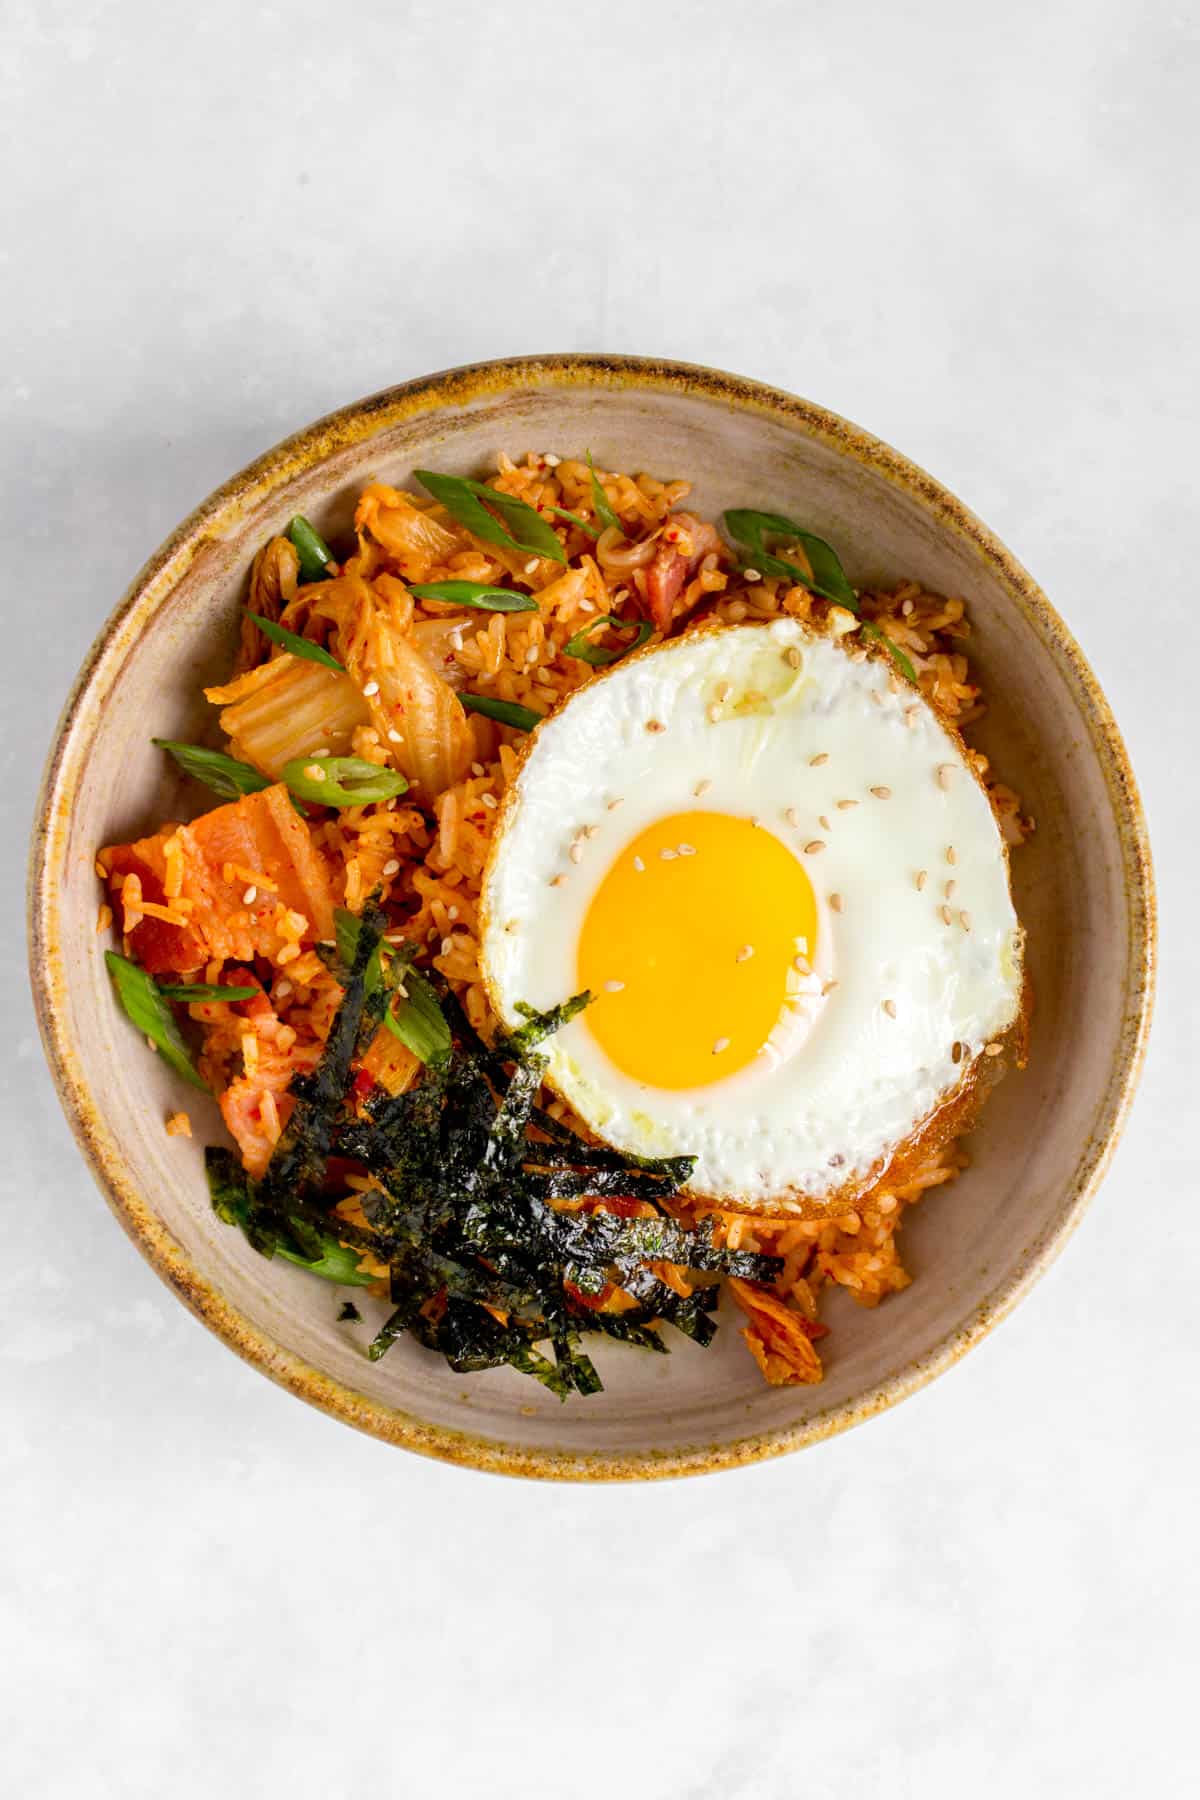
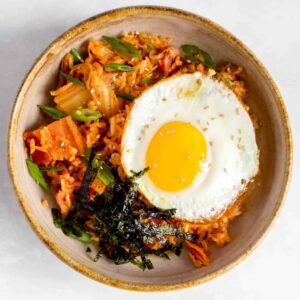
Kimchi fried rice is definitely a comfort meal for me. It’s something that H is able to make with his eyes closed to it’s definitely a super easy recipe that you can pull off on a busy weeknight. I love to top mine off with a fried egg and some seaweed but you can have this on its own as well.
Why You’ll Love This Bacon Kimchi Fried Rice Recipe
- It only needs a handful of ingredients. I rarely have to go out to get specific ingredients for it. I always have bacon in my freezer and there’s always a giant tub of kimchi in the fridge so this is 100% a staple recipe for me that can be made last minute.
- It’s a versatile recipe as you can change things up. If you don’t have bacon, you can use sliced pork belly. You can also use ground pork or beef. A few times, we make it with spam! You can even add any odds and ends from your fridge like spinach, mushrooms, or leftover vegetables.
- It’s truly the easiest recipe ever. I actually usually let H take the reigns and cook this kimchi fried rice whenever I want a break from cooking!
Ingredients You’ll Need
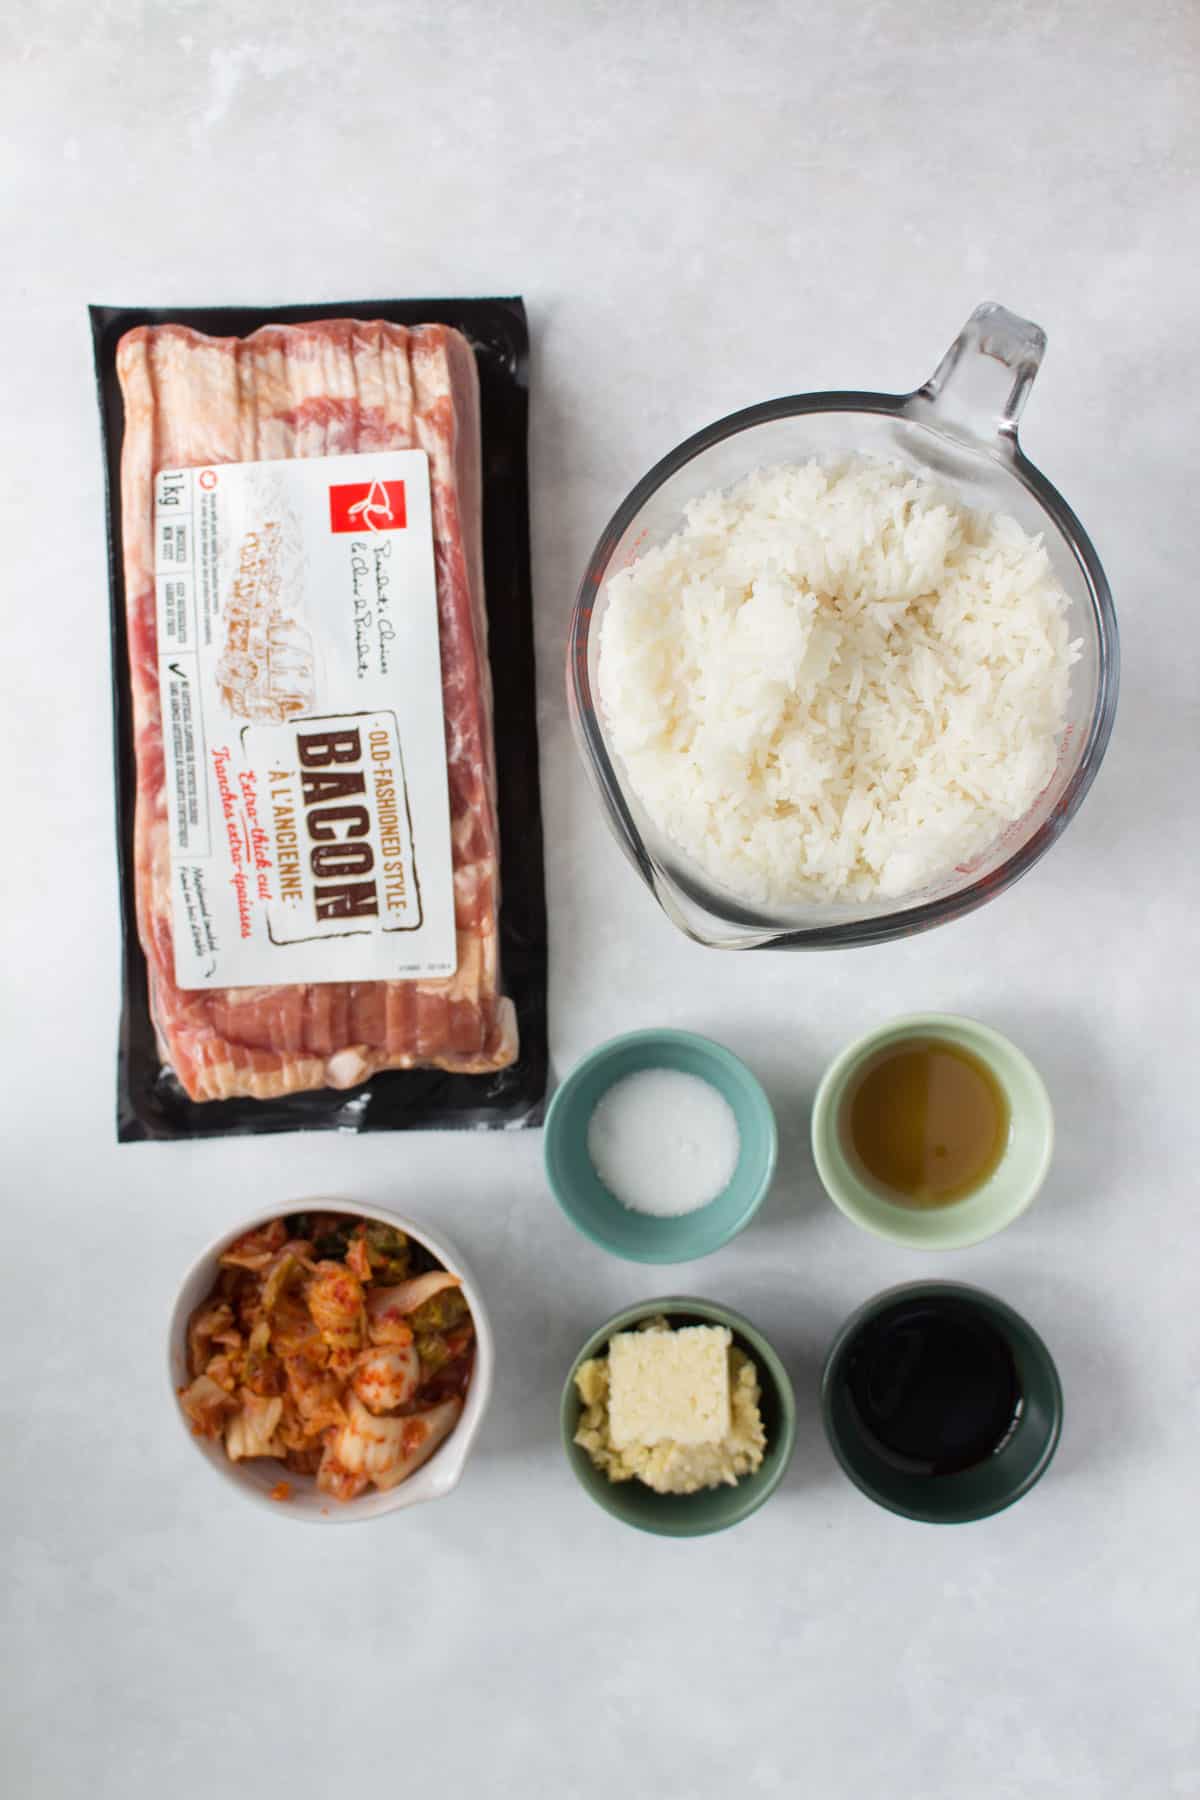
- thick cut bacon — while you can use regular bacon as well, I found I like thick cut the best.
- kimchi — I use cabbage kimchi. You’ll also need the juice that is in the container. I usually cut up the kimchi a bit with some scissors so it’s more bite-sized.
- garlic — freshly minced, the more the merrier. I mince mine ahead of time and freeze the minced garlic to save time.
- soy sauce — I recommend using low sodium soy sauce.
- sugar — just a bit to counterbalance the sourness from the kimchi.
- rice — I always use cold leftover rice.
How to Make Kimchi Fried Rice
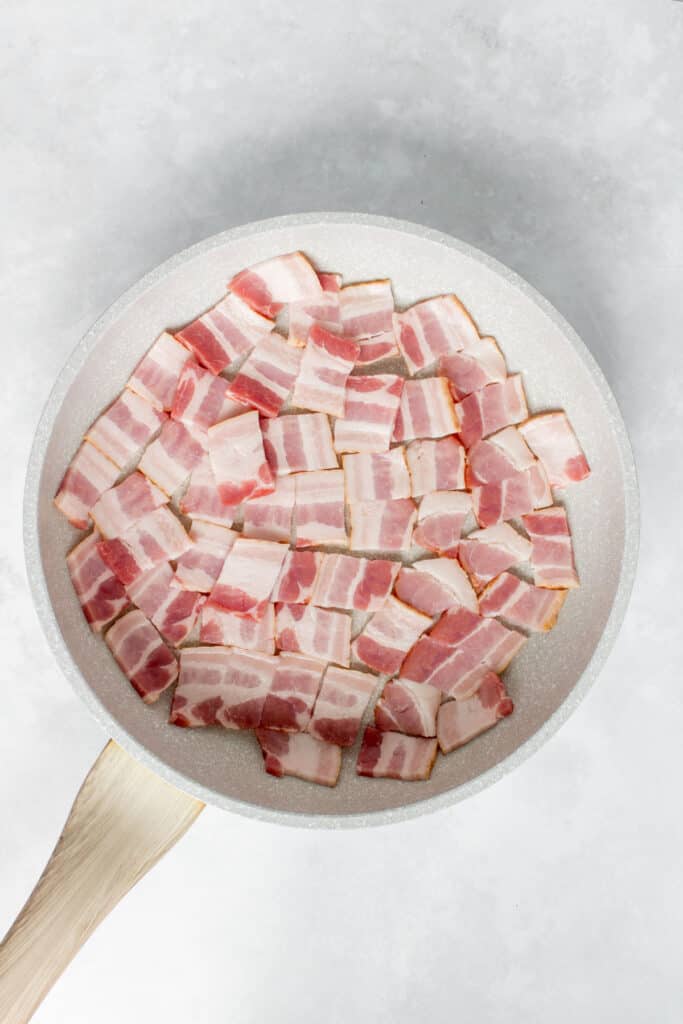
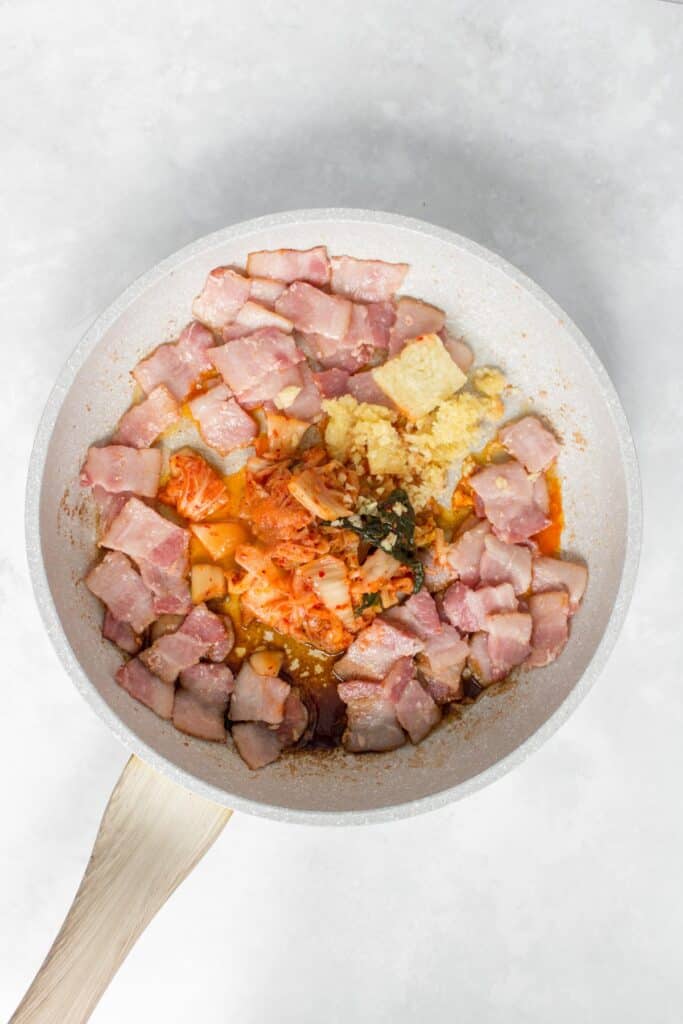
- In a large skillet, add the bacon in a single layer on medium-high. Cook for 3 to 4 minutes, or until it’s mostly cooked through. I usually cook for 2 minutes and then flip it over.
- Next, add the kimchi, garlic, soy sauce, and sugar. Sauté for 2 to 3 minutes, until the kimchi has softened.
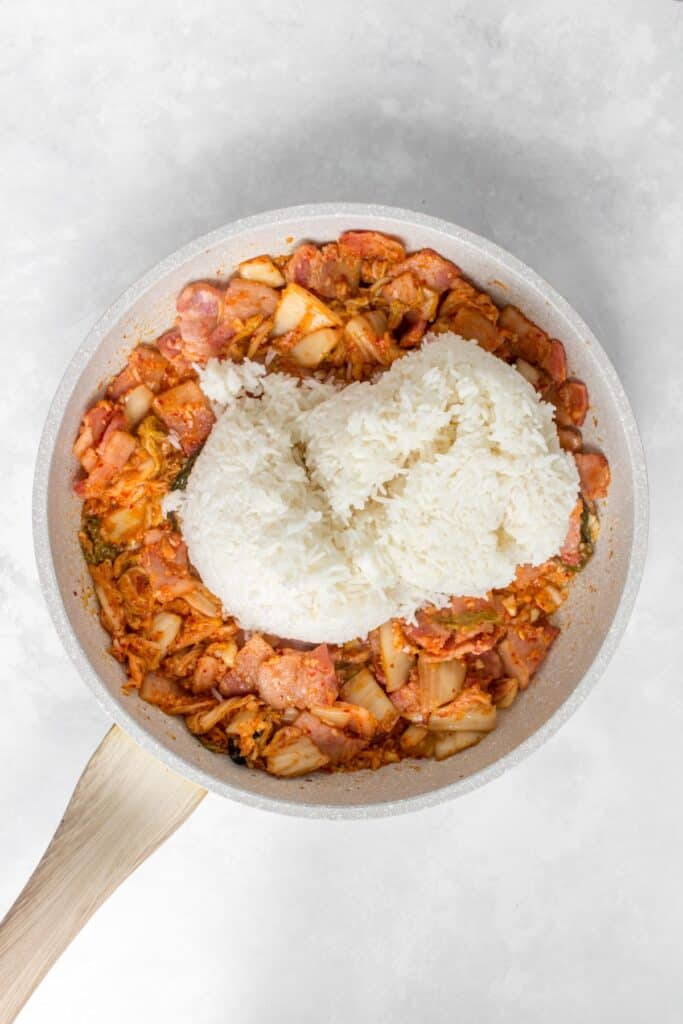
- Lower the heat to medium and add the cold rice to the pan alongside the kimchi juice from the kimchi container. I usually add 3 to 4 tablespoons.
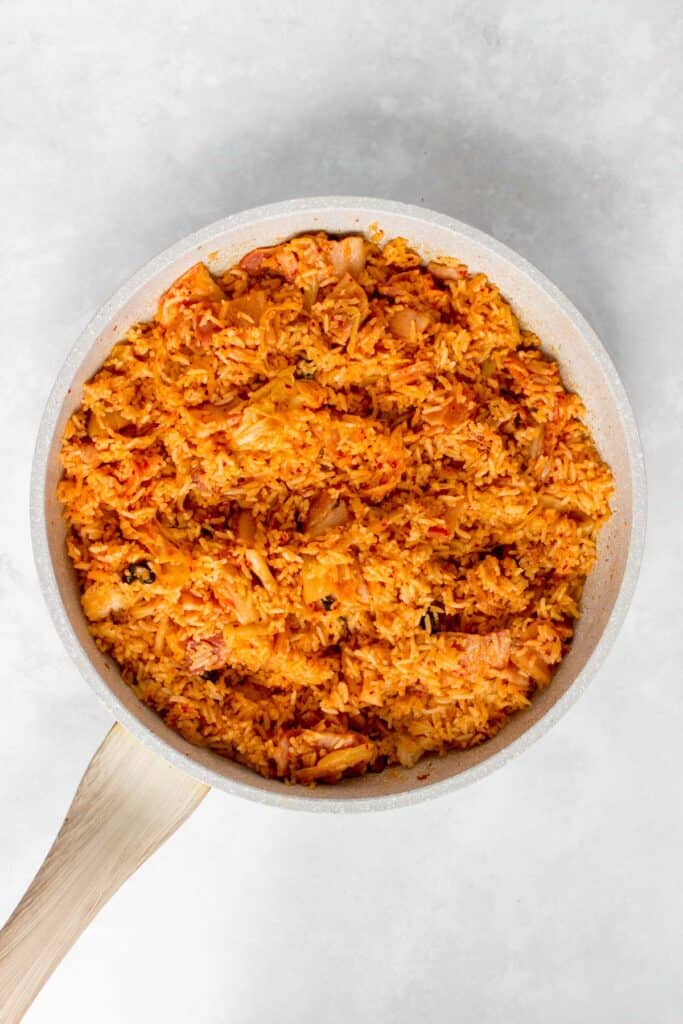
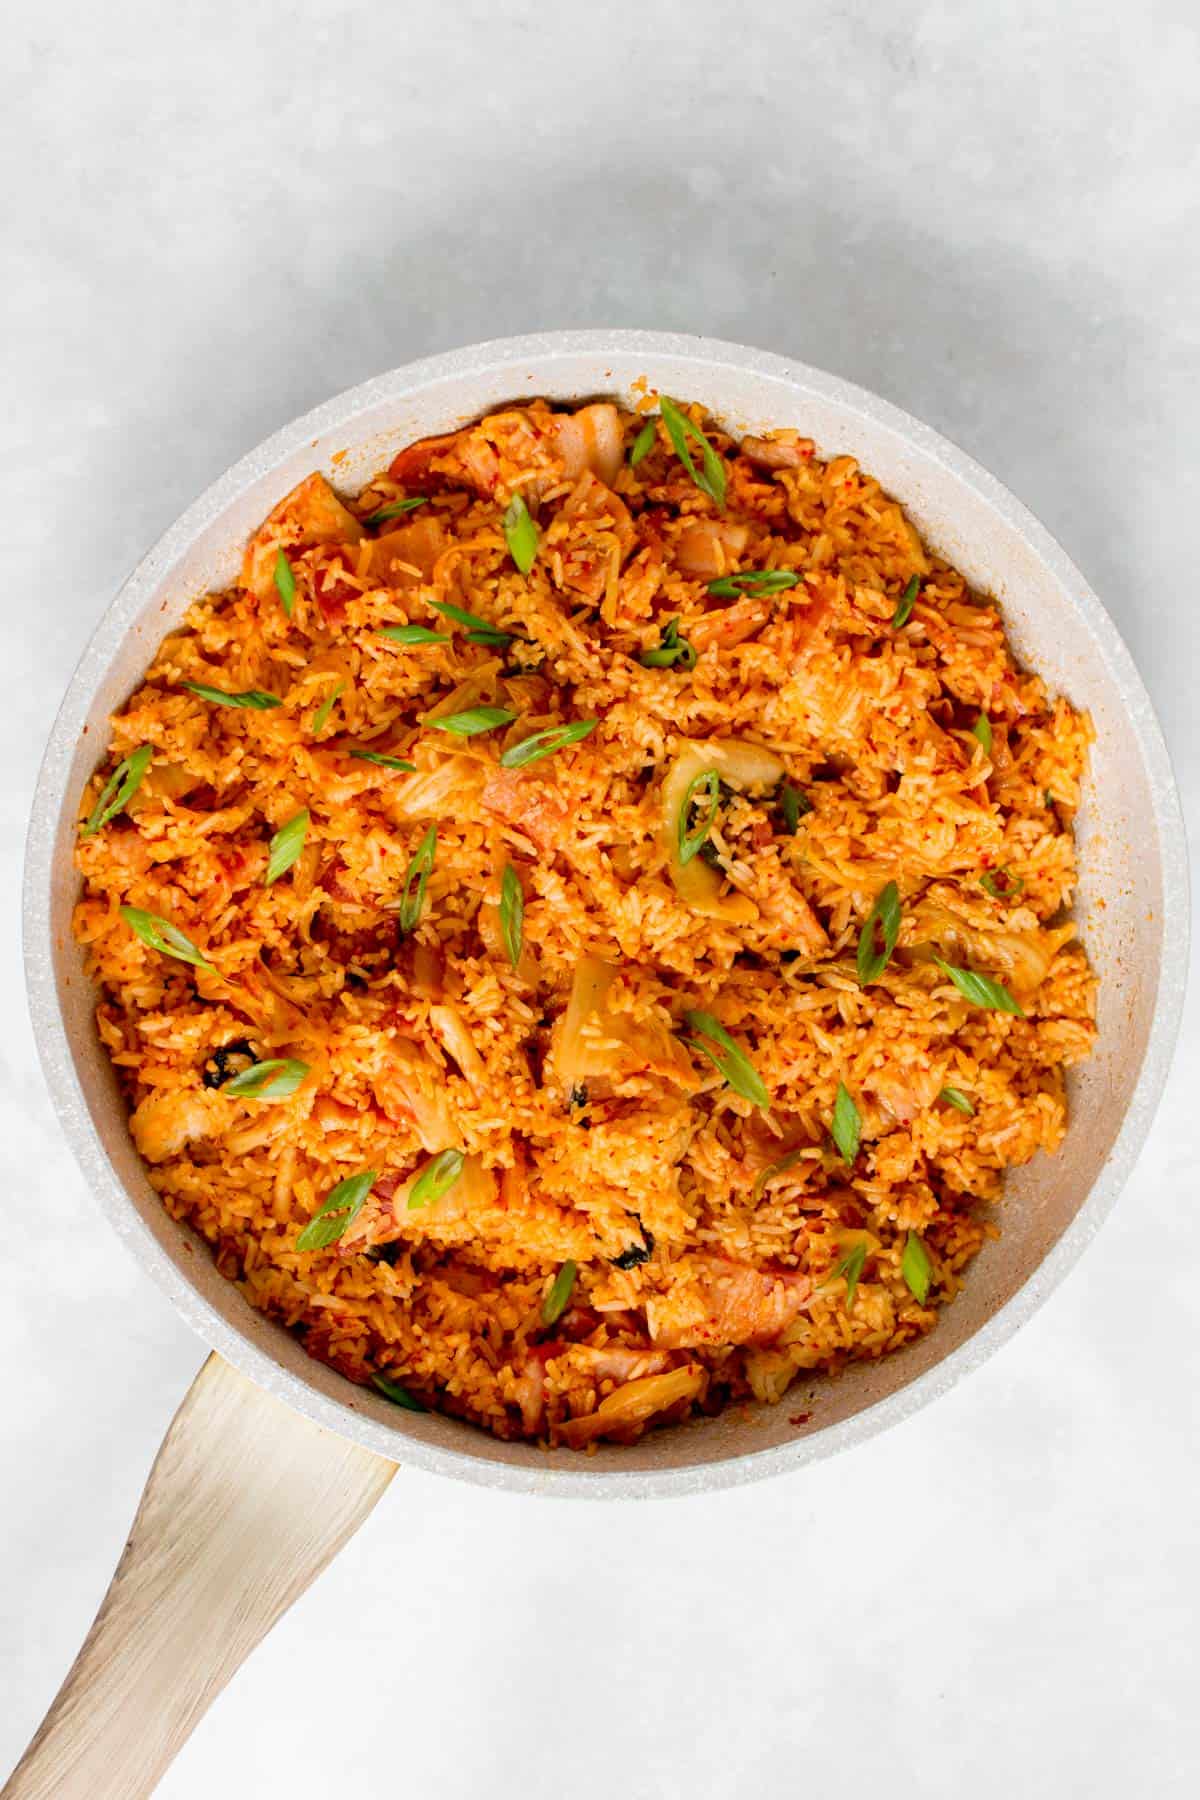
- Continue to sauté until the rice has been fully combined with the rest of the ingredients. Add the sesame oil and continue to sauté until the rice had heated through.
- Serve immediately or with the toppings of your choice.


Recipe Tips and Notes
- To make this spicier, you can add chili oil, gochujang, or gochugaru.
- I always make this with jasmine rice. Here’s my post on How to Cook Jasmine Rice if you need some tips!
- I very much prefer using aged kimchi as it is more flavourful.
- If you have a rice cooker, you can change the setting to make slightly “harder” rice when you cook it the night before. It’ll help the rice grains hold their shape better when you use it for kimchi fried rice. (Here’s a review of the rice cooker I have)
- The older the kimchi, the more sour and flavourful it is.
- Since I use 4 cups of cooked rice, I can use 3 to 4 tablespoons of kimchi juice for flavouring. Be careful not to add too much or it might make your fried rice soggy.
I always use cold leftover rice that I’ve left in the fridge overnight as it has had the chance to firm up. Using cold rice makes it easier to separate when frying and decreases the chances of your fried rice turning out mushy. I’ve tried this with freshly cooked rice before and it gets sticky and mushy quickly. I always make my rice the day before. If you don’t have leftover rice, you can try to prepare the rice beforehand and then spread it out on a sheet pan so it can cool quickly in the fridge for an hour or so.
Kimchi is a staple in a lot of Korean/Asian kitchens. It is a salted and fermented vegetable side dish that can last for up to 6 months in the fridge (it continues to ferment). The longer it stays in the fridge, the more sour it will taste. While you can make kimchi with pretty much any vegetable, the common ones sold near me are napa cabbage kimchi, radish kimchi, green onion kimchi, and cucumber kimchi. While every region has its own recipe for kimchi, I recommend you take a quick look at the ingredients list. Some types of kimchi use salted seafood so if you are allergic to seafood, always double-check.
Make Ahead Tips
- Meal prep: once cooled, store the kimchi fried rice in an airtight container for up to 4 days in the fridge.
- Freezer: allow the fried rice to cool before transferring them into an airtight container before storing it in the freezer. They can last for up to 3 months.
Bacon Kimchi Fried Rice
Ingredients
- 6 strips thick cut bacon, cut into 1-1.5 inch pieces
- 1 cup kimchi, cut and with some juices reserved
- 1-2 tbsp minced garlic
- 1½ tbsp soy sauce
- ½ tbsp sugar
- 4 cup cold cooked rice
- 1 tbsp sesame oil
Instructions
- In a large skillet, add the bacon in a single layer on medium-high. Cook for 3 to 4 minutes, or until it’s mostly cooked through. I usually cook for 2 minutes and then flip it over.
- Next, add the kimchi, garlic, soy sauce, and sugar. Sauté for 2 to 3 minutes, until the kimchi has softened.
- Lower the heat to medium and add the cold rice to the pan alongside the kimchi juice from the kimchi container. I usually add 3 to 4 tablespoons.
- Continue to sauté until the rice has been fully combined with the rest of the ingredients. Add the sesame oil and continue to sauté until the rice had heated through.
- Serve immediately or with the toppings of your choice.
Nutrition Per Serving
More Rice Dishes To Try
- Sriracha Fried Rice
- Hibachi Chicken and Fried Rice
- Hibachi Shrimp and Fried Rice
- Omurice Bento
- Teriyaki Beef Bowl
- Spam and Eggs Rice Bowl
More Korean Recipes to Try
Other places to connect with me
@carmyshungry on Instagram
Facebook
Shop my Amazon faves
Email: [email protected]
Leave a Reply