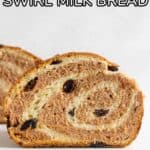
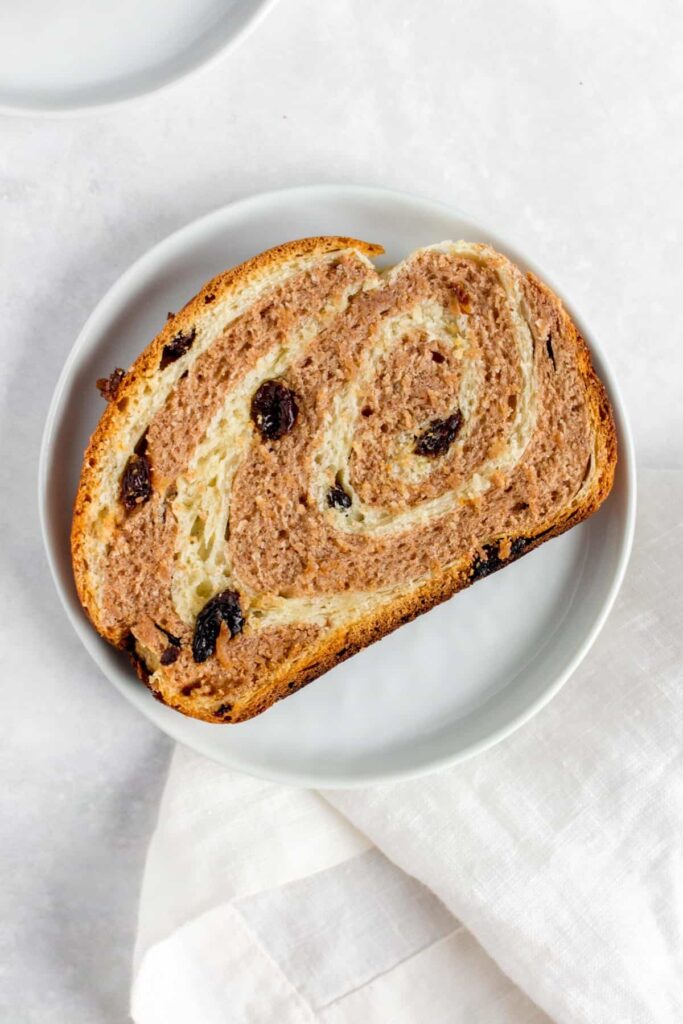
Perfect as a snack or breakfast, you’ll love this Cinnamon Raisin Swirl Milk Bread. A little different than the typical cinnamon raisin bread, this milk bread version of cinnamon raisin has a subtle cinnamon flavour mixed in throughout.
Inspired by my recent Matcha Swirl Milk Bread, I wanted to do a cinnamon swirl bread version of it! Usually cinnamon raisin swirl bread have a cinnamon sugar mixture brushed onto the dough and rolled up but I wanted to have a layer of cinnamon infused bread instead. It’s definitely a fun take!
I usually do my bread in two loaves but I got a new loaf pan that’s 9″ (thanks H for taking me to Homesense haha) and larger than my usually pans so I decided to just make this cinnamon bread as one large loaf instead!
Why You’ll Love This Cinnamon Raisin Bread
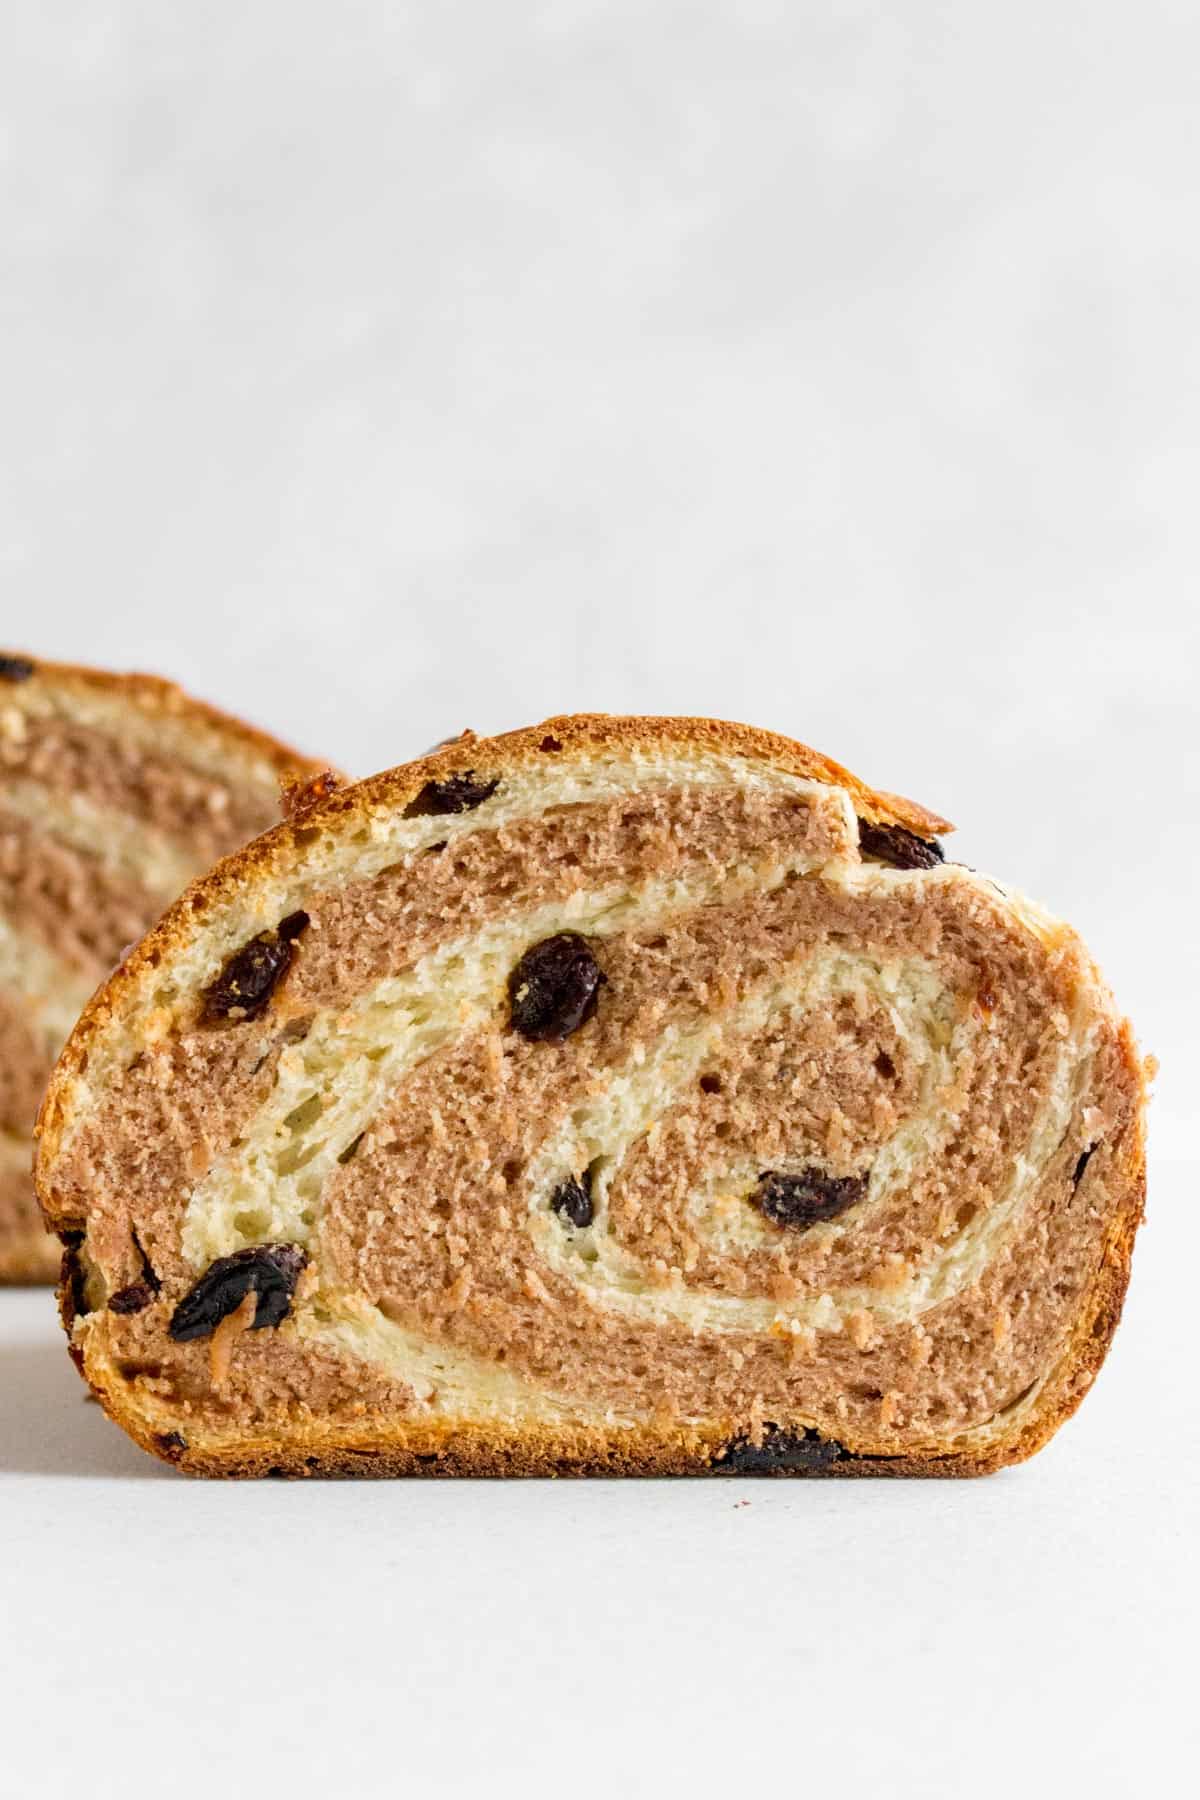
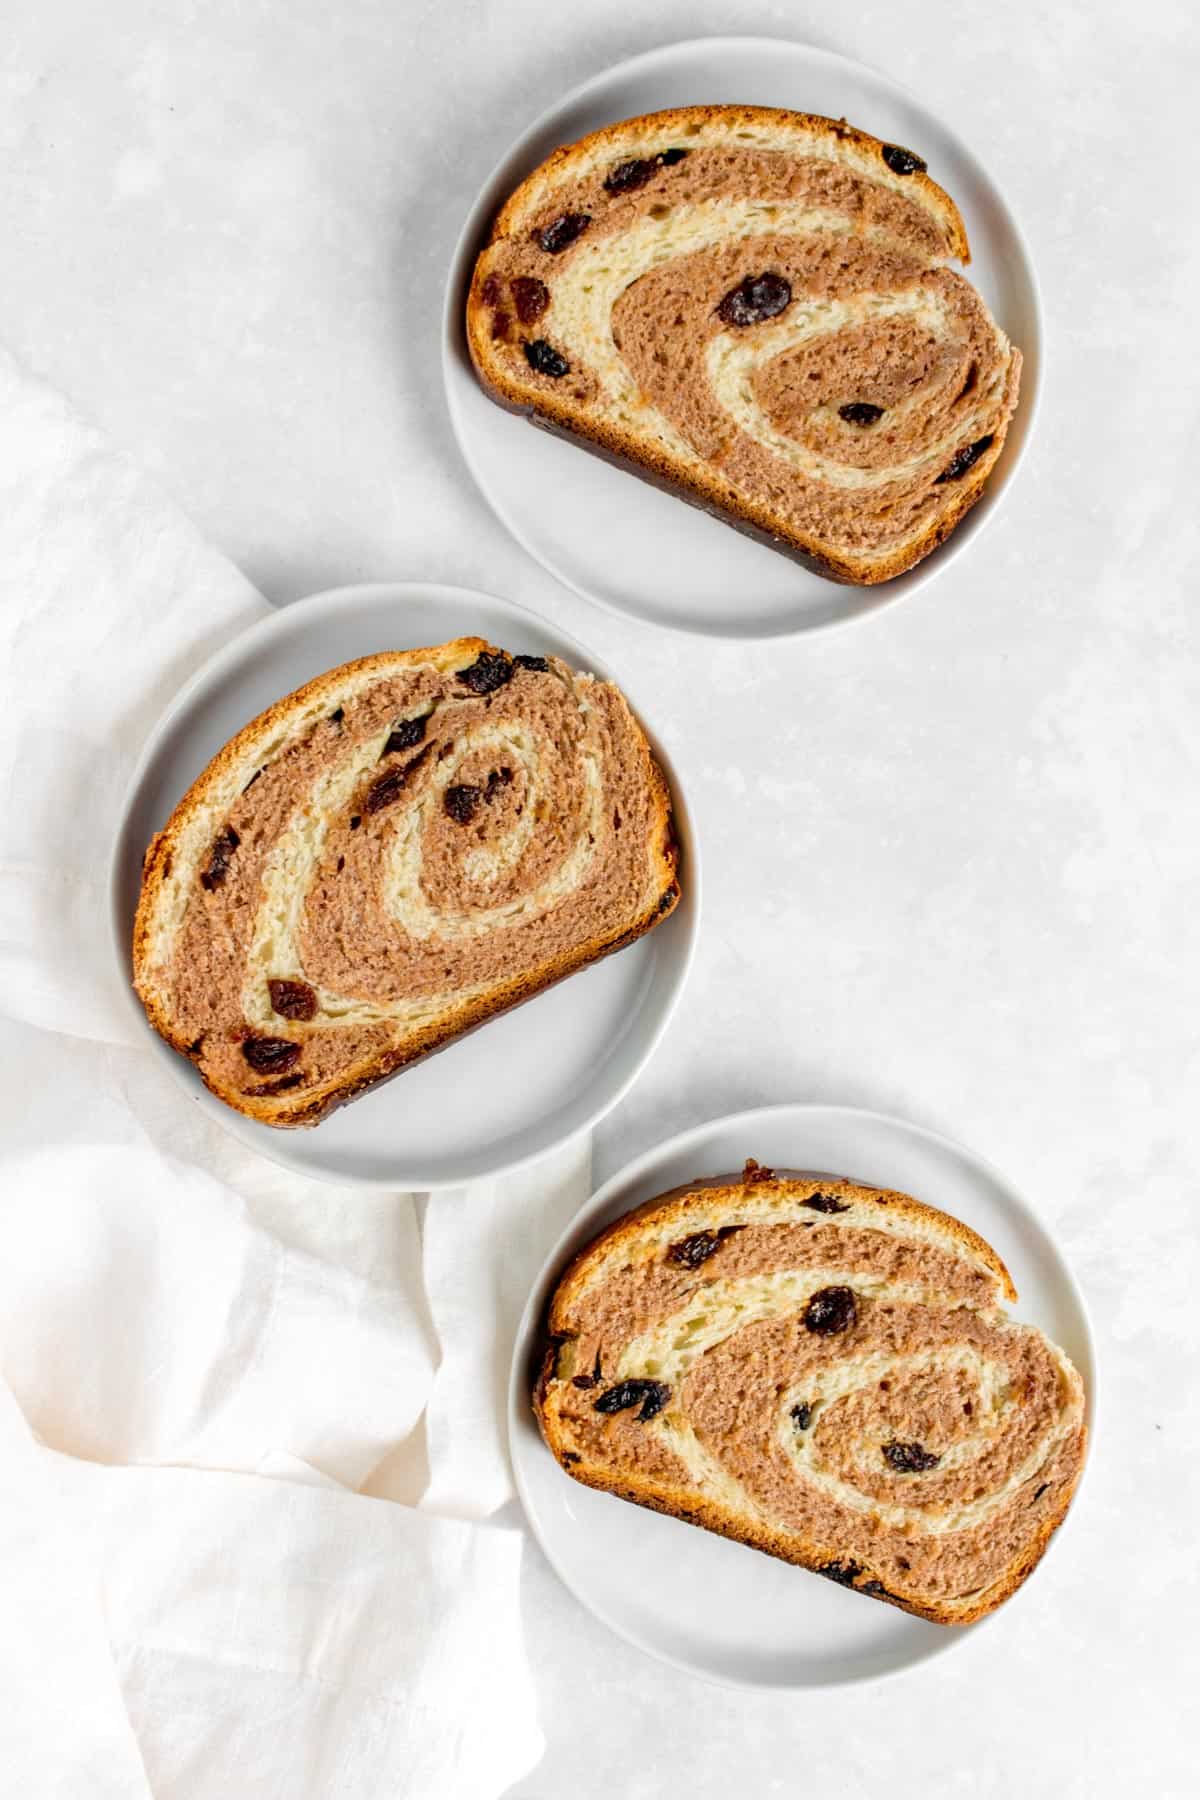
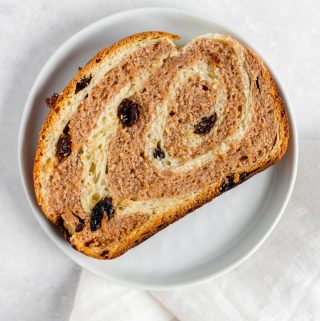
- It’s pretty. I eat with my eyes and I’m a sucker for a pretty slice of bread. The layer of cinnamon bread just makes me smile when I see it.
- It tastes like a less intense version of cinnamon rolls. I find cinnamon rolls to be a little too rich and sweet (especially with the icing) so it’s something that I’m able to enjoy in the mornings with my latte without being overloaded with sweetness.
- Thanks to the tangzhong, the cinnamon swirl bread is soft, fluffy, and will last longer than a regular loaf of homemade bread.

What You’ll Need
For the tangzhong:
- flour
- milk
For the swirled matcha milk bread:
- milk — warmed to 30 to 40C
- active dry yeast
- flour — I used all purpose flour
- white granulated sugar
- brown sugar
- kosher salt
- eggs — room temperature
- room temperature butter
- raisins
- ground cinnamon
The loaf pan I use is a 9 inch pan.
What Is Tangzhong?
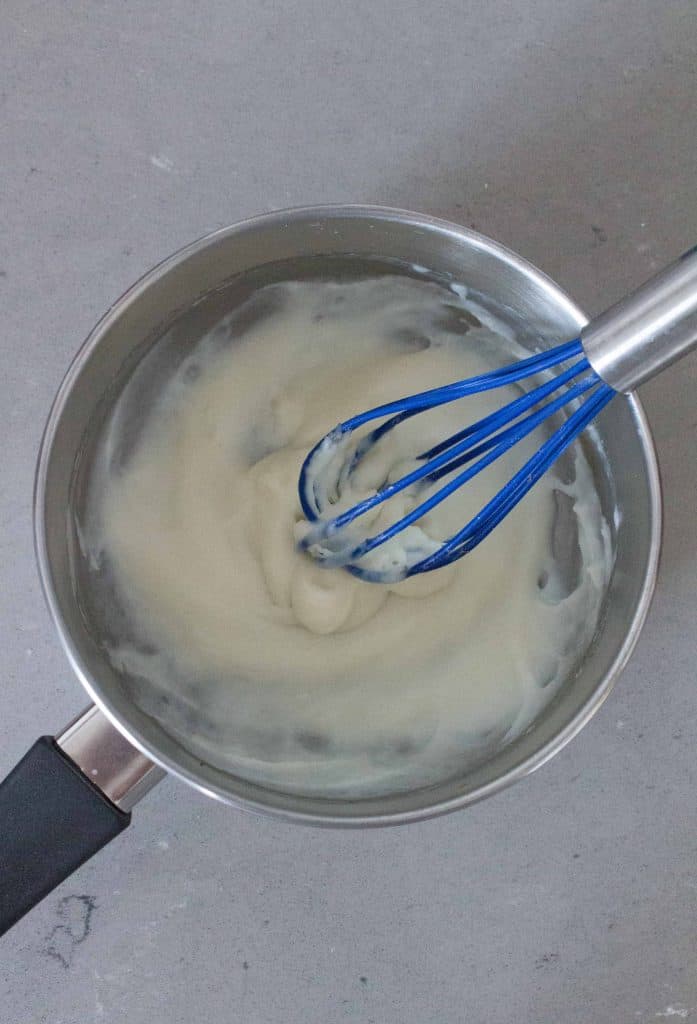
Tangzhong (湯種) is a water roux made of typically a mixture of flour and water. This method ensures that the bread can be kept for days and still stay very soft and airy. For this soft cinnamon raisin bread loaf, I used flour + milk instead of flour + milk + water. Alternatively, you can also use just flour + water. To make the tangzhong, you just combine the flour and liquid, then place it on medium heat, whisking constantly until the mixture becomes a paste. It should only take 1 to 2 minutes.
How to Make Cinnamon Raisin Swirl Milk Bread
- To make the tangzhong: In a saucepan, combine flour and milk before placing it on medium heat. Whisk it constantly until the mixture has turned into a paste. This should take around 1 to 2 minutes.
- At the same time, heat up your milk. I heat up my milk by placing it in a measuring cup then putting the measuring cup in a pot of water over medium heat.
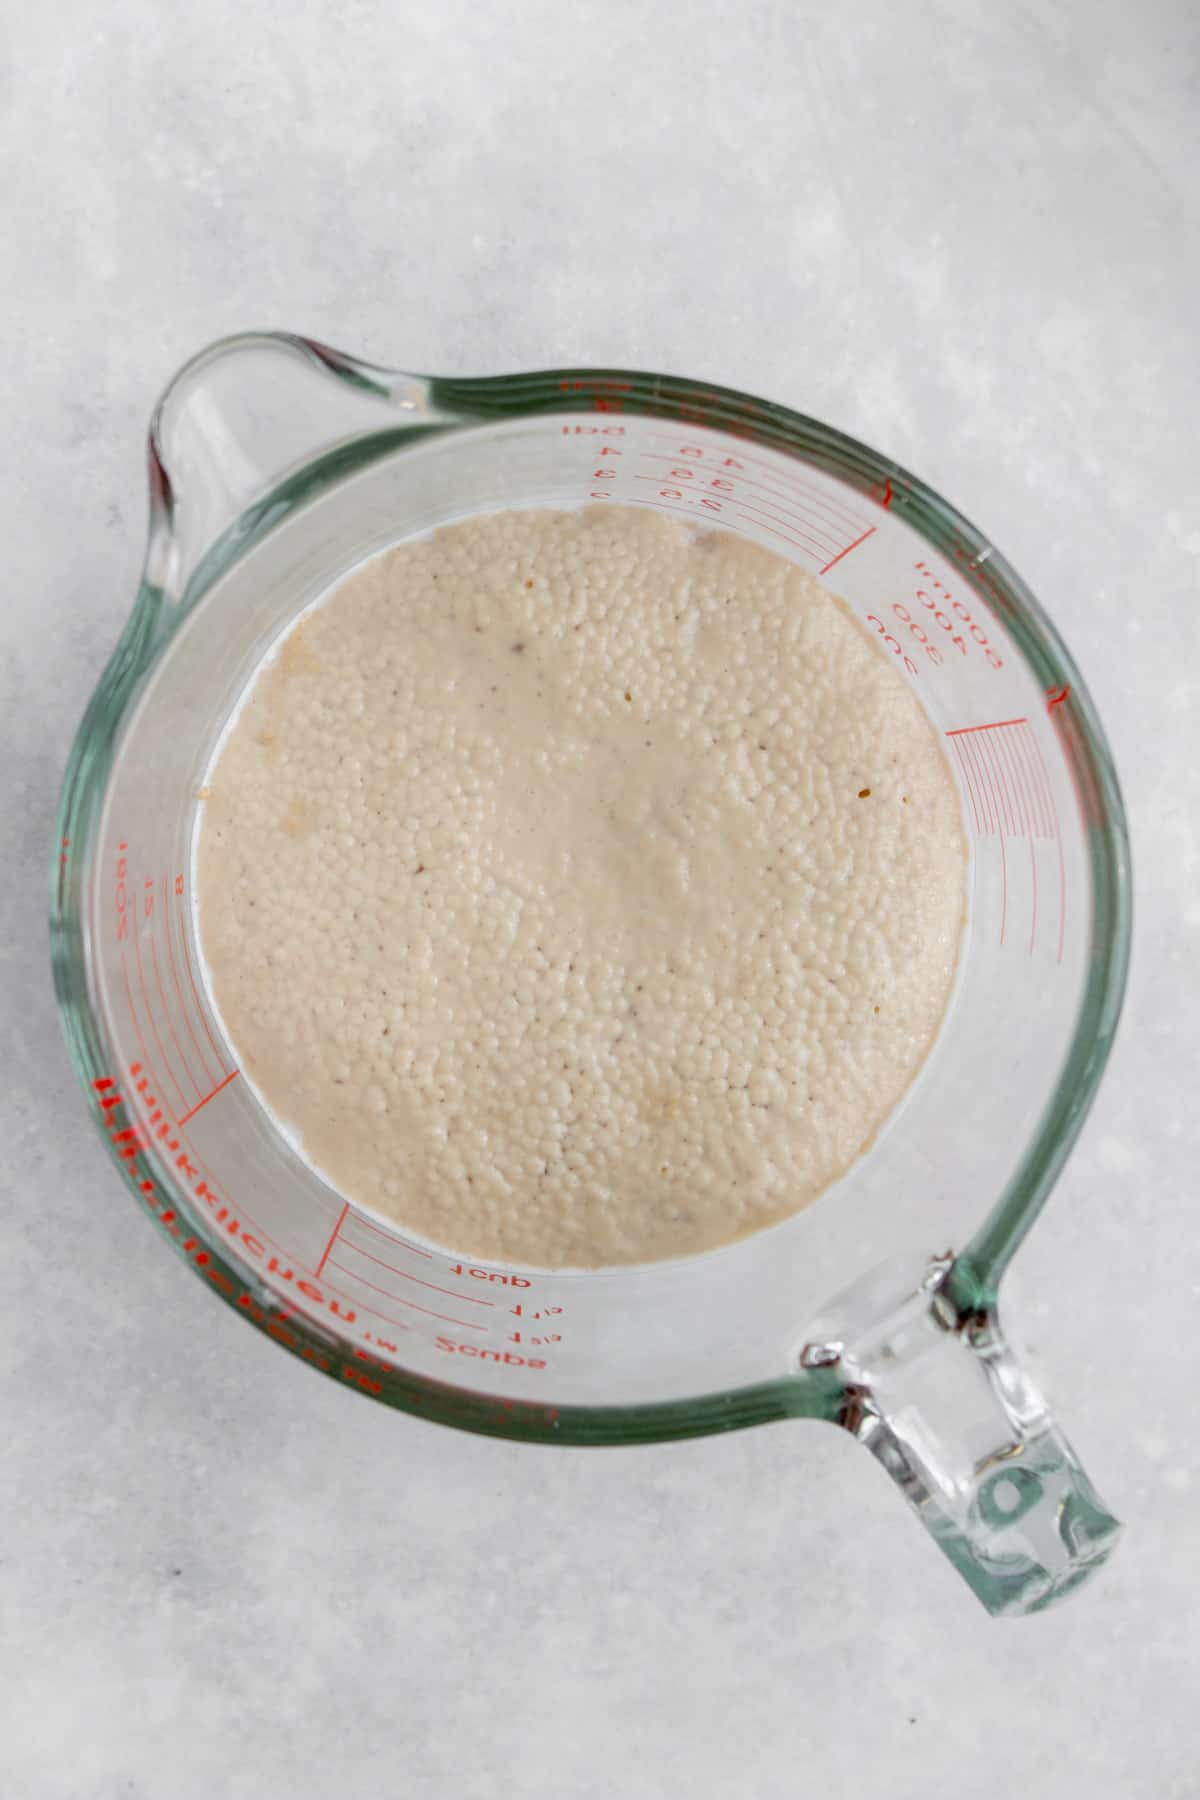
- Set the tangzhong aside to cool once done and add the yeast to the warmed milk and allow the yeast to bloom for 10 minutes. It should almost double in size.
- While the yeast is blooming, prep the dough by combining flour, sugar (white and brown), and salt in your mixer bowl.
- When ready, on the low speed setting (2 on my KitchenAid), combine dry mix with the egg, tangzhong, and the milk and yeast mixture. Knead until everything has been incorporated this might take up to 5 minutes.
- Add in the raisins.
- Increase speed to medium (4 on my KitchenAid) and knead dough for another 3 to 5 minutes until smooth, adding in 4 tbsp of butter in 1 tbsp blocks. *if your dough isn’t coming together after the butter has mixed in, you can add up to 1 tbsp of flour to help the dough come together.
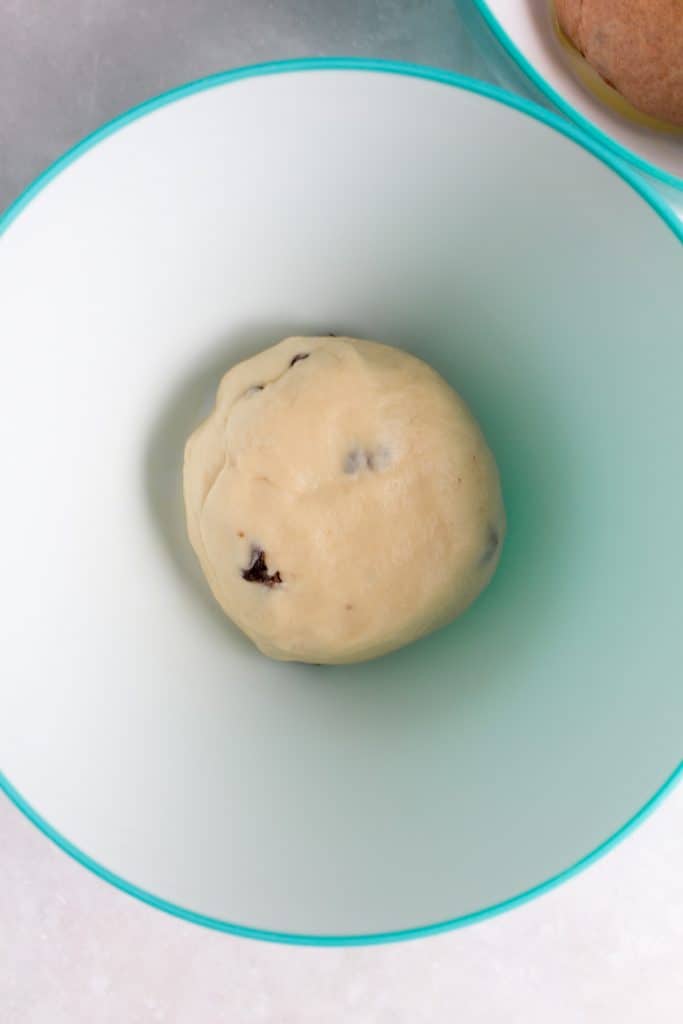
- When done, remove the dough from the mixer bowl divide it in half.
- Gently shape one half into a ball while holding it. Place the dough ball into a greased bowl and cover with plastic or a tea towel.
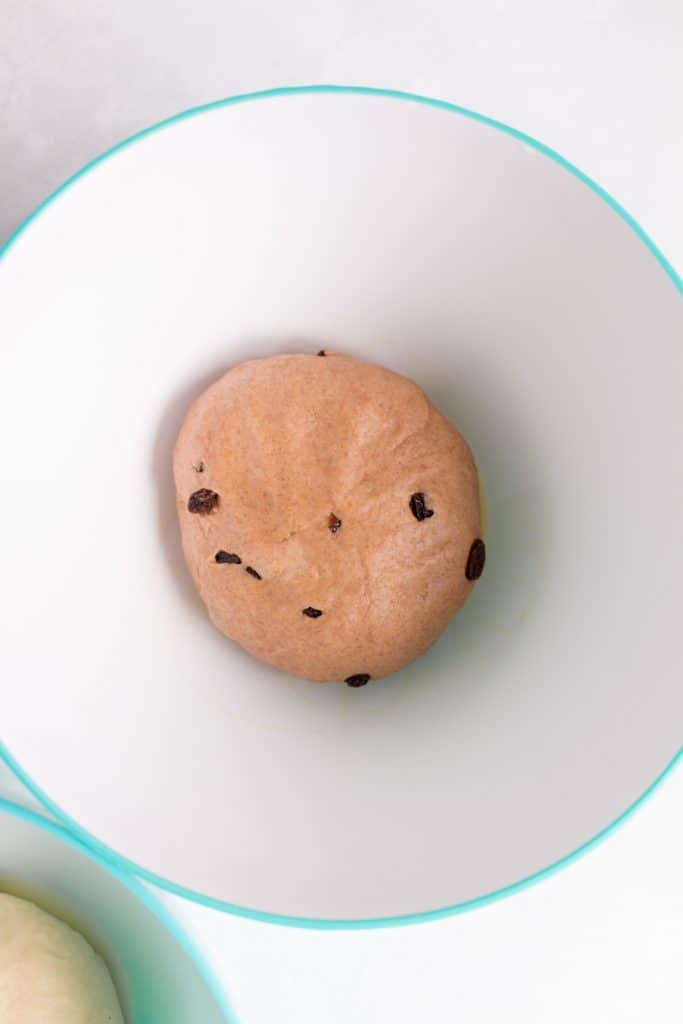
- To the other half, add the cinnamon powder and knead it in or combine it with the mixer. I prefer using the mixer for this instead of hand kneading the cinnamon in. Once combined with the cinnamon, place the dough ball into a greased bowl and cover with plastic or a tea towel.
- Allow to proof for 1 to 2 hours or until the dough has doubled.
- While the dough is rising, prepare your loaf pan by spraying it with some non-stick and lining with parchment.
- Once doubled, transfer the two dough balls one at a time to a lightly floured work surface.
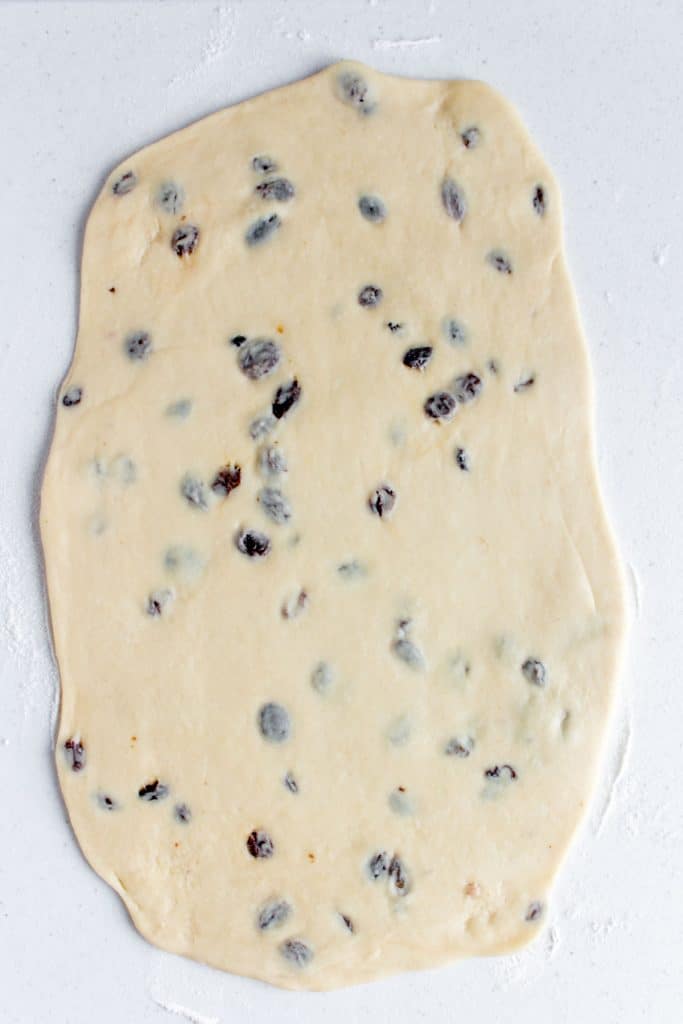

- Roll the doughs out to around 8.5 inches x 14 inches, as close to a rectangle as possible. Positioning the dough with the 8.5 inch width facing you.
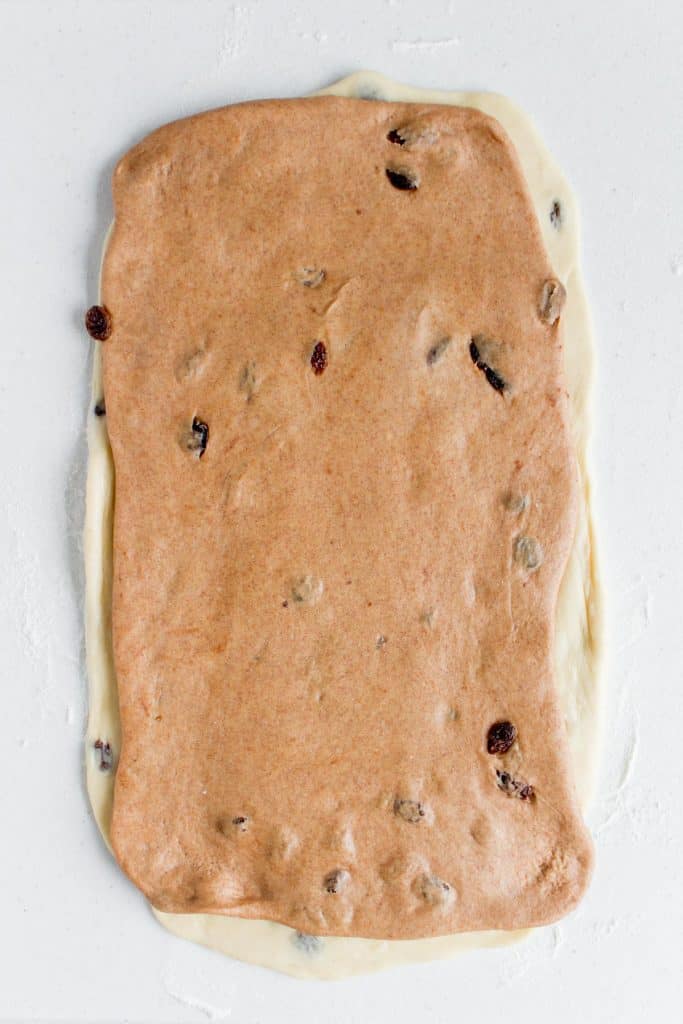
- Lightly wet your hands and lightly run your hands over the plain dough.
- Take the cinnamon dough that was rolled out and layer it on top of the plain one. Use the rolling pin to help gently squish them together. The water from earlier should help them stick to each other.
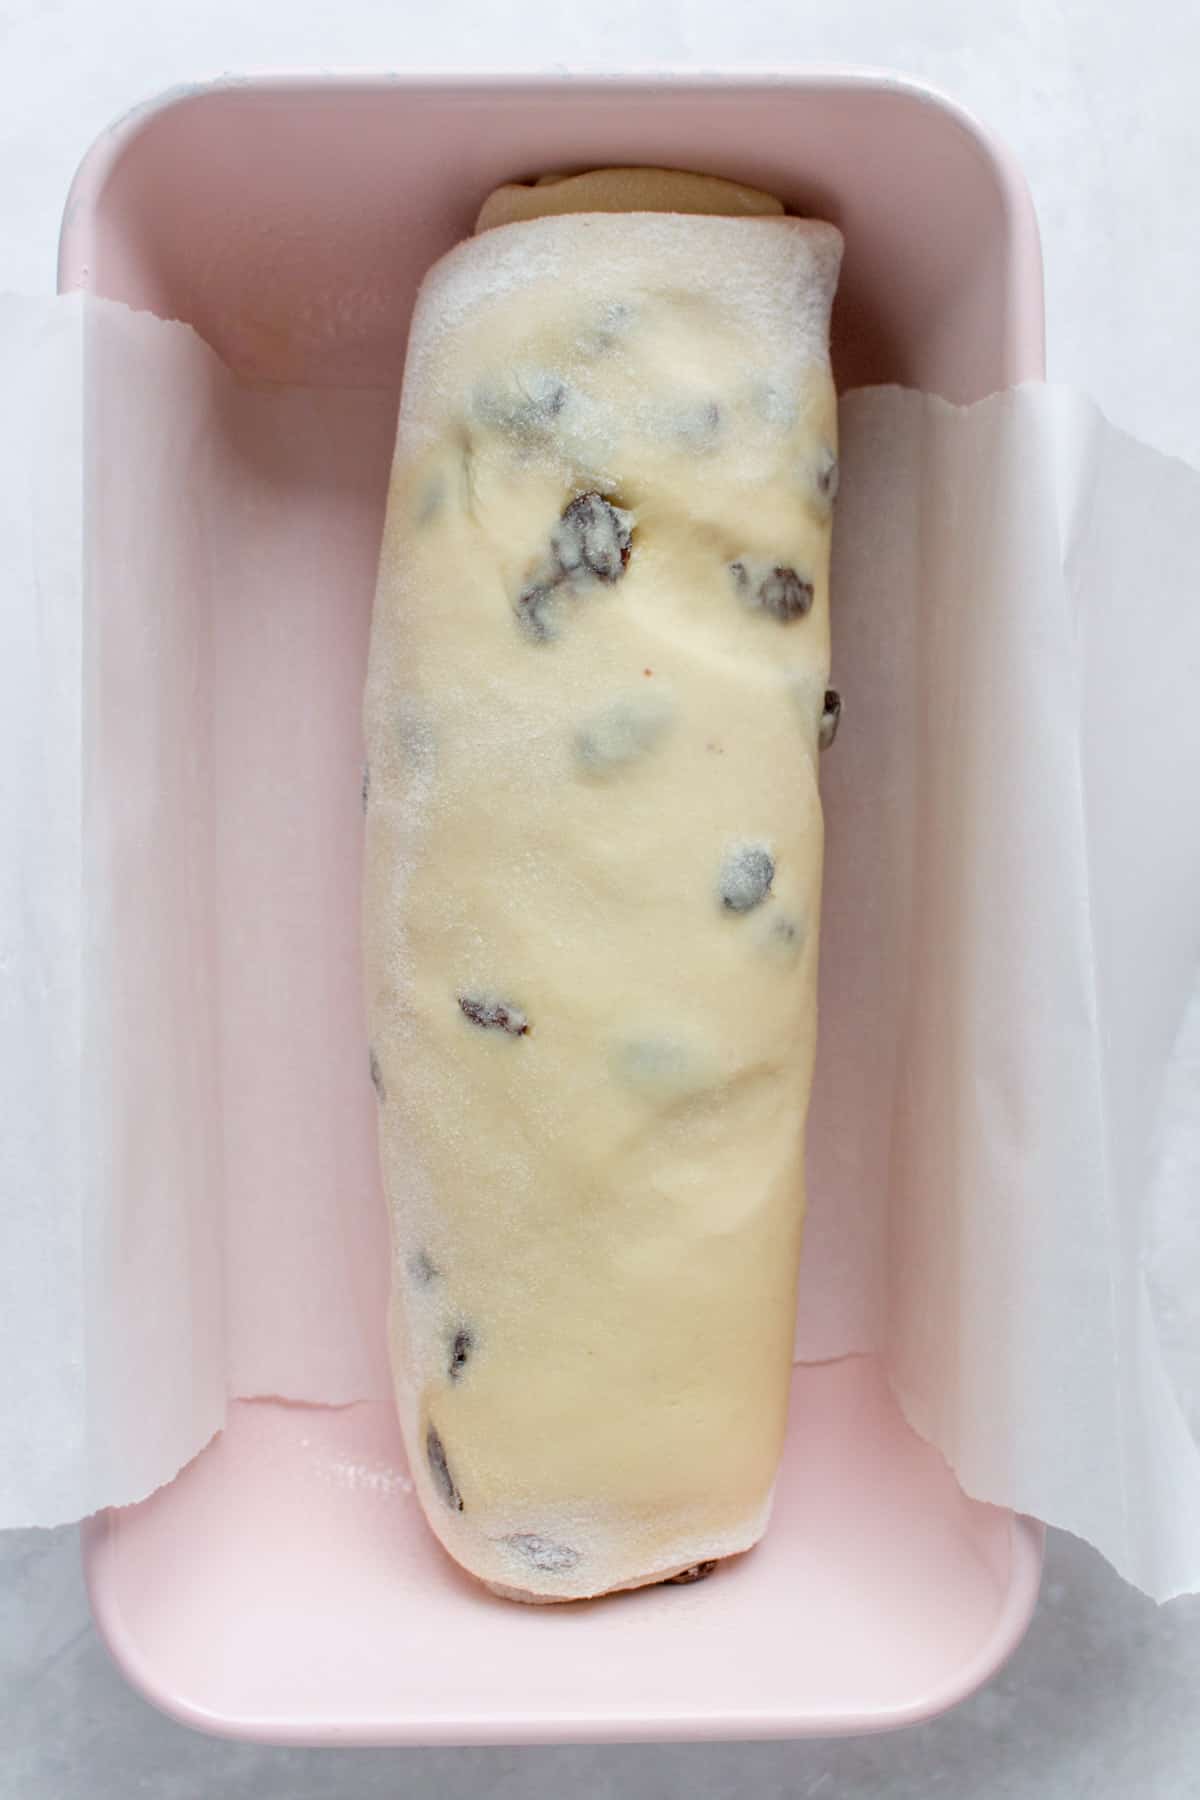
- Carefully roll the dough into a little log by rolling from the top down or bottom up.
- Once rolled, place the loaf seam side down in the loaf pan. Cover and let rise for 1 hour.
- Heat over to 350°F.
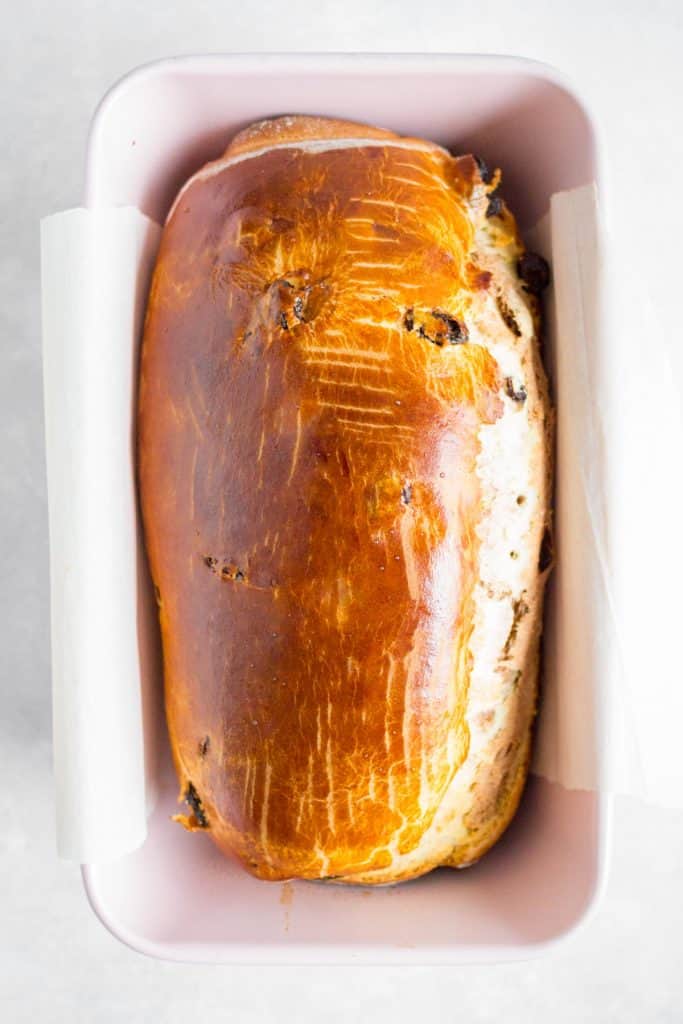
- Beat an egg and brush the egg over the risen loaf.
- Bake the loaf for 50 to 55 minutes on the low rack of your oven.
- When done, let cool before slicing and enjoying!
Tips and Notes
- The outside of the loaf may look a little ugly but I promise you the inside will look stunning when you cut into it!
- You are welcome to swap the raisins for golden raisins.
- Ovens may vary so your bake time may vary. The way I like to check is by sticking in a thermometer and checking if the bread has reached a temperature of 190°F/87.7°F. Also, if the thermometer doesn’t come out clean, then the bread needs more time as well.
- I like to bloom my yeast in a measuring cup as I can easily track if the yeast has “doubled in size.”
- If your yeast isn’t rising, add in 1 tsp of sugar and give it 5 more minutes. If it is still not bubbly or rising then your yeast is dead and you’ll need new yeast.
- Feel free to add a splash of milk to the egg wash if you prefer.
- Be sure to let the bread loaves cool before slicing!
- This cinnamon swirl bread can last 4 to 5 days wrapped in plastic wrap at room temperature.
- The cinnamon layer will take a little longer to incorporate the ground cinnamon into. When baked, it will be a bit more dense thanks to the cinnamon but not to worry, it’s not super noticeable!
- If you are worried about your raisins being dry from baking, you can give them a quick soak beforehand but it’s not an issue I’ve encountered personally.
Cinnamon Swirl Milk Bread with Raisins
Ingredients
For the tangzhong:
- 3 tbsp flour
- 6 tbsp milk
For the five spice scallion milk bread:
- ½ cup milk, warmed to 30 to 40C
- 7 grams active dry yeast, 1 packet
- 320 grams all purpose flour, 2½ cup (*plus 2 tbsp)
- ¼ cup granulated sugar
- ¼ cup brown sugar
- 1 tsp kosher salt
- 2 eggs, room temperature, one for the dough, one for the egg wash
- ½ cup raisins
- 4 tbsp room temperature butter
- 1½ tbsp ground cinnamon
Equipment
- Loaf pan
- parchment paper + non stick spray
- Bowl for proofing
Instructions
- To make the tangzhong: In a saucepan, combine flour and milk before placing it on medium heat. Whisk it constantly until the mixture has turned into a paste. This should take around 1-2 minutes.
- At the same time, heat up your milk. I heat up my milk by placing it in a measuring cup then putting the measuring cup in a pot of water over medium heat.
- Set the tangzhong aside to cool once done and add the yeast to the warmed milk and allow the yeast to bloom for 10 minutes. It should almost double in size.
- While the yeast is blooming, prep the dough by combining flour, sugar (white and brown), and salt in your mixer bowl.
- When ready, on the low speed setting (2 on my KitchenAid), combine dry mix with the egg, tangzhong, and the milk and yeast mixture. Knead until everything has been incorporated this might take up to 5 minutes.
- Add in the raisins.
- Increase speed to medium (4 on my KitchenAid) and knead dough for another 3 to 5 minutes until smooth, adding in 4 tbsp of butter in 1 tbsp blocks. *if your dough isn’t coming together after the butter has mixed in, you can add up to 2 tbsp of flour to help the dough come together.
- When done, remove the dough from the mixer bowl divide it in half.
- Gently shape one half into a ball while holding it. Place the dough ball into a greased bowl and cover with plastic or a tea towel.
- To the other half, add the cinnamon powder and knead it in or combine it with the mixer. I prefer using the mixer for this instead of hand kneading the cinnamon in. Once combined with the cinnamon, place the dough ball into a greased bowl and cover with plastic or a tea towel.
- Allow to proof for 1 to 2 hours or until the dough has doubled.
- While the dough is rising, prepare your loaf pan by spraying it with some non-stick and lining with parchment.
- Once doubled, transfer the two dough balls one at a time to a lightly floured work surface.
- Roll the doughs out to around 8.5 inches x 14 inches, as close to a rectangle as possible. Positioning the dough with the 8.5 inch width facing you.
- Lightly wet your hands and lightly run your hands over the plain dough.
- Take the cinnamon dough that was rolled out and layer it on top of the plain one. Use the rolling pin to help gently squish them together. The water from earlier should help them stick to each other.
- Carefully roll the dough into a little log by rolling from the top down or bottom up.
- Once rolled, place the loaf seam side down in the loaf pan. Cover and let rise for 1 hour.
- Heat over to 350°F.
- Beat an egg and brush the egg over the risen loaf.
- Bake the loaf for 50 to 55 minutes on the low rack of your oven.
- When done, let cool before slicing and enjoying!
Notes
- *If your dough isn’t coming together after the butter has mixed in, you can add up to 2 tbsp of flour to help the dough come together.*
- If your yeast isn’t rising, add in 1 tsp of sugar and give it 5 more minutes. If it is still not bubbly or rising then your yeast is dead and you’ll need new yeast.
More Bread Recipes To Try
- Strawberry Swirl Milk Bread Rolls
- Matcha Swirl Milk Bread
- Milk Bread Dinner Rolls
- Cheese Bread Buns
- Basil and Garlic No Knead Bread
- Air Fryer Bagels
- Air Fryer Garlic Bread
Other places to connect with me
Instagram: @carmyshungry
Facebook: https://www.facebook.com/carmyycom
Email: [email protected]
Shop my Amazon faves: https://www.amazon.com/shop/carmyshungry
Donald says
Cinnamon dough did not rise (plain dough did o.k.). Cinnamon dough filling was gummy, undercooked (except at the ends of the loaf) but bread was at or over 200-205 F and looked just like your video.
Thoughts? Suggestions? What did I do wrong?
Don Weissman
Carmy says
Hi Don, I’m sorry your cinnamon dough did not rise. My only thought is maybe the cinnamon dough needs a little more time (due to the extra add-ins) or needed to be in a warmer spot to help it rise better. If it did not rise properly, that would lead to the gummy dough.
Lori says
I’ve tried this recipe 2x’ & had lots of trouble can’t figure out why. The recipe is basically the same as my usual milk bread recipe, except for adding the brown sugar & raisins in the whole mix. It never forms a dough ball in my processor and is ridiculously wet. So I start adding tablespoons of flour, then handfuls of flour, then adding more sugar and salt since I’ve added so much flour. Then today, added 4 tsp vital wheat gluten – still no dough ball. The first time I made it, I had doubled the recipe but by the time I got the dough dry enough to make a wet ball, I had basically tripled the recipe! Today, I’m making just one batch – and this dough was even harder to get to unsticky enough remove it from the bowl. (The cinnamon and the white balls are rising now so not sure how this will turn out. This time, the dough feels even heavier than last time.) With all that said, the first triple recipe turned out great anyway, which is why I am attempting it a 2nd time just a couple of days later. I am baffled since like I said, it is basically the same as my usual milk bread recipe which I’ve never had a problem getting it to come together & have never had to add even one tbsp of flour. Any ideas please?? (I would move on but this is the prettiest loaf I’ve found on the internet. Lol)
Carmy says
Hi Lori, I’m so sorry to hear you’re having trouble with the dough! Unfortunately, the only thing I can think off the top of my head is maybe humidity? The dough ball with cinnamon in it is more dense than the ball without but it shouldn’t be causing this many issues!
Lori says
Thanks for responding. I’m really stumped. Unfortunately neither ball would even rise yesterday so I plan to spend today trying to save them! Next time though, I think I will just use my regular milk bread recipe up to the point of adding the brown sugar and raisins & see if that works. (Not kidding though – my usual recipe is only slightly different in the amounts for making the tangzhong.) I will try again in the future. Because next, I’ll be trying the strawberry rolls, which look delicious.