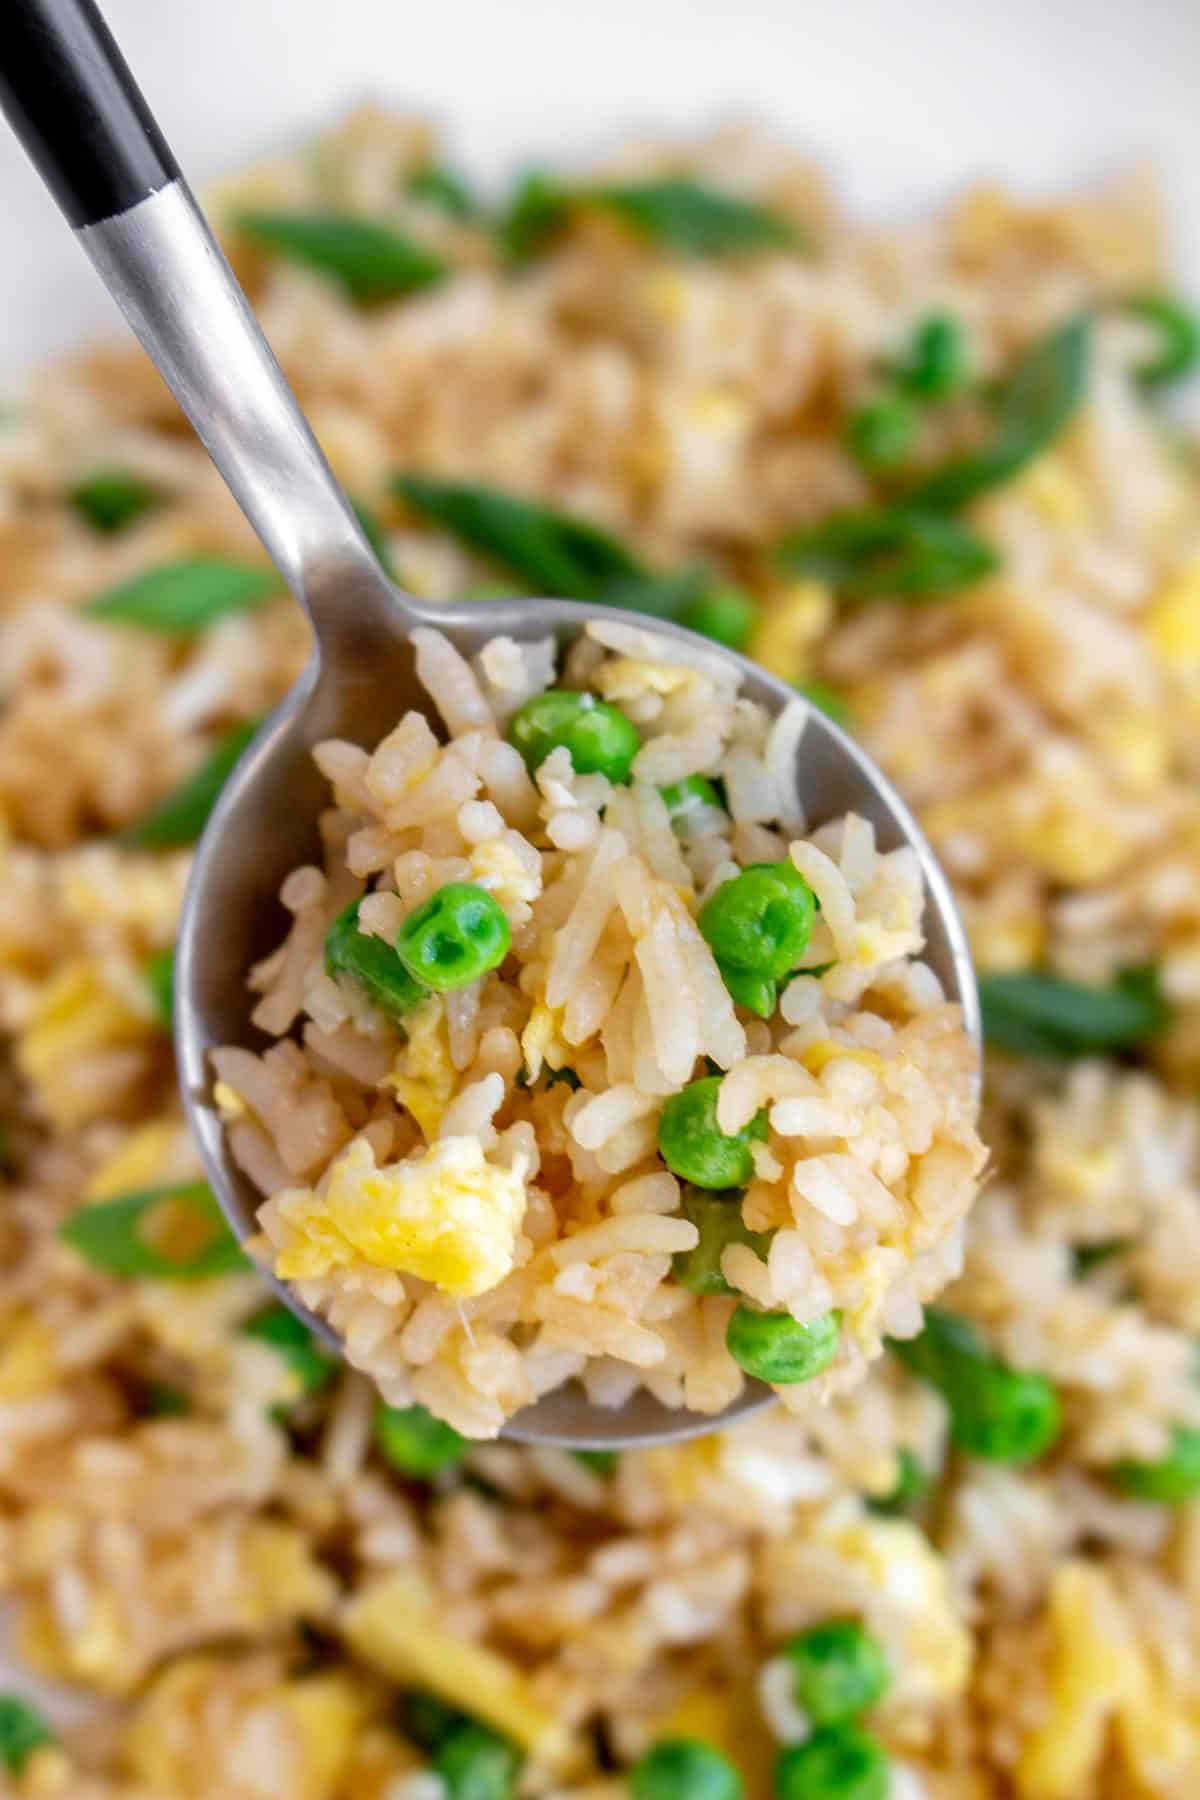
This Hibachi Fried Rice comes together quickly and easily in a few simple steps. Similar to what you’d get at a Japanese steakhouse, it is so easy to make restaurant-quality fried rice at home! You won’t even need a teppanyaki grill.
Fried rice is one of those recipes that I can always count on. It takes next to no time to make, you use kitchen staples, and they don’t require a lot of cleaning up after. You will love this simple but delicious hibachi fried rice recipe and it’ll disappear fast off the dinner table.
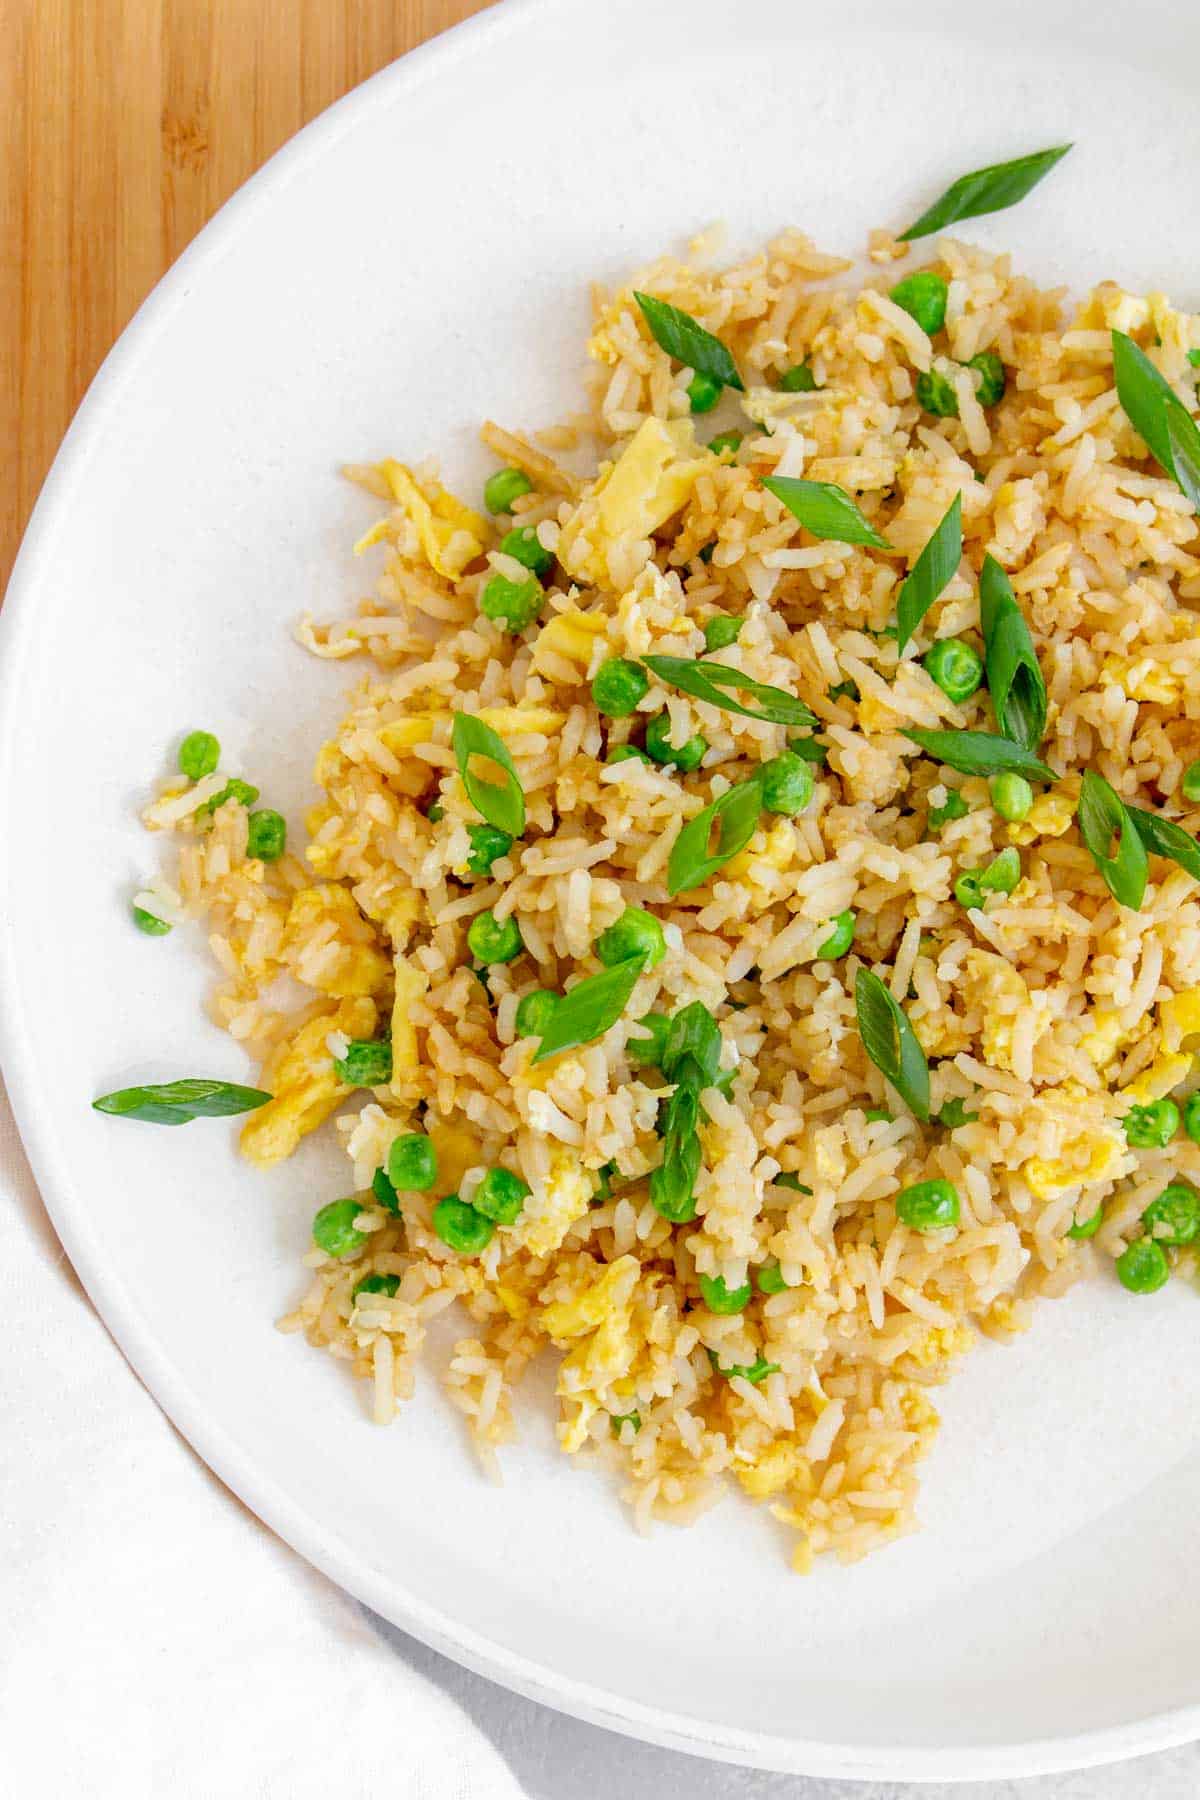
Hibachi means “fire bowl” or “fire bowl” and refers to a method of cooking food over very high heat. So make sure you’re using a wok or a large skillet that can go over high heat.
Why You’ll Love This Fried Rice Recipe
- This is to same hibachi fried rice in my hibachi chicken recipe and hibachi shrimp recipe. This is a tried and true recipe that can go with various proteins.
- Hibachi fried rice uses butter instead of oil for extra flavor. You’ll be inhaling this flavourful fried rice recipe down in no time.
- Packed with flavor, this fried rice recipe is a quick recipe that is full of flavor. It’s always a crowd-pleaser, and your whole family will want seconds!
Ingredients You’ll Need
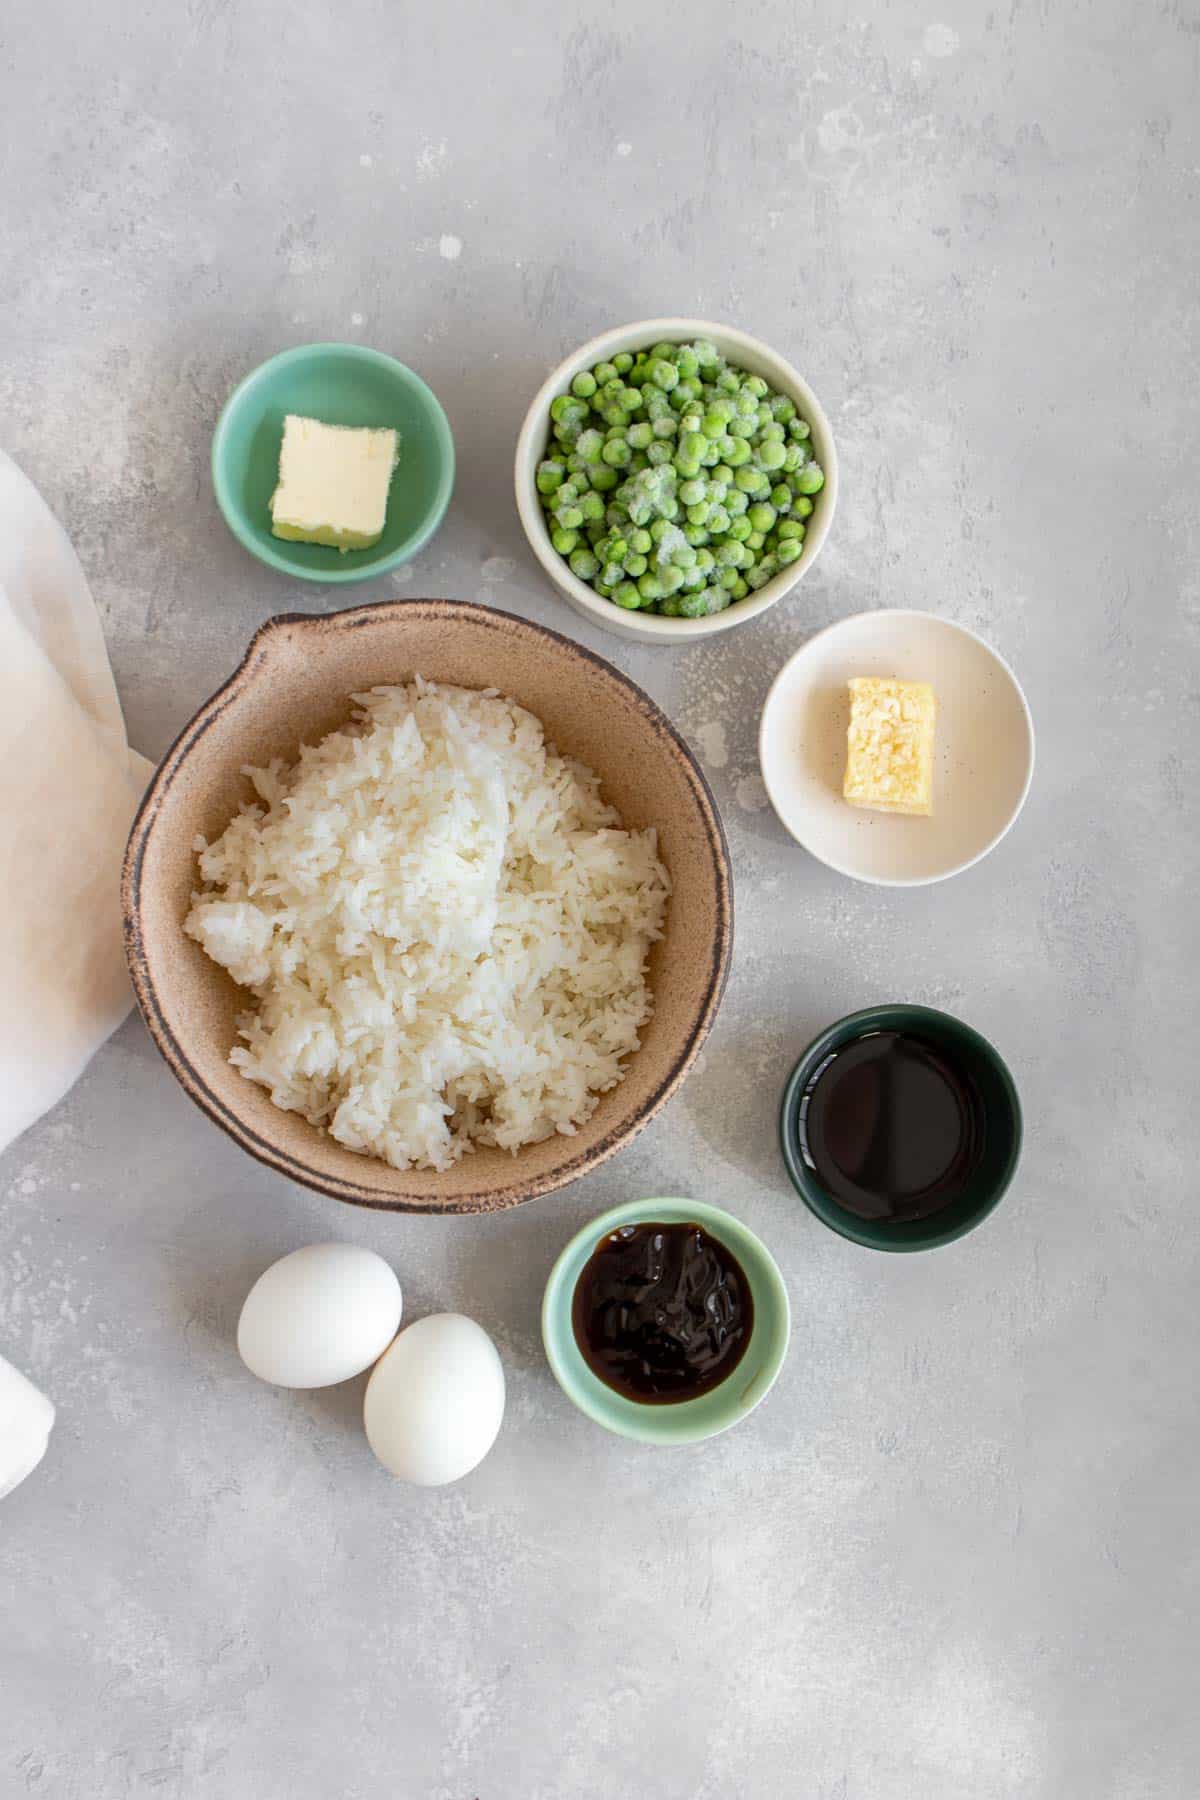
- butter — use unsalted butter so you can control how salty the fried rice is.
- garlic — I always have frozen freshly minced garlic as I prefer the flavor over pre-minced bottled garlic from the store.
- cooked rice — rice made the night before that’s been refrigerated is ideal. I usually use jasmine rice. Not sure how to cook it? Here’s how to cook jasmine rice.
- eggs — you can’t have fried rice without eggs!
- soy sauce — you can use low sodium or regular soy sauce.
- oyster sauce — not sure what oyster sauce is? See my post on what is oyster sauce!
- peas — I love using frozen peas as it’s convenient.
How to Make Hibachi Fried Rice
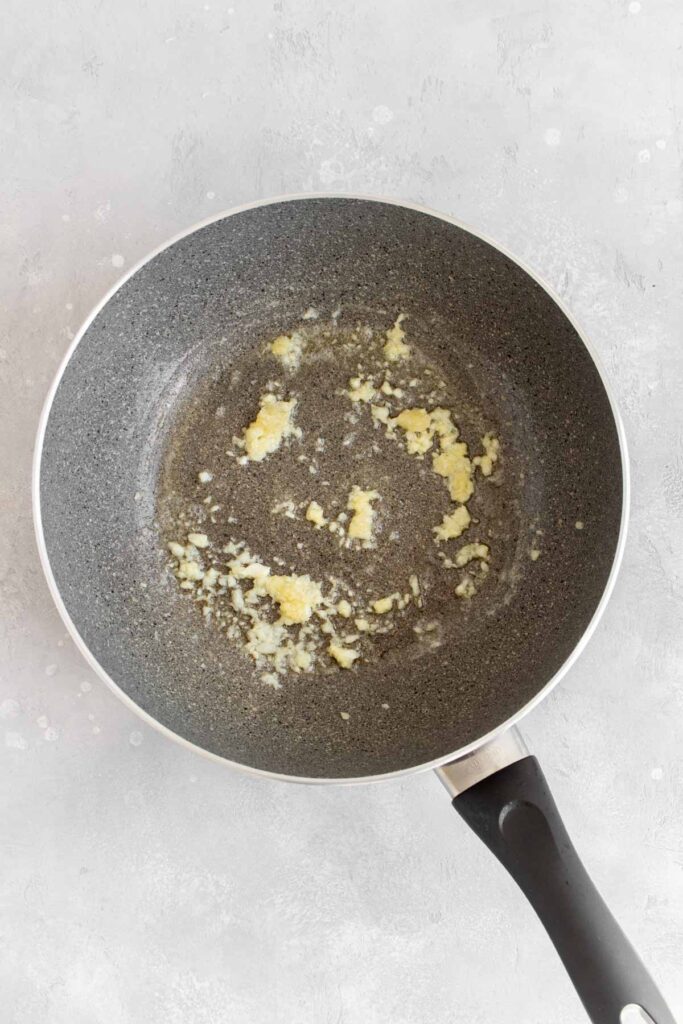
- In a wok or large skillet on high heat, melt 1 tablespoon of butter and add the minced garlic.
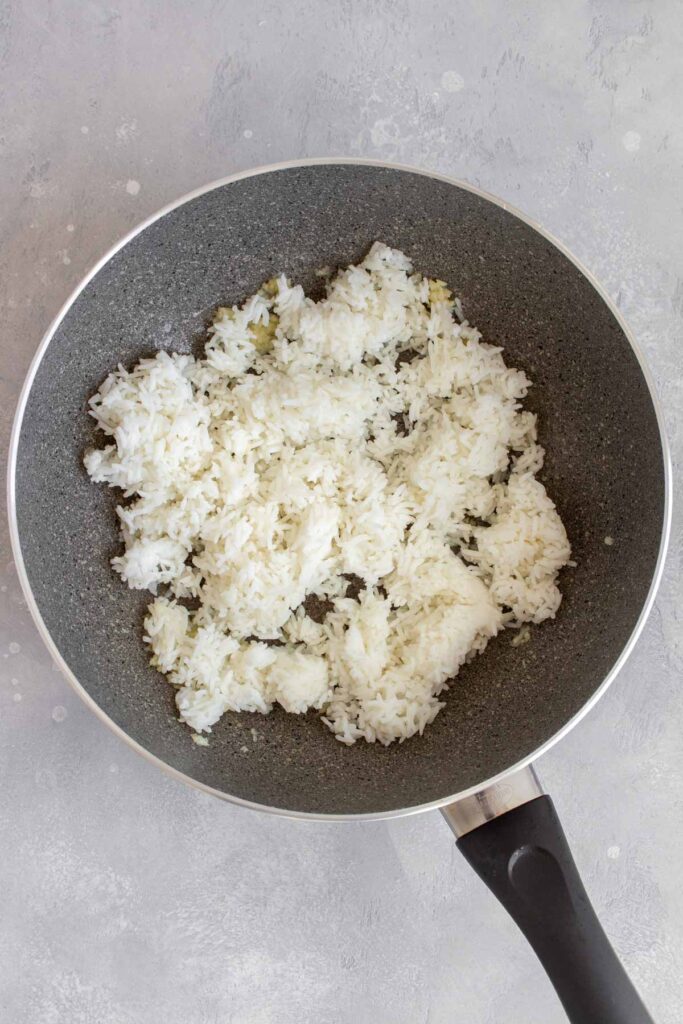
- Sauté the garlic for half a minute and then add the rice.
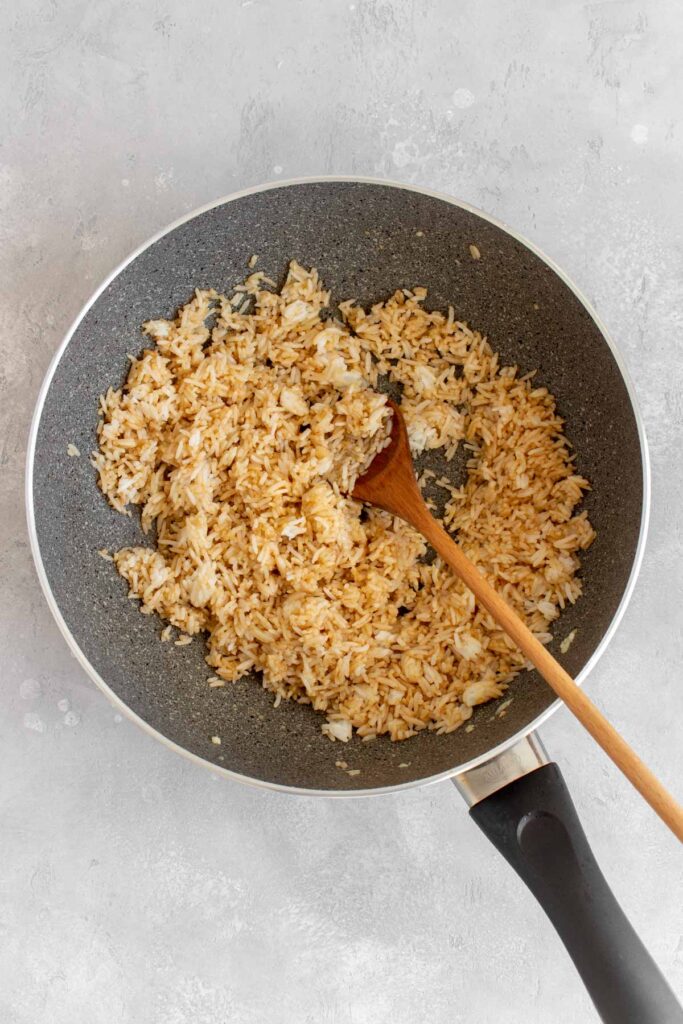
- After a minute, add soy sauce and oyster sauce. Sauté until the rice has heated through.
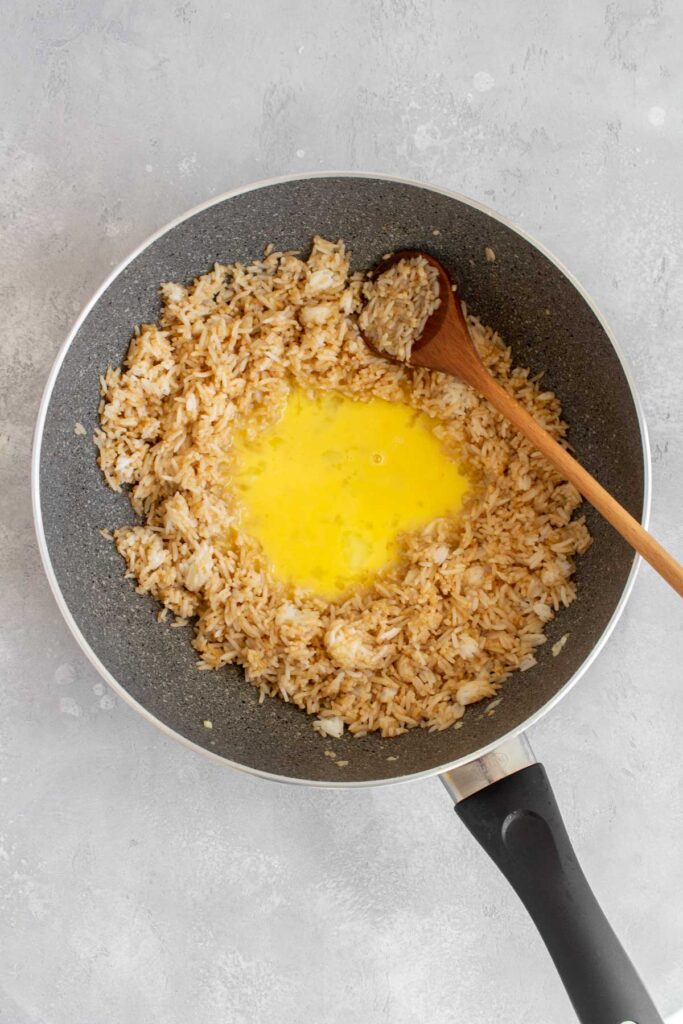
- Make a well in the middle of the rice and add the beaten eggs. Scrambling it until it’s almost fully set.
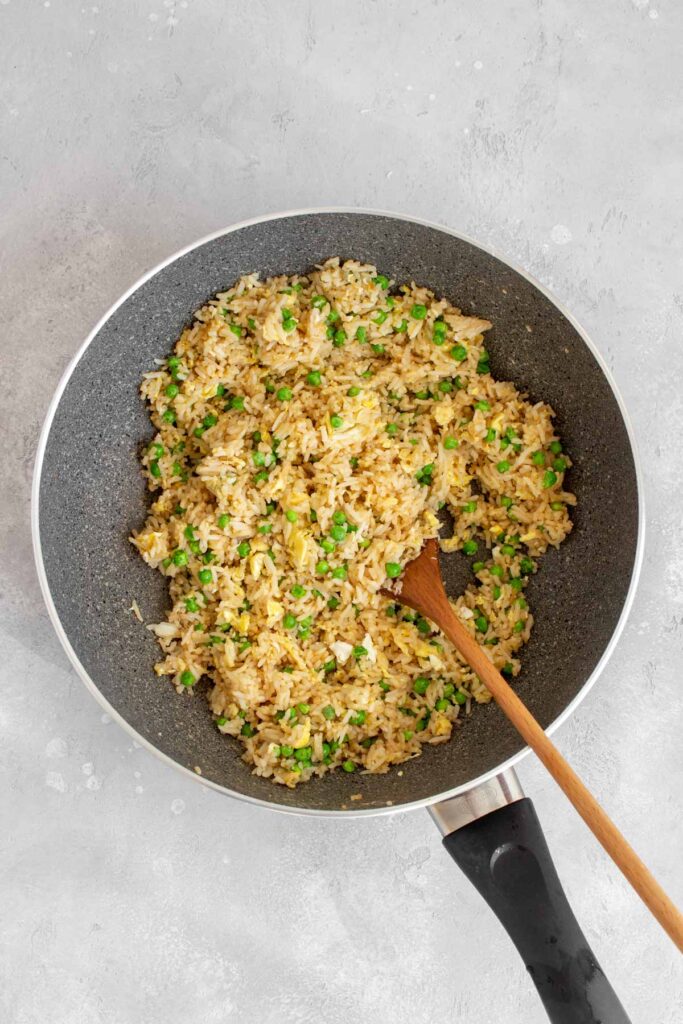
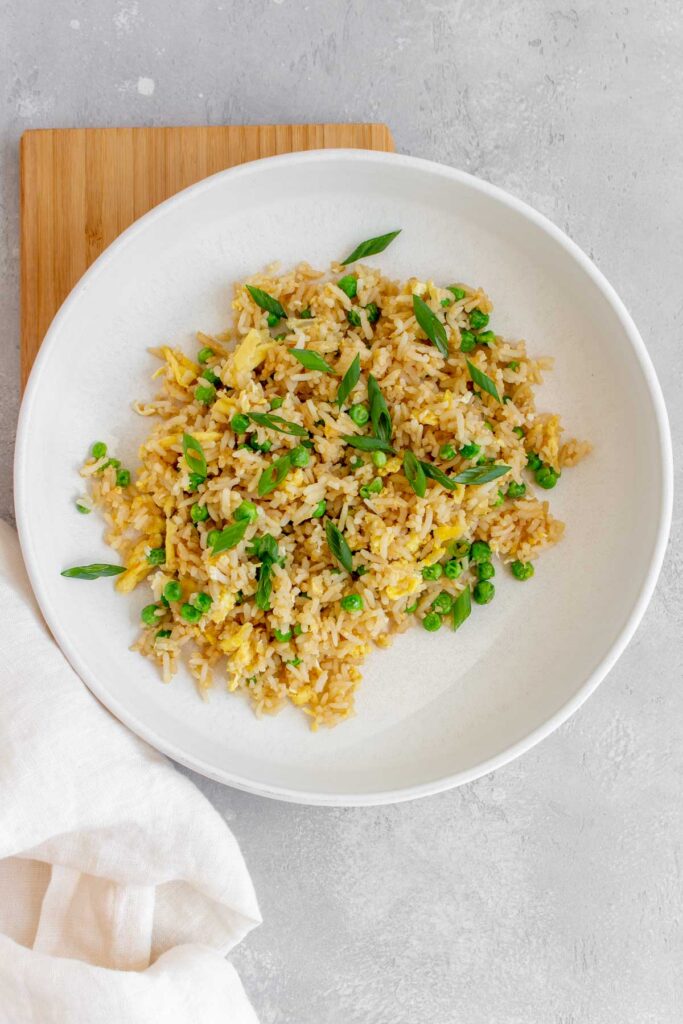
- Stir to combine everything before adding in the peas and stirring until the peas have been heated through.
Recipe Tips and Notes
- Things move fast in a fried rice recipe. This means you should have everything minced and measured beforehand so you can just quickly throw everything into the skillet.
- If you have a rice cooker, you can change the setting to make slightly “harder” rice when you cook it the night before. It’ll help the rice grains hold their shape better when you use it for shrimp fried rice. (Here’s a review of the rice cooker I have).
- The key to everything cooking quickly and having the smokey flavour in the fried rice you get from restaurants is high heat.
- Instead of using peas, you can use frozen corn or diced carrots instead! You can also use the frozen mixture of the three combined.
Make Ahead Tips
- Meal prep: once cooled, store the cooled hibachi fried in an airtight container for up to 4 days in the fridge.
- Freezer: allow the fried rice to cool before transferring into an airtight container and storing them in the freezer. They can last for up to 3 months.
I always use cold leftover rice that I’ve left in the fridge overnight as it has had the chance to firm up. Using cold rice makes it easier to separate when frying and decreases the chances of your fried rice turning out mushy. I’ve tried this with freshly cooked rice before and it gets sticky and mushy quickly. I always make my rice the day before. If you don’t have leftover rice, you can try to prepare the rice beforehand and then spread it out on a sheet pan so it can cool quickly in the fridge for an hour or so.
Try some corn, broccoli, carrots, or cauliflower. They’re my go-to vegs for fried rice!
Click here to sign up to stay up to date with new recipes sent straight to your inbox PLUS a free ebook with 10 easy chicken recipes!
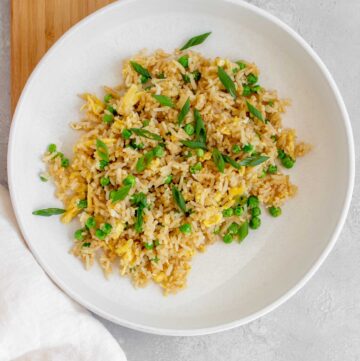
Hibachi Fried Rice
Ingredients
- 1 tablespoon butter
- 1 tablespoon minced garlic
- 3 cups cooked rice
- 2 large eggs, beaten
- 2 tablespoons soy sauce
- 1 tablespoon oyster sauce
- 1 cup peas, frozen
Instructions
- In a wok or large skillet on high heat, melt 1 tablespoon of butter and add the minced garlic.
- Sauté the garlic for half a minute and then add the rice.
- After a minute, add soy sauce and oyster sauce. Sauté until the rice has heated through.
- Make a well in the middle of the rice and add the beaten eggs. Scrambling it until it’s almost fully set.
- Stir to combine everything before adding in the peas and stirring until the peas have been heated through.
Nutrition Per Serving
More Rice Recipes To Try
- Sriracha Fried Rice
- Teriyaki Beef Bowl
- Spam and Eggs Rice Bowl
- Bacon Kimchi Fried Rice
- Gyeran Bap (Korean Egg Rice)
- Clay Pot Rice
- Shrimp Fried Rice
- Japanese Fried Rice (Yakimeshi)
- Beef Pepper Rice (Pepper Lunch Inspired)
Other places to connect with me
@carmyshungry on Instagram
Facebook
Shop my Amazon faves
Email: [email protected]


Leave a Reply