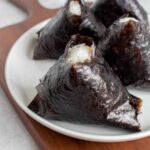
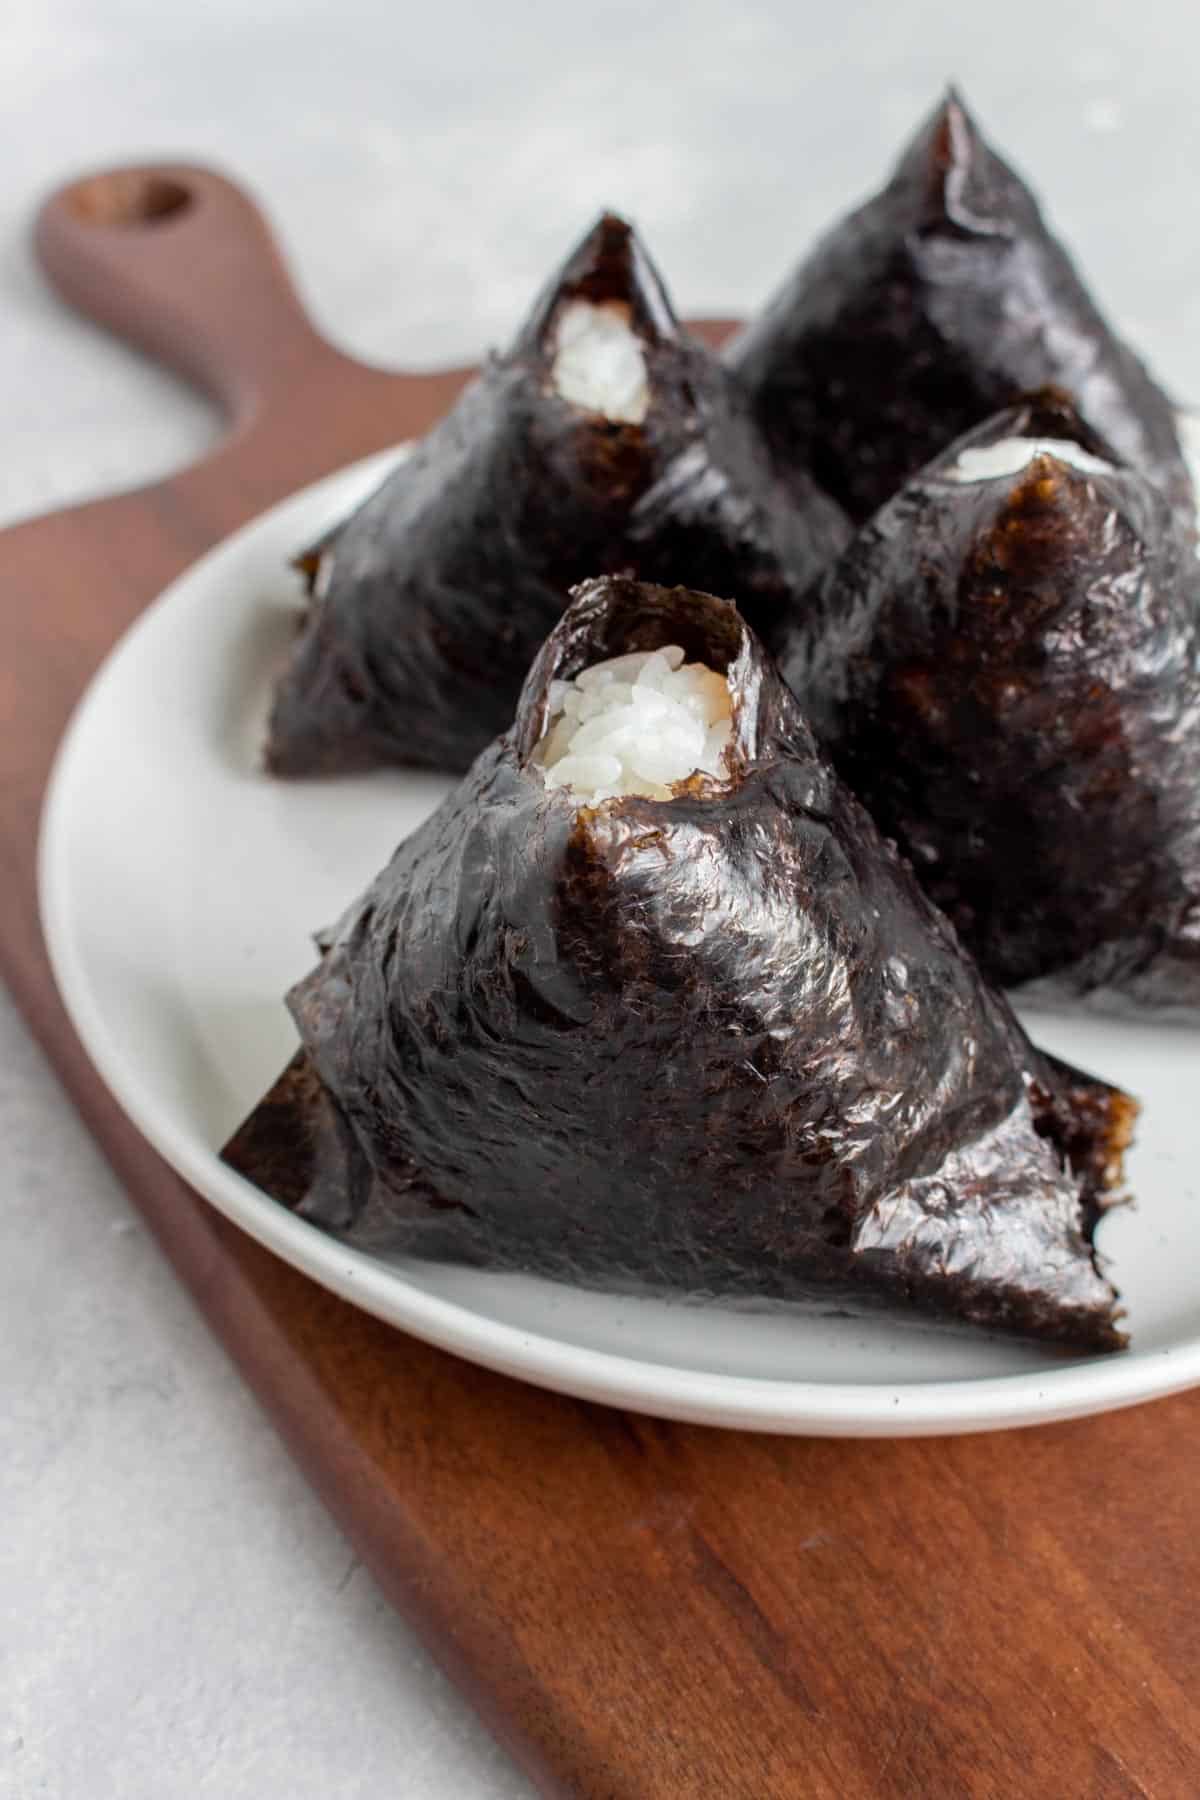
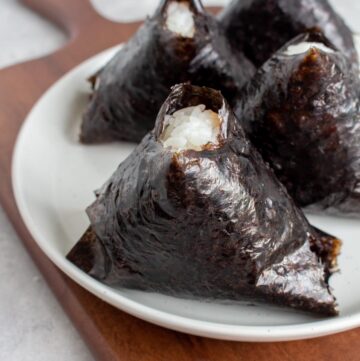
This easy beef Triangle Kimbap, also known as samgak-gimbap, is super easy to make at home without any special equipment. Simple, satisfying, and delicious, these beef triangle gimbaps are perfect for breakfast, lunch, or as a snack.
Inspired by the delicious bulgogi beef triangle gimbap sold at Galleria in Toronto (and in Korean convenience stores, of course!), this homemade version is so simple but delicious! Sweet and savoury ground beef stuffed into a ball of rice then wrapped in seaweed, these triangle kimbap are so addictive.
What Are Triangle Kimbaps?
Triangle Kimbap (romanized version of gimbap), is literally a triangle version kimbap which is a seaweed rice roll filled with a variety of fillings. At the store, they’re usually wrapped and layered in plastic (to keep the seaweed from getting soggy from the rice) with a tab that you pull to remove the plastic. While H is a huge fan of the spicy salmon version, I’m obsessed with the beef bulgogi version.
Why You’ll Love This Recipe
- It’s easy to make in a few simple steps. The beef comes together quickly and the rice cooker does all the heavy lifting for the rice!
- It’s my favourite snack but it’s great as a light lunch or breakfast as well.
- It’s so flavourful, satisfying, and filling. I can literally eat this every day and not get sick of it.
Ingredients You’ll Need
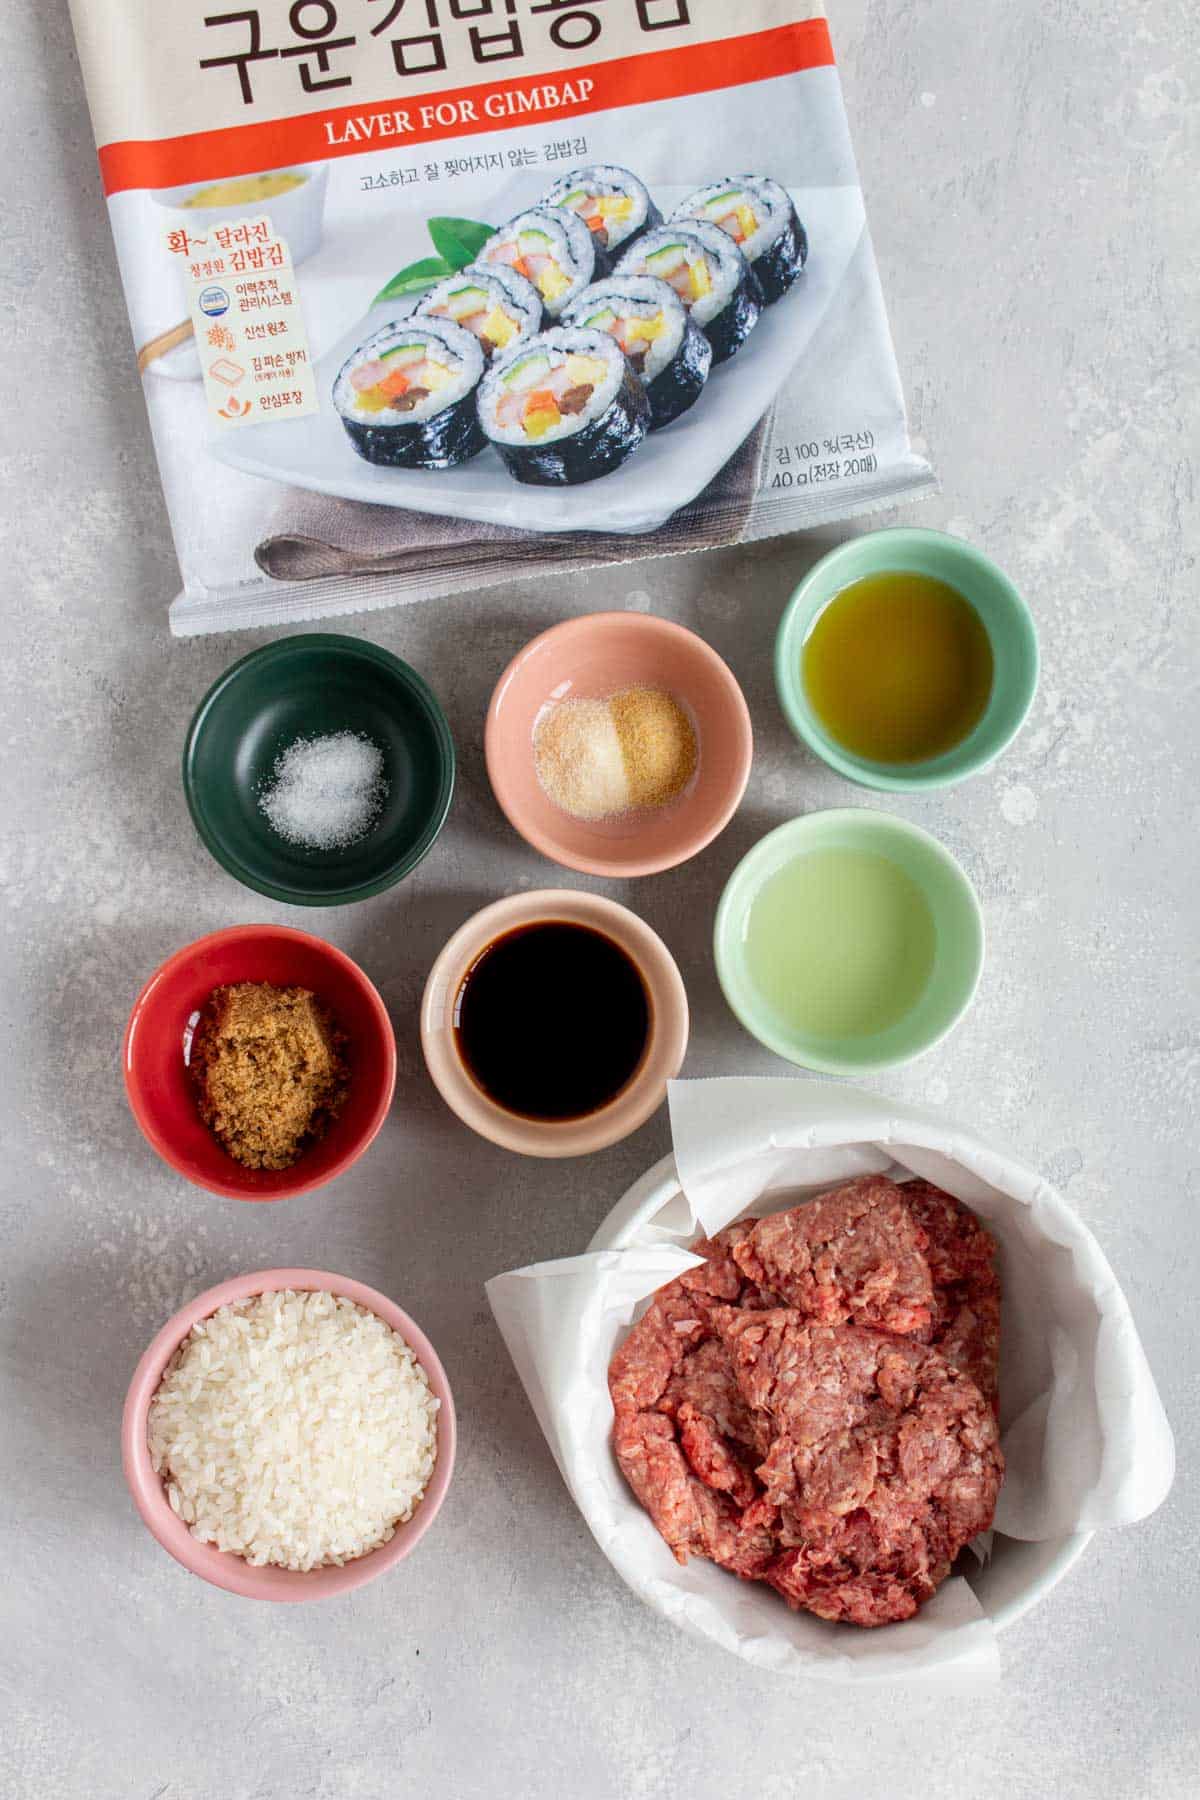
- rice — use sushi rice as it’ll keep the triangle shape better. To cook it, I simply add it to my rice cooker. You can cook it any method you like. You can cook sushi rice just like jasmine rice.
- sesame oil — I like to use pure sesame oil to cook the beef in.
- beef — I use lean ground beef. If you use a fattier beef, you’ll have to drain it as you cook. In the United States? Try ButcherBox for high-quality beef!
- brown sugar — you can use dark or regular brown sugar.
- garlic powder & onion powder — for extra flavour.
- soy sauce — use low sodium soy sauce so the beef doesn’t get too salty.
- mirin — you just need a splash.
- salt — this is to season the rice.
- gim — also known as seaweed. Make sure to get the one that says “laver for gimbap” as the seaweed for sushi is not as flexible.
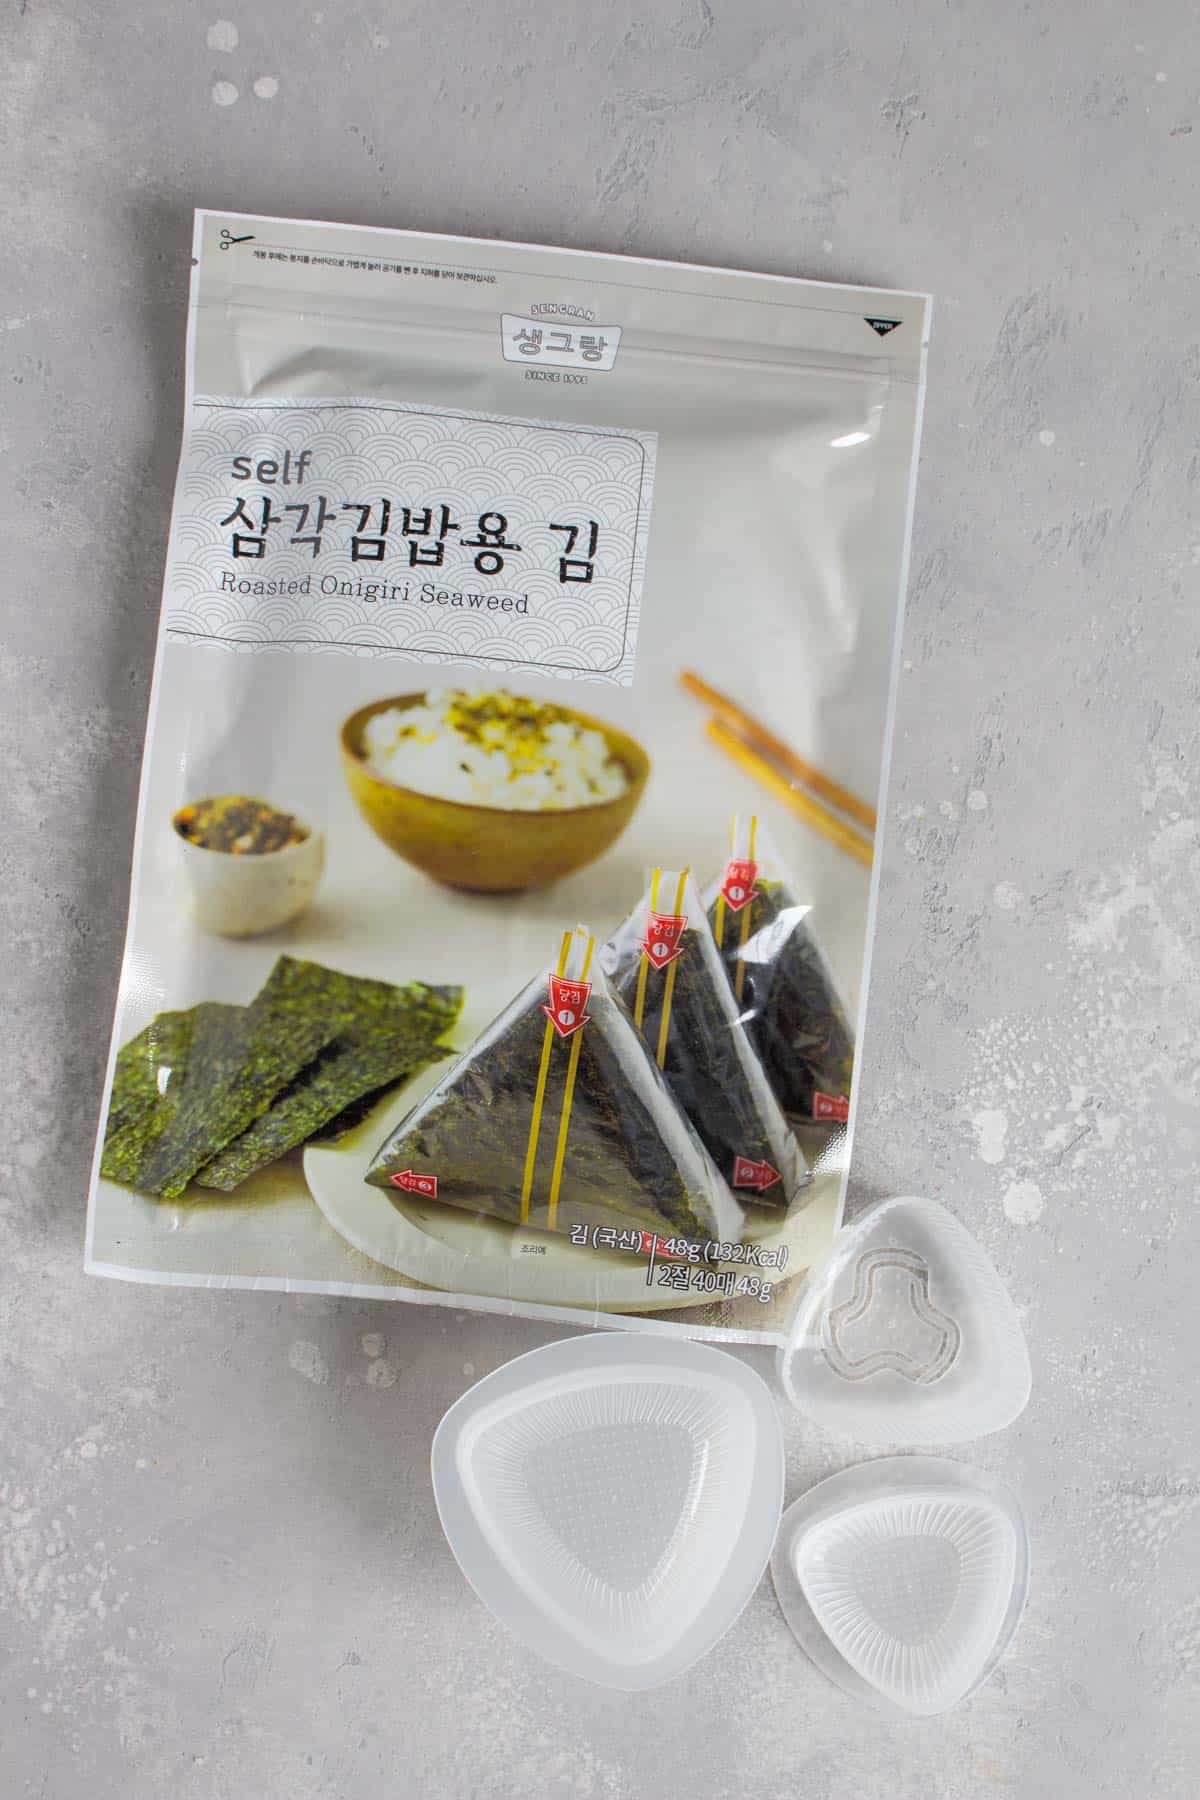
The items pictured above are not mandatory but are an option! You can buy the plastic-wrapped seaweed version or use an onigiri rice mold instead of my plastic wrap method below.
How to Make Triangle Kimbap
- Cook the rice according to the package instructions.
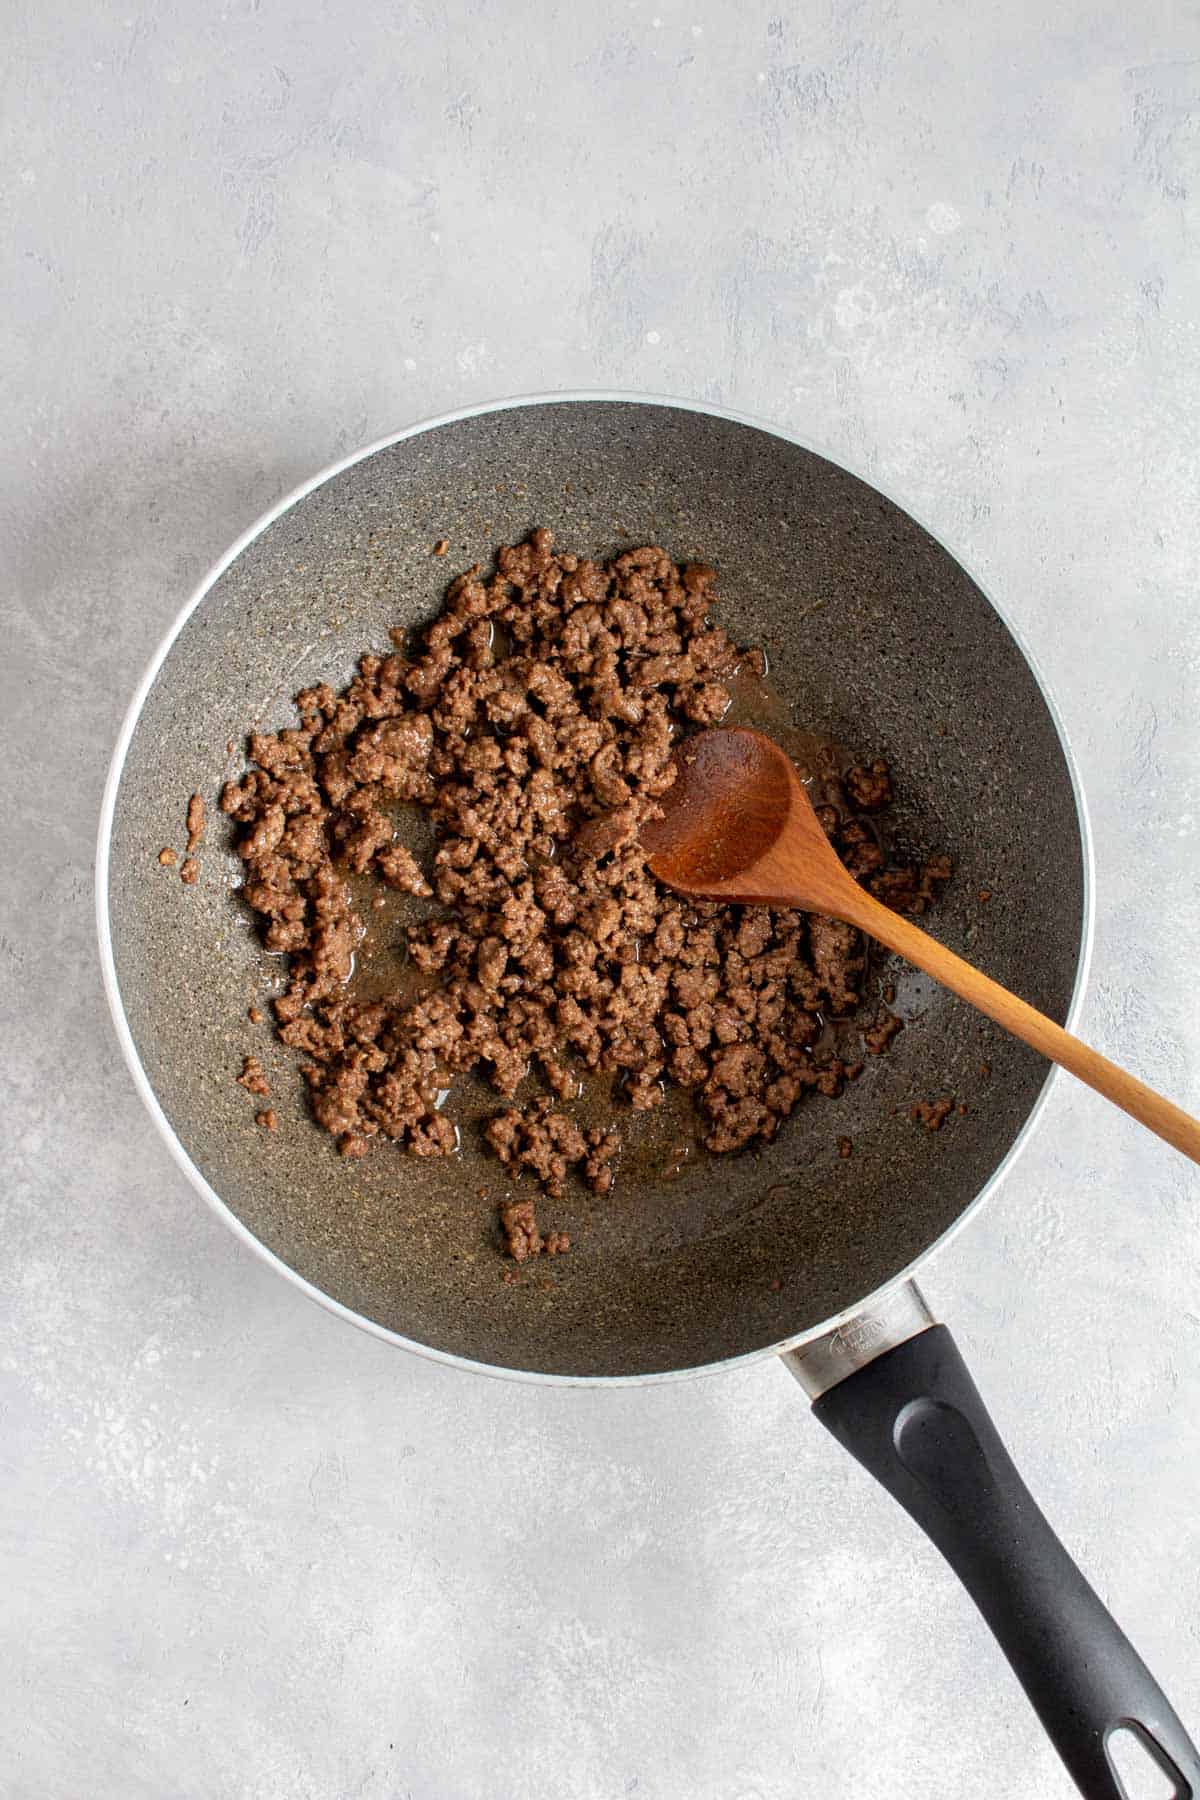
- Add the sesame oil to a large skillet over medium heat. Add the ground beef and cook until half cooked, breaking up the beef as you go along.
- Add the brown sugar, garlic powder, onion powder, soy sauce, and mirin to the beef and continue to cook until cooked through and most of the sauce as cooked down.
How to Assemble the Triangle Gimbap
- Season the rice with the salt. Divide the into 4 equal servings.
- Place a piece of plastic wrap on a cutting board or countertop.
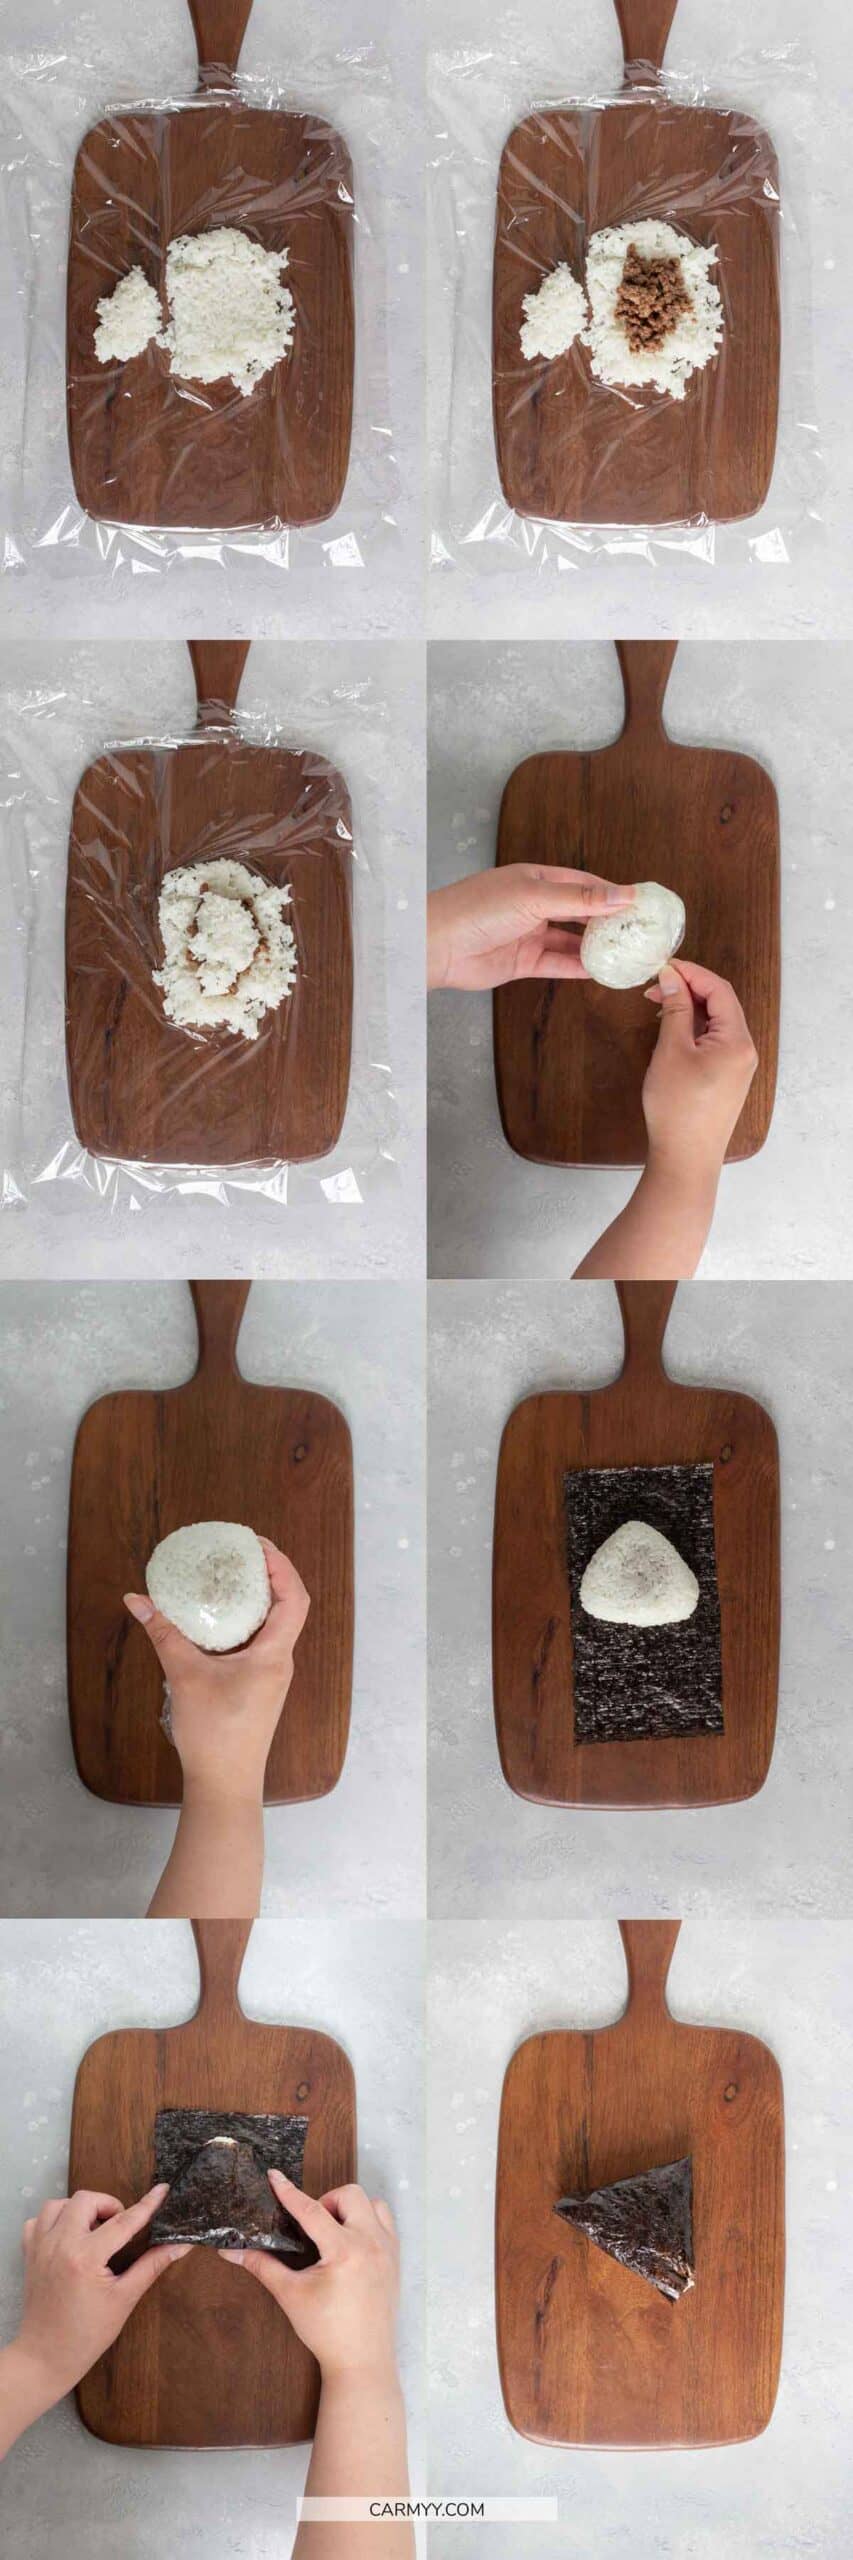
- Place a portion of the rice onto the middle of the plastic wrap. Remove around 1½ tablespoon of rice and set it aside. Press down the large portion of rice with a rice paddle so it’s evenly spread into a round thin patty.
- Add 2 to 3 tablespoons of beef to the middle of the rice.
- Place the 1½ tablespoon of rice on top of the beef.
- Grab the sides of the plastic wrap and twist the plastic together so the rice is shaped into a ball with the rice enveloping the beef.
- Using the corner of your hand between your thumb and pointer finger, shape the ball into a triangle.
- Unwrap the rice and place it on the upper half of the seaweed sheet.
- Fold the seaweed and tuck in the corners so you cover the rice in a triangular shape. You can wet your finger to help seal the seaweed corners.
- Repeat with the other 3 servings of rice.
Recipe Tips and Notes
- It’s best to eat this immediately or within an hour or so as the seaweed will get soggy with time. I don’t recommend keeping this overnight.
- There is a video showing how to make the triangle kimbap but if you have an ad blocker on, the video is blocked as well.
- If you want to use the mold, you can place a sheet of plastic in it, then add the rice, filling, and more rice, before pressing the lid down. Pop-out the triangle rice and repeat in the mold.
- Don’t have beef? Make this with spicy salmon, spicy tuna, imitation crab meat, tuna mayo, pork, and anything else your heart desires!

Triangle Kimbap
Ingredients
- 1 cup uncooked sushi rice, 3 cups cooked
- 1 tbsp sesame oil
- 1 lb ground beef
- 1 tbsp brown sugar
- ½ tsp garlic powder
- ½ tsp onion powder
- 1 tbsp soy sauce
- 1 splash mirin
- 4 sheets gim (seaweed)
- ¼ tsp salt
Instructions
- Cook the rice according to the package instructions.
- Add the sesame oil to a large skillet over medium heat. Add the ground beef and cook until half cooked, breaking up the beef as you go along.
- Add the brown sugar, garlic powder, onion powder, soy sauce, and mirin to the beef and continue to cook until cooked through and most of the sauce is cooked down.
Assembly
- Season the rice with the salt. Divide the into 4 equal servings.
- Place a piece of plastic wrap on a cutting board or countertop.
- Place a portion of the rice onto the middle of the plastic wrap. Remove around 1½ tablespoon of rice and set it aside. Press down the large portion of rice with a rice paddle so it’s evenly spread into a round thin patty.
- Add 2 to 3 tablespoons of beef to the middle of the rice. Place the 1½ tablespoon of rice on top of the beef.
- Grab the sides of the plastic wrap and twist the plastic together so the rice is shaped into a ball with the rice enveloping the beef.
- Using the corner of your hand between your thumb and pointer finger, shape the ball into a triangle. Unwrap the rice and place it on the upper half of the seaweed sheet.
- Fold the seaweed and tuck in the corners so you cover the rice in a triangular shape. You can wet your finger to help seal the seaweed corners. Repeat with the other 3 servings of rice. Eat immediately.
Nutrition Per Serving
More Recipes to Try
- Air Fryer Korean Fried Chicken (or my double fried Korean Fried Chicken)
- Japchae
- Korean Cheese Corn
- Seasoned Spinach
- Mayak Eggs
- Silken Tofu Recipe
- Korean Cream Cheese Garlic Bread
- Bacon Kimchi Fried Rice
- Kimchi Pancake (Kimchijeon)
- Pajeon (Korean Scallion Pancake)
- Air Fryer Gochujang Chicken Thighs
- Gochujang Chicken (Grilled or Stovetop)
Other places to connect with me
@carmyshungry on Instagram
Facebook
Shop my Amazon faves
Email: [email protected]
Leave a Reply