Made with simple pantry staples, this Tuna Kimchi Fried Rice recipe comes together in minutes. Filled with flavour, this tuna fried rice recipe is perfect for lunch or dinner. Using canned tuna and leftover rice, this recipe is budget-friendly as well!
Need to whip up a quick meal? All you need is a can of tuna and some kitchen staples and you’ll have a tasty meal in no time. Seriously, what can’t a can of tuna do?
Why You’ll Love This Fried Rice Recipe
- You only need a few simple ingredients to make this tuna fried rice. It leans heavily into kitchen staples for days I don’t want to run out to the store. Whenever I want to delay a fridge restock, the night before, I make extra rice so I can make this fried rice. It’s such a simple recipe to make with canned tuna.
- It comes together quickly. Ideally, you could finish this cooking this fried rice in under 15 minutes. All you have to do is mix everything together in a large pan!
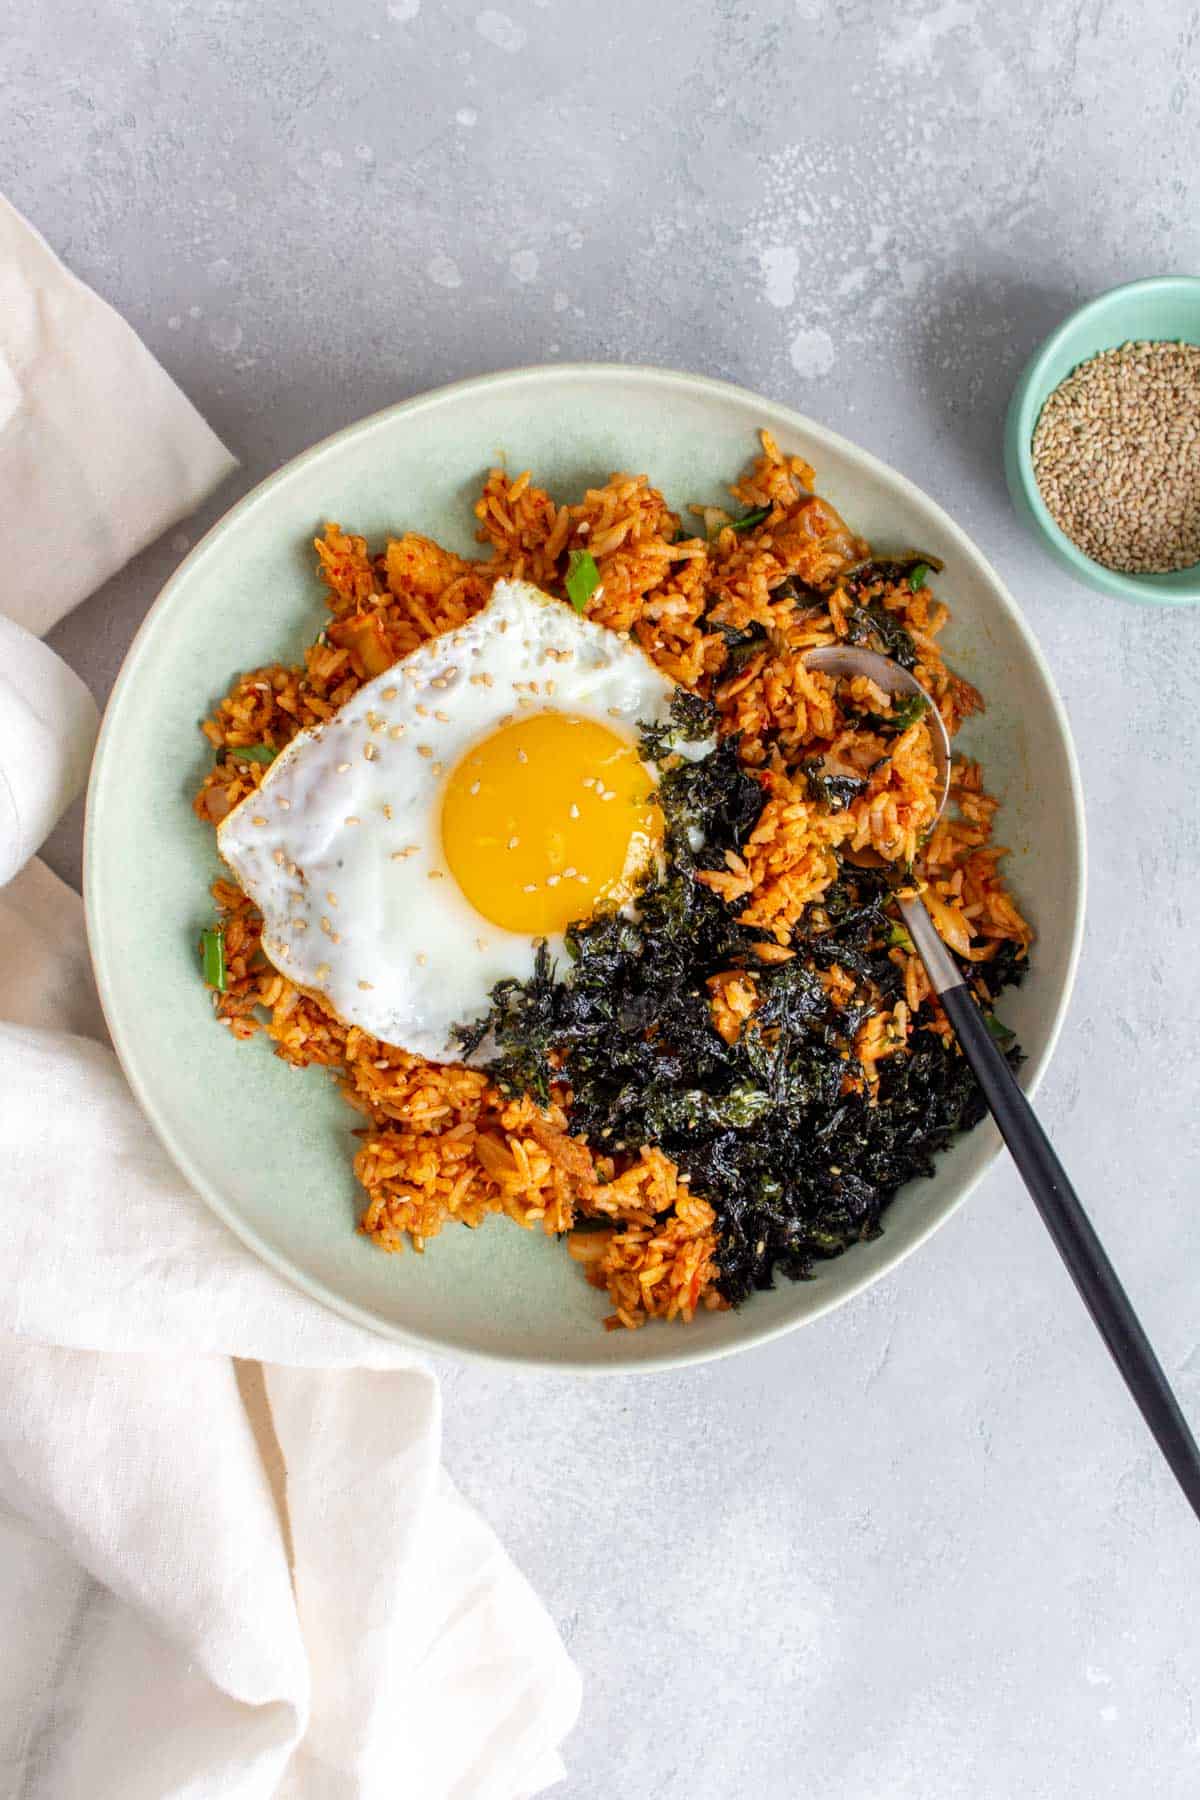
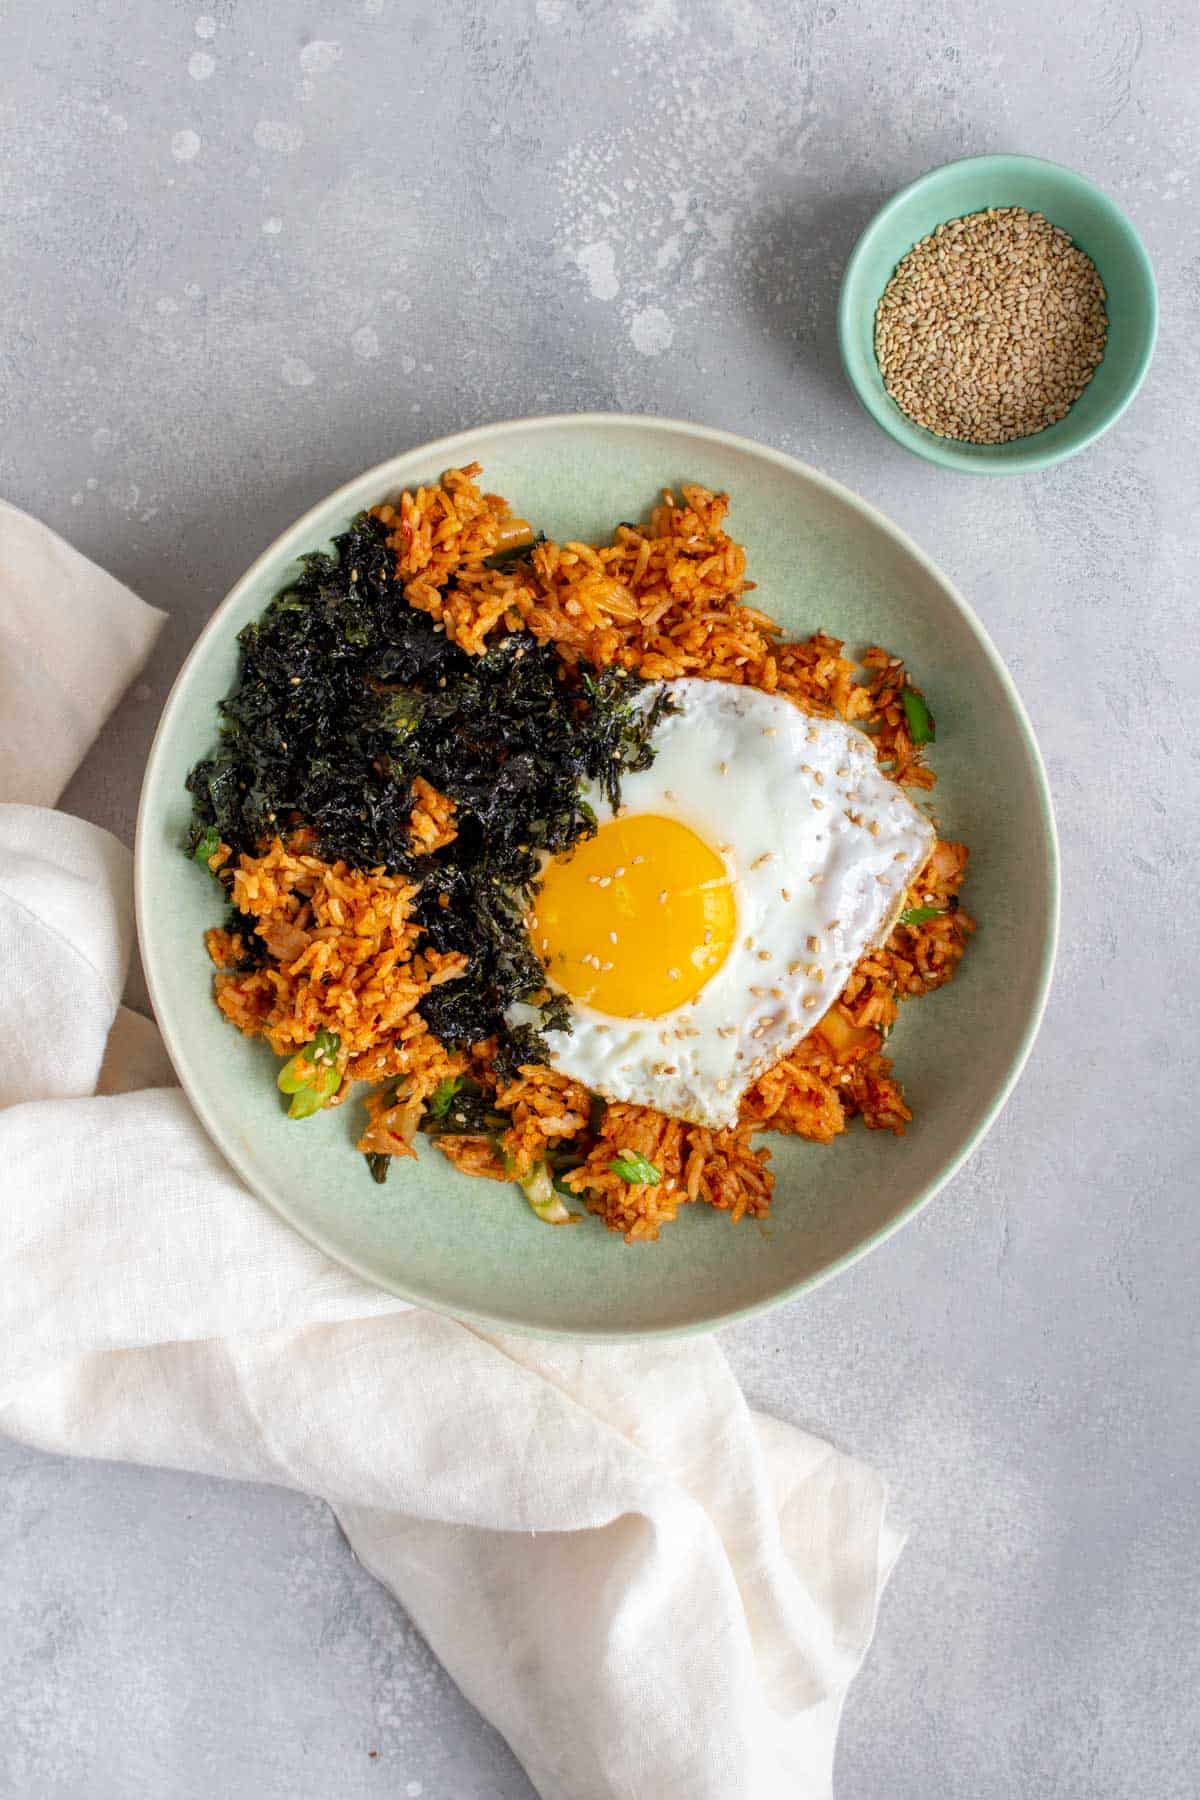
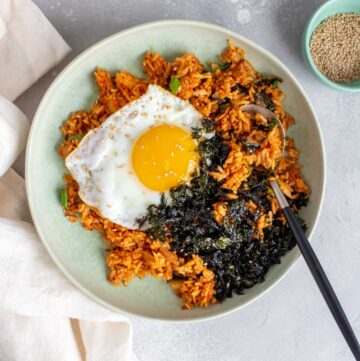
- You can fancy this up or keep it simple. Throw on a fried egg and some seaweed to make it more filling or keep it simple and just make the fried rice.
Ingredients You’ll Need
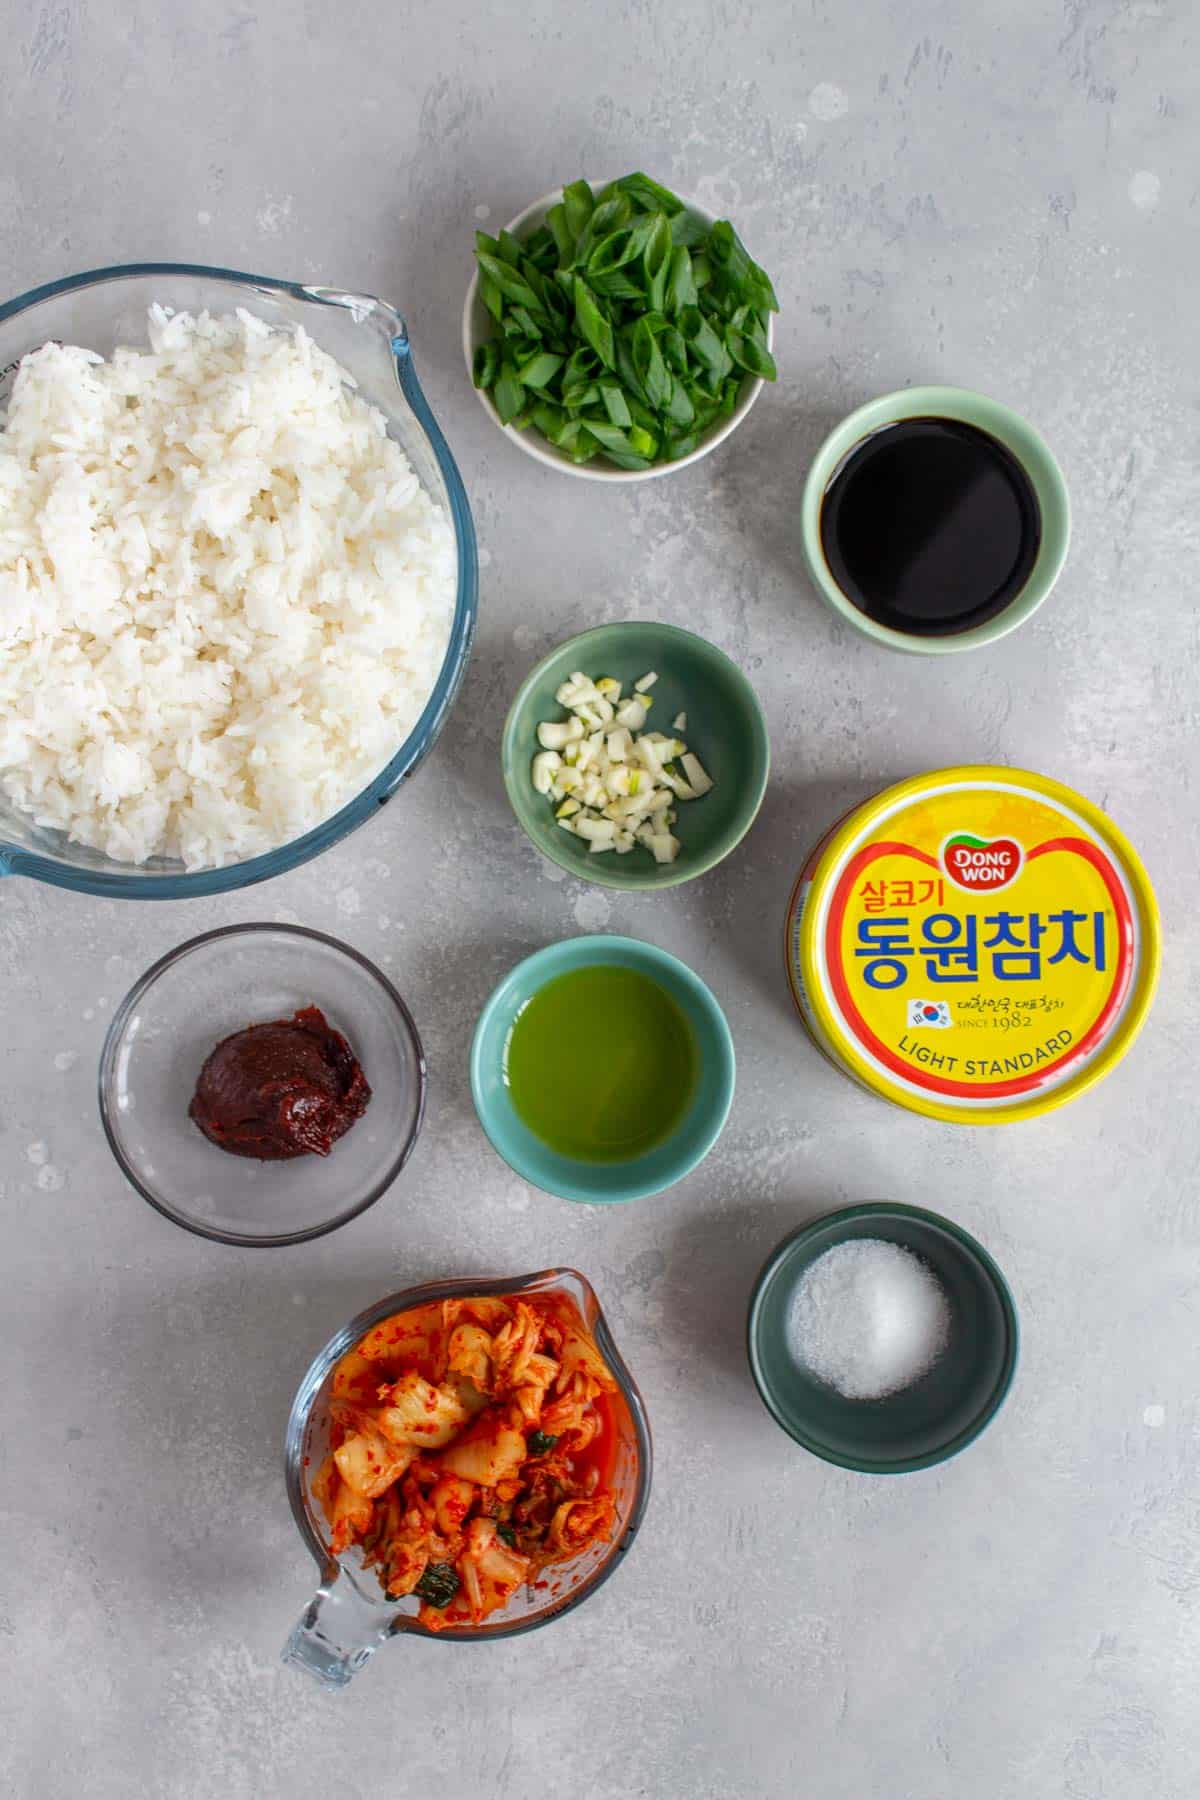
- oil — feel free to use olive oil or sesame oil for this recipe.
- garlic — I recommend freshly minced garlic and I recommend sticking to that. Storebought pre-minced garlic usually have an odd aftertaste. I like to pre-mince my own and freeze the garlic for convenience.
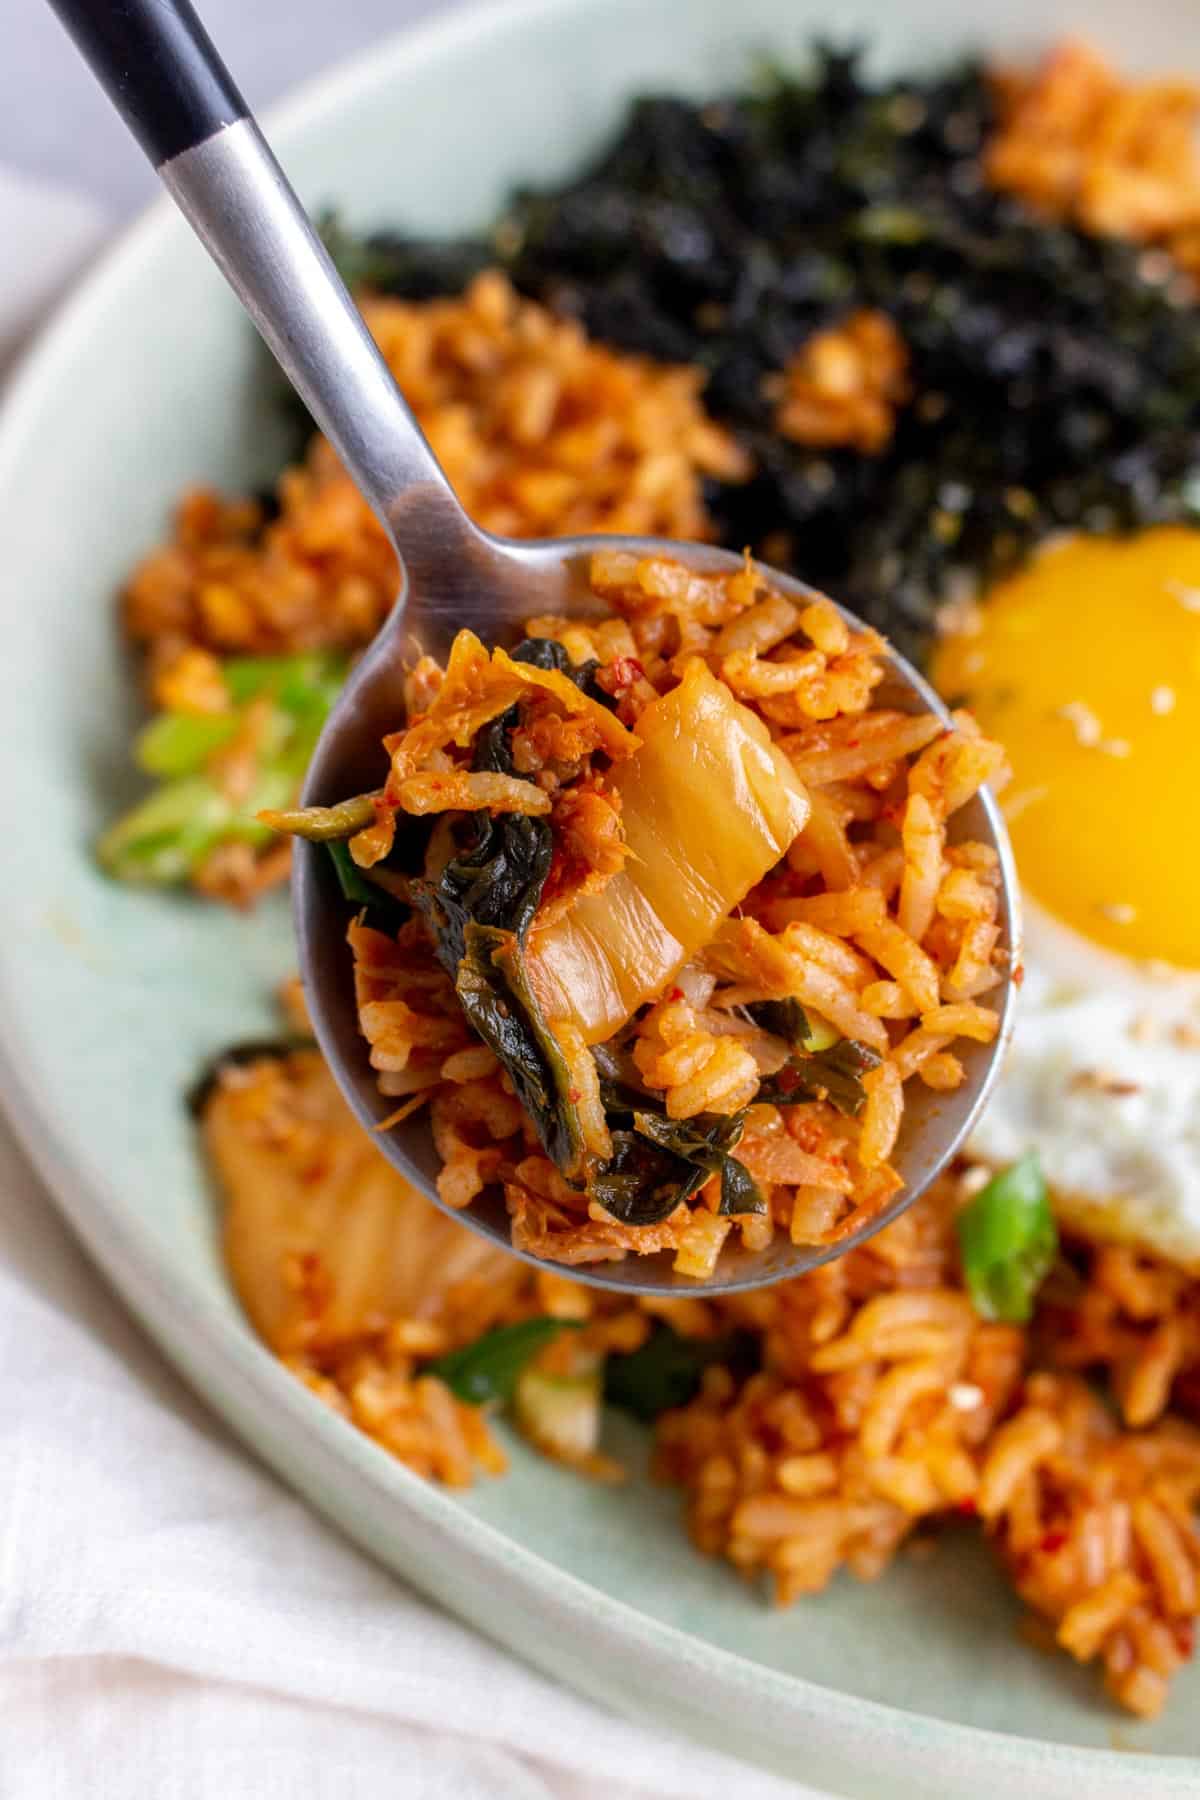
- kimchi — aged kimchi is ideal as it’s more flavourful and has a tangier taste to it. Make sure you grab some of the juices from the kimchi as well.
- tuna — I like using light tuna. I use an extra large can but you can use two smaller cans.
- soy sauce — I like using light or low sodium soy sauce as it’s less salty.
- sugar — the sugar is to balance out the flavours.
- gochujang — this is a Korean hot pepper paste. Keep in mind that they come in different levels of spiciness. You can get the super spicy one or mild one depending on your preference.
- leftover cooked rice — I always use jasmine rice. Chilled leftover rice is ideal as cold rice is more firm and decreases the chances of your fried rice turning out mushy.
- garnish: green onions and toasted sesame seeds.
- optional toppings: fried egg and roasted seaweed.
How to Make Tuna Kimchi Fried Rice
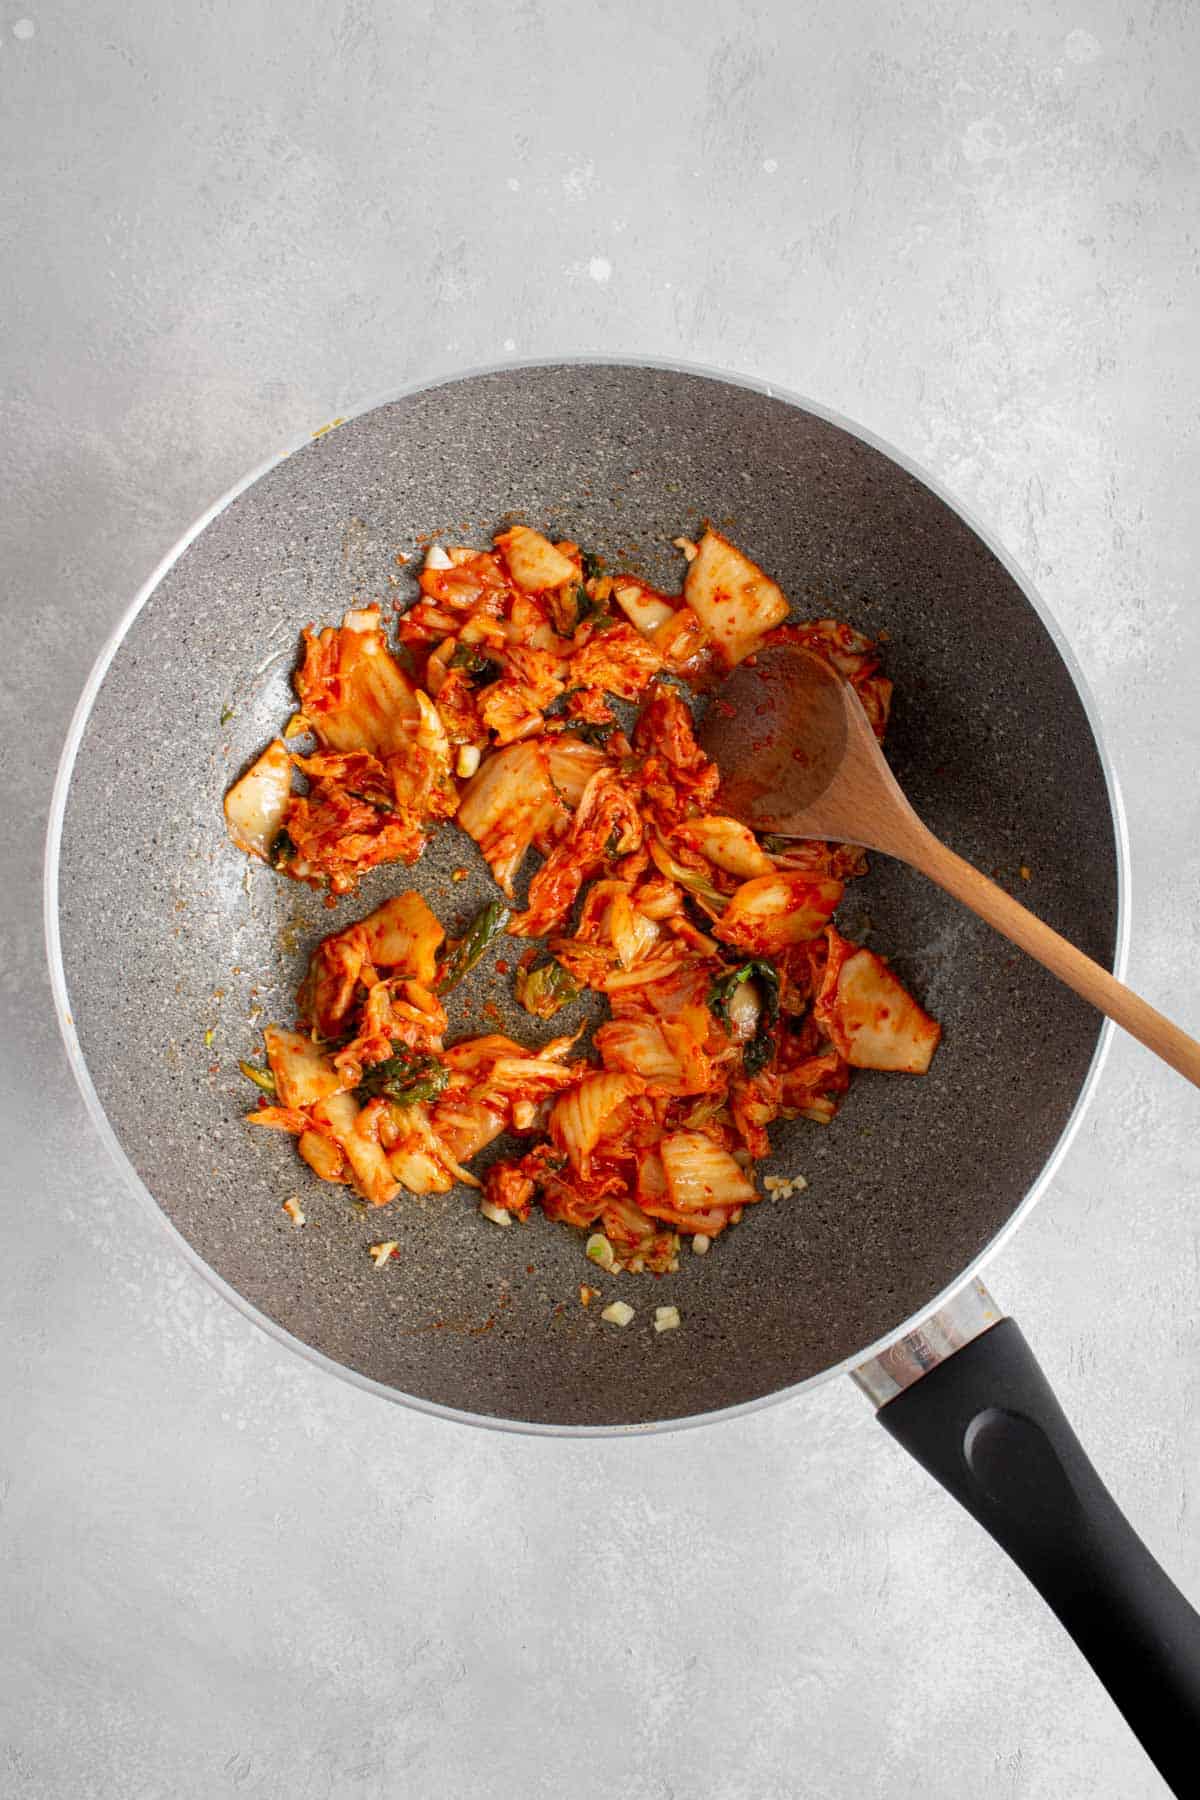
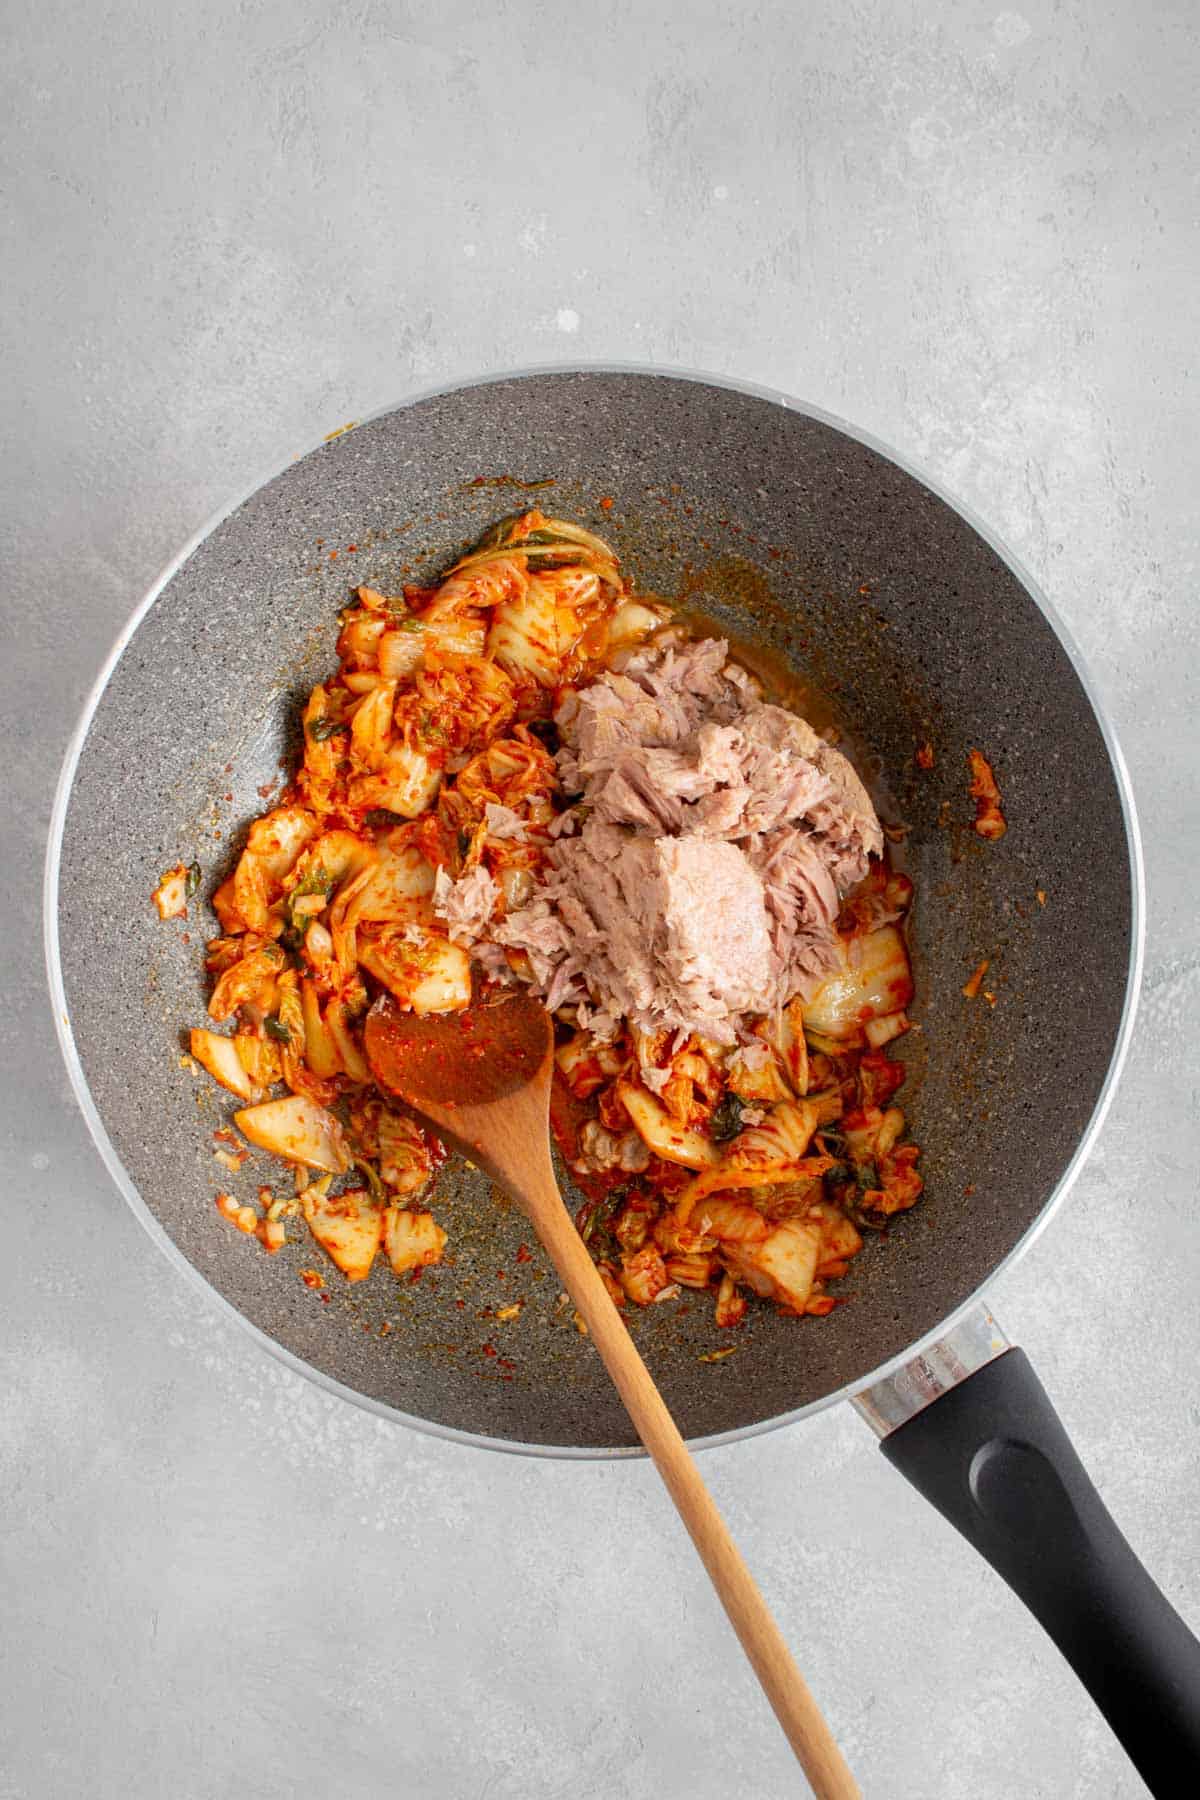
- Heat a large skillet with oil over medium heat. Add the garlic and sauté for a few seconds before adding the kimchi with the juices. Sauté for 2 to 3 minutes.
- Add the tuna to the skillet and sauté for another minute.
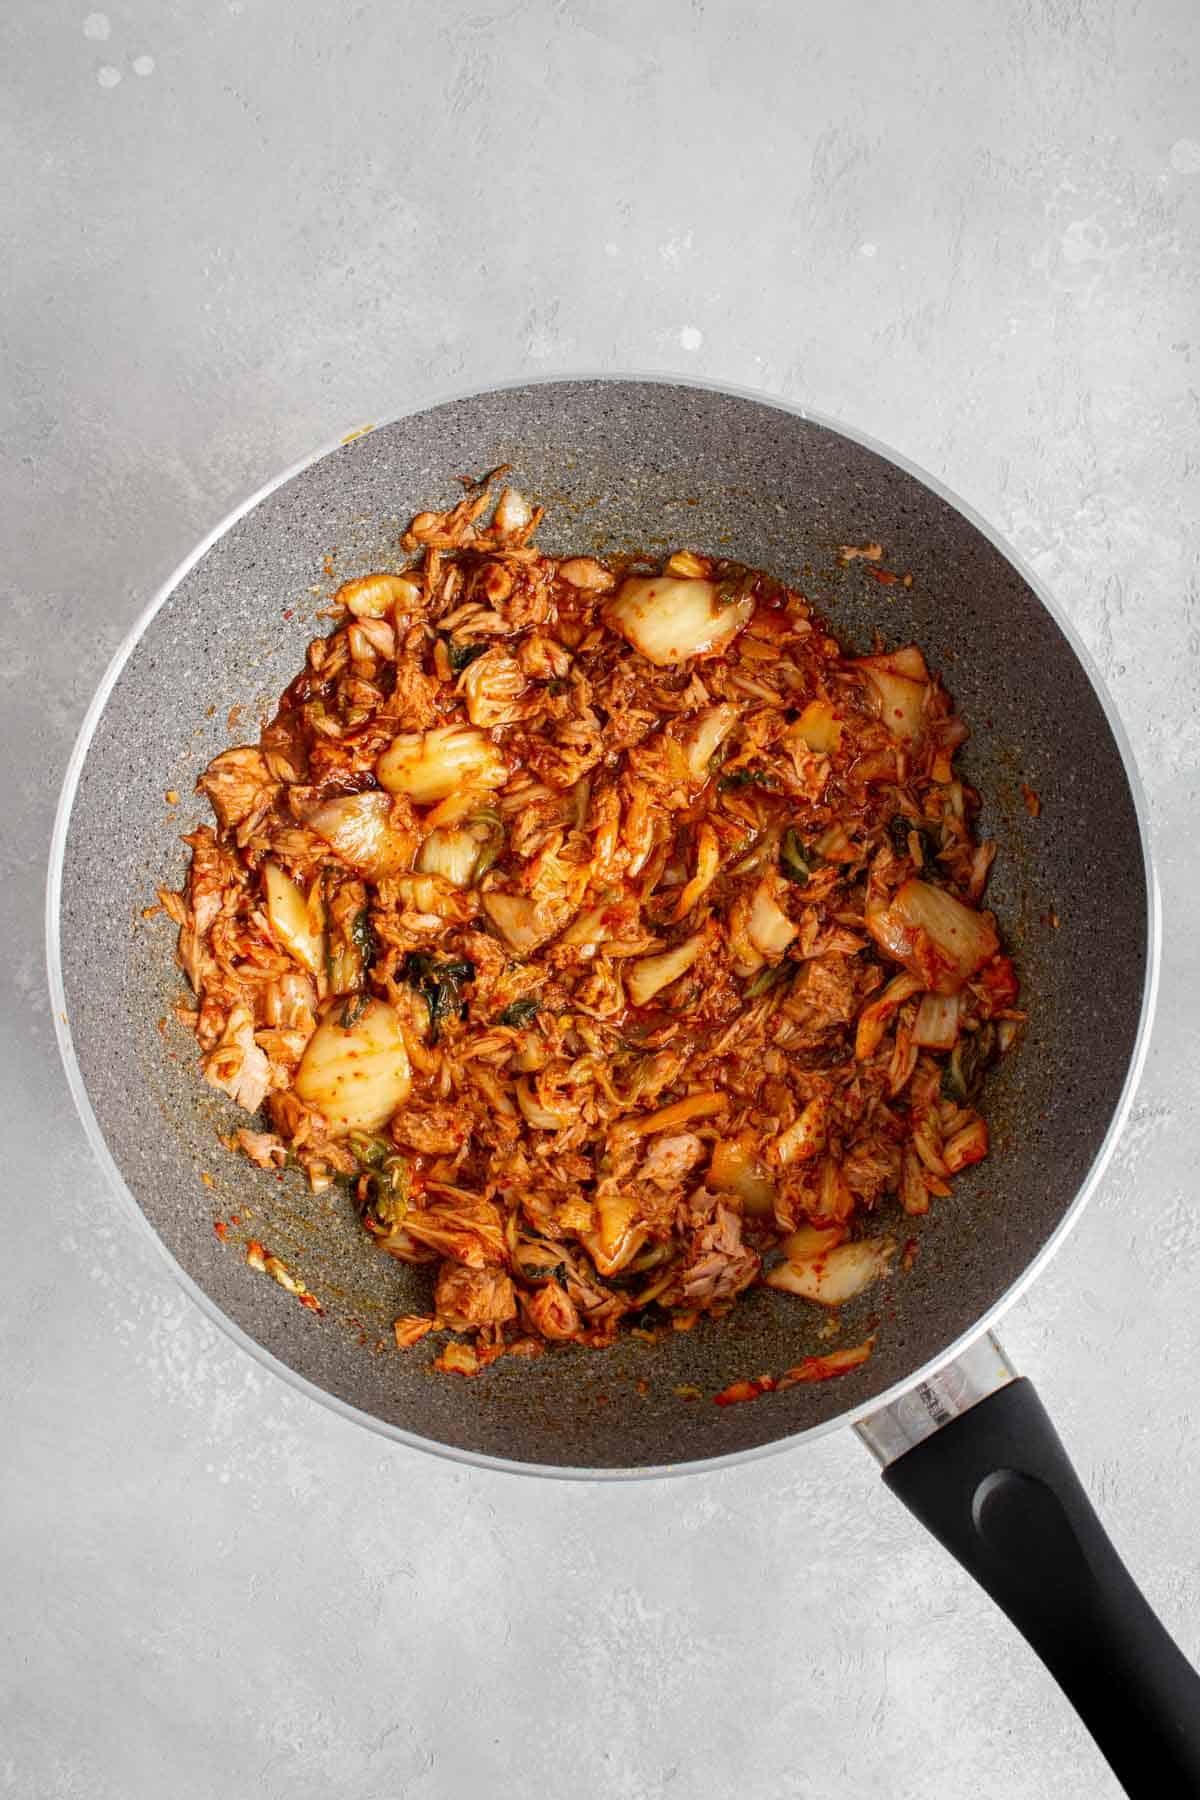
- Add the soy sauce, sugar, and gochujang and stir to combine.
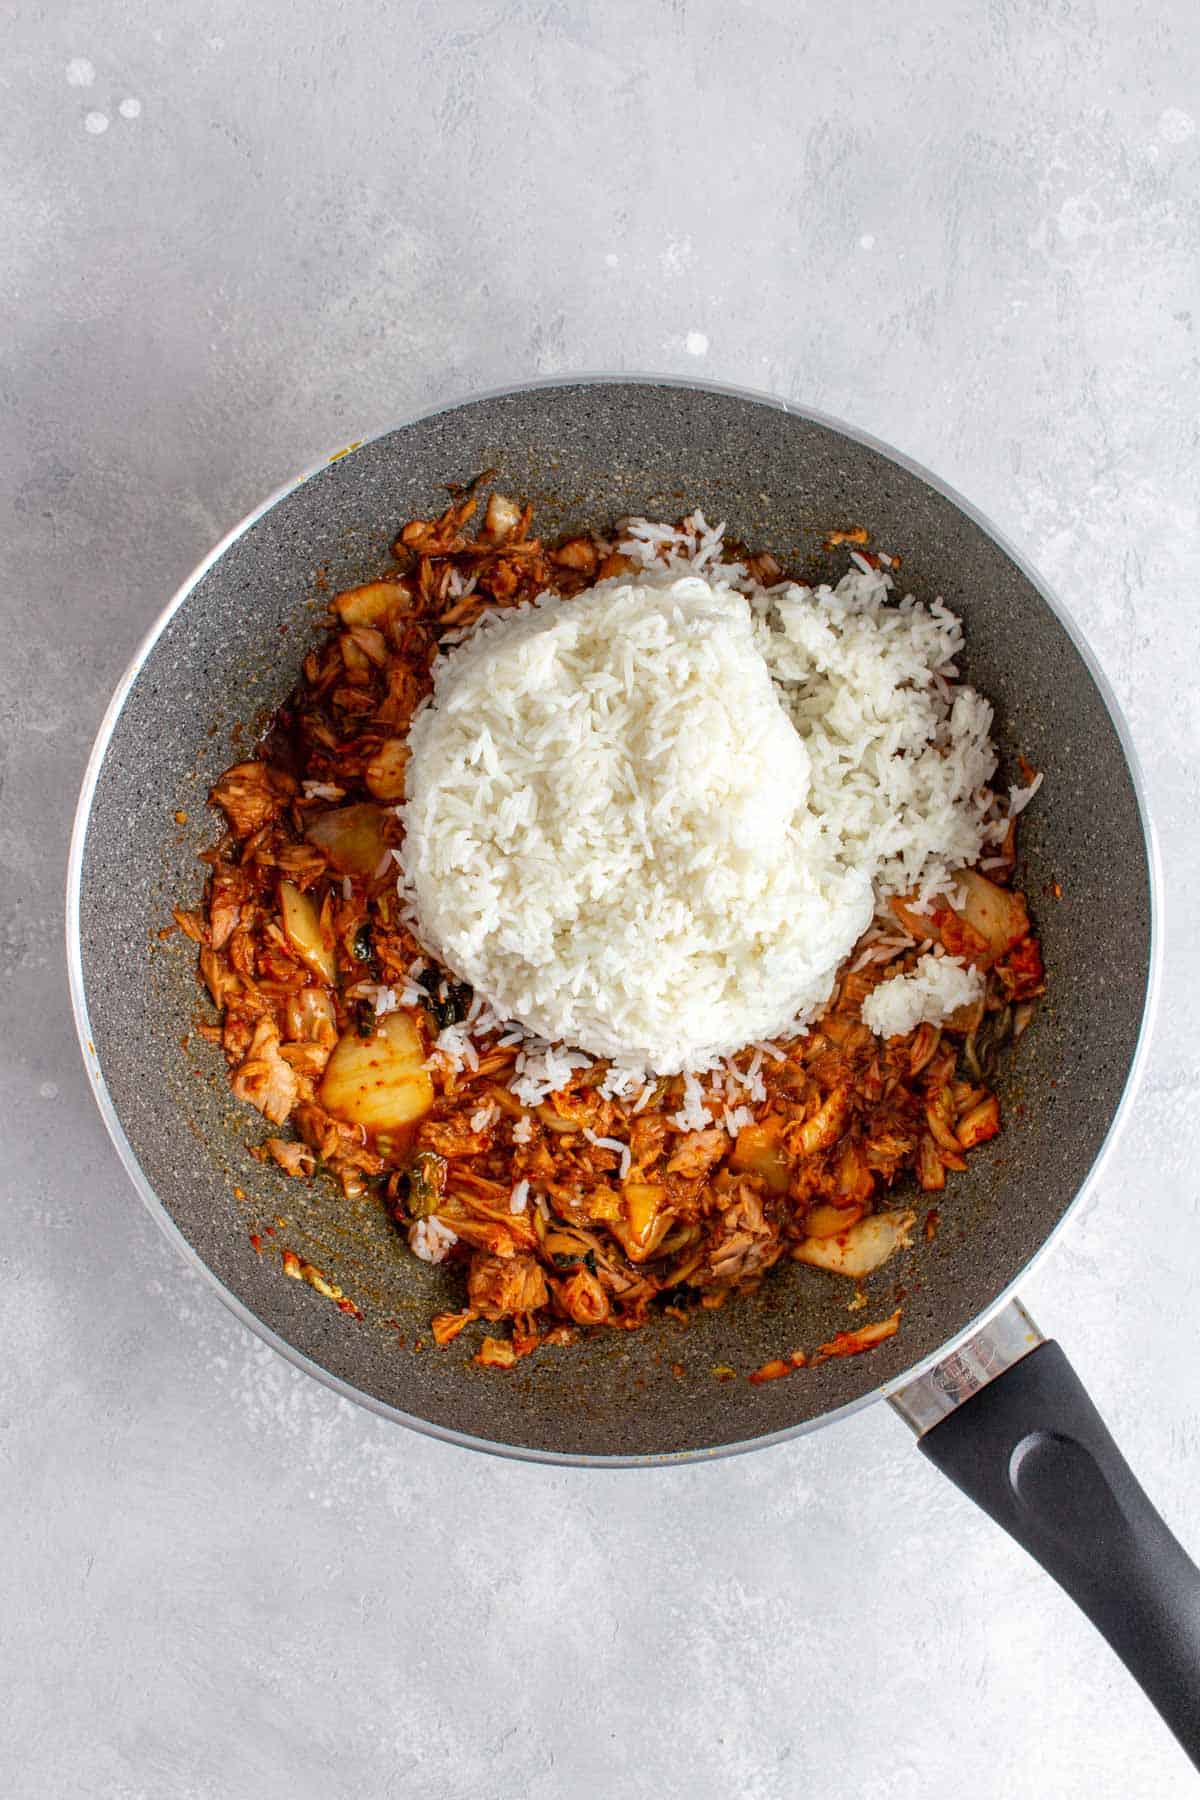
- Add the rice to the skillet.
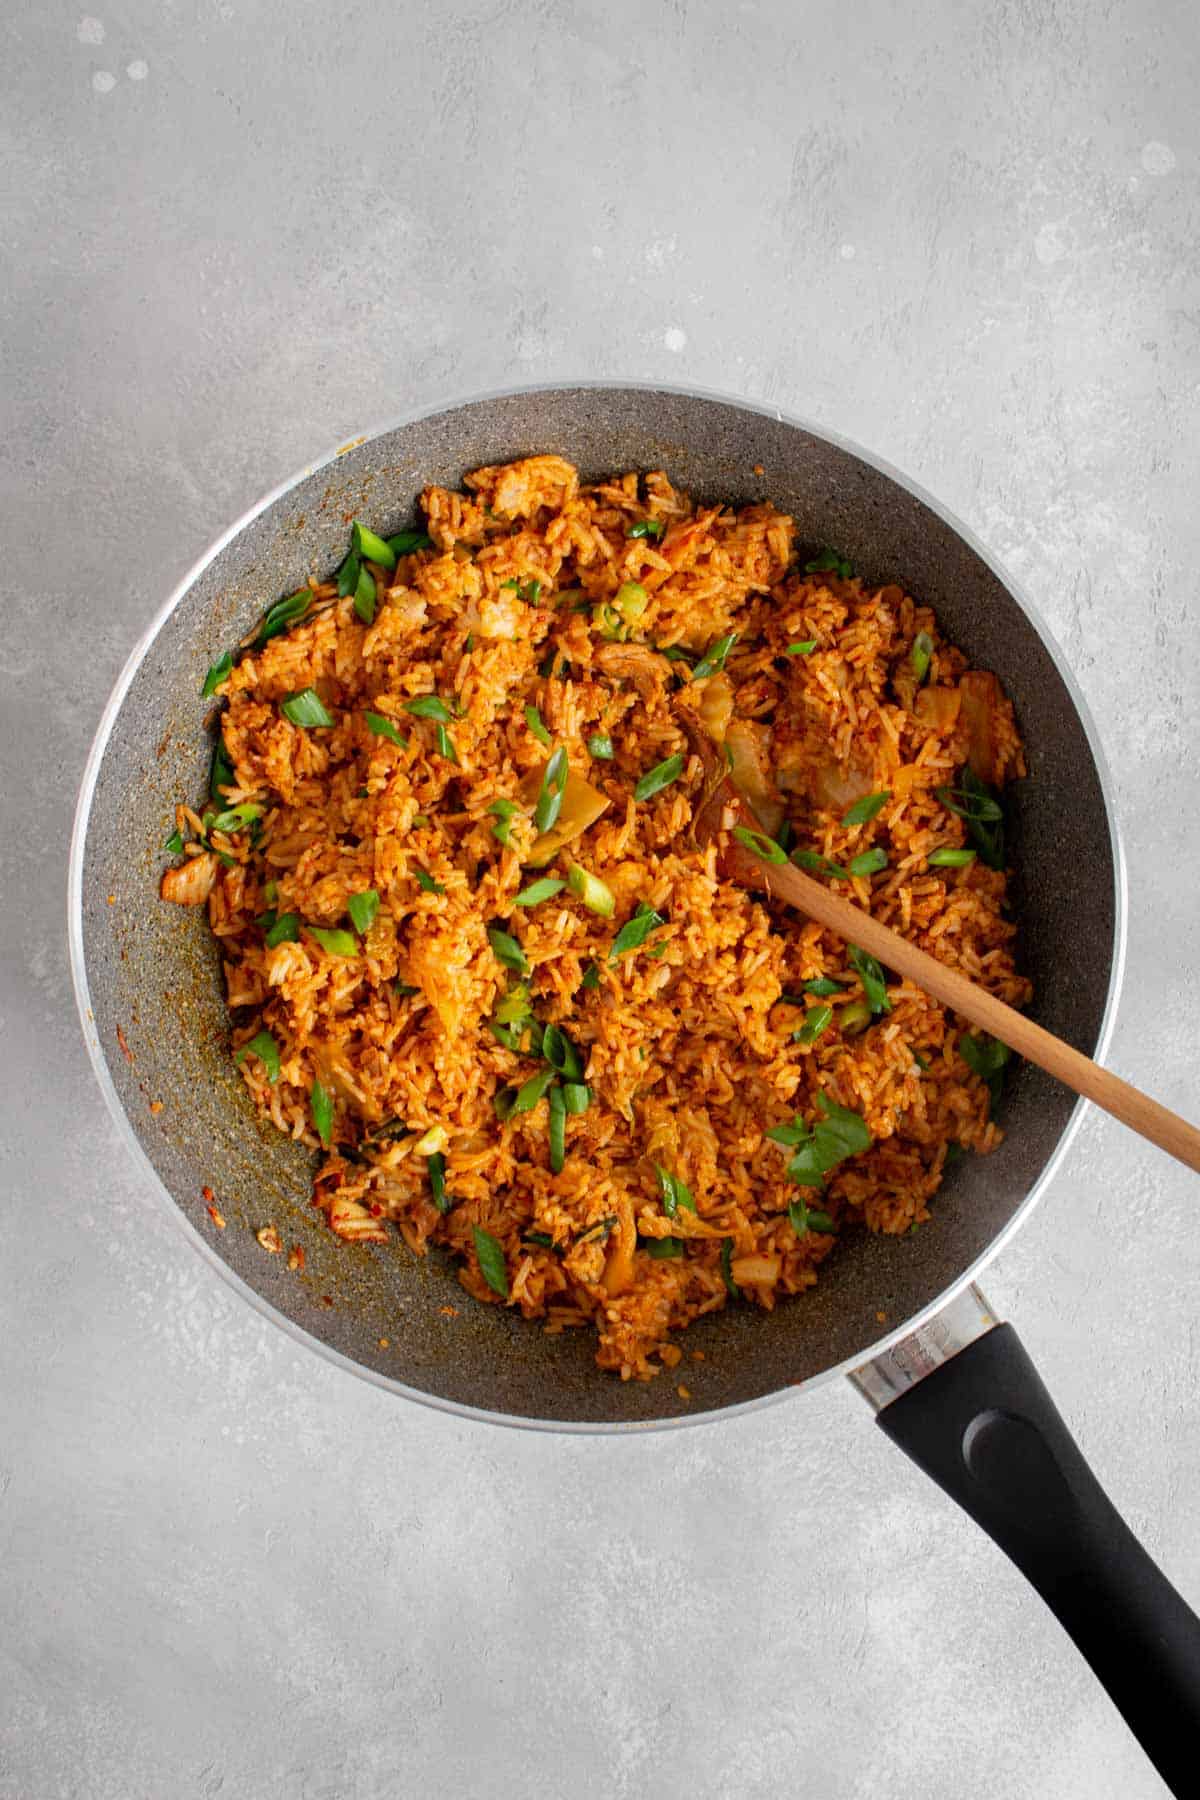
- Continue to sauté until the rice has been fully combined with the rest of the ingredients.
- Top with green onions and sesame seeds before serving. Top with a fried egg and seaweed if desired.
Recipe Tips and Notes
- Feel free to add whatever vegetables you have in the fridge! Corn, peas, spinach, carrots, broccoli, and any other leafy greens make for a great addition to this fried rice.
- Finish off the fried rice with a drizzle of sesame oil for extra flavour.
- I always make this with jasmine rice. Here’s my post on How to Cook Jasmine Rice if you need some tips!
- If you have a rice cooker, you can change the setting to make slightly “harder” rice when you cook it the night before. It’ll help the rice grains hold their shape better when you use it for tuna kimchi fried rice. (Here’s a review of the rice cooker I have)
- The older the kimchi, the more sour and flavourful it is.
Make Ahead Tips
- Meal prep: once cooled, store the cooked fried rice in an airtight container for up to 4 days in the fridge. Reheat in the microwave or on the stovetop.
- Freezer: allow the fried rice to cool before transferring them into an airtight container before storing them in the freezer.
I always use cold leftover rice that I’ve left in the fridge overnight as it has had the chance to firm up. Using cold rice makes it easier to separate when frying and decreases the chances of your fried rice turning out mushy. I’ve tried this with freshly cooked rice before and it gets sticky and mushy quickly. I always make my rice the day before. If you don’t have leftover rice, you can try to prepare the rice beforehand and then spread it out on a sheet pan so it can cool quickly in the fridge for an hour or so.
Kimchi is a staple in a lot of Korean/Asian kitchens. It is a salted and fermented vegetable side dish that can last for up to 6 months in the fridge (it continues to ferment). The longer it stays in the fridge, the more sour it will taste. While you can make kimchi with pretty much any vegetable, the common ones sold near me are napa cabbage kimchi, radish kimchi, green onion kimchi, and cucumber kimchi. While every region has its own recipe for kimchi, I recommend you take a quick look at the ingredients list. Some types of kimchi use salted seafood so if you are allergic to seafood, always double-check.
Serving Ideas
Here are some side dishes that go well with this tuna kimchi fried rice if you have some extra time and ingredients.
Tuna Kimchi Fried Rice
Ingredients
Optional Garnish:
- green onions
- toasted sesame seeds
- fried egg
- shredded seaweed
Equipment
- Large skillet
Instructions
- Heat a large skillet with oil over medium heat. Add the garlic and sauté for a few seconds before adding the kimchi with the juices. Sauté for 2 to 3 minutes.
- Add the tuna to the skillet and sauté for another minute.
- Add the soy sauce, sugar, and gochujang and stir to combine.
- Add the rice to the skillet. Continue to sauté until the rice has been fully combined with the rest of the ingredients.
- Top with green onions and sesame seeds before serving. Top with a fried egg and seaweed if desired.
Nutrition Per Serving
More Rice Recipes To Try
Other places to connect with me
@carmyshungry on Instagram
Facebook
Shop my Amazon faves
Email: [email protected]
Jes says
I made this as written, but subbed in cauliflower rice. Exceeded expectations, very satisfying.