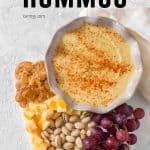
This no-soak Instant Pot Hummus with no tahini is so creamy and silky that you’re never going to want to make hummus any other way!
Tahini-Free Instant Pot Hummus
I freaking love hummus, like I’ll eat a whole container in one sitting if I could! Hummus is a dip/spread that is made from cooked chickpeas that have usually been blended with tahini, olive oil, lemon juice and other add ins such as garlic, beets, avocado, etc.
However, I don’t usually buy pre-made hummus as had a reaction to tahini during my last hummus binge so now I stick to mostly homemade hummus to avoid tahini. Or if I really want to try a new flavour, pop a Reactine pill beforehand. YOLO right?
Why Use The Instant Pot To Make Chickpeas for Hummus
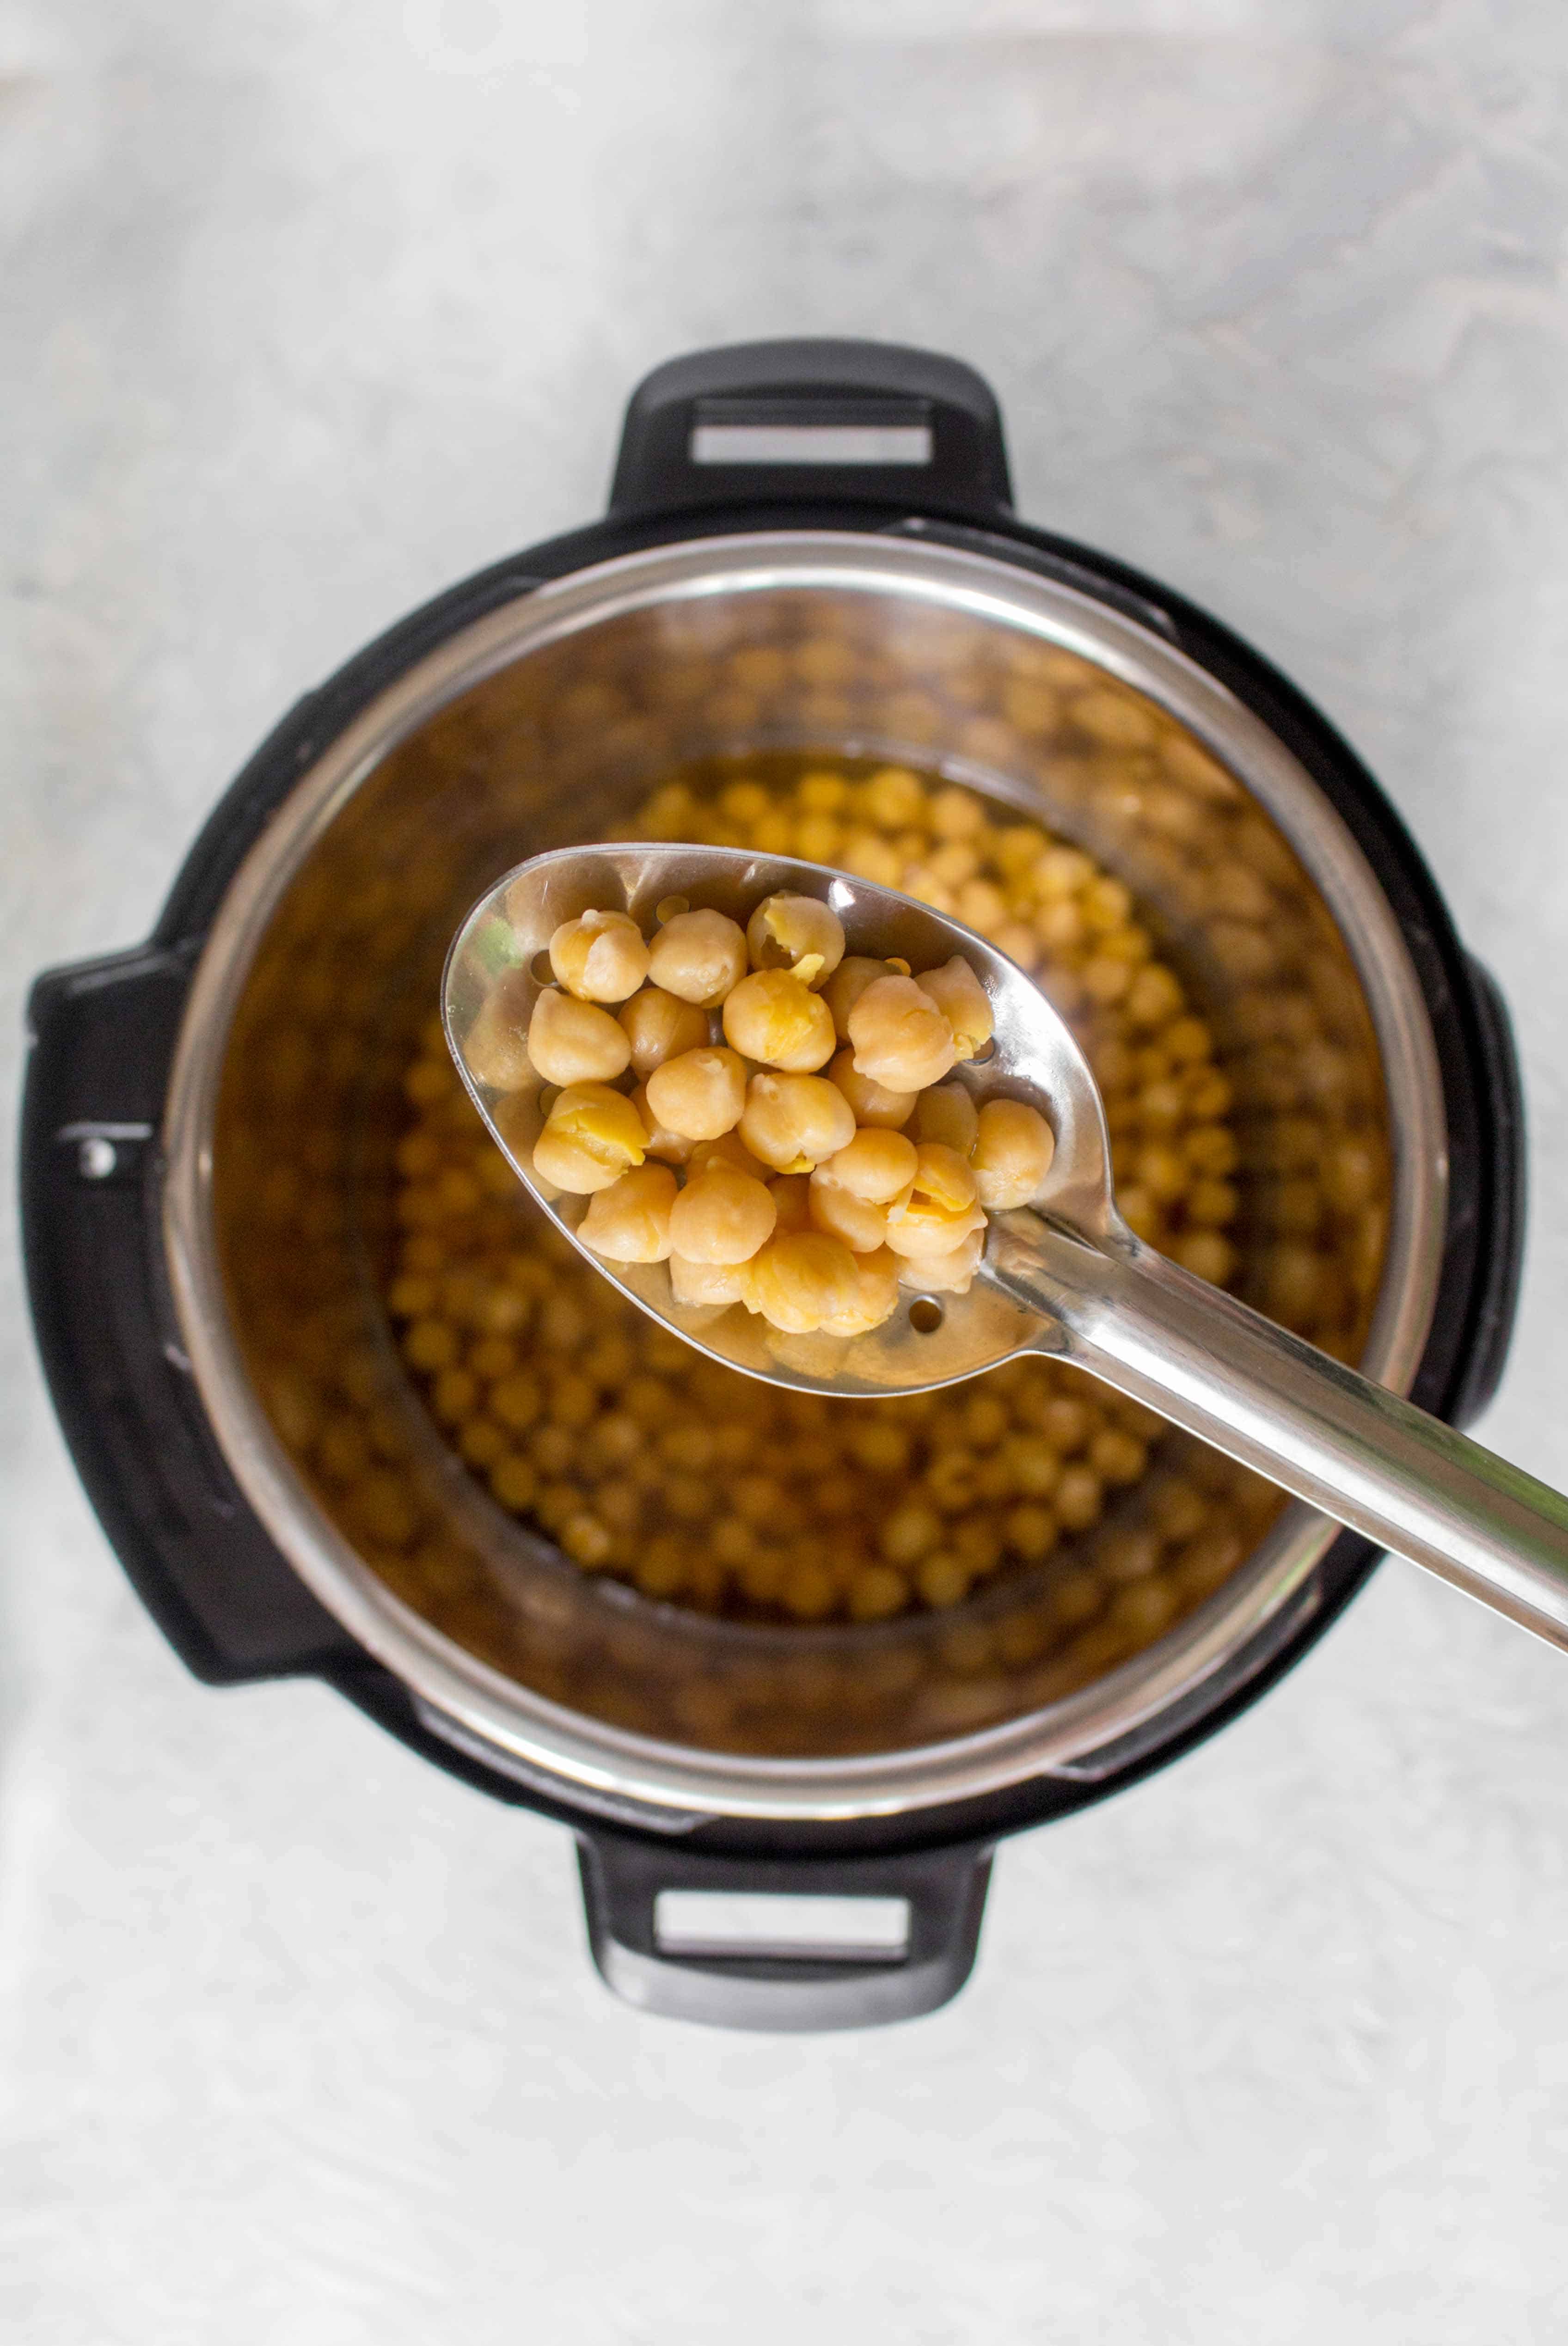
- Like I mentioned in my How To Cook Chickpeas in the Instant Pot post, dried chickpeas cooked in the IP are creamier than canned chickpeas. That helps makes chickpeas way more smooth when blended as we are skipping the tahini.
- Using dried chickpeas means you can control the amount of salt and avoid additives that may be in canned chickpeas.
- The Instant Pot cooks chickpeas way faster than the stovetop so you can have homemade hummus on the table much faster! Plus the softer the chickpeas, the creamier your hummus will be and your Instant Pot will save you a from having to babysit a simmering pot.
What You’ll Need To Cook Chickpeas in an Instant Pot for Hummus
- dried chickpeas
- water
- garlic
- lemon juice
- olive oil
- salt
- aquafaba (cooking liquid from the chickpeas)
For the equipment, you’ll need
Note: if you don’t want to use a food processor and want to keep the dishes to wash minimal, you can always use an immersion blender/handheld blender and blend the hummus inside the Instant Pot liner. It might take longer to get it to a smoother consistency though.
How to make hummus from dried chickpeas without tahini
- Measure out your chickpeas and rinse it in cold water.
- In your Instant Pot, add the chickpeas and water.
- Click manual and set the Instant Pot to 55 minutes. Once done, Natural Pressure Release for 15 minutes before Quick Releasing.
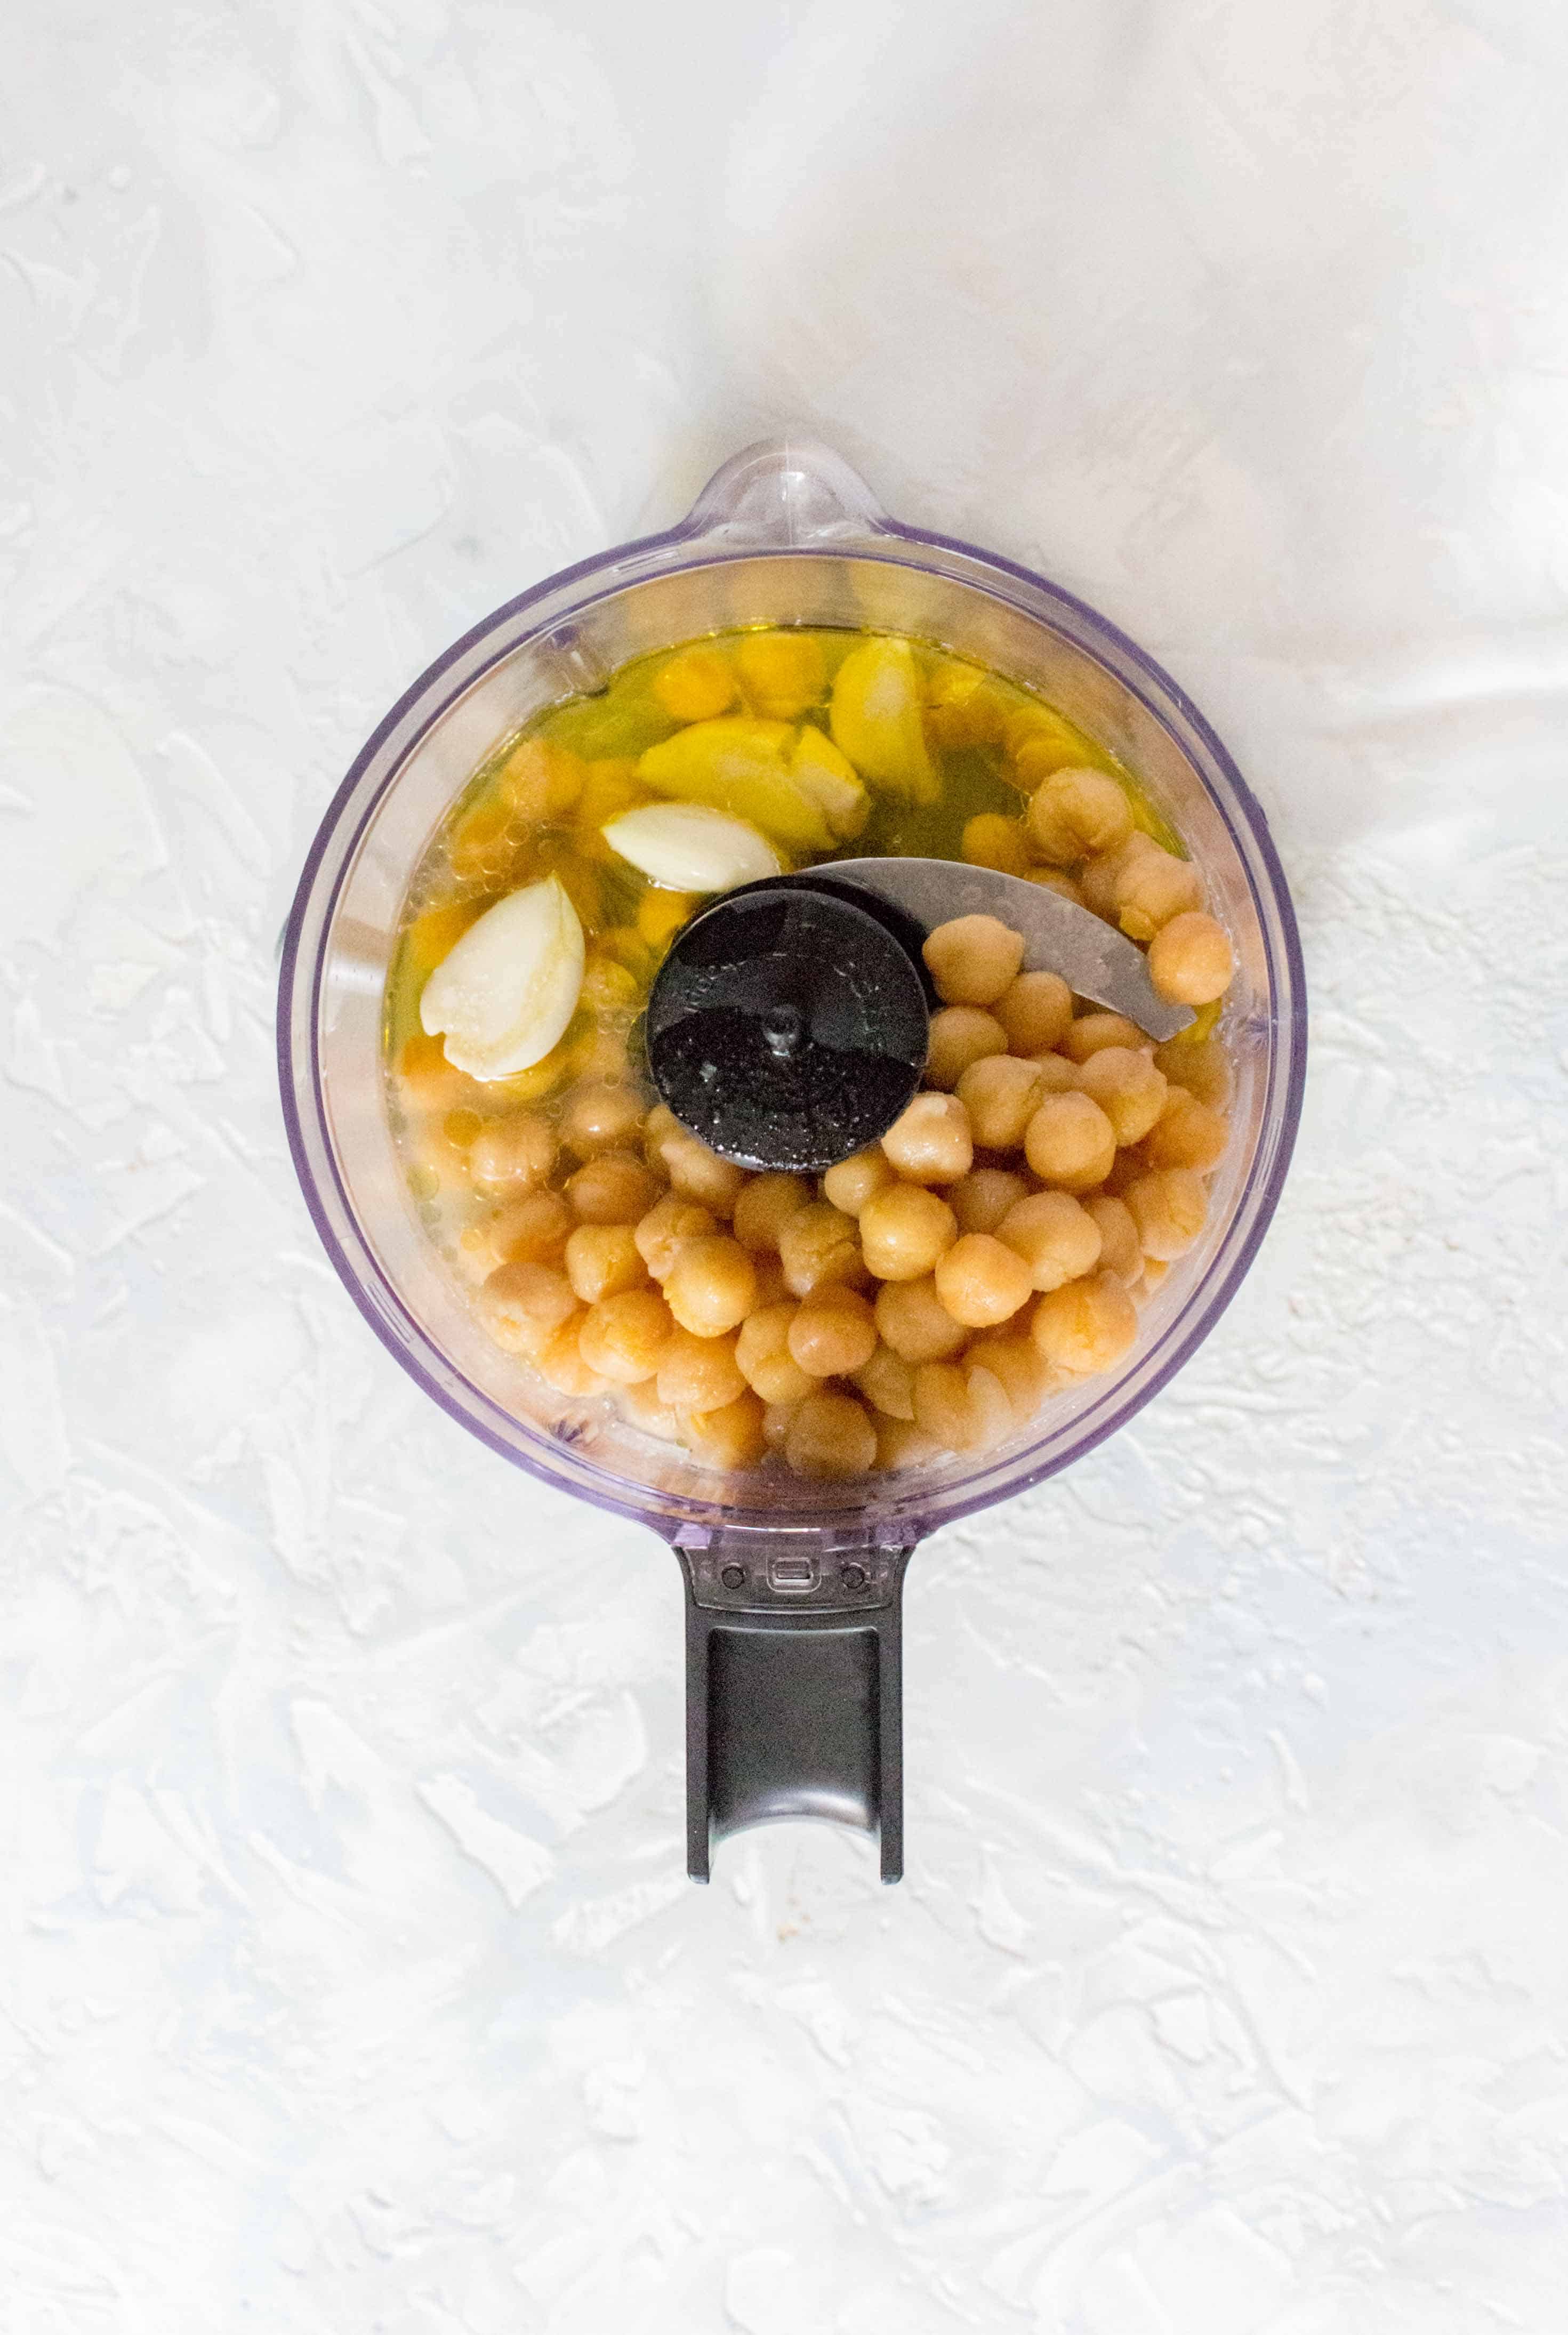
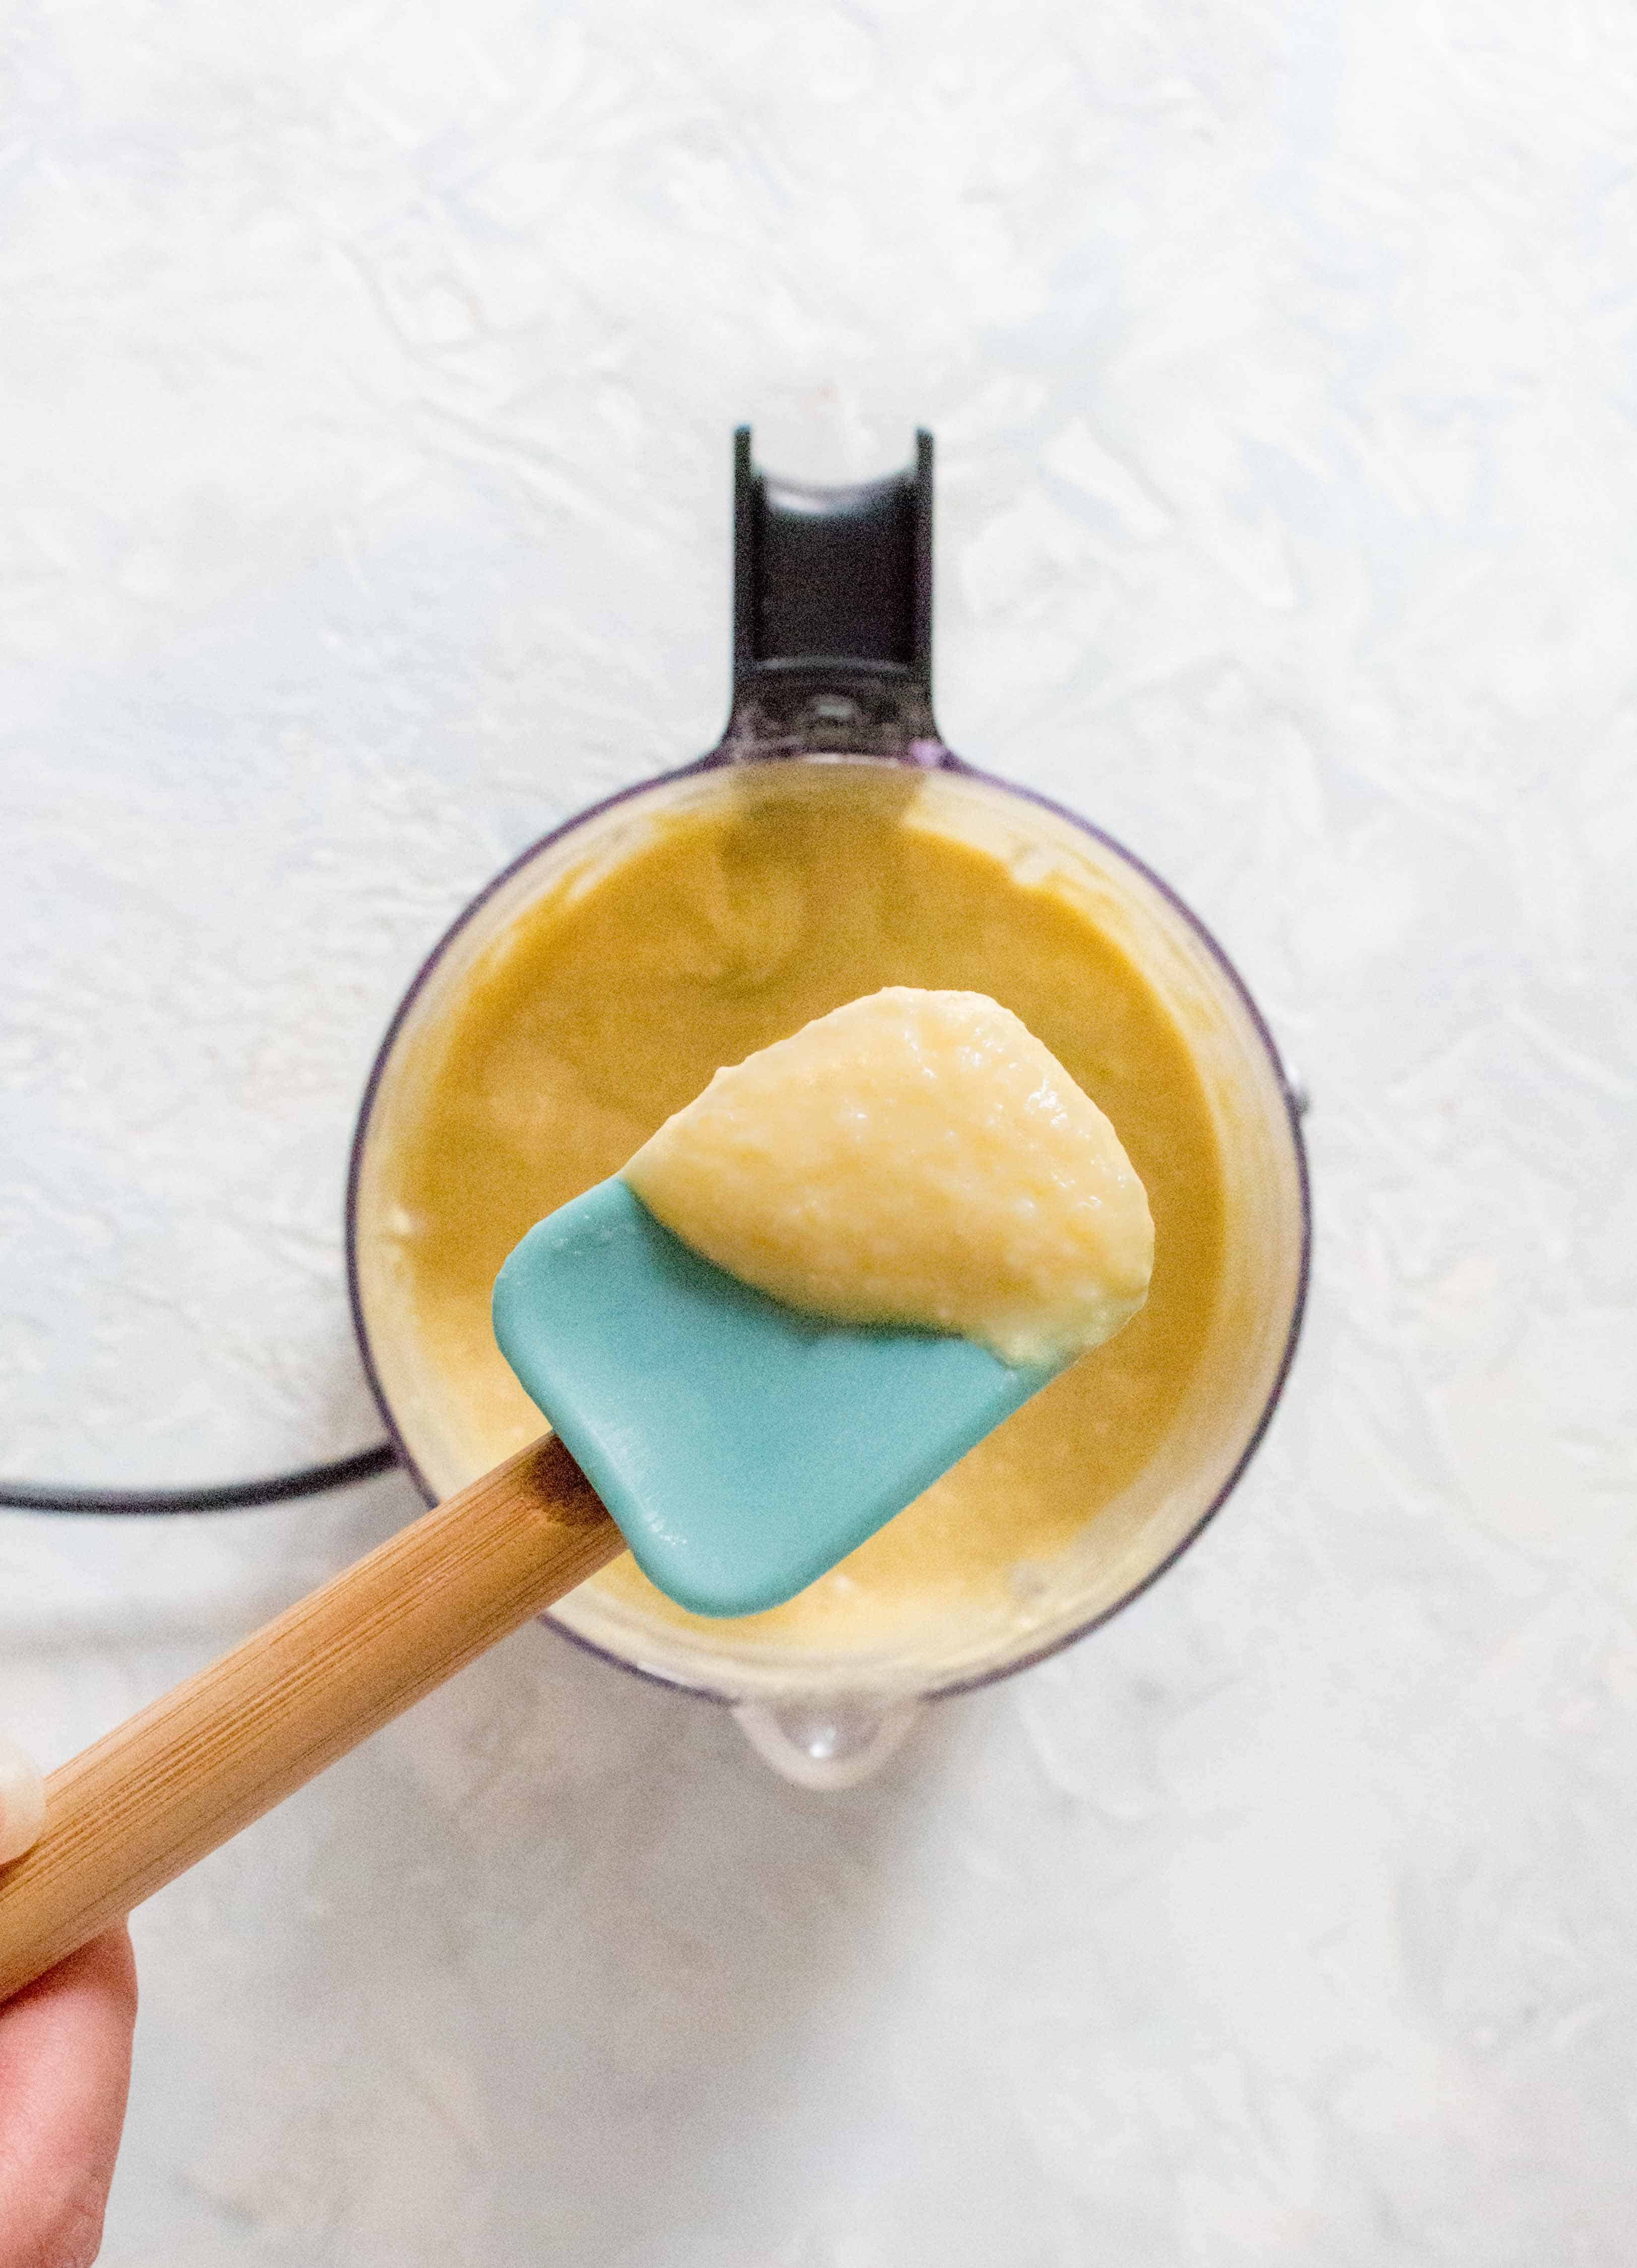
- While the chickpeas are still warm, in a food processor, blend together the chickpeas, garlic cloves, lemon juice, olive oil, salt, and some of the aquafaba/cooking liquid.
- Blend until smooth. Continue to blend and add more aquafaba until it reaches your desired consistency.
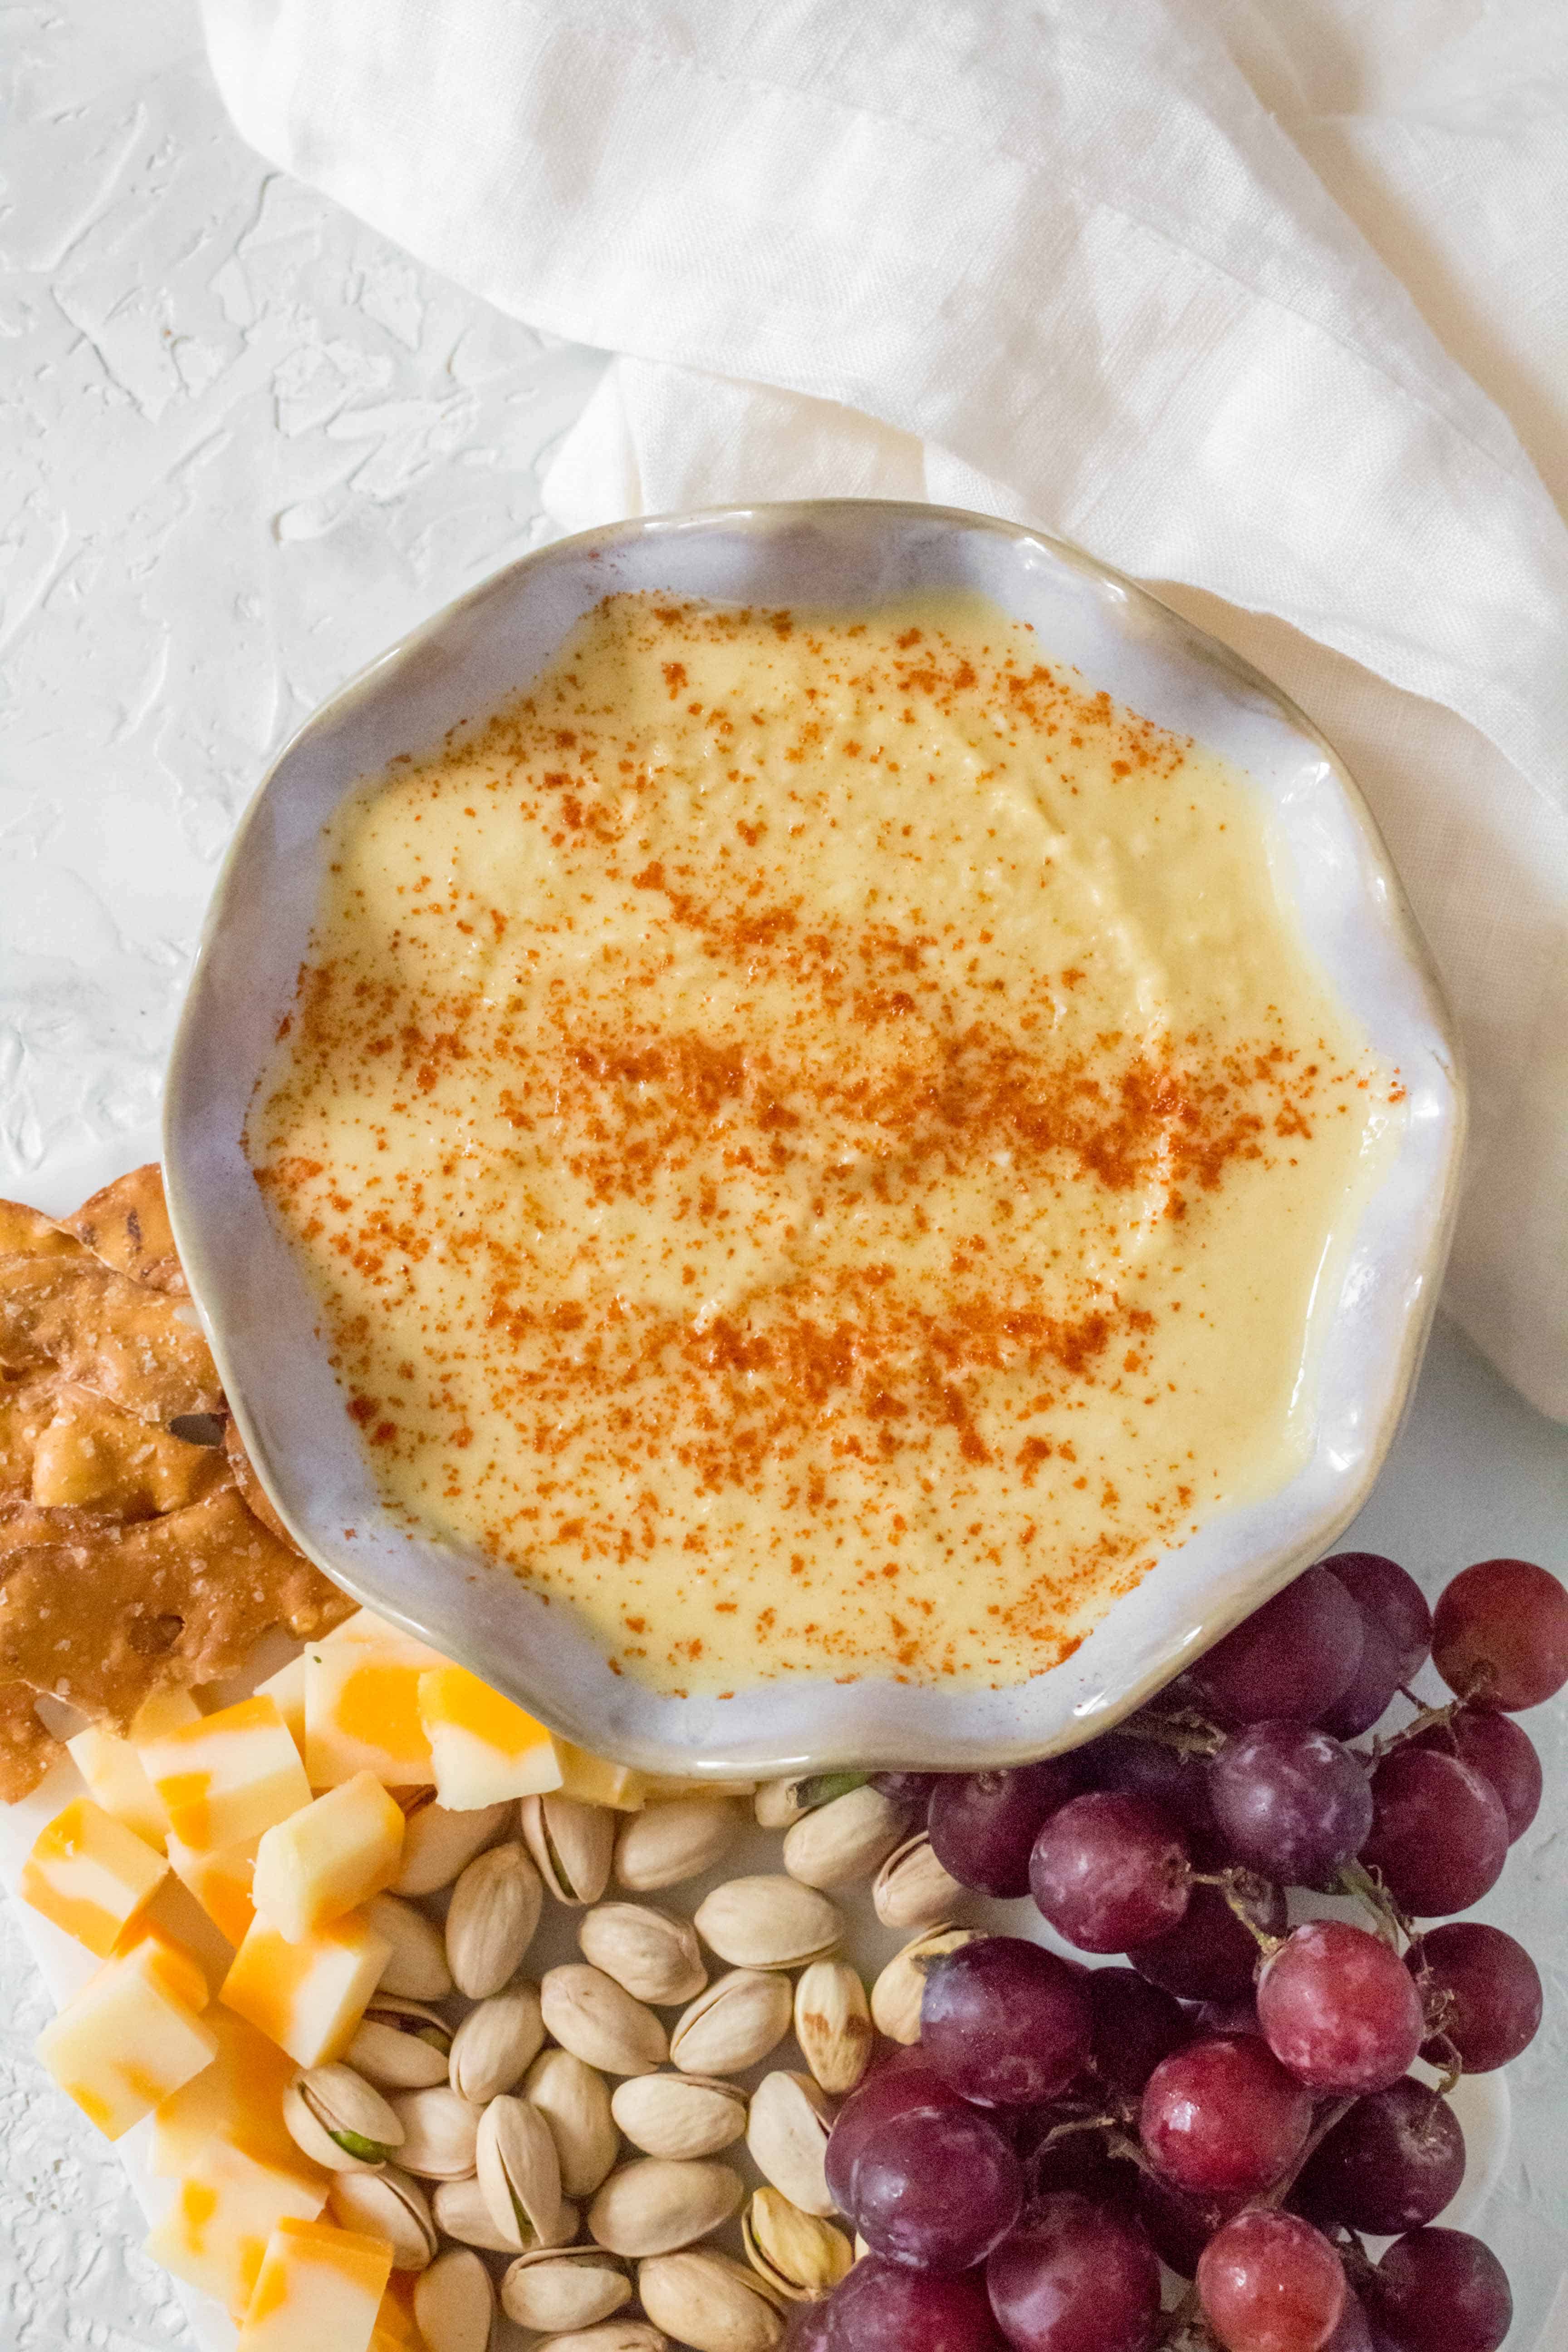
- Garnish with smoked paprika or za’atar or olive oil on top if desired.
- Note: I have a 3.5 cup food processor that I use to blend my hummus. Due to the size, I blend it in two batches to not overfill.
Storing Instant Pot Hummus / Make this hummus ahead of time
- Store in an airtight container such as a mason jar for up to a week.
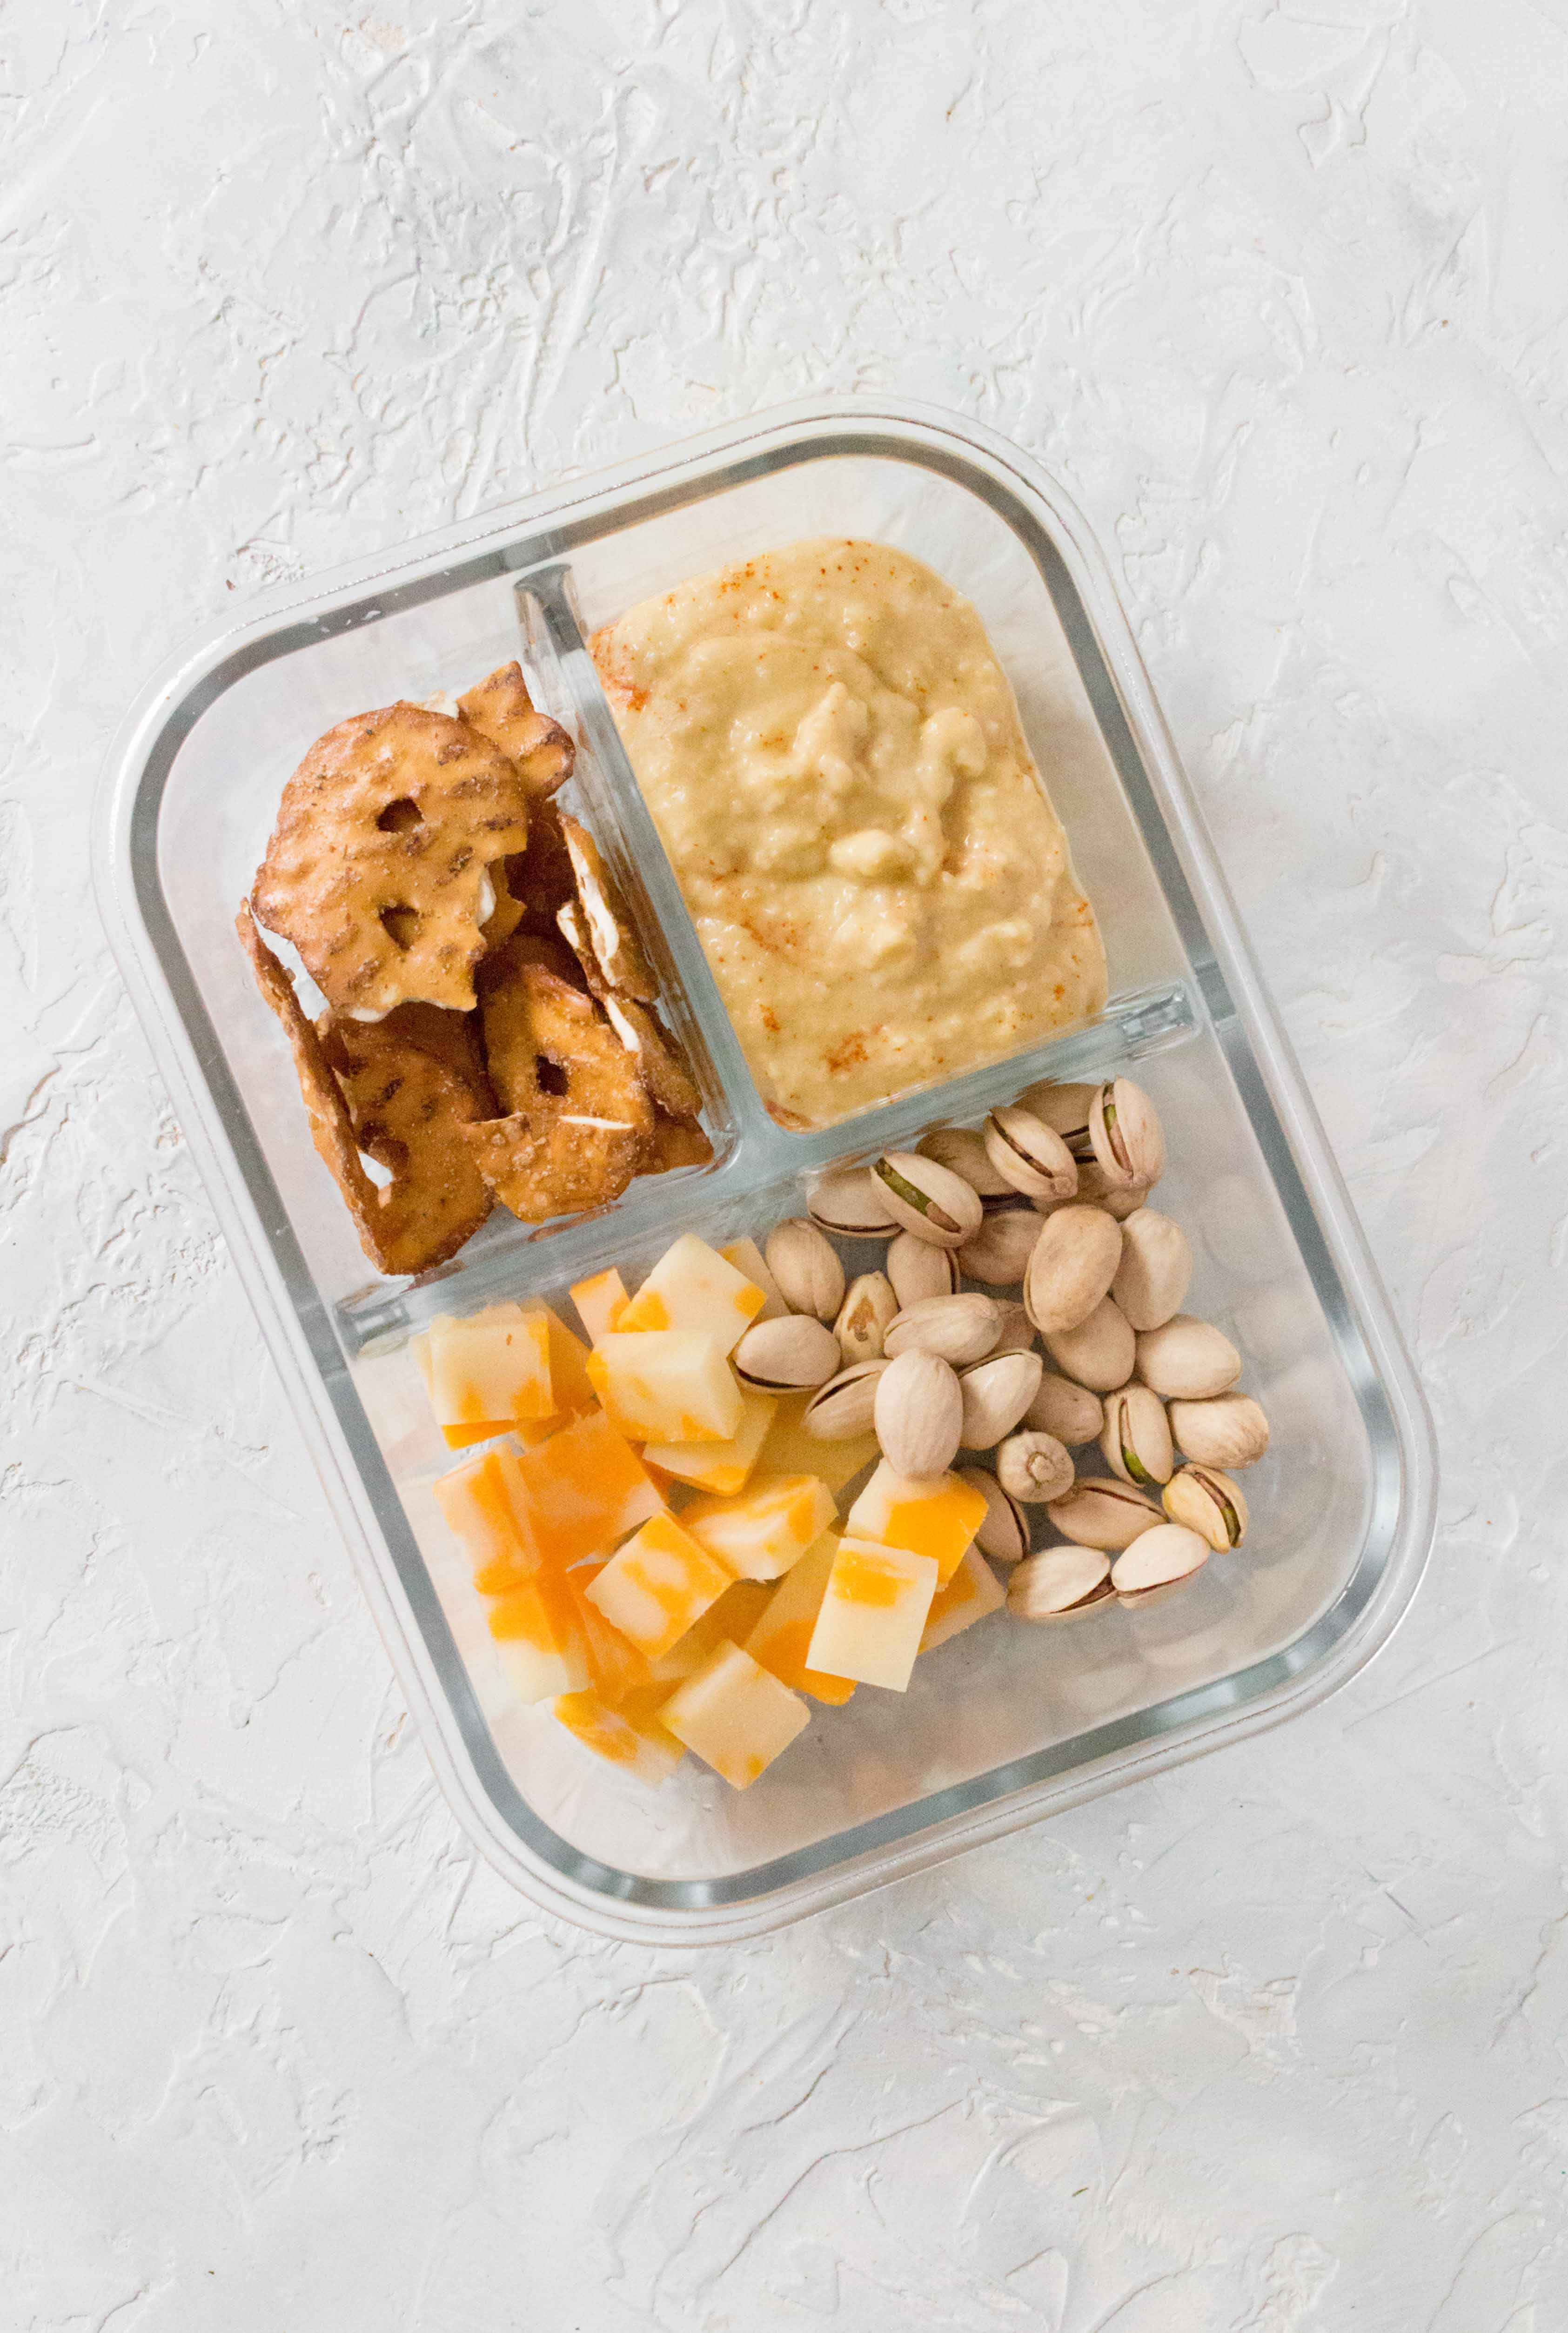
- I like to store my hummus in 4oz mason jars for meal prepping since it’s the perfect grab and go size to go with some crackers or chopped vegs. Or I store it directly in a meal prep container like in the photo below!
Ways To Use Up Hummus
- eat it as is!
- make this Hummus Crusted Salmon with Panko
- paired with some potato wedges
- use it in a buddha bowl
- use it in a sandwich
- serve it with some falafel
- meal prep it with chicken
- use it in a chicken quesadilla
- use it as a pasta dressing
- make a hummus salad dressing
- serve it with salad
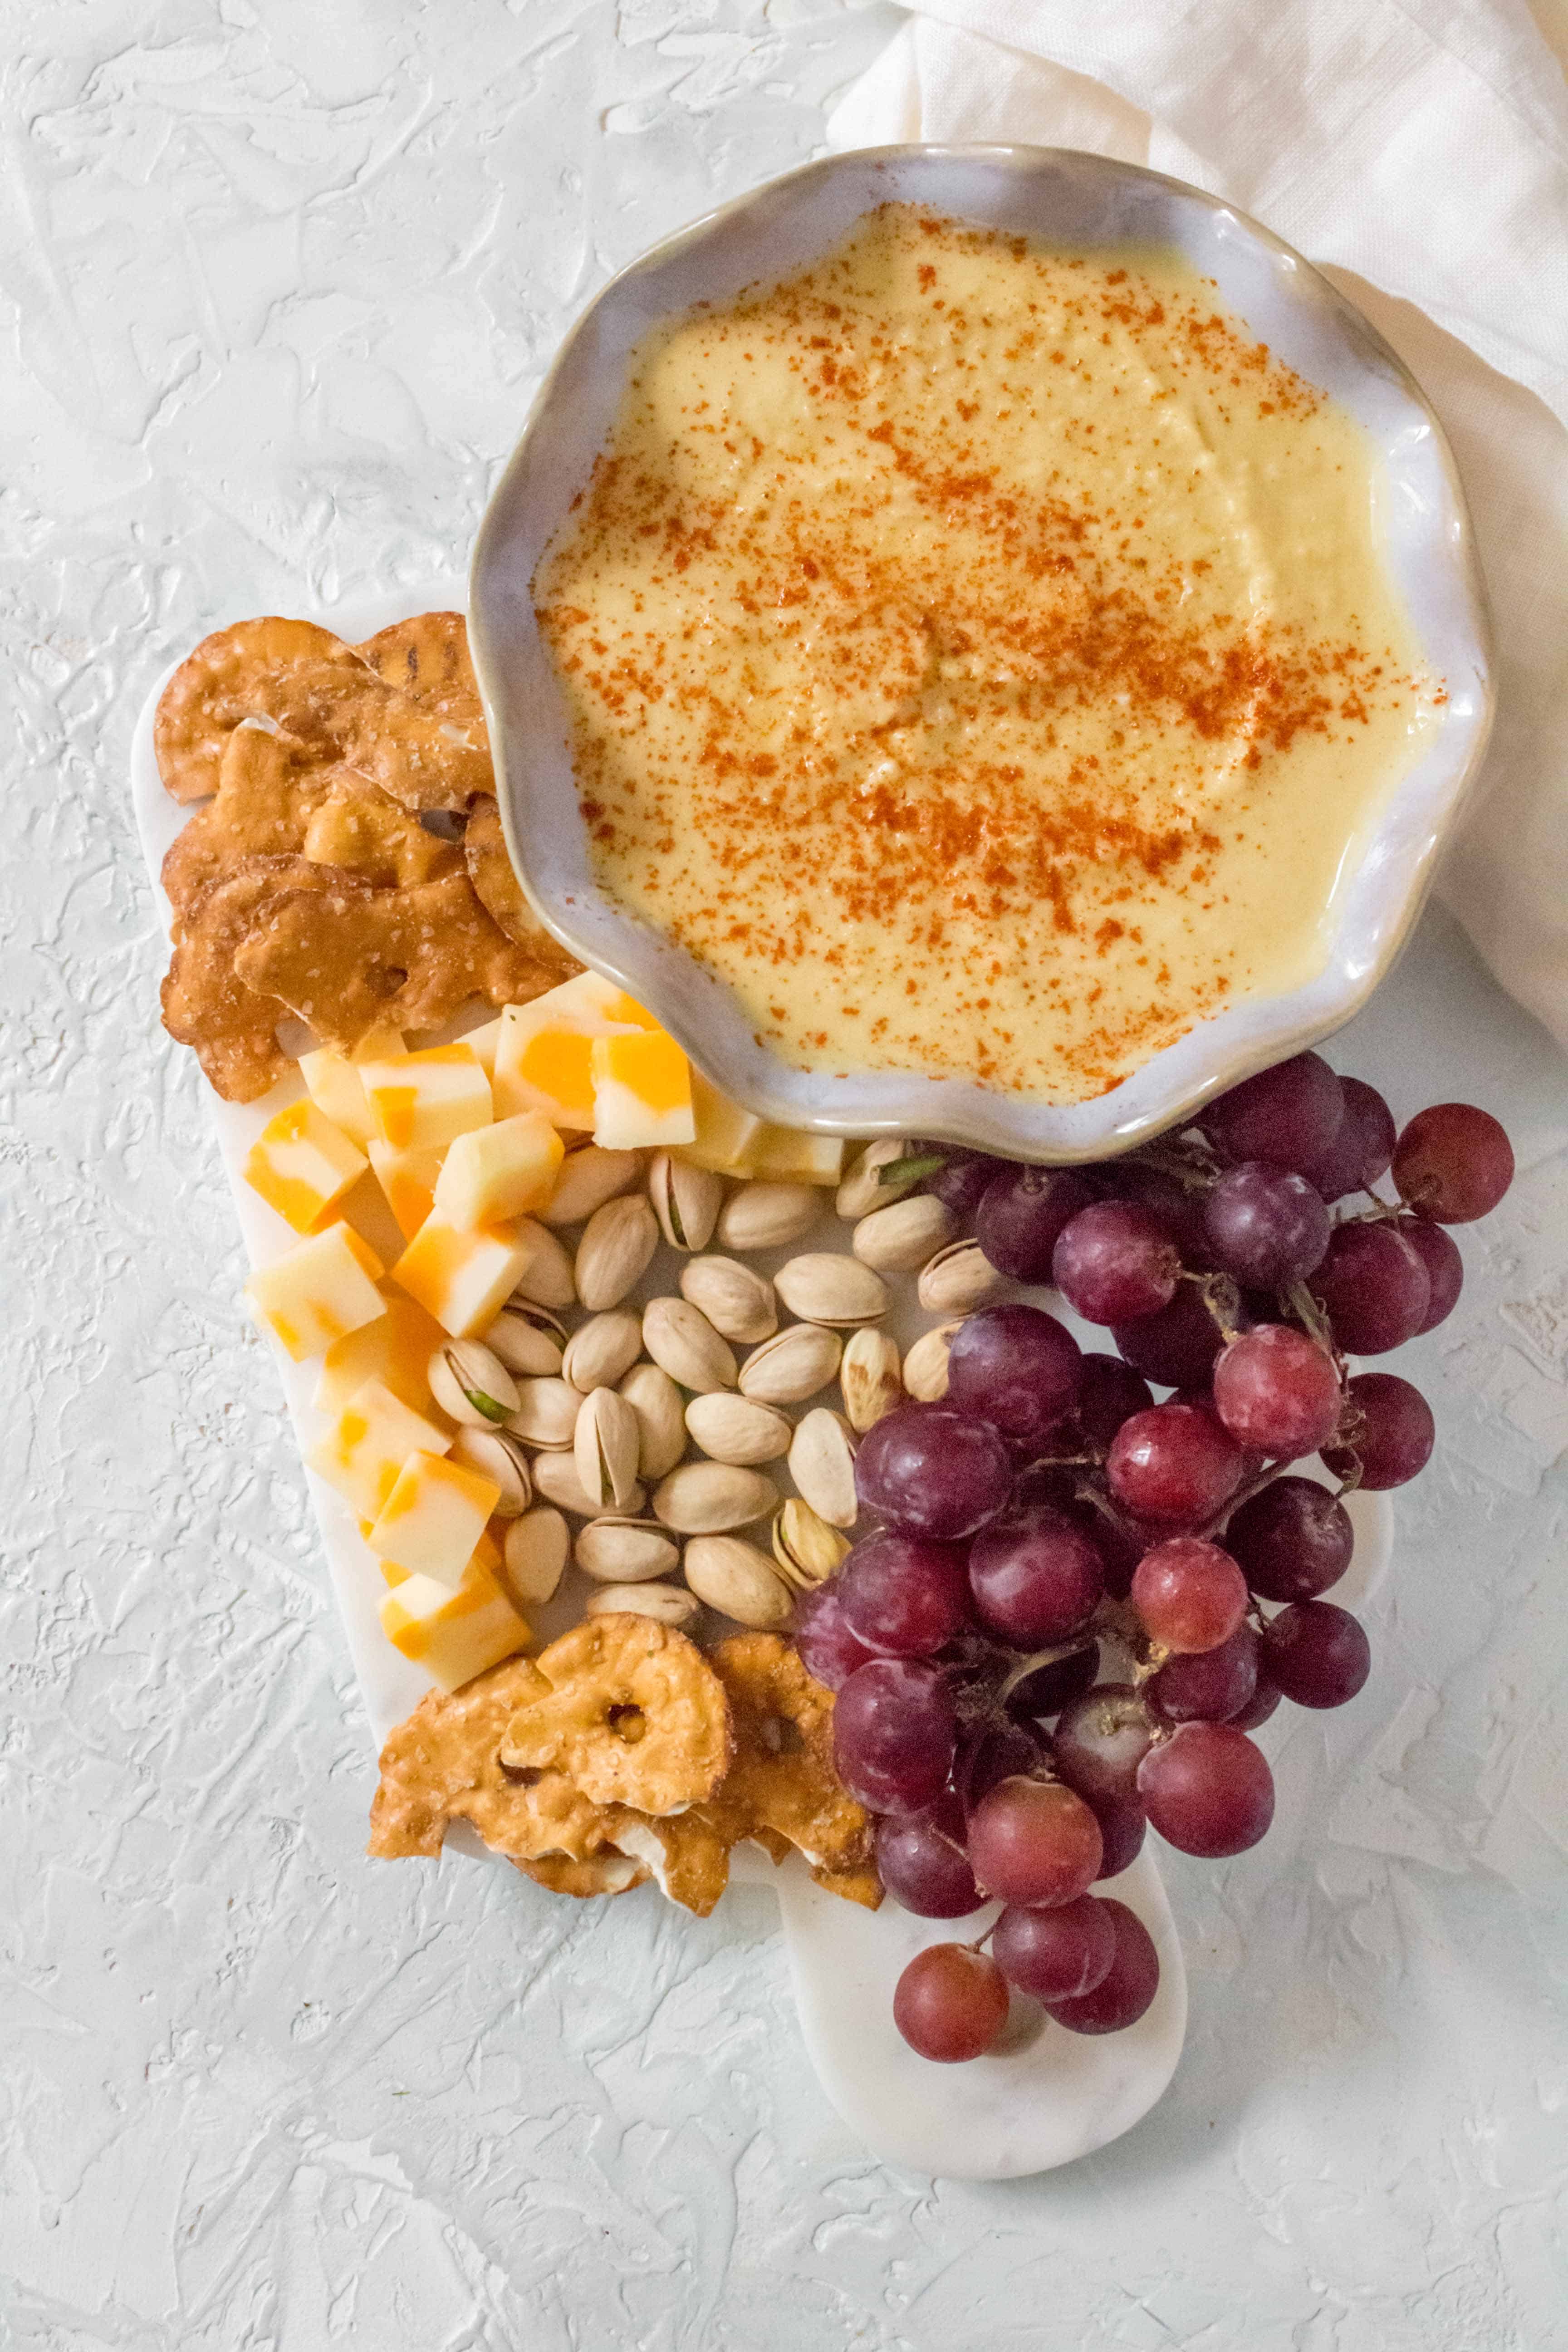
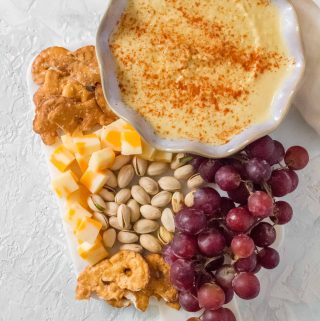
- use it in a cheese/snack board
Instant Pot Hummus
Ingredients
Instructions
- Measure out your chickpeas and rinse it in cold water.
- In your Instant Pot, add the chickpeas and water.
- Click manual and set the Instant Pot to 55 minutes. Once done, Natural Pressure Release for 15 minutes before Quick Releasing. Reserve 1 cup of the aquafaba, chickpea's cooking liquid.
- While the chickpeas are still warm, in a food processor, blend together the chickpeas, garlic cloves, lemon juice, olive oil, salt, and some of the aquafaba/cooking liquid.
- Blend until smooth. Continue to blend and add more aquafaba until it reaches your desired consistency.
- Optional: garnish with smoked paprika or za’atar or extra olive oil
Nutrition Per Serving
RESOURCES AND TIPS FOR MEAL PREPPING
- How To Cook Chicken Breasts Perfectly
- What Is An Instant Pot
- Tips To Help You Meal Prep For The Week Successfully
- Tips for Meal Prepping on a Budget
- 7 Freezer Friendly Chicken Marinades
- 5 Freezer Friendly Marinades
- Meal Prep Support Group: https://www.facebook.com/groups/mealprepsupport/
Other places to connect with me
Instagram: @carmyshungry
Facebook: https://www.facebook.com/carmyycom
Email: [email protected]
Leave a Reply